You need to make hip.l/r children of spine1 and change the chainlen of lower_leg.r to 2.
The reason the chainlen was having no effect in your previous file is that the hip.l/r were not connected to spine1. Even in the the previous file though your hip.l was being affected by the IK when it shouldn’t be (because the chainlen 0 had the effect of including the hip bone).
Hello and thank you for the great tutorial. I’m having some problems right at the beginning. Whenever I do the ‘shaping’ when making the face, I always seem to screw up horribly. Could you possibly give some more information on the shaping process, or maybe a .blend file?
@foobar:
What specifically is happening when you shape the face? “Before” and “After” screenshots or a .blend would be really helpful for troubleshooting. Once we figure out what’s going on, I’ll add some more details about the shaping process.
-Ryan
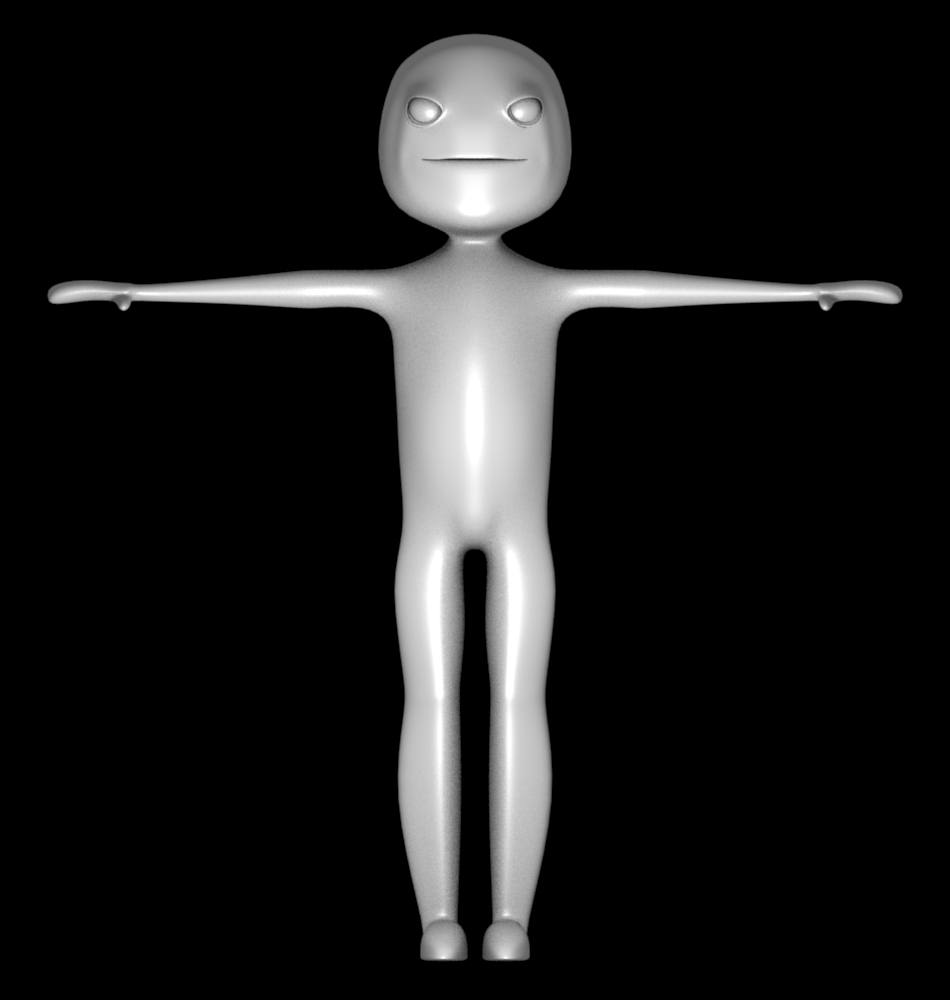
marenzelleria: It’s not a problem with blender, it’s a problem with what I’m doing. I just am having difficulty shaping it correctly and it ends up looking like a very angry person who is presumably angry because their head is fairly misshapen and certainly does not look as pretty as the pictures in the tutorial.
Thank you for this great tutorial it truly is one of the best that i have ever seen… i got up to weight painting and then blender crashed so now all i have is a head lol but anyway great tut thanx
Zurial just make sure you have applied a armature modifier to the model before weight painting. I made a mistake like that, that cause blender to crash.
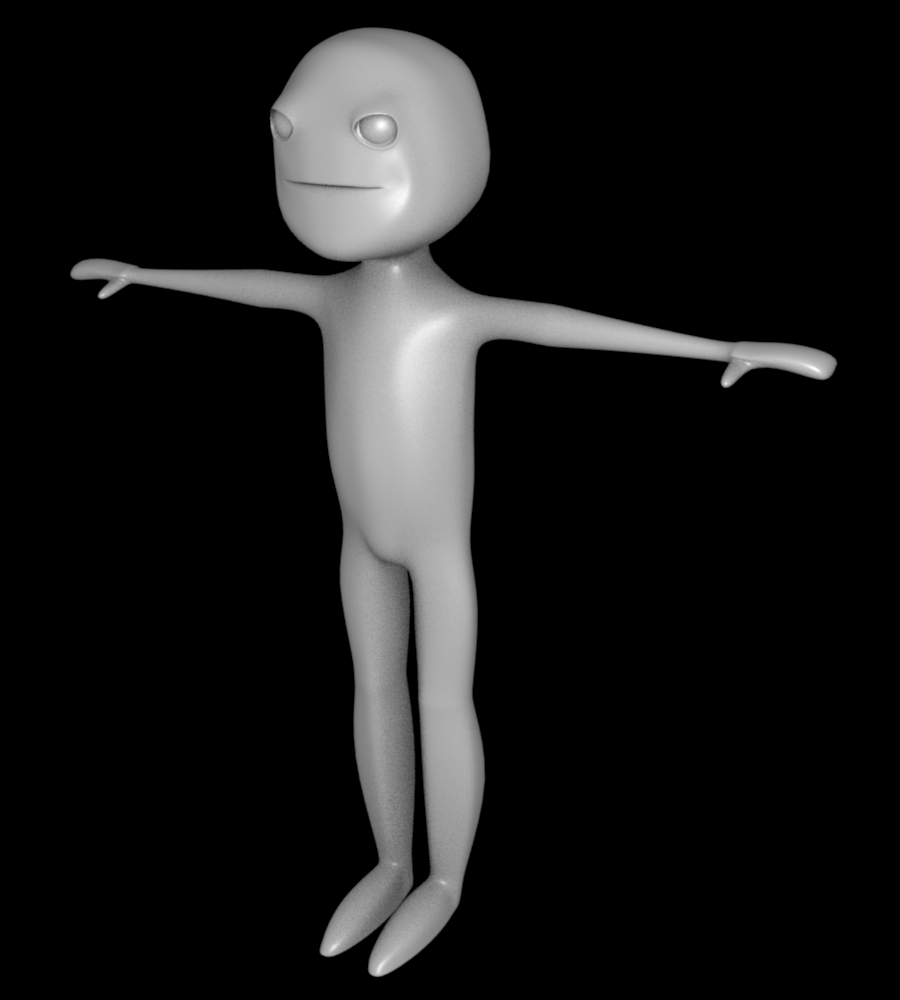
i do everything as it says but when i get to the point where it says to move the leg bone i get a wrong result , instead that the whole armature would move wrong , it moves as i show you in the most right jpg , and also the mesh moves along with the bone.
this is what i’ve done : i shift-e the hips them the upperlegs then the lower legs , then the foot then the toe and then the leg, then i name them , then i disconect toe.l and make it child of of leg.l
then diconect foot from its parent make foot a child of leg.l
then leg.l child of none
then switch to pose select lower_leg.l and add an ik solver , write armature in ‘‘ob’’ and foot.l in ‘‘bo’’
turn auto ik off
and then it says to move the leg.l and it should move the hole armature along and it dont.
I believe the reason the mesh follows along is because you have envelopes pressed in the armature panel.
As for the whole armature tilting I also got the same result as you. I made the hip.l and hip.r bones a child of the spine1 bone (with the “con” button off) and continued on in the tutorial and everything else worked just fine. How the author connected the hip bones to the spine is missing from the tutorial.
in the passing pose it says : Adjust leg.r and toe.r so that the foot is flat on the ground
so i adjust the leg.r to be on the ground , but when i try to adjust the toe it gets seoarated from the foot , so i have to move the foot location , and it seems ok , but when i move through the frames ir makes some strange things , how did u guys whent throuh this ?
Ryan,
Thanks for the awesome tutorial. I had decided to teach Blender to the 18 students in my “Multimedia 12” class, and your tutorial is now my unofficial text! Hope you don’t mind. It’s definitely the best I could find.
As we go through it in tedious detail, I hope you don’t mind if I forward corrections or ideas. On that note, on the “Setting_up_the_mesh” page, I found the following quote in the “subdividing” area:
B to switch the mouse cursor to border select mode. Drag a rectangle around the vertices all the way on the left with RMB to border-select them.However, when we attempted to do this, all of our WindowsXP boxes required us to use the LMB (not RMB) for this procedure.
Also, on page “Face_and_eyes”, we have had no success with the following instruction:
Clear the rotation of the object with Alt R. This resets the rotation so the axes of the eyes are pointing straight up, so we’re all on the same page.No matter how many times I try (when I select the front view (NumPad-1) and select an eye in Object mode, click Tab, the eye changes to ‘all lit vertices’) then the Alt R does nothing.
Just in case I’m doing something wrong, I’ve posted a .blend file here.
Thanks for the tutorial, and for any help you may be able to provide.
You are correct, it is LMB, I updated the page. (I didn’t write the tutorial, I just try to help out with small fixes and changes to the WIKI).
ALT-R only works in object mode (for non-Armature objects). There is no instruction in the tutorial to go into EDIT mode at that point. You might have assumed that you need to be in EDIT mode when “operating/editing” an object, but that is not always the case. EDIT mode is for operating on the “substructure” (verts/faces) of an object, while transforms on the entire object (including ALT-R/G/S) are done in OBJECT mode.
The thing that threw me off was that the eyes in the previous image (Mirrored, duplicate eye) were subsurf’d nicely, but the eyes in this image (The eyes on layer 2) were un-rounded. (Is that a word?) I therefore assumed that this meant ‘Edit’ mode. My bad.
Thanks again.


 It’s definitely the best I could find.