I’ve started a new project to keep on experimenting with geometry nodes,
This time I’ll share a bit more about the process, even if I currently don’t have the time to make a full tutorial on all the techniques, I’ll try to add some few tips and tricks here and there !
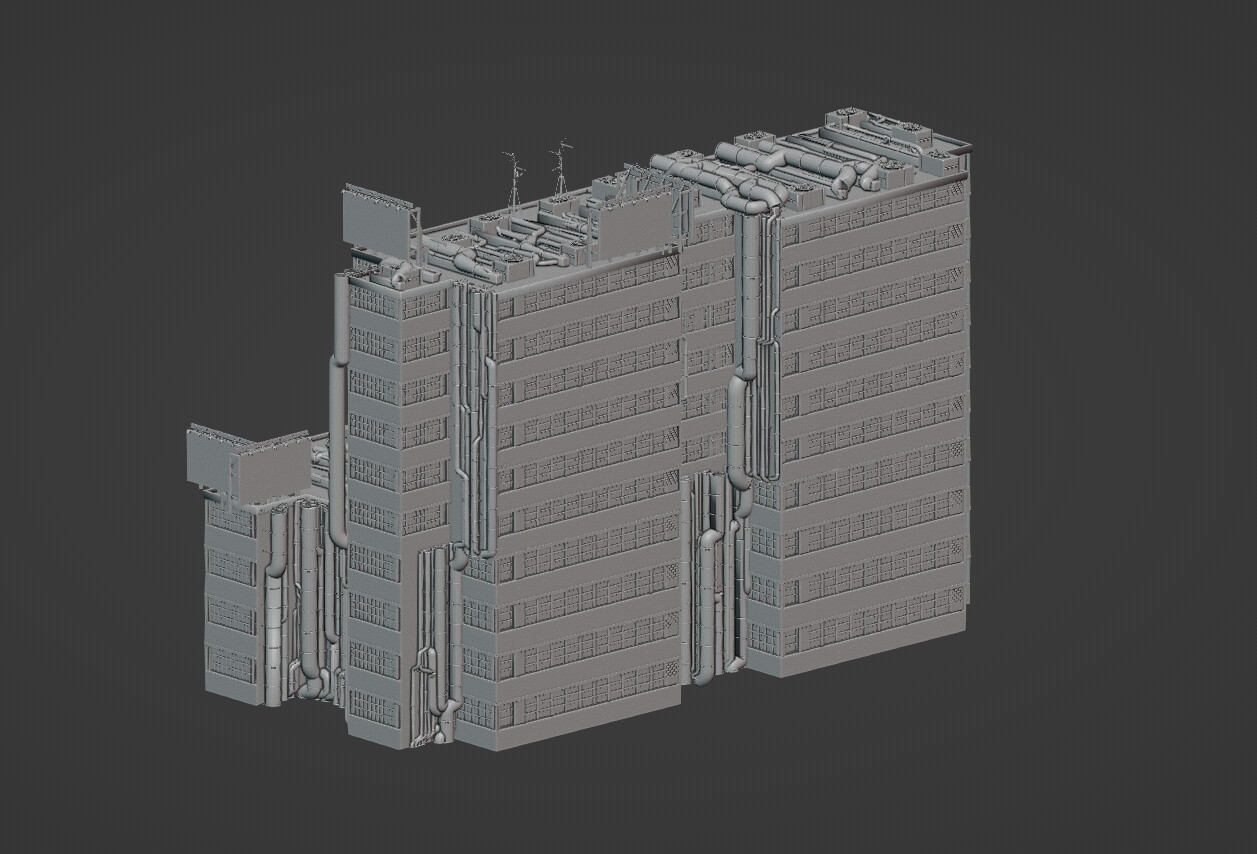
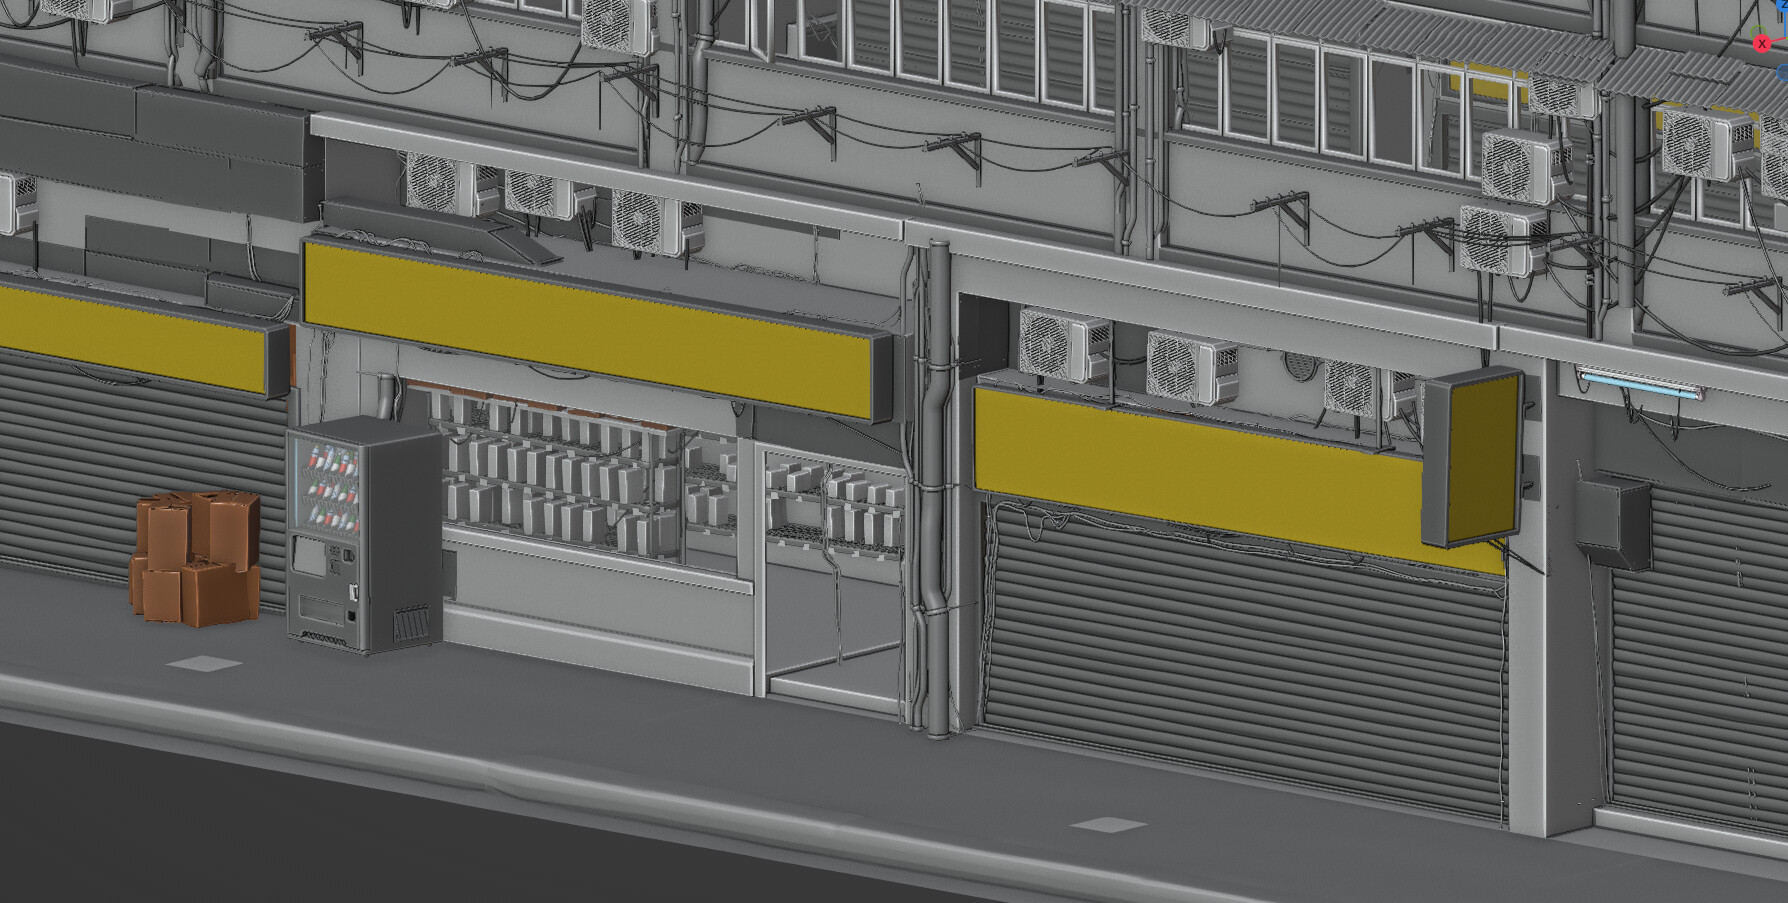
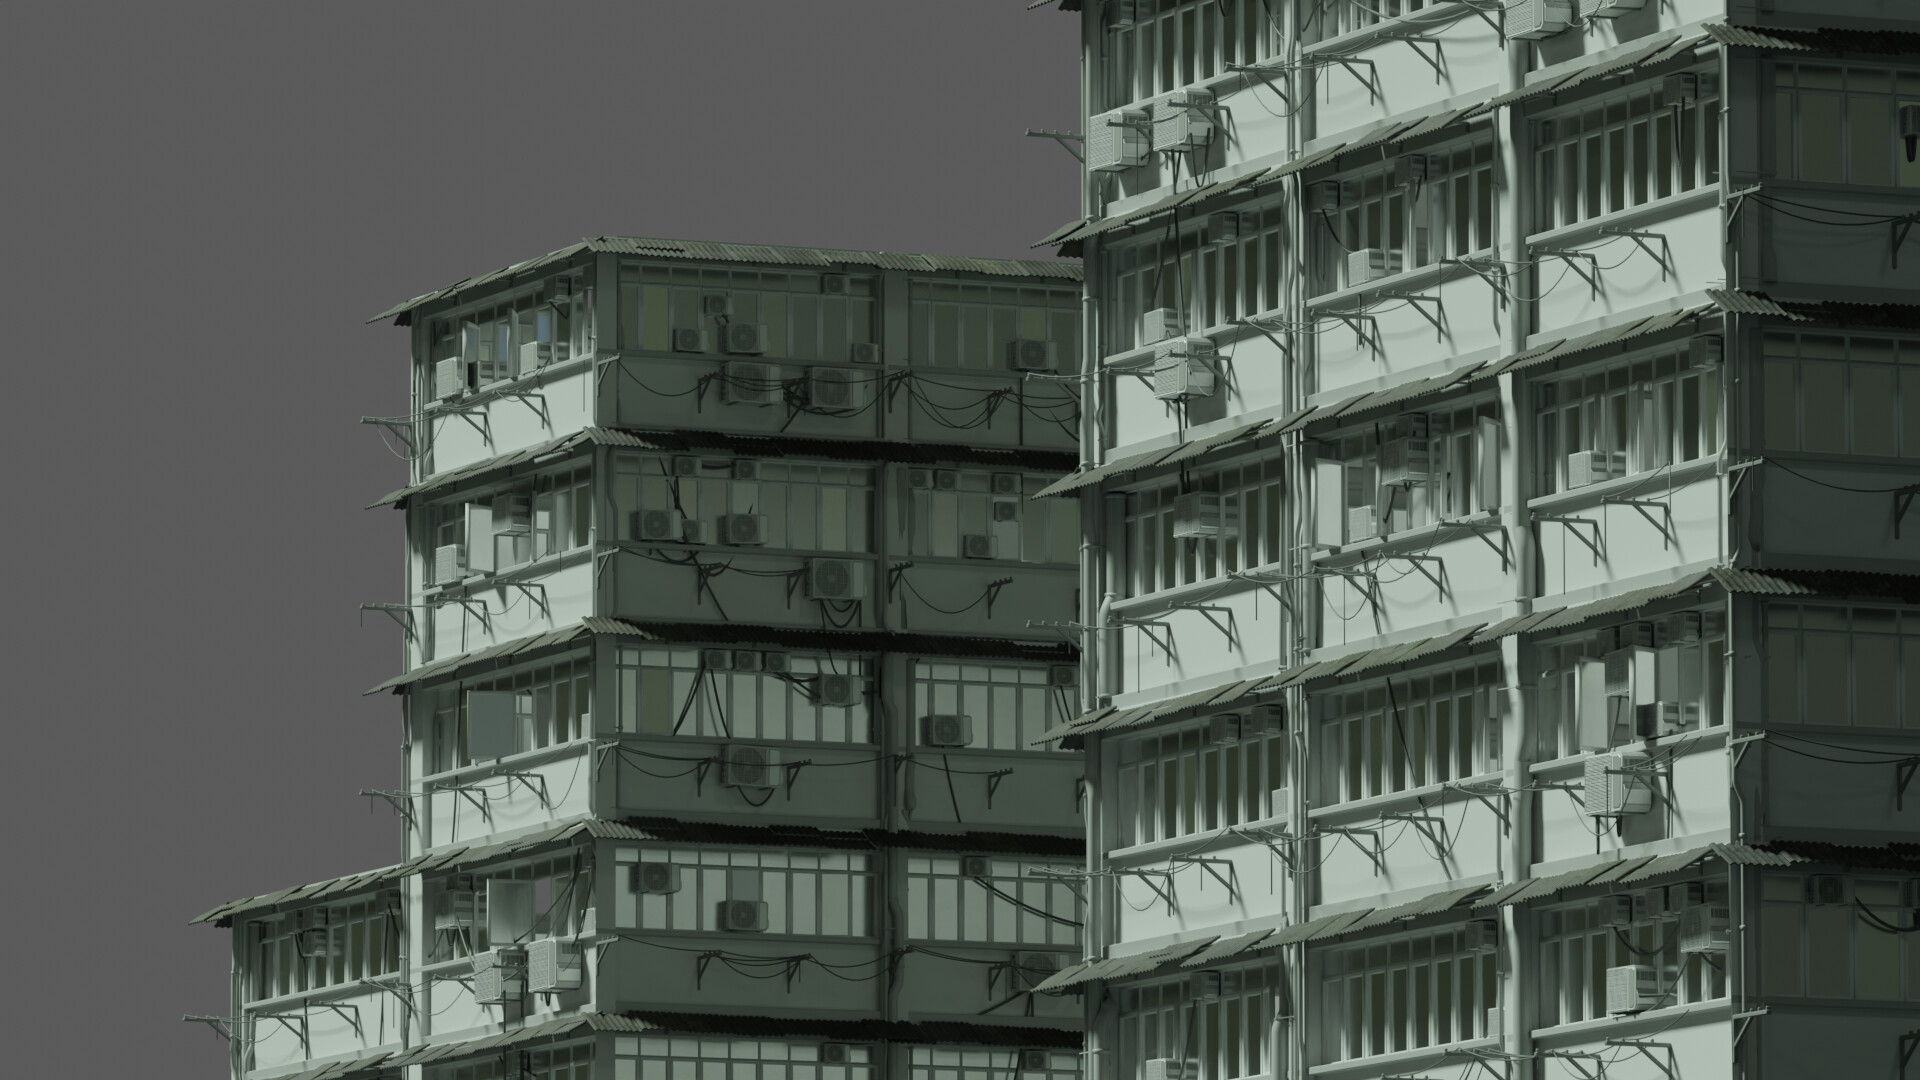
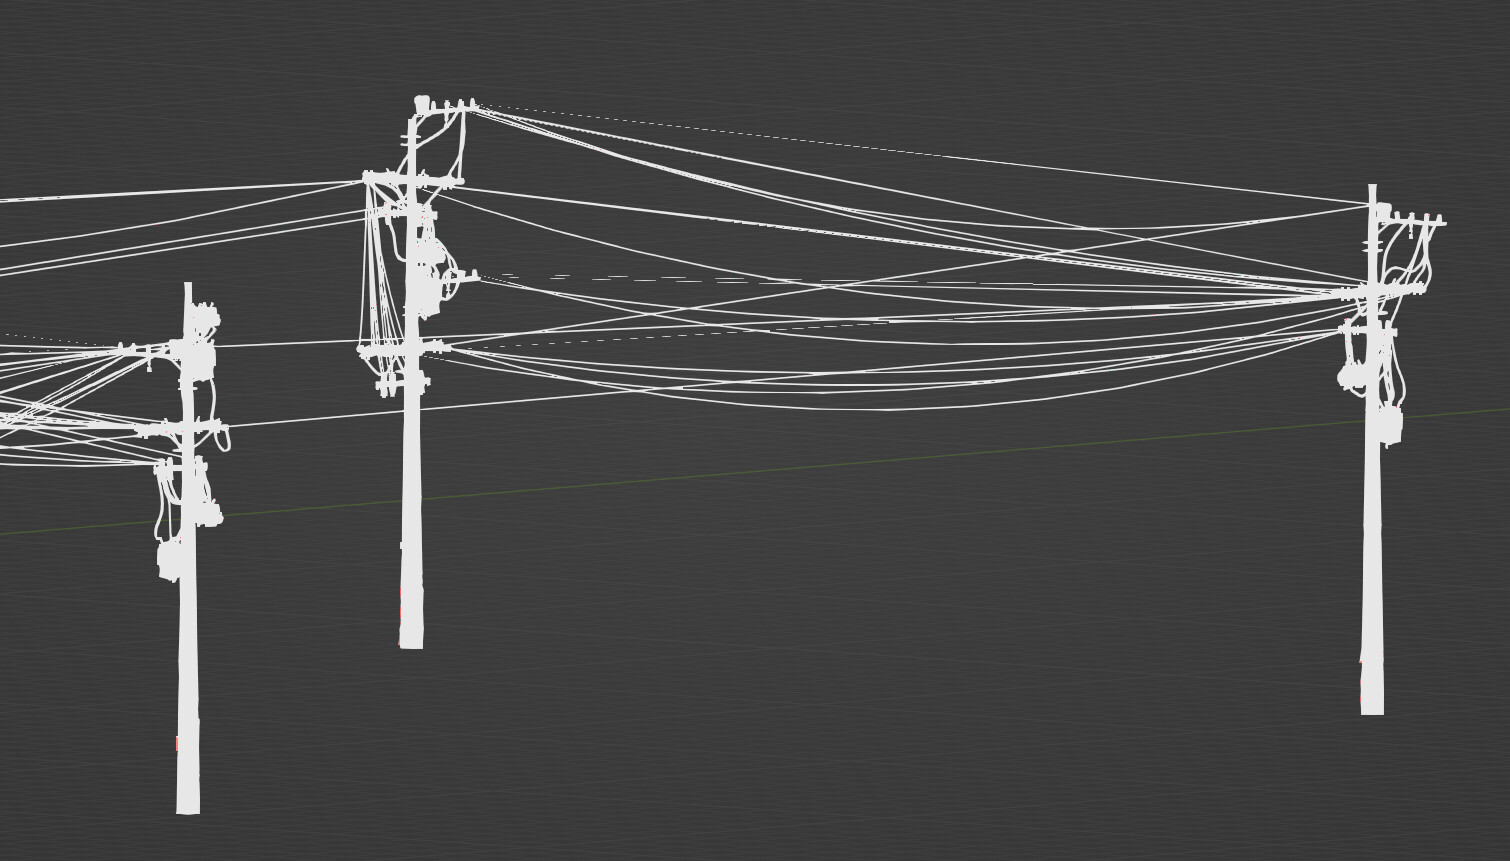
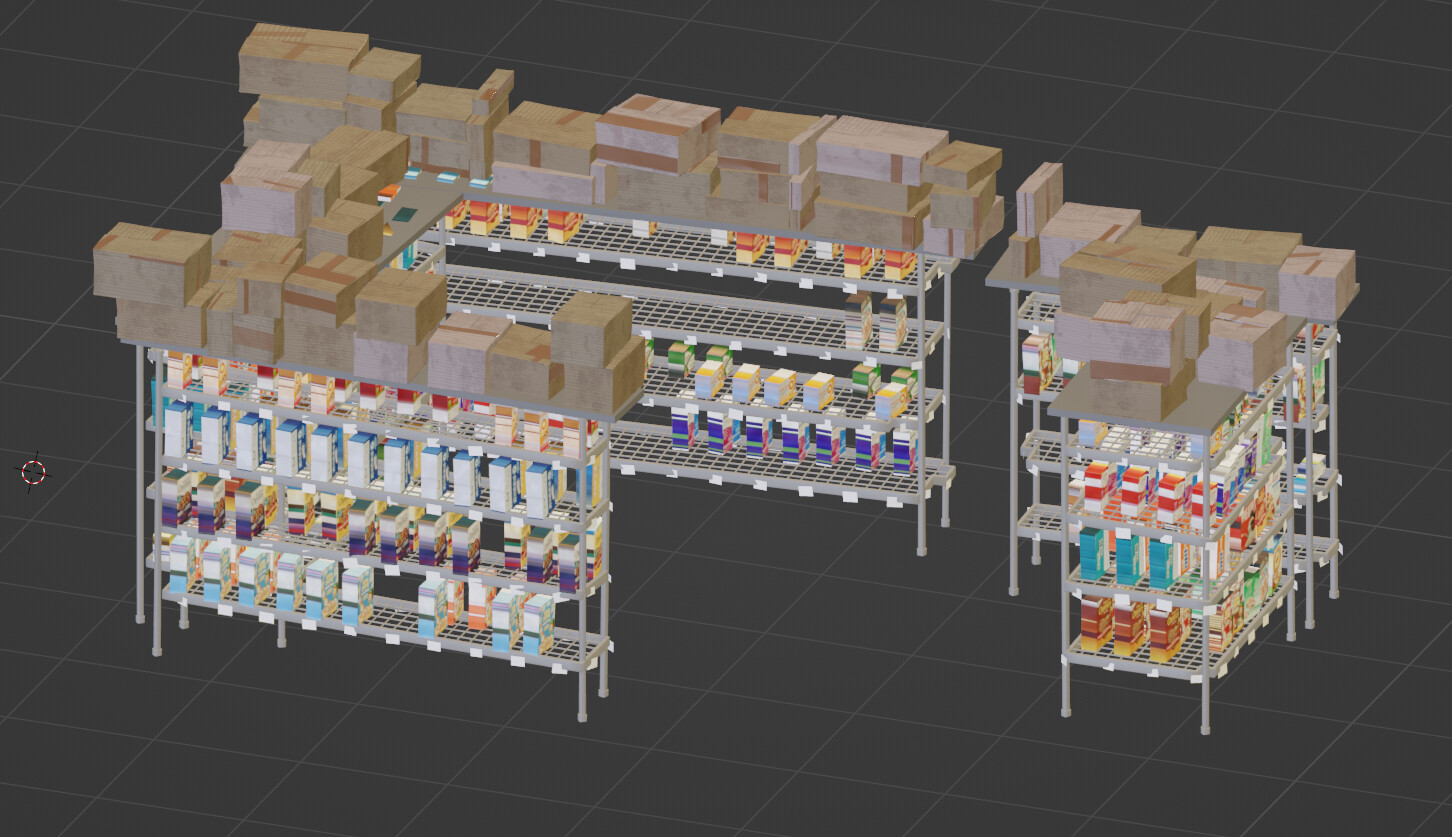
The idea is to make a regular cyberpunk city thing… I’m not exactly sure about how far I’ll go yet, but here is what I’ve got now :
It looks like nothing but I’ve got a hard time to figure all this out…
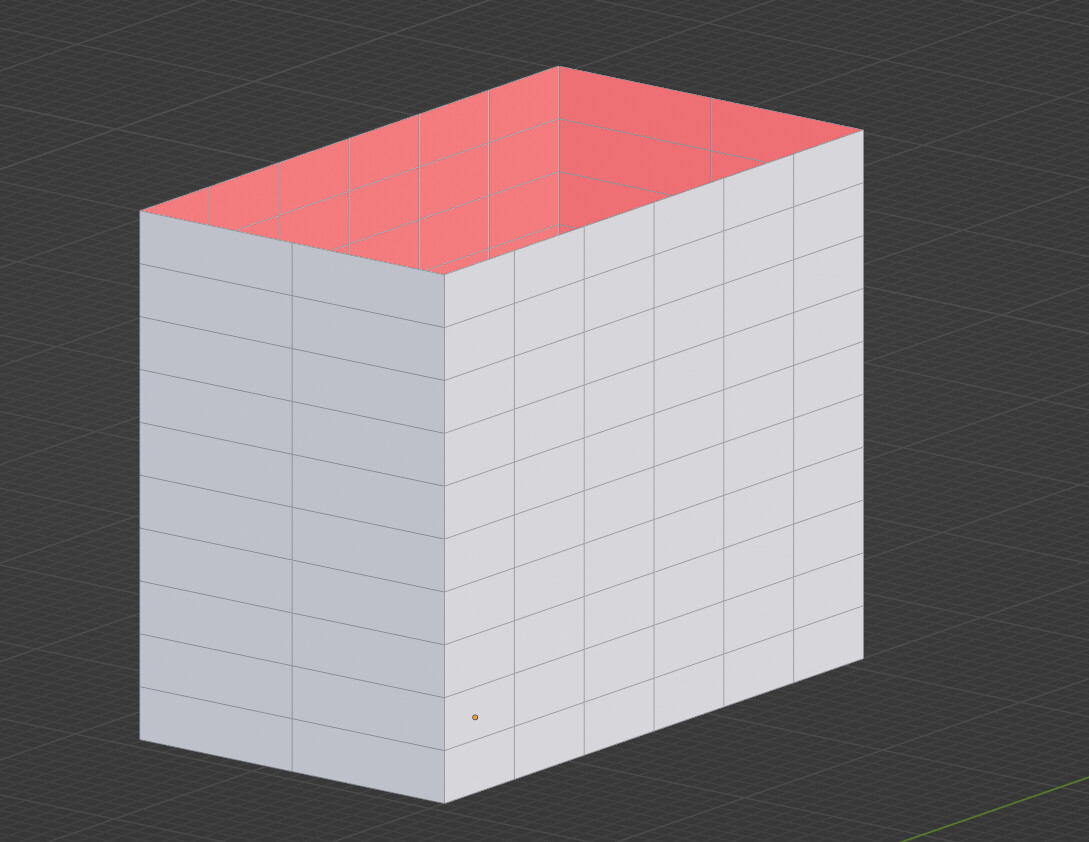
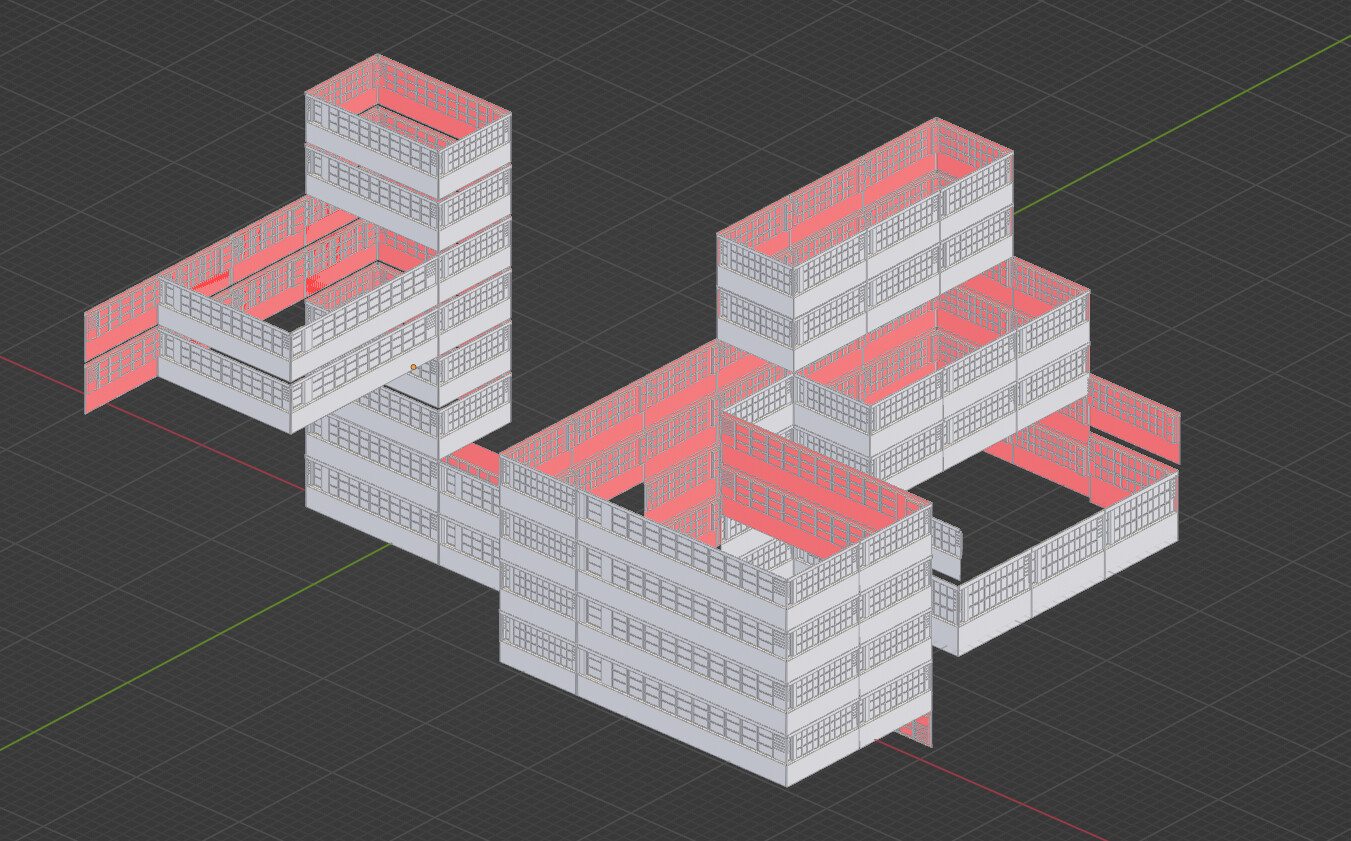
Basically it instances a grid on the face of the mesh, and resize the grid to fit some tiles shapes,
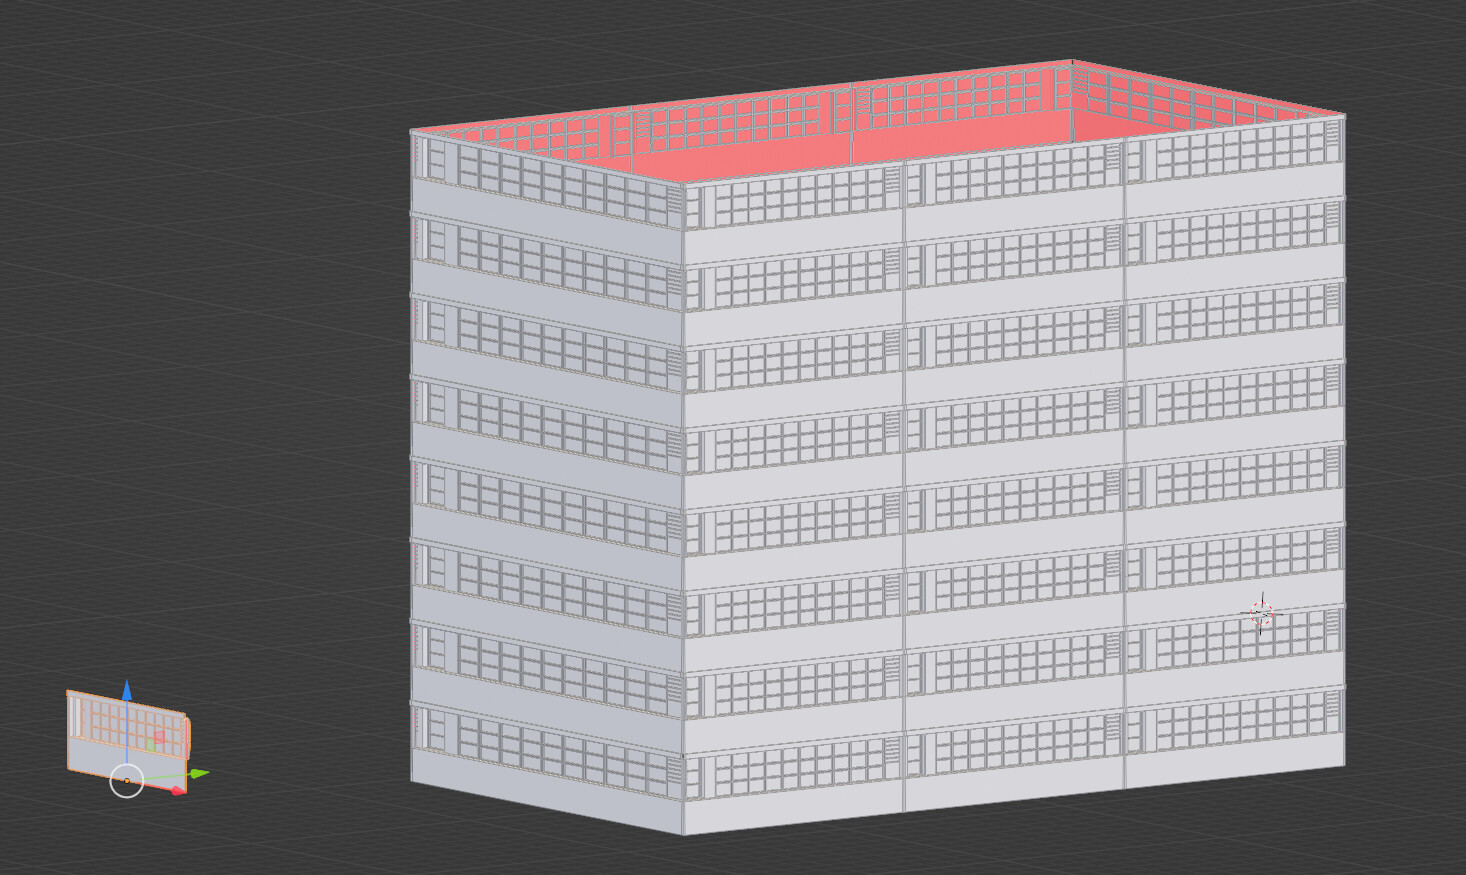
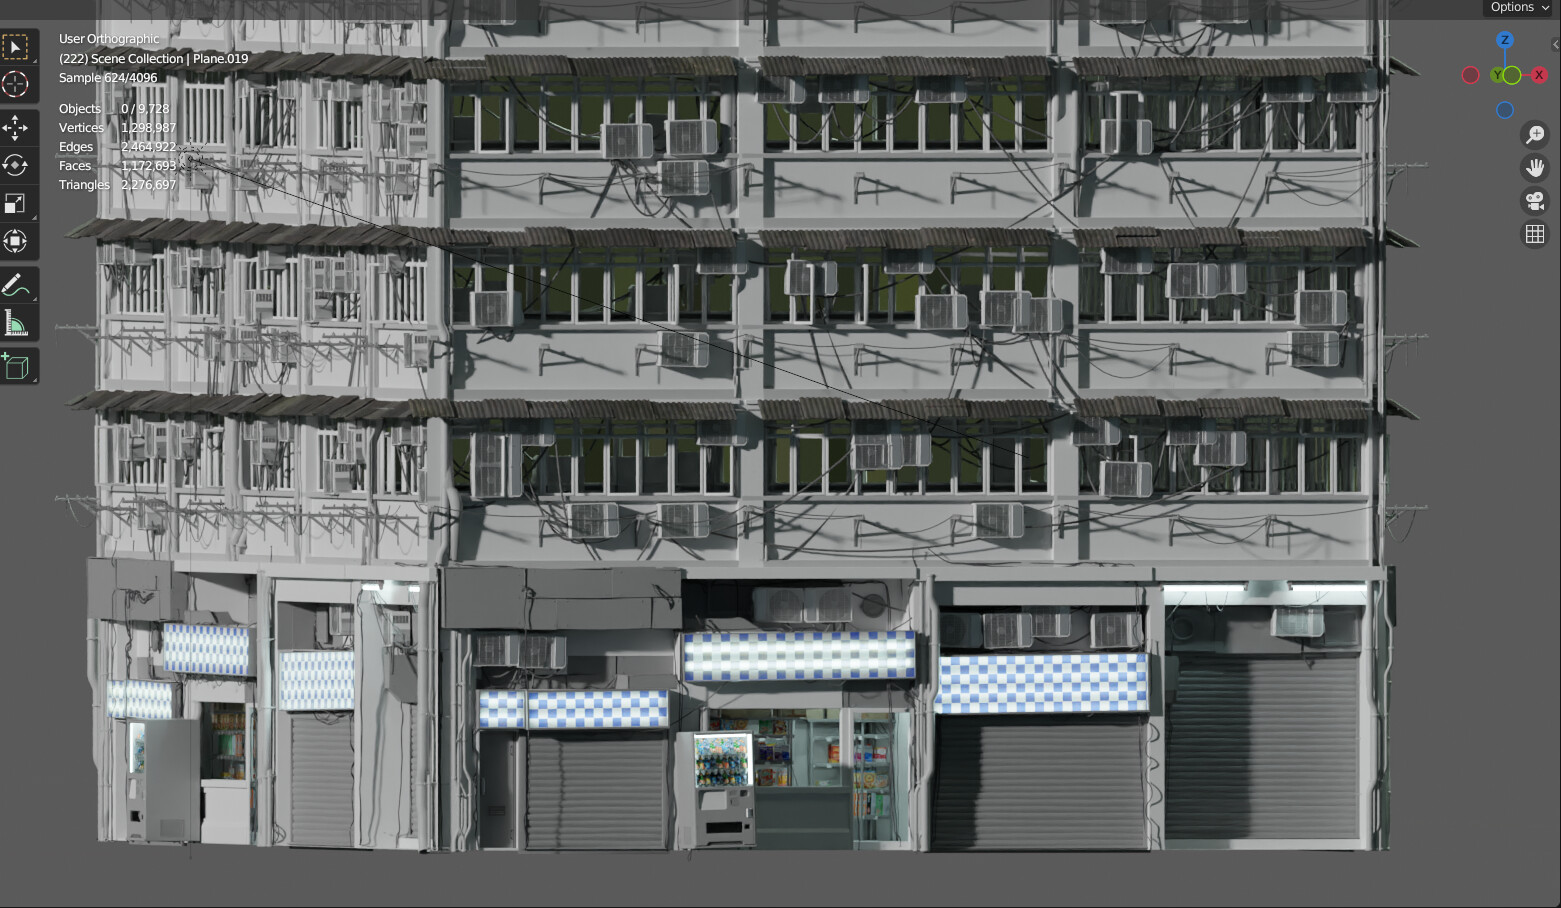
In the end, I can then plug my floors basemesh and it gets duplicated on all the faces :
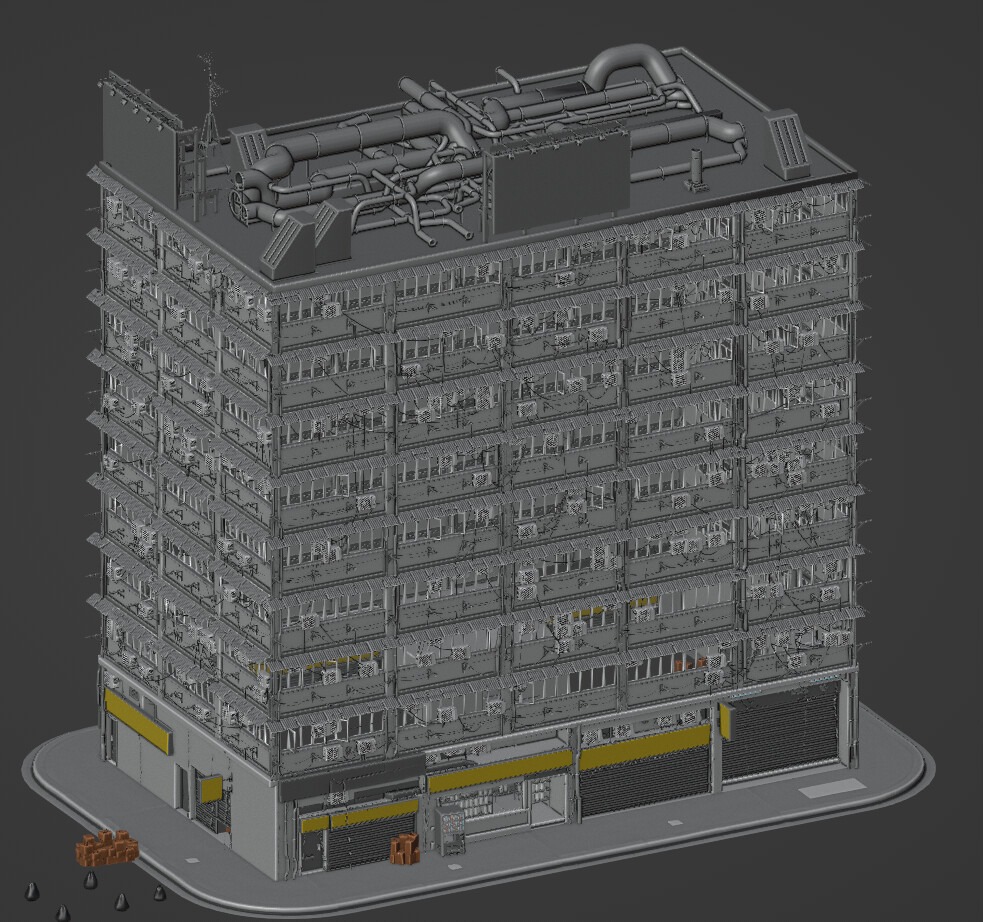
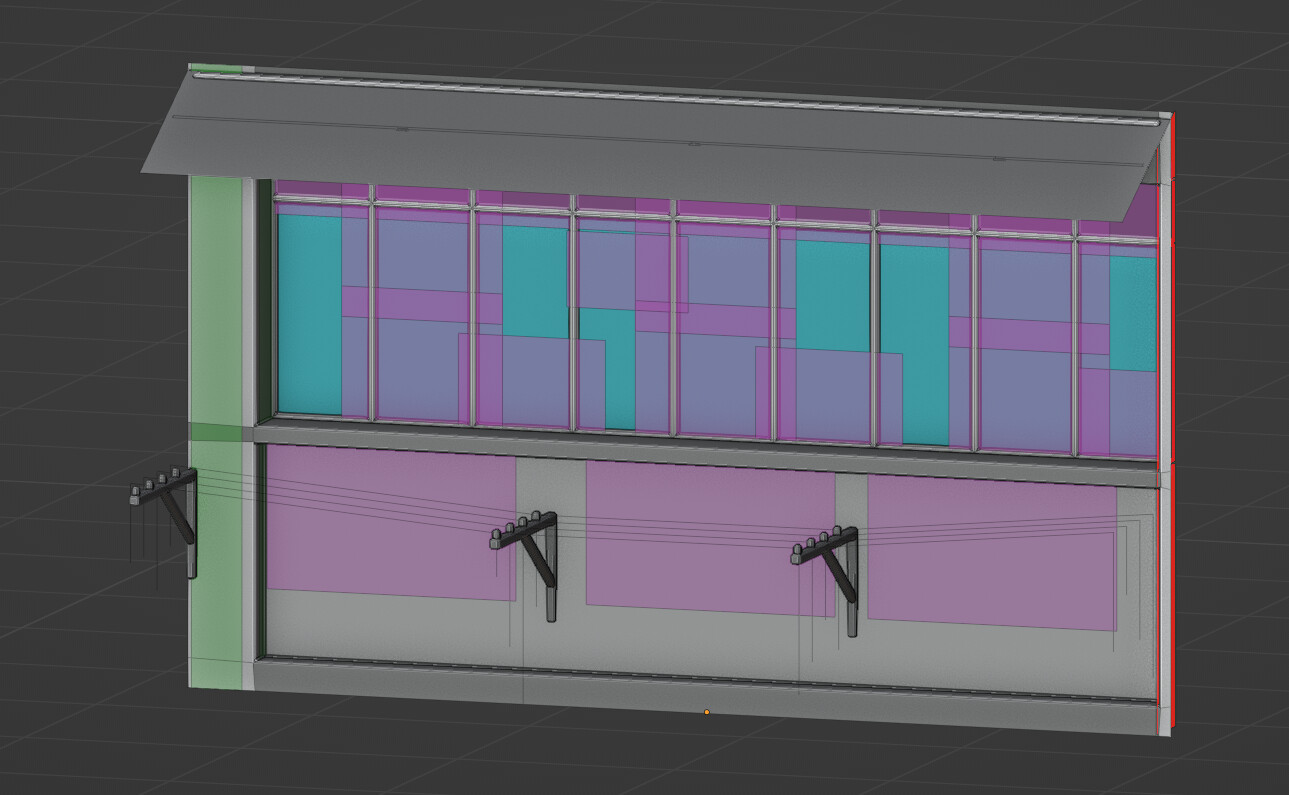
It’s possible with geometry nodes to separate some parts based on materials,
So I separate things and then tweak them,
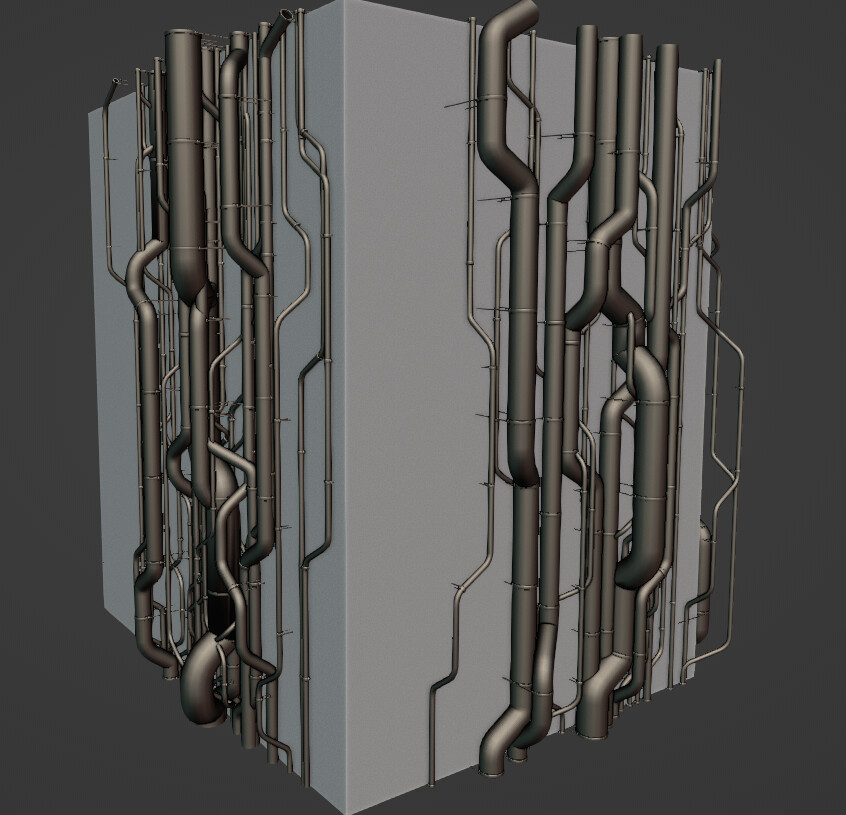
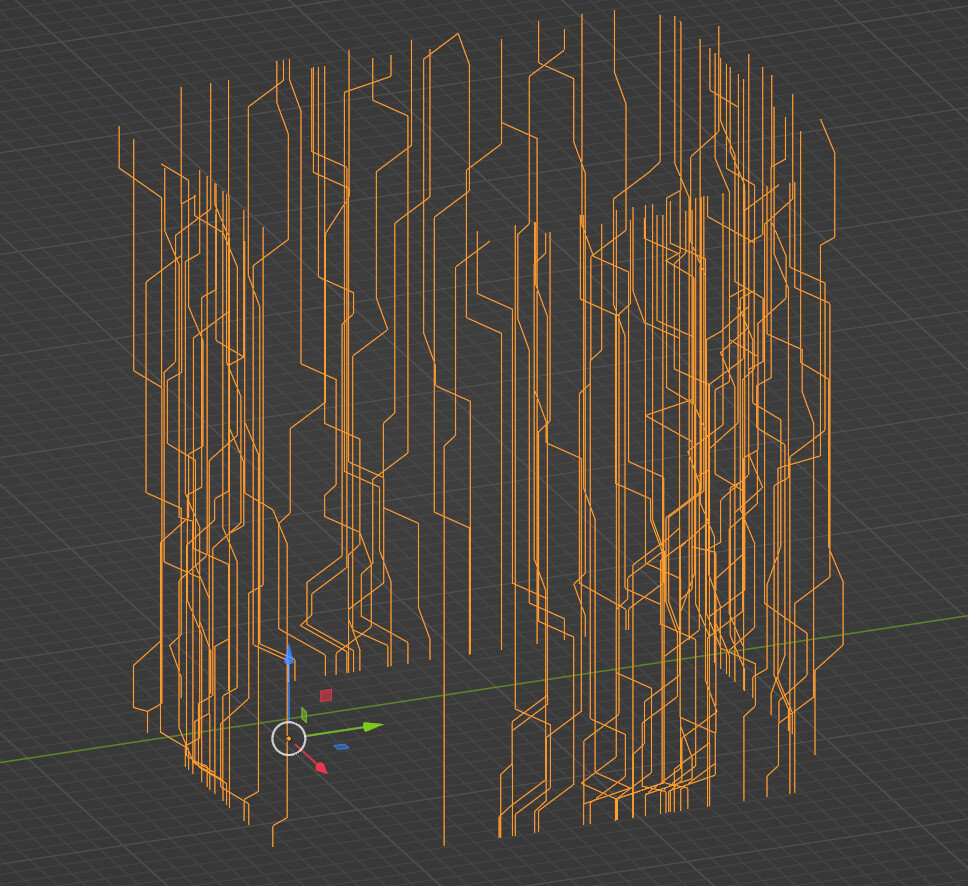
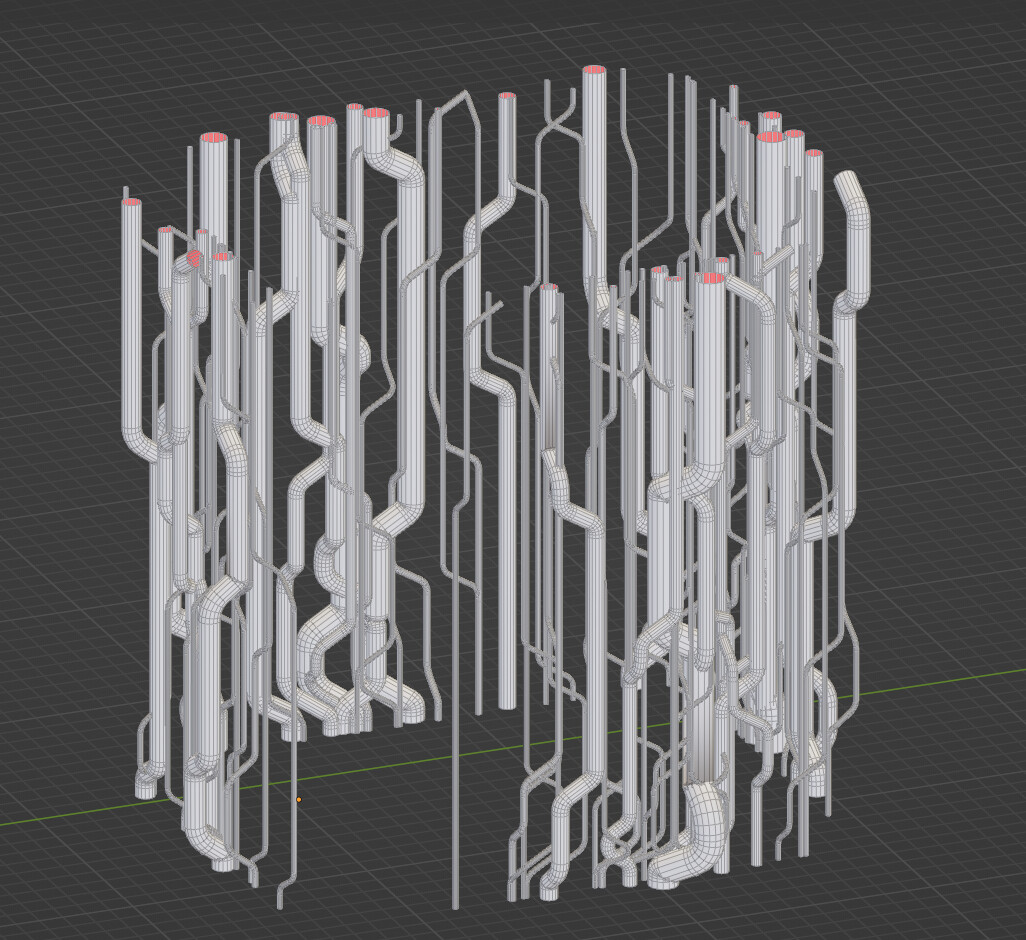
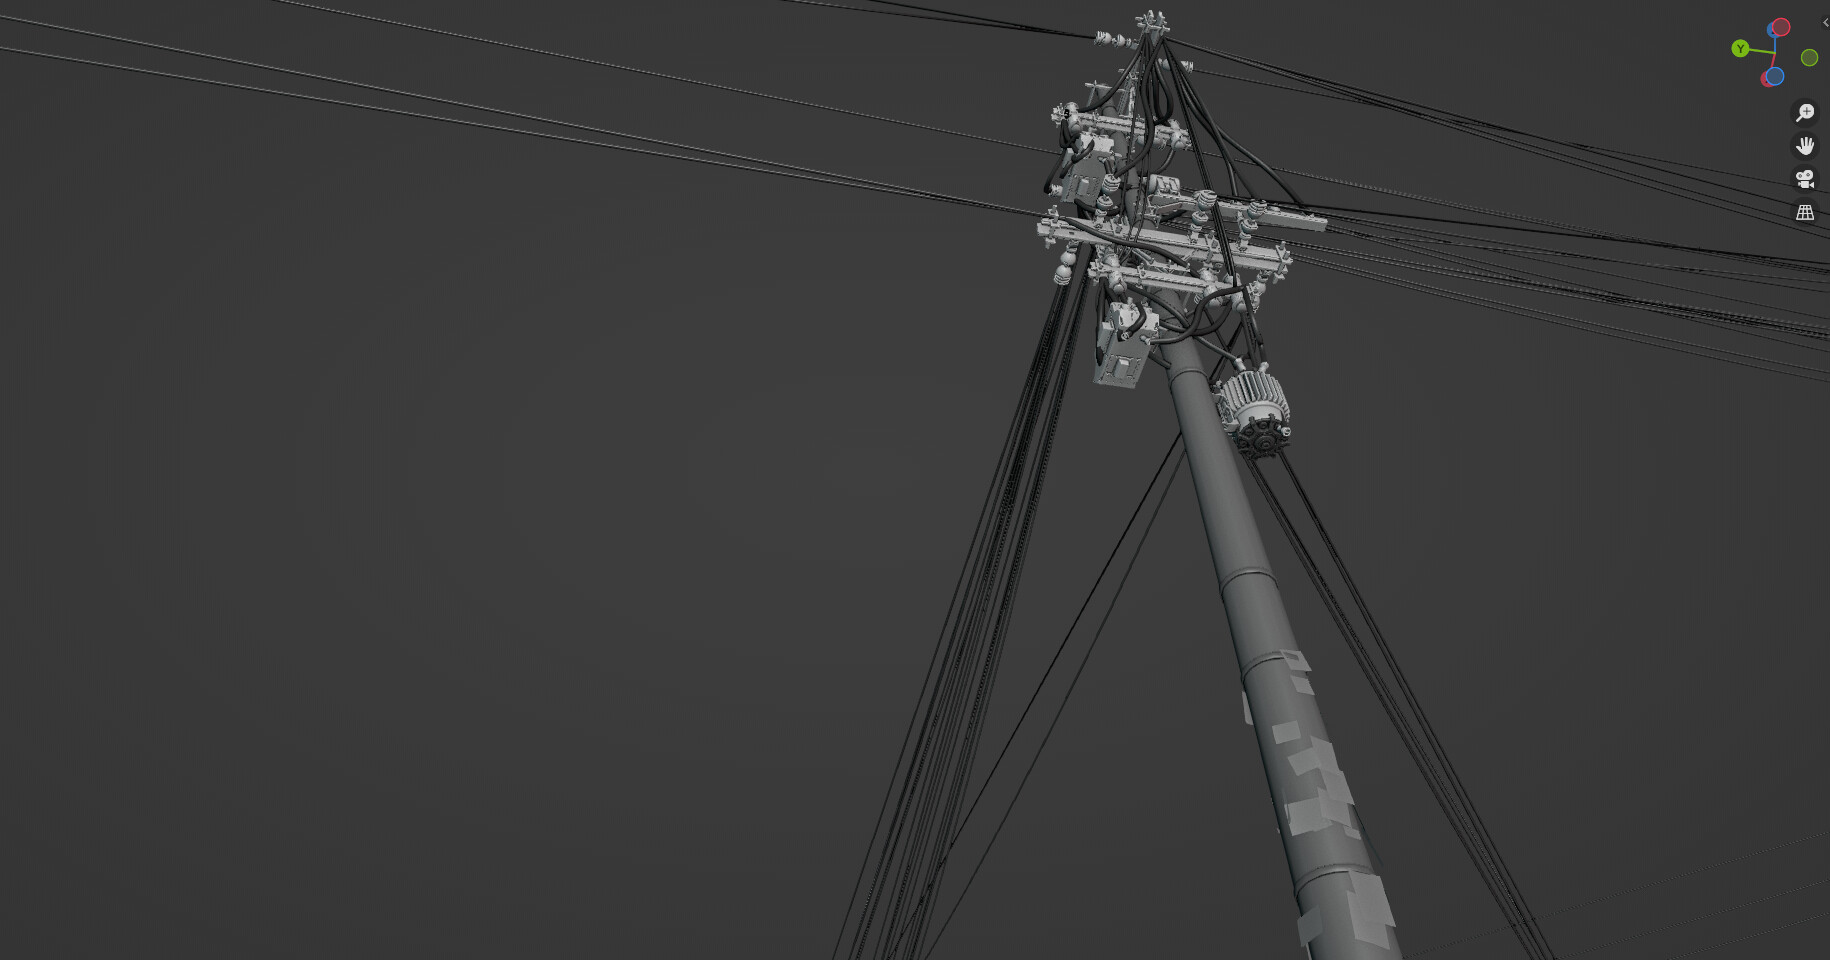
The green plane add some procedural pipes that I made before,
While the pink ones instances some Air conditionners that I modeled ,
With nodes I can delete some of the pink planes so each windows gets populated a bit differently,
But because I choose where to put them in this basic mesh it’s still organised logically.
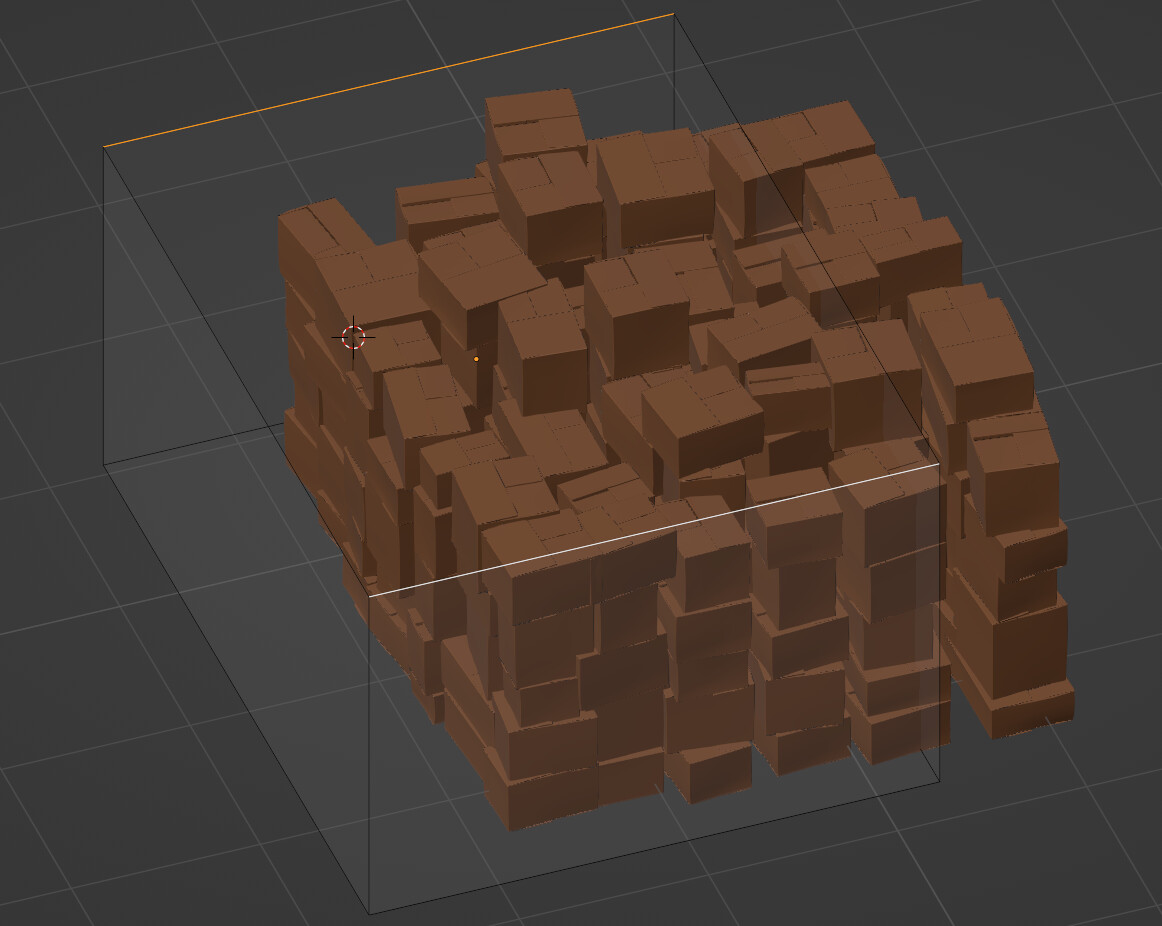
This one takes a cube and fill it with boxes of varying sizes that kind of don’t intersect themselves, but I probably should re-do it with a cleaner basis because it’s still a bit buggy…
Wow, that looks really cool.
My real concern with this is the Blender performance in the Viewport. I’m curious how heavy for Blender viewport would be an entire and detailed big city with geometry nodes.
I think I’ll keep a few buildings very detailed and try to simplify them when they are far…
But yeah filling a whole city with that will probably end up in a big fail …
Also I’ll probably stick to some closer shots well detailed rather than some wide shots or mega-flight trough the city …
As cherry on top you can add some pipes ( with machinery ) on walls. Great ones, with … some functions Seriously I see this many times, such stuff don’t have sense… but look sooooo good and cyberpunkish
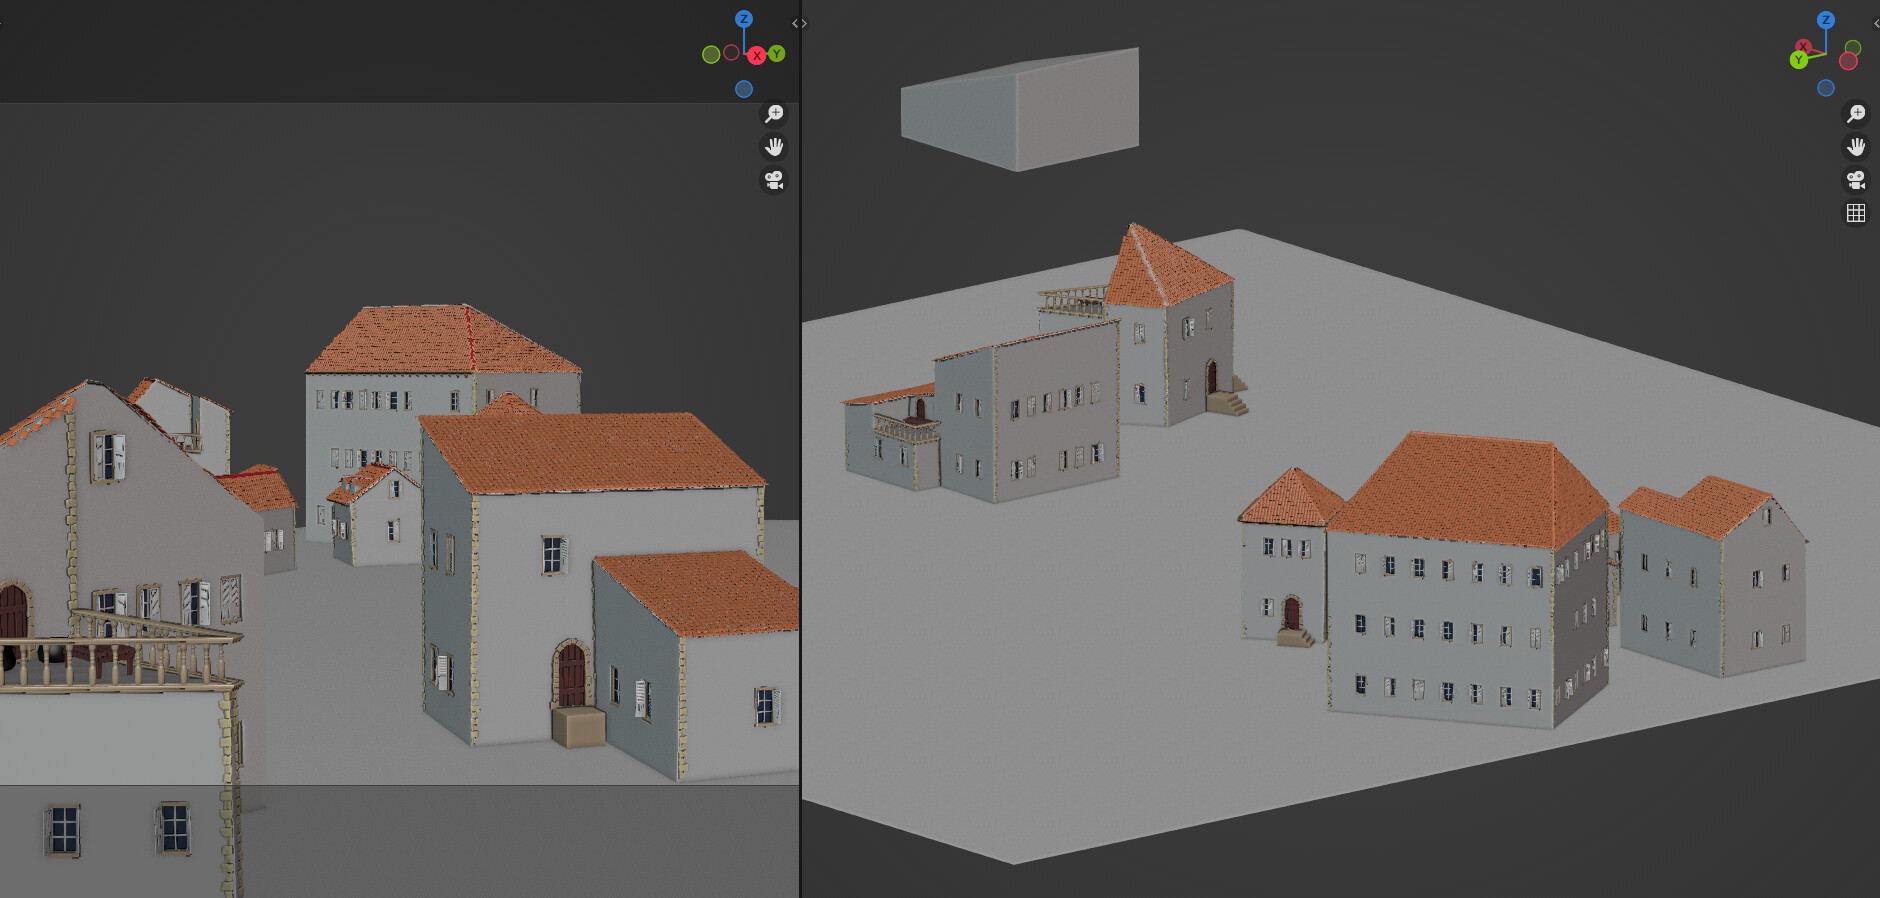
Reeaaally awesome work! This really blew my mind, specially because I’m also trying on my own to do something similar and I’m struggling so so much! And I actually gave up and didn’t go very far
It was a mix of basic hand modeling and I was assigning different materials to dictate the design(where it should be windows, where it should be ledge, etc). So we would have a bit of easy art direction control rather than doing everything with sliders.
I’m really curious to know more about the facade creation technique if you don’t mind. Without the possibility of creating loops easily, how do you get the correct coordinate and size to place your grid, to fit the faces? And even with loop tools, without knowing the vertex ID due to the hand modeling it would still be difficult to be precise actually…
What I was trying to achieve in my version was that when we model our building, it would automatically add or remove windows depending of the length of the face. Same for the roof tiles and other stuff. To maintain a consistent density whatever polygon size we apply the node on. (and you can see on my version it’s not working haha)
Congrats on this and on your abandon house system, it’s very inspiring!
What you’ve done looks pretty cool already, it’s a bit weird around the tiles but that’s still an achievement. If you’ll get back at it a bit latter you’ll have new ideas and hopefully it will work better !
And it’s quite fun to see similar concepts developed in different ways, well done !!
It’s actually the trickiest part, I’ll try to describe it as best as I can, it deserve a tutorial or a .blend accessible, I’m thinking on it, but in the meantime…
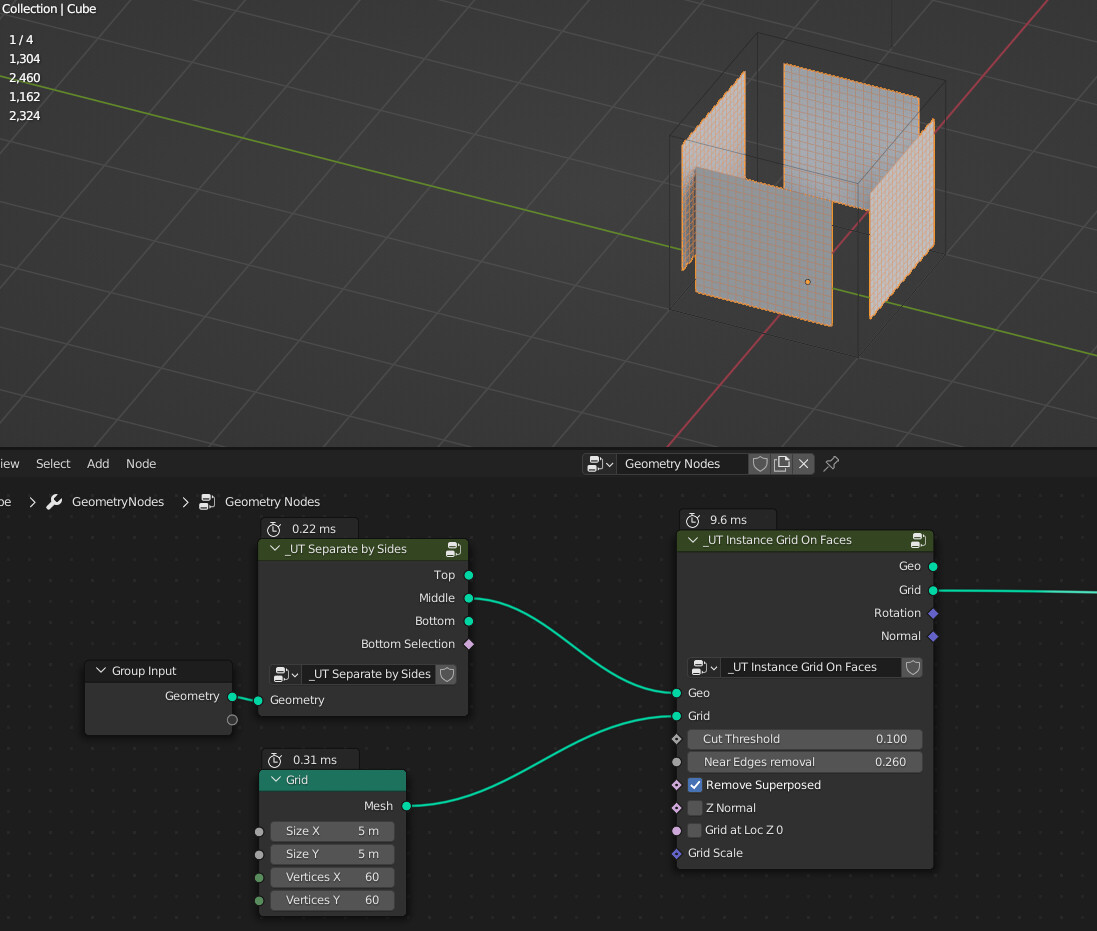
So first, in the house and on my semi-failed attempt, I made that “Instance grid on face” node, and that 's the basis for many things.
It’s not that complicated at first, I delete points on the grid based on proximity from the faces, and near edge removal remove points near edges of the original mesh.
This is working , but there is an issue : When two faces are aligned, because the grid is way bigger than the faces you’ll end up having 2 grids on top of each other.
That’s fixable by storing the ID of the faces and remove points of the instanced grids that doesn’t belong to that ID.
With that it’s possible to make roof tiles and also windows, it’s not perfect as you can see on my first attempt : it was hard to get the right windows distribution, sometime you get an huge wall with one windows in the middle…
For that technique to work better, it’s important to have as less faces as possible on the mesh.
On my house thing, I used a decimate modifier set to planar to simplify the basemesh as much a possible, it worked without but it was better. It’s in fact the only modifier used on the project
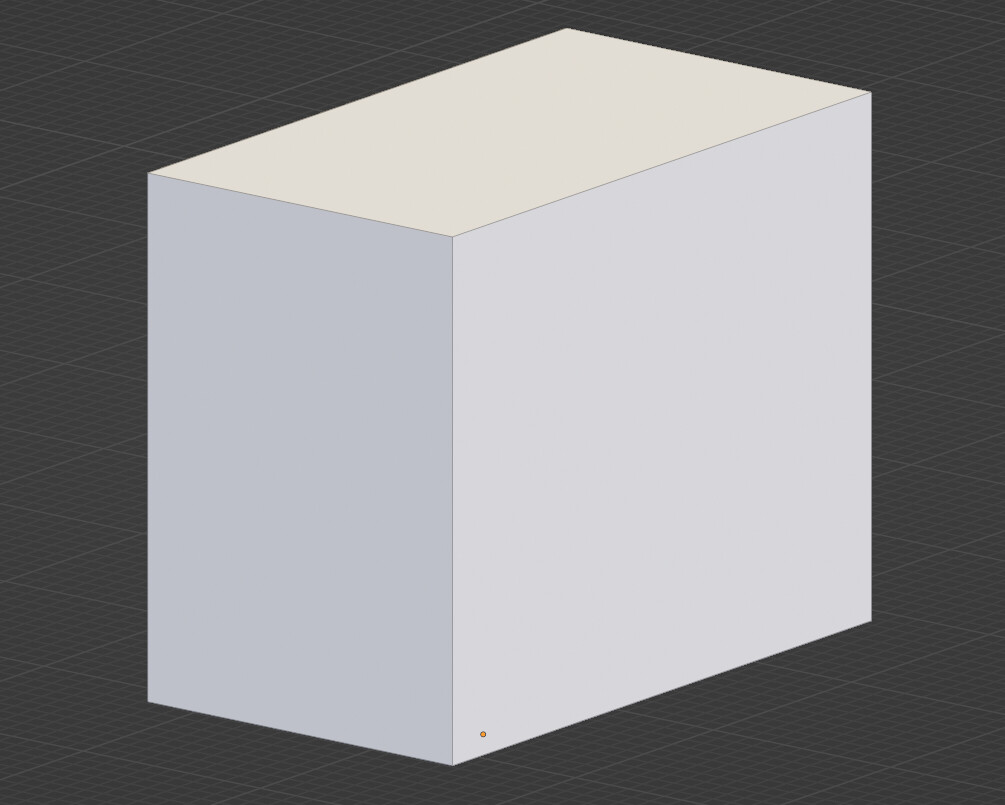
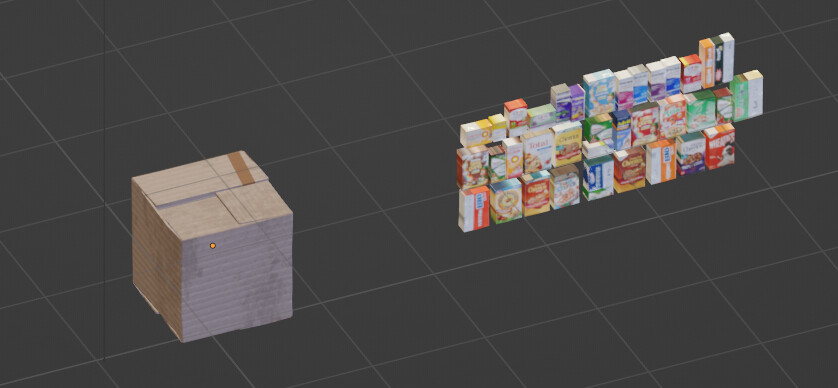
So now, how do we take this grid tool thing and makes the grid match the faces width and height ?
You’ll probably be disappointed because this is quite limited and hackish …
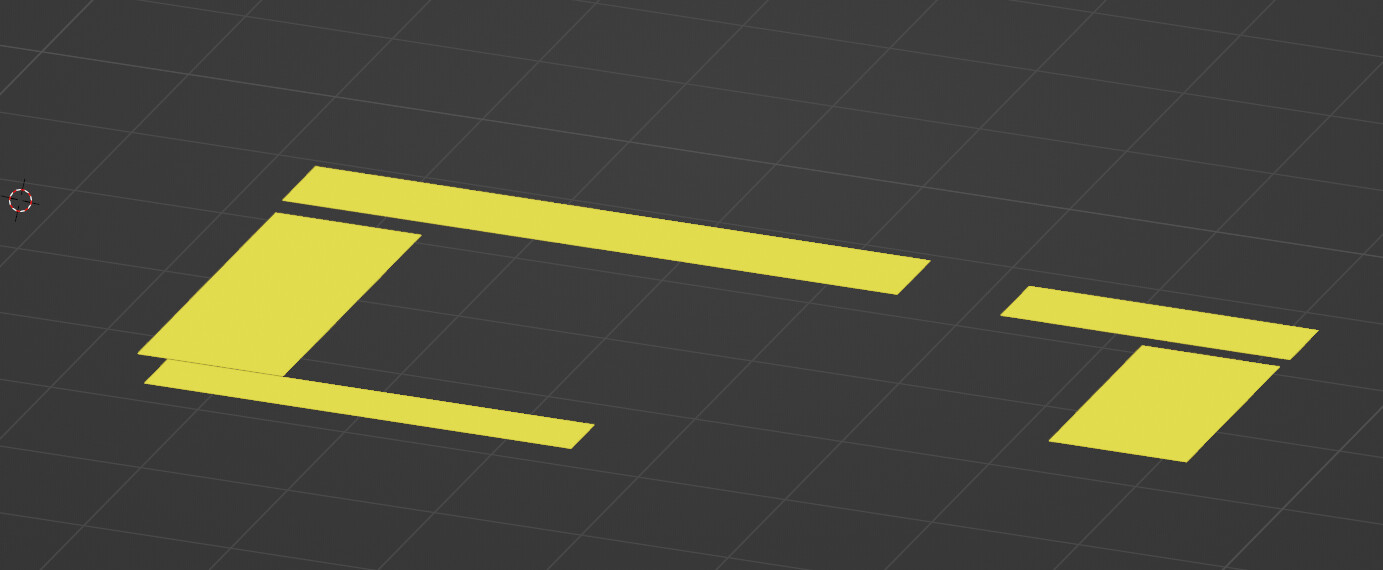
It’s kind of possible to get the face X,Z size if it’s square or rectangular. Because two X aligned edges got the same size you don’t have to bother about the order of points or ID.
That’s what I’m doing for the building, I separate some edges based on their Z orientation to get the height of the face, and the others give the width.
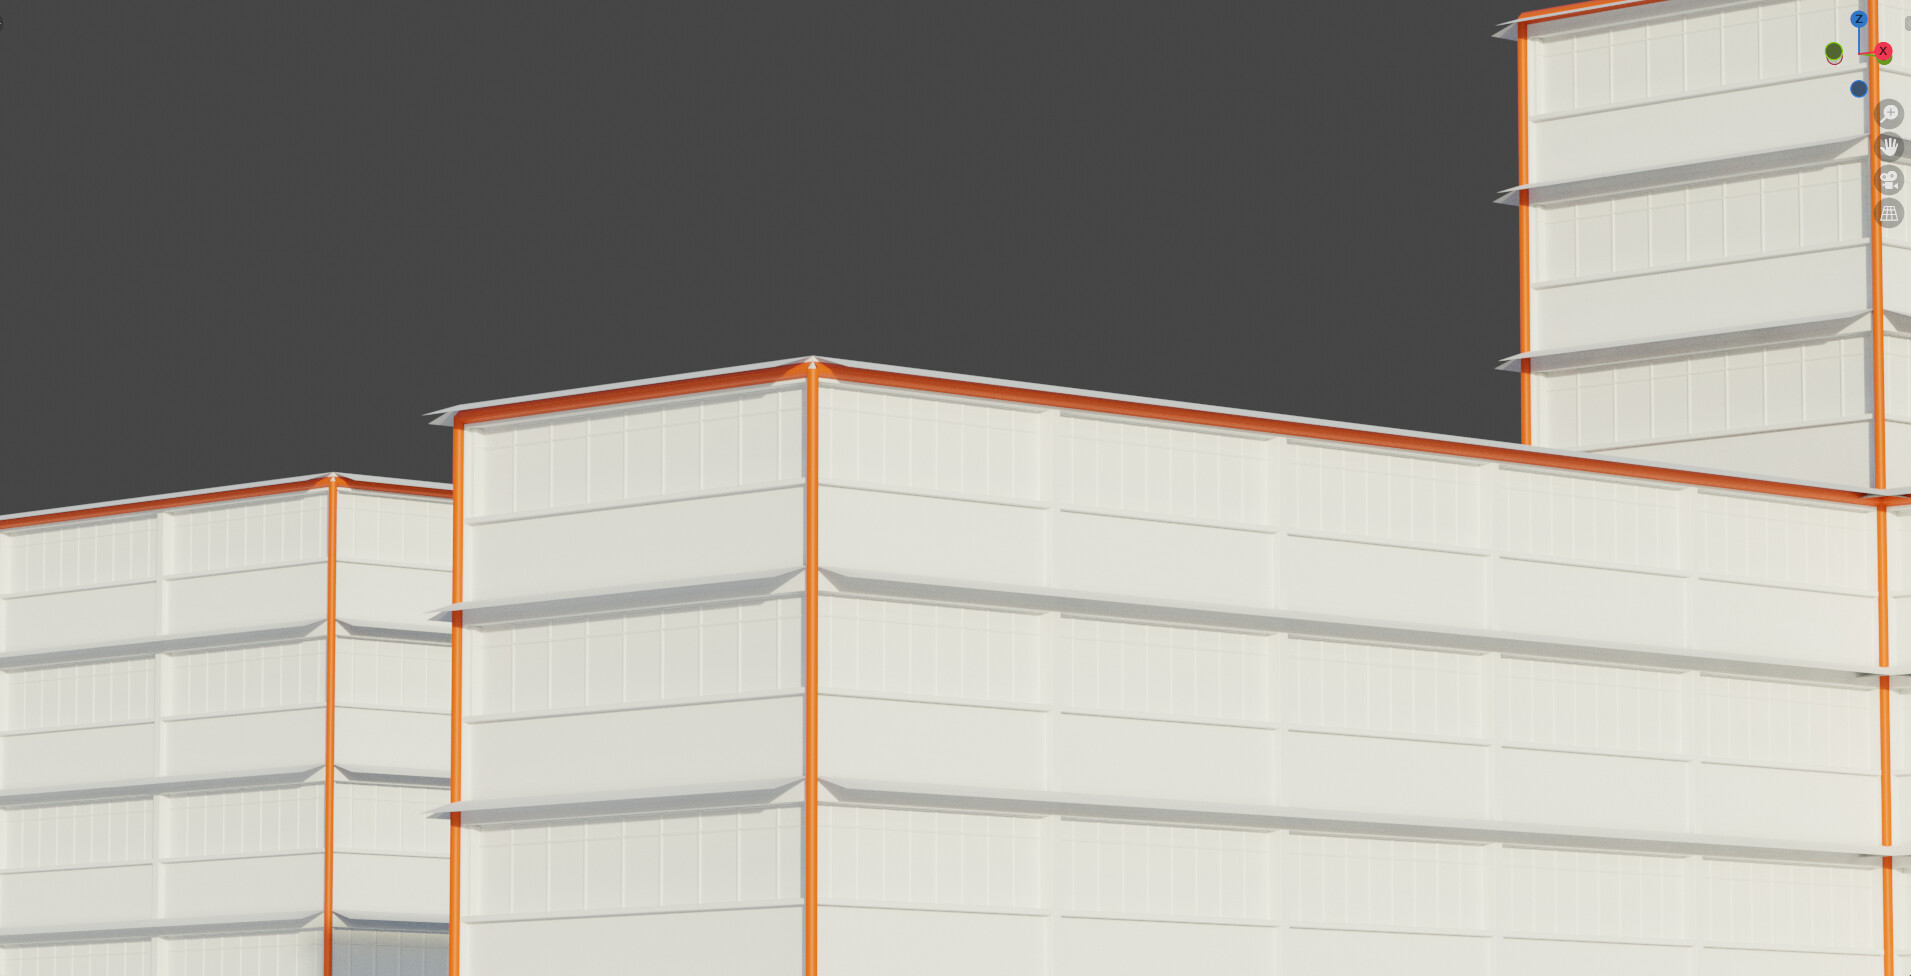
Then I use the bounding box of my panel to get it’s size, and I compare it with face’s size.
And finally I try to fit as much panels in the face and scale them a bit to fit the face.
The bigger the building is, the less obvious it is that the panels doesn’t have exactly the same size.
It works on that simple cube, but I already have some issue on other meshes, so I’m not sure how it will ends up…
That’s basically it, it probably sound like a big pile of hack that’s waiting for the right moment to fail… there is some truth to that …
I’ll start working on a base mesh generator for the buildings and I’ll see how it goes…
Don’t hesitate to come back to me if you have question or you want me to explain some things better. I’m quite curious of what you’ll end up with it you get back to it !
Thank you so much for the method breakdown It make sense and it’s pretty clever
I hope we got a more straight forward way to do this one day
I don’t think I’ll get back to this soon anyway.
My dream would be to get something similar to this, in geonode: https://blendermarket.com/products/building-nodes
This addon is awesome , I didn’t know it !
Indeed that could takes some time before it’s possible to do the same things with geo nodes, and it will probably need a bunch of dedicated node groups.
The tessellate node would probably help : https://developer.blender.org/D13515
There have been a few happy accident that I’ll keep like that…
For now I think I’ll start to jump between adding some material , make some building tiles and assets variations, and slowly moving forward putting some buildings together …
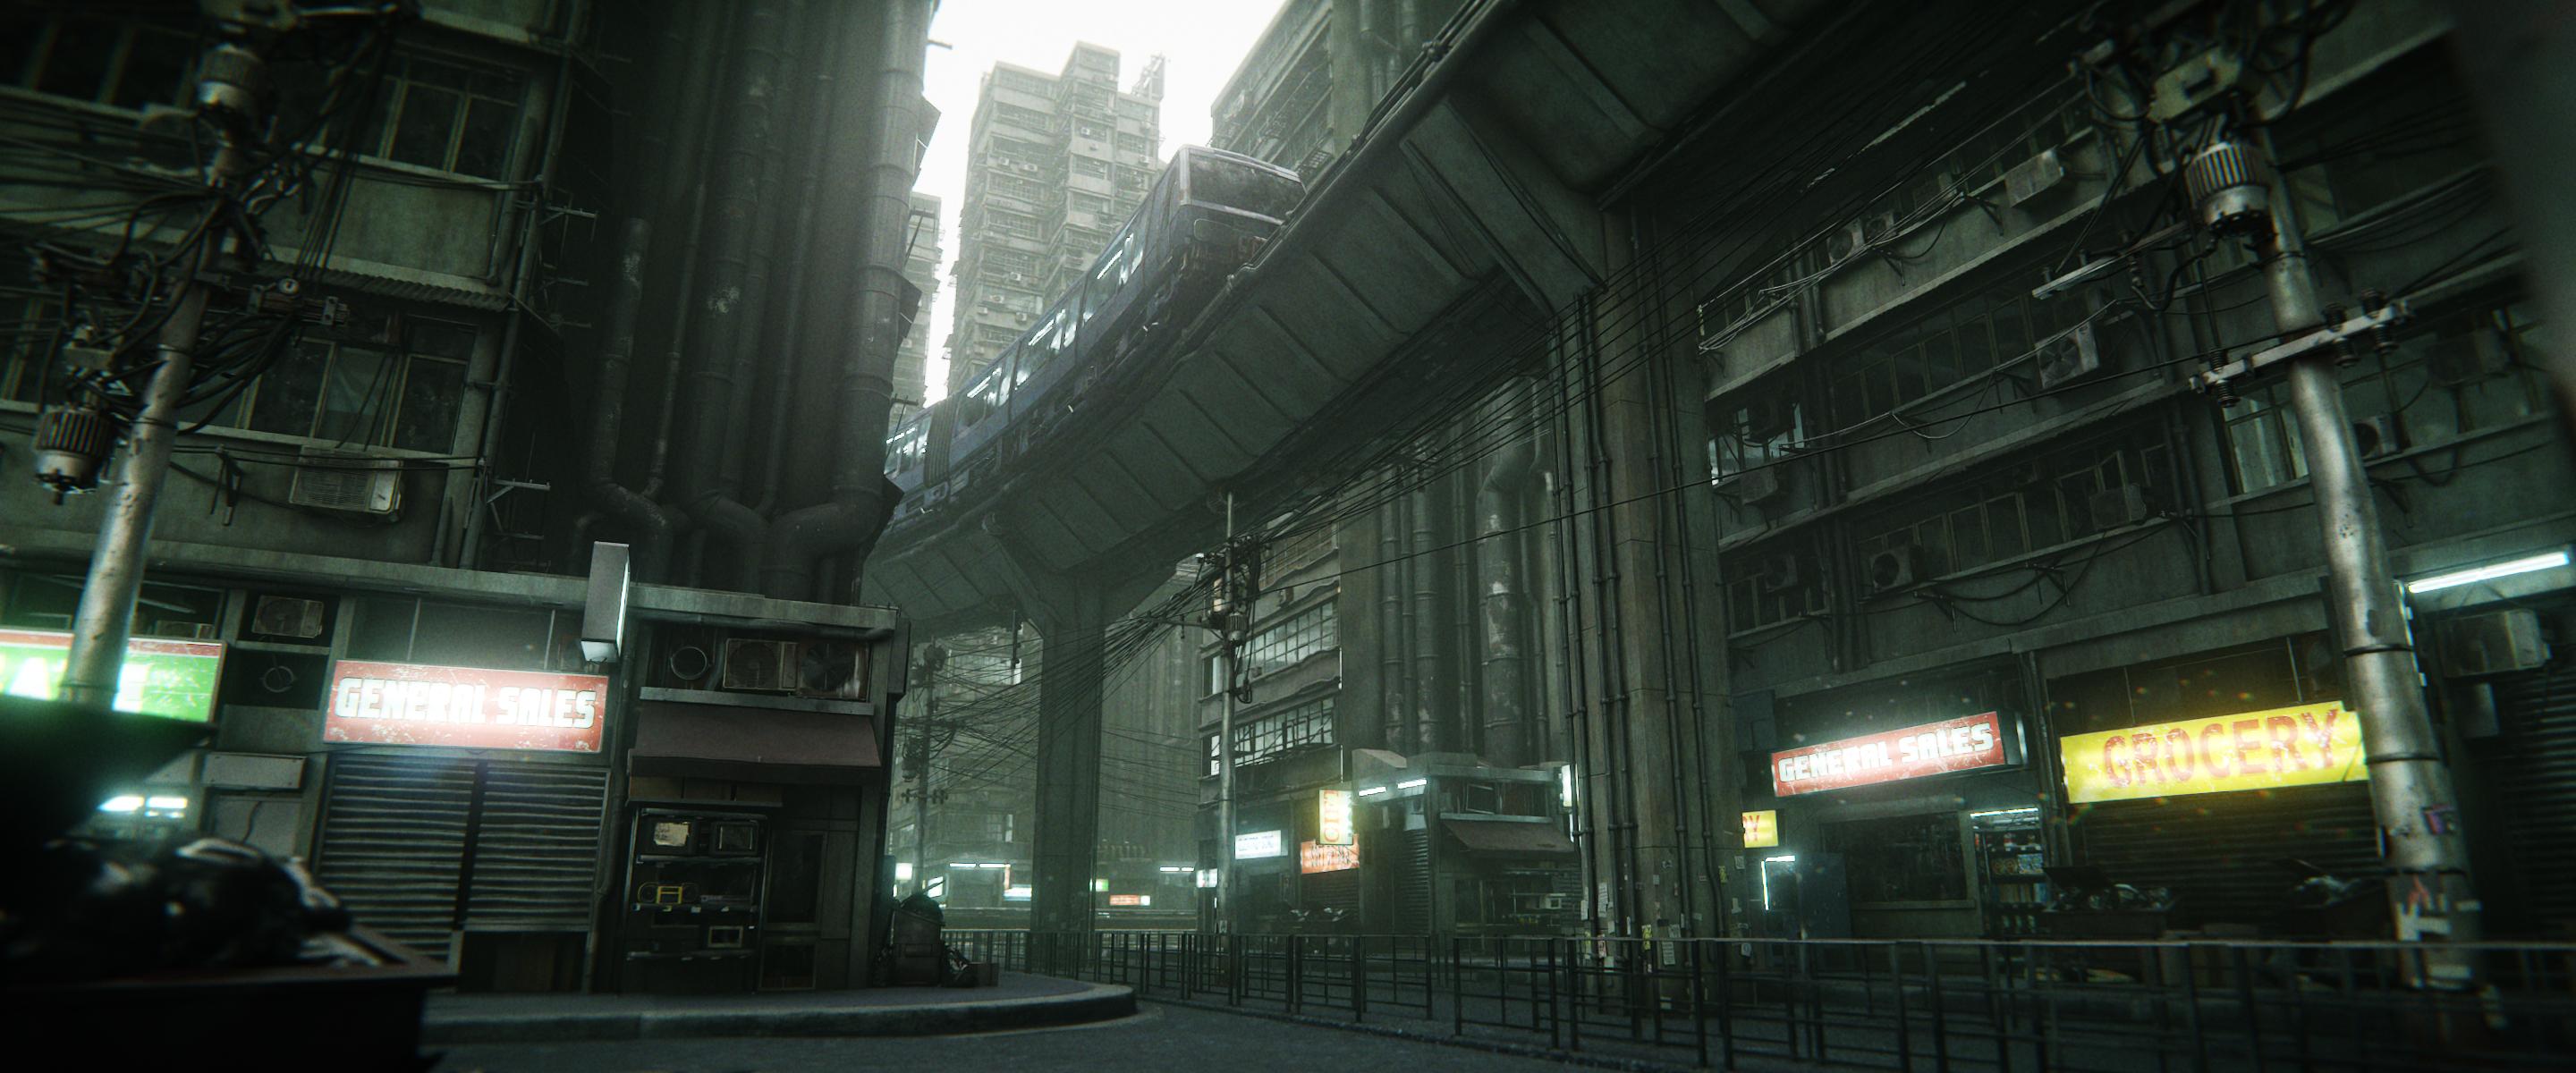


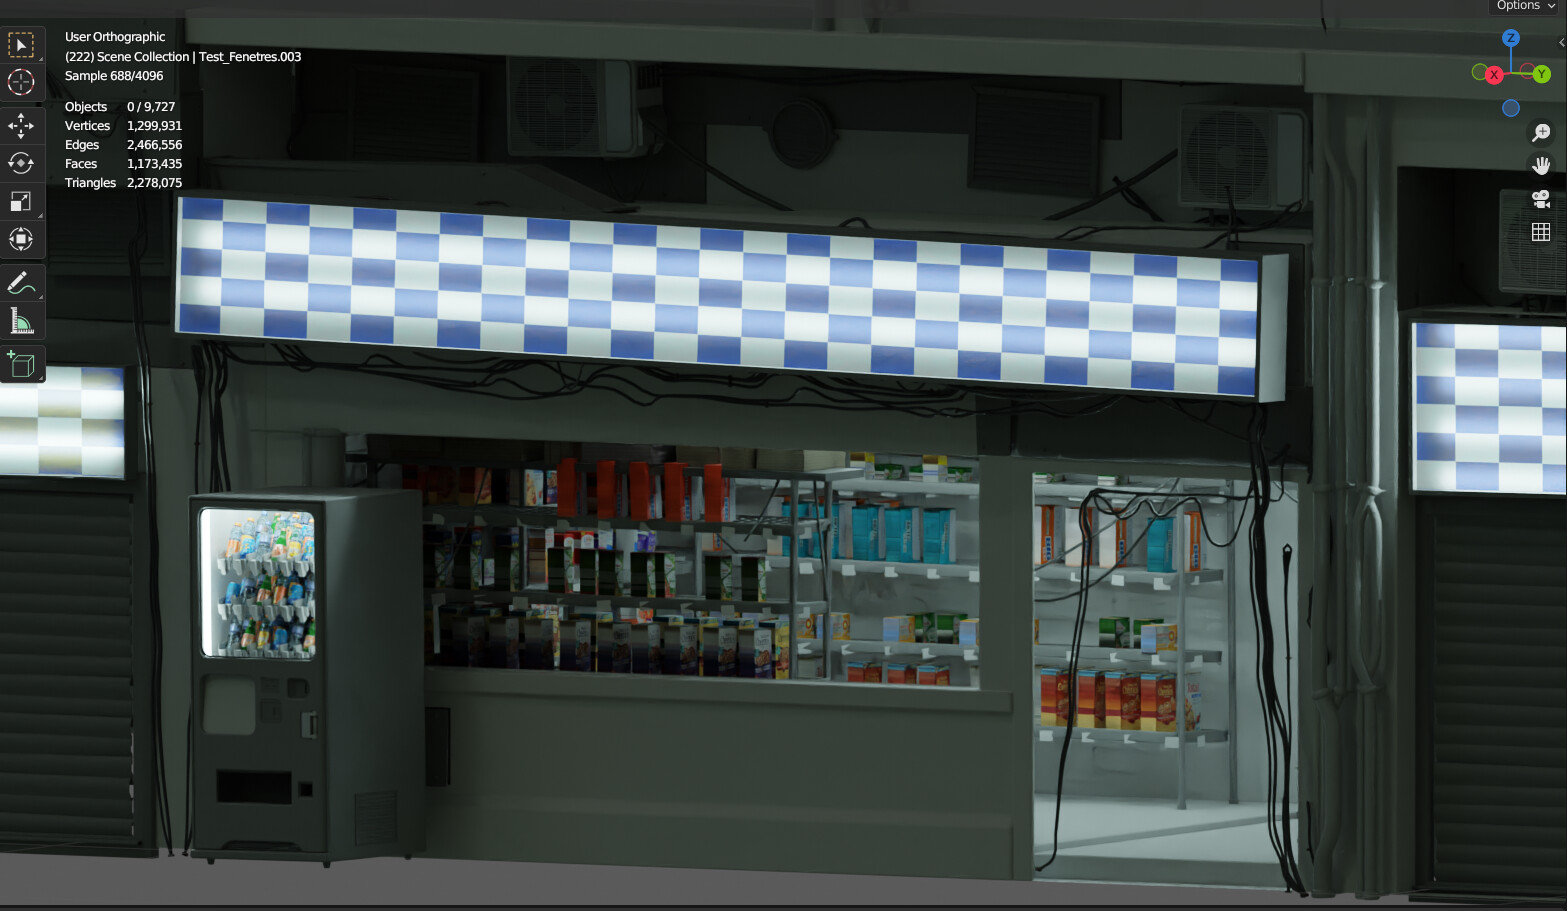


 Seriously I see this many times, such stuff don’t have sense… but look sooooo good and cyberpunkish

 It make sense and it’s pretty clever