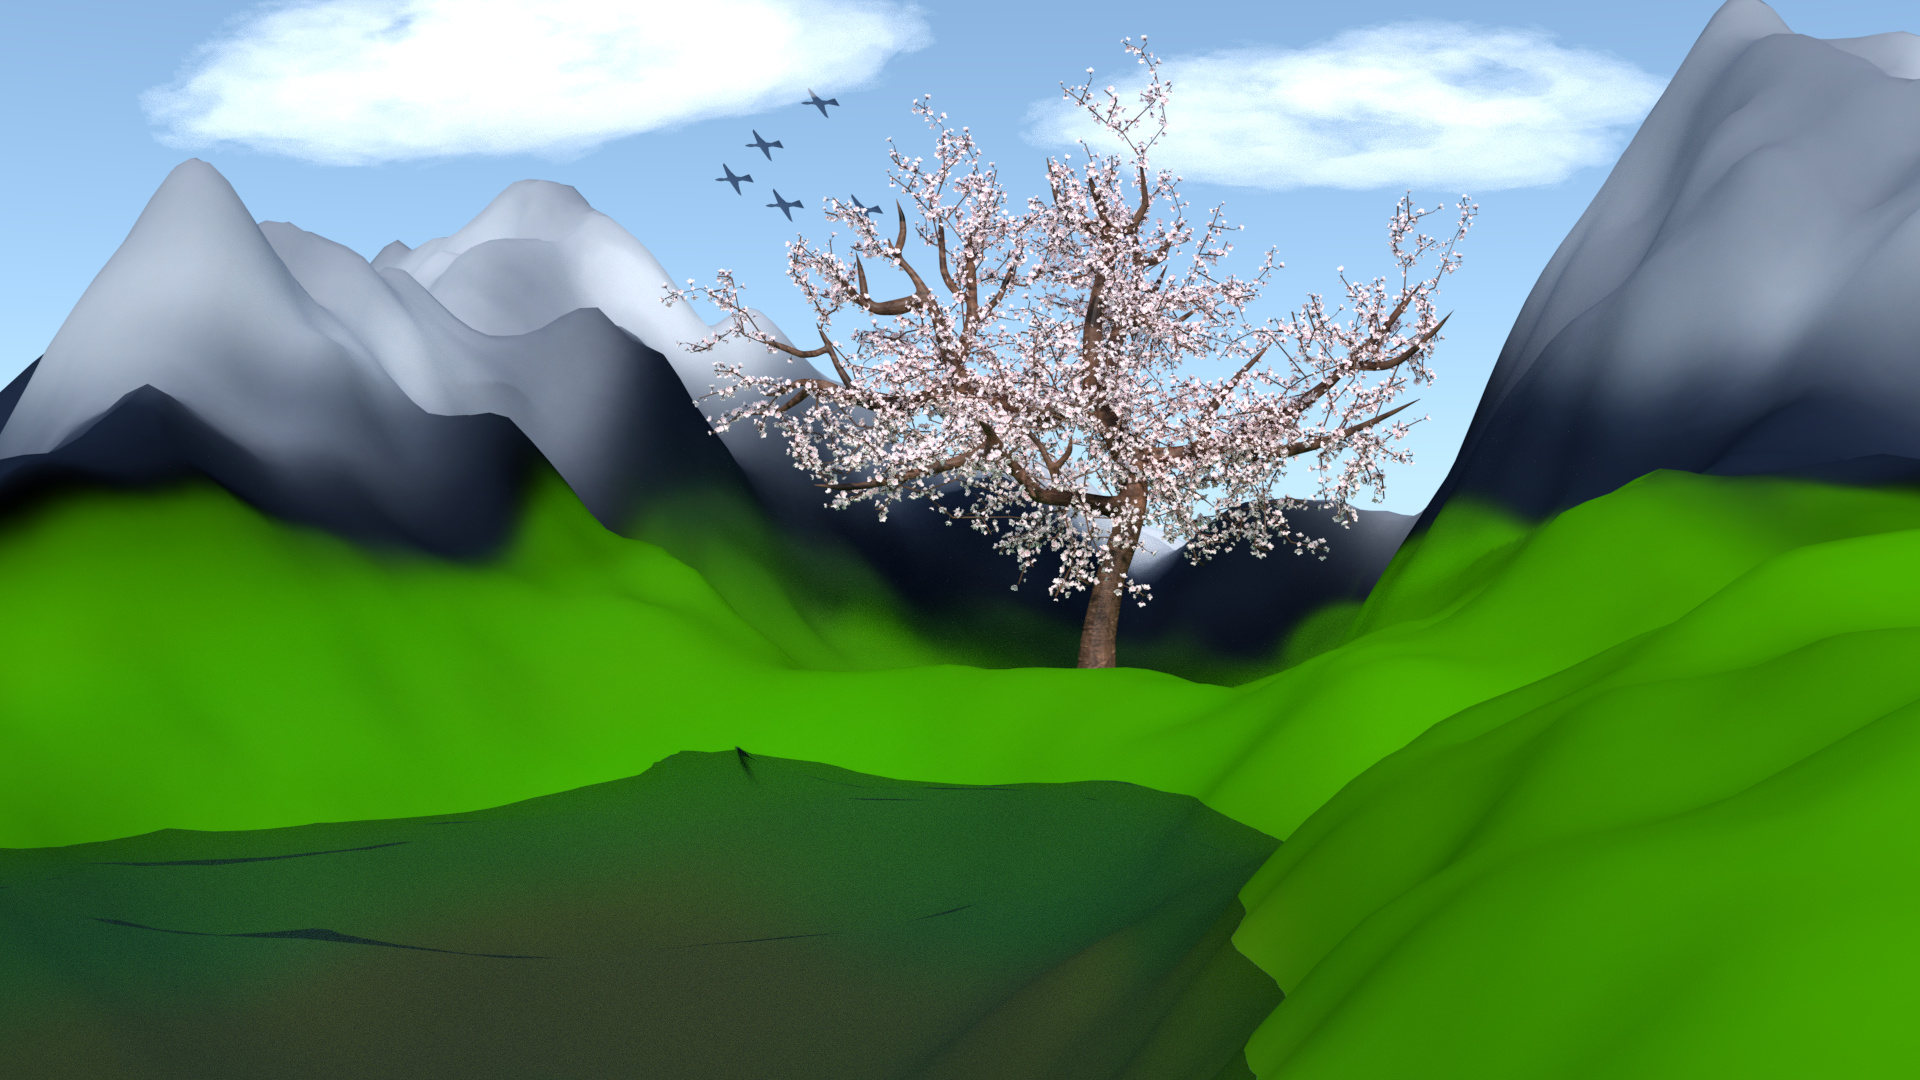
I went back and looked at it today and wanted to attempt to make it (the mountain) look more realistic instead of it just being a painted image texture. I attempted to make the greener parts have grass on it, and this was the result:
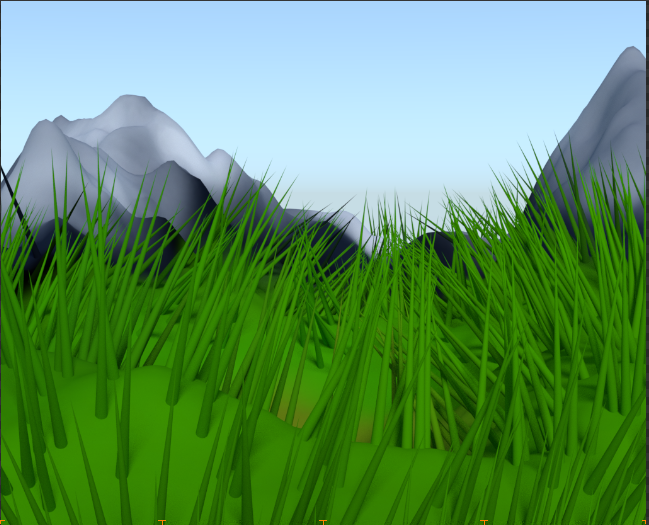
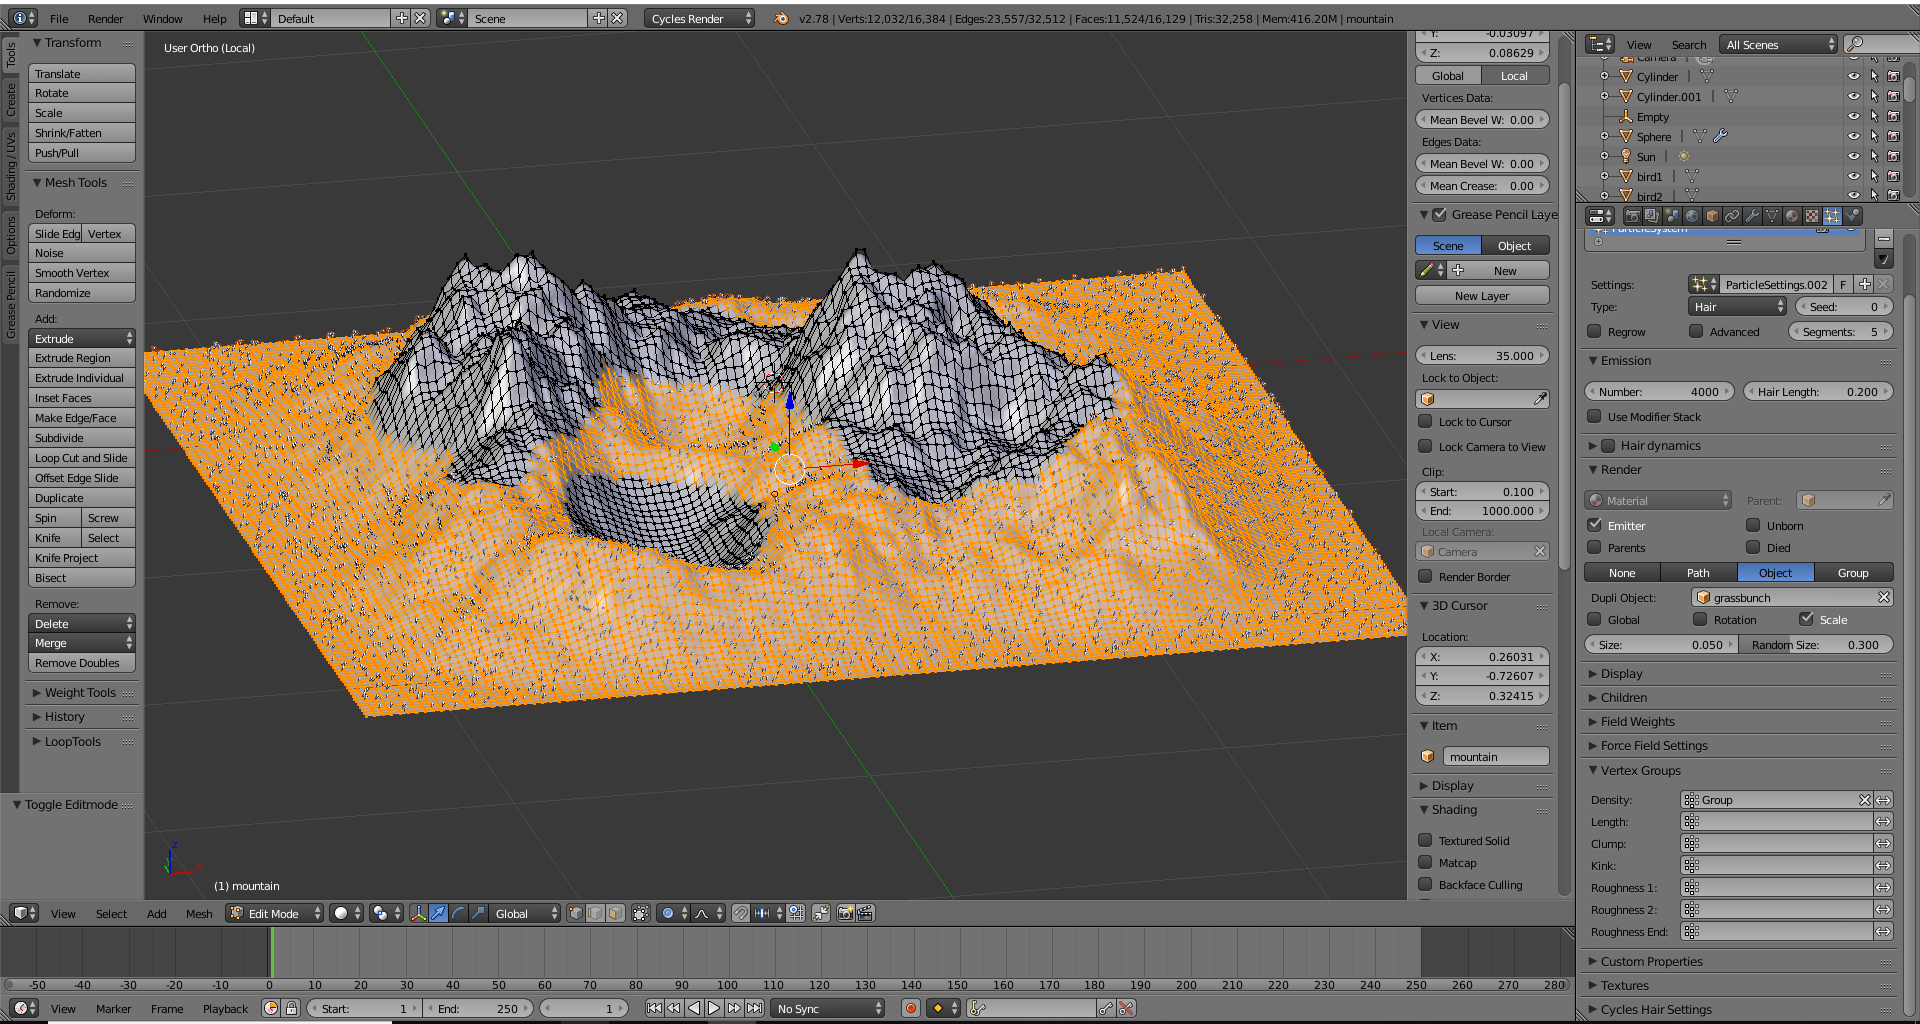
I can’t seem to get it more clumped together, even if I use single planes of grass (these are all multiple planes clumped together). Even using the particle system as a Path instead of an Object resulted in it being a spiky mess:
I’ll attempt uploading the blend file in a separate reply/later, at the time of typing this I tried uploading it 3 times and it didn’t seem to work. Any feedback off of these images alone is highly appreciated!
In this scene, you seem to have some pretty drastic scaling issues. Think about the size of the tree vs. the size of the mountain. Your tree is literally as tall as a snow-capped mountain right now. This is a huge issue that you either need to make deliberate, or fix.
As for the grass:
This is a combination of multiple issues. The first is of scale. If this were a real mountain, those grass blades would probably be somewhere around the size of a tree, or at least a large shrub (upper image).
A second vital issue is density. You have nowhere near enough grass blades, or otherwise nowhere near full enough coverage. Grass density also varies depending on location, so make sure to paint those Density maps!
A third issue is that when you used Path, you chose to make them cones. Grass is nowhere near a cone shape. If anything, Ribbon would work better for grass, but Objects of modelled grass blades / clumps are ideal.
Lastly, all of your grass appears to be a plain diffuse shader with no color variation. Real grass is glossy, translucent, and has plenty of color variation on multiple scales depending on the amount of sunlight, amount of water, and even just kind of random factors. I would actually recommend using at least 2 particle systems for grass: one for living grass, one for dried out grass, and each one has a separate density map.
To make it look like grass from that far away, a solid but somewhat bumpy surface with textured detail would likely work more effectively than grass particles. I would instead transition the grass particle field into a Tree or Bush particle field, and concentrate a bit more on the materials.
I’m not sure how to not make the hair look like cones when I use Path, but I’ll mess around with it more; I wanted to mainly see how to fix the grass Object situation. I’m in the process of adding said dead grass bushels right now; I’ll update with a picture of the render shortly afterword.
As for the grass, this is the current node setup for it
I see where you’re coming from when you said it needs to be glossy, and I’ll get on fixing that right away. I never thought to use density map painting, previously I was relying on vertex groups for density
A question though, when you say two different density maps, would vertex groups or painting density maps be better?
If you’d like to poke at stuff yourself, here’s the blend file https://www.dropbox.com/s/whzyewd2iypirlf/mountainProject.blend?dl=0
This file is a slightly old file (old by like half a day) because on my main file I’m still updating things, but it still has the grass particle system intact.
Vertex groups vs. density maps is really determined by one question: Do I want to have more detail in the particle system boundary than I have in my mesh?
Either way, make sure you are using values other than 1 and 0, and use a wetness map that controls texture variation (green grass vs. dry grass, and make sure you have some dry grass in all but the best of conditions) and/or 2+ particle systems.
Making hair look like cones vs. planes is done in Render tab > Geometry > Shape: Ribbons
Edit: Especially for close-ups, don’t forget that leaves are also translucent!