I’ve been following the game asset creation course over at CGcookie, and I’ve hit a bit of a problem. I’ve done a traditional scultp -> retopo workflow, and currently I’m baking some maps out. At the end of the video I’m on, the main man Kent bakes out a cavity map from vertex colors of the hi-poly and applies it after the diffuse and AO layers, with a blend mode of “overlay.” His result looks great. Mine just really brightens the rock and leavs some grey in the dark crevices. Multiply works better, but I wonder why overlay works for him. Pictures for reference:

My cavity map
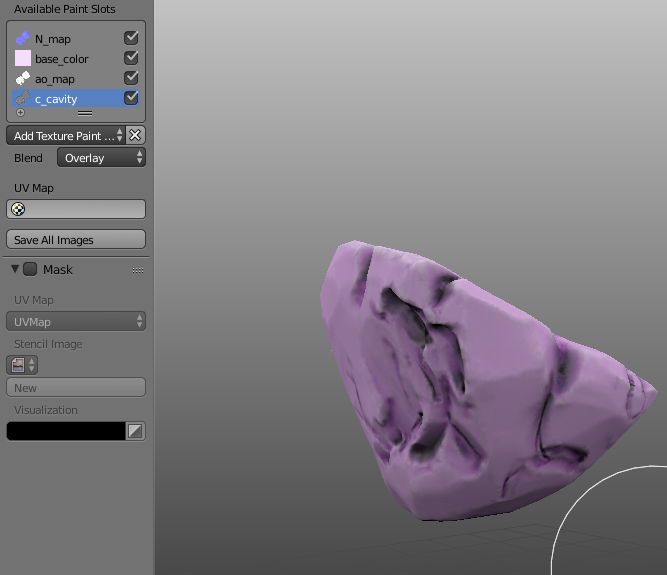
Applied to the rock

His cavity map
Also, how do I delete attachments? I wanted to change the attachments for a better picture, but the attachment manager says I’m at my 3 picture limit, yet won’t let me delete any.