Character Model - Kara

Photo Update:

Hey! remember me? It’s been a while!!
My last Blender project on here was a 30 odd page comic called Kara.

Whilst making that, I used MakeHuman to create the characters, mainly to save time, but it was also pretty convenient. With 2.8 (Beta) coming out, I wanted to dive into a Blender project again, purely for I guess artistic reasons, and not 3D printing, which of late, is all I’ve been using Blender for.

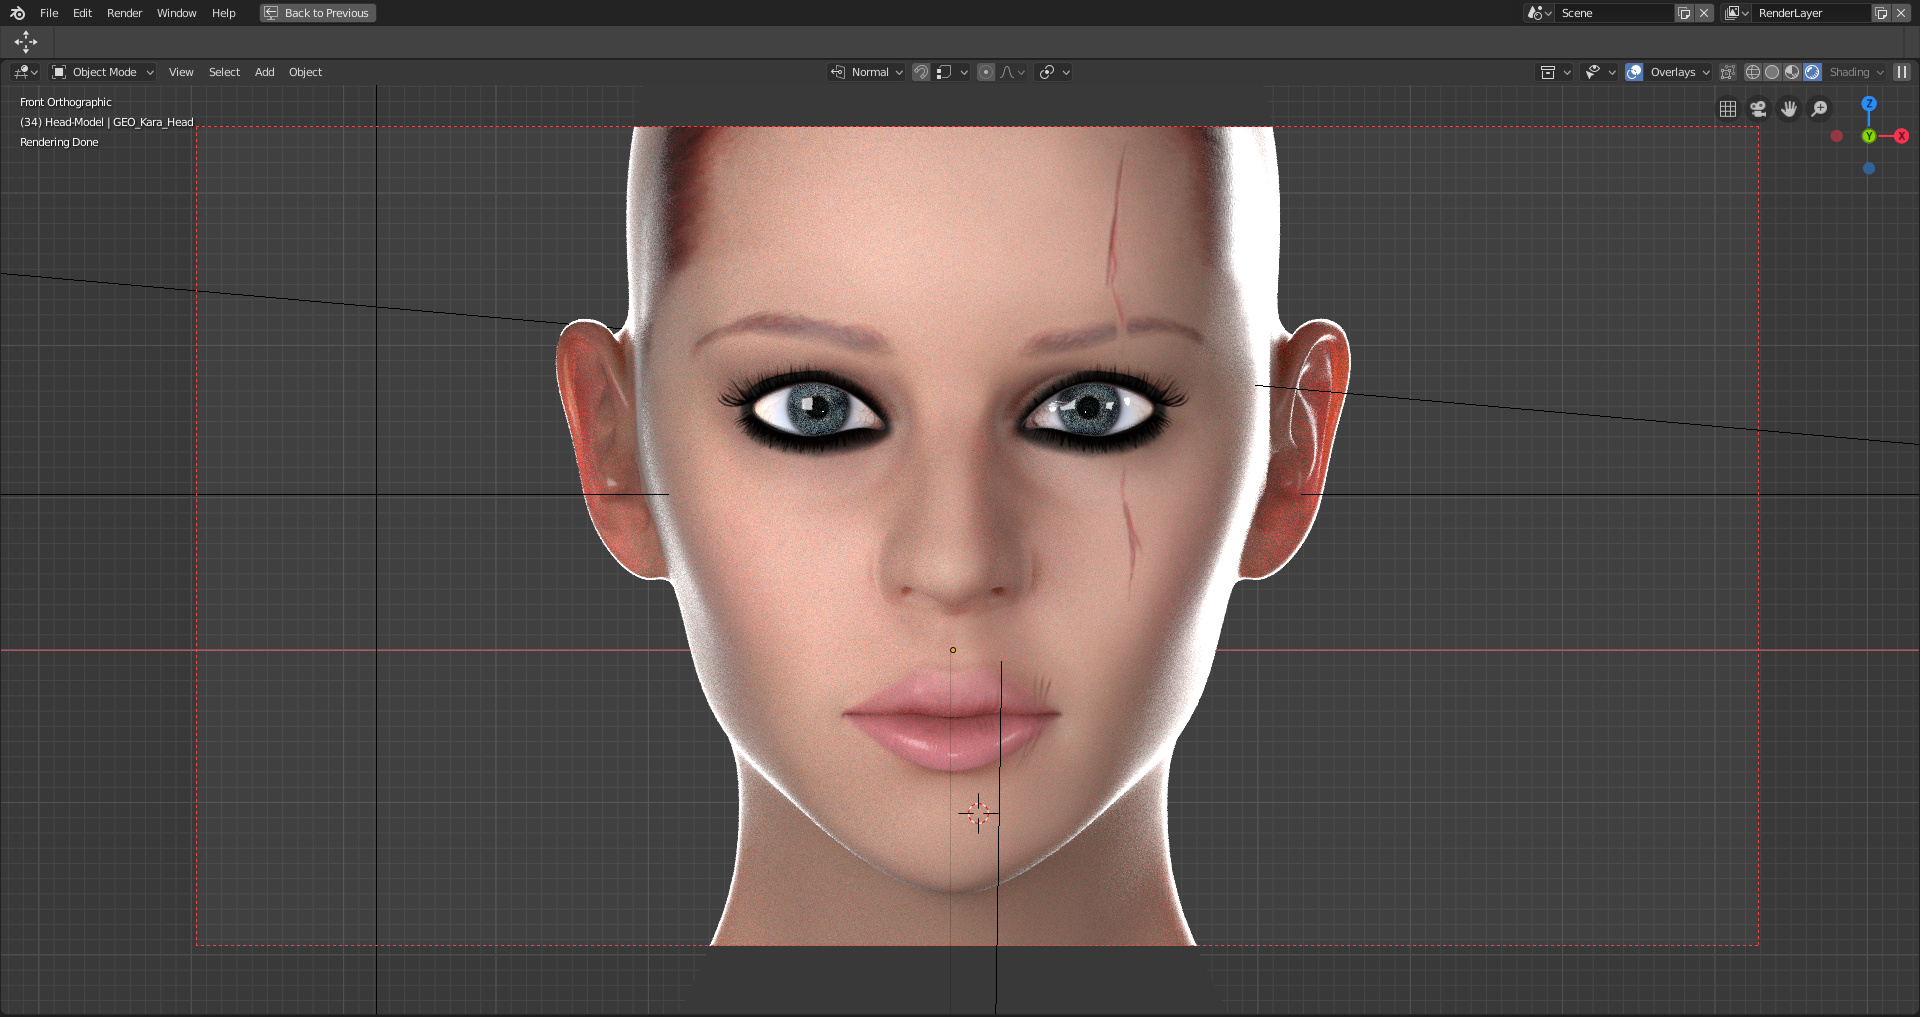
So I want to revisit my comic books main Character - Kara - and model her mostly myself. I say mostly, because I’m probably going to use the body I already have, and attach a new head, and then model a new outfit, texturing etc…and hopefully end up with a final result that close matches what was in my head originally.

I’ve tried head modelling many times, and have somewhat failed each time. This time, I’ve been taking my sweet time, and using as many references as I can. I’ve been using the Blenderella tutorial as a guide this time round too, as although it doesn’t hold your hand completely, it does include some steps which really help overall.

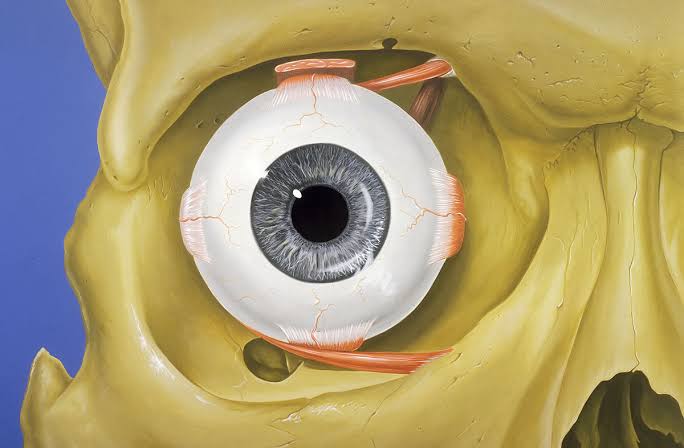
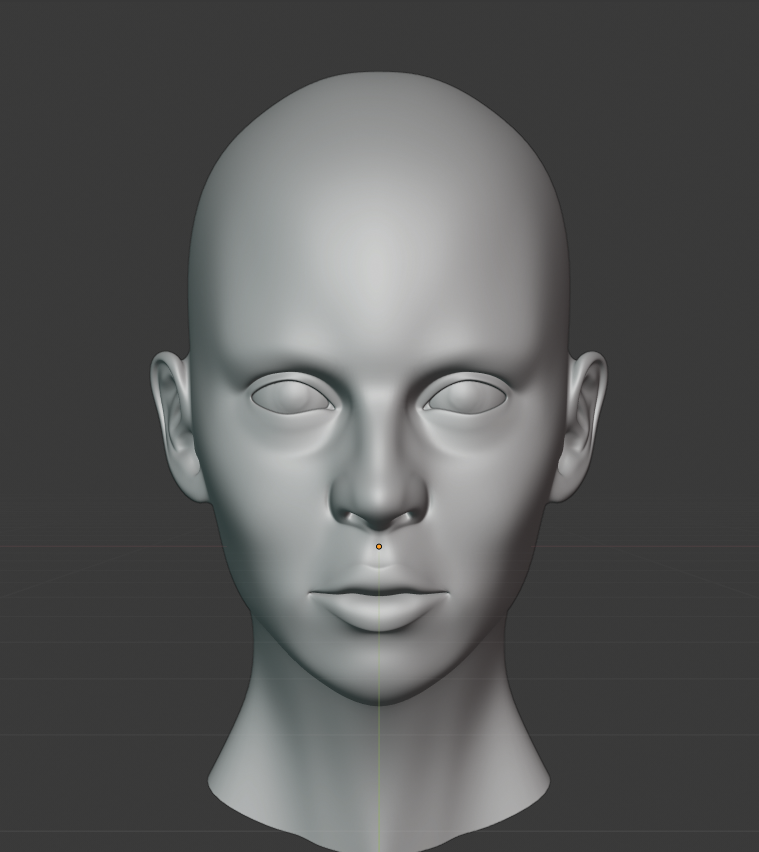
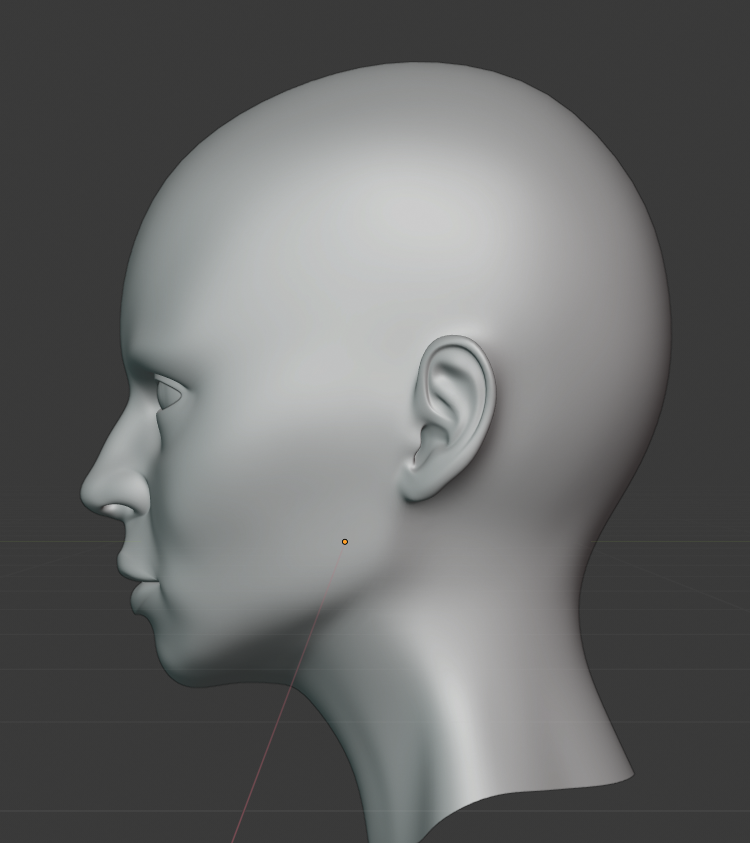
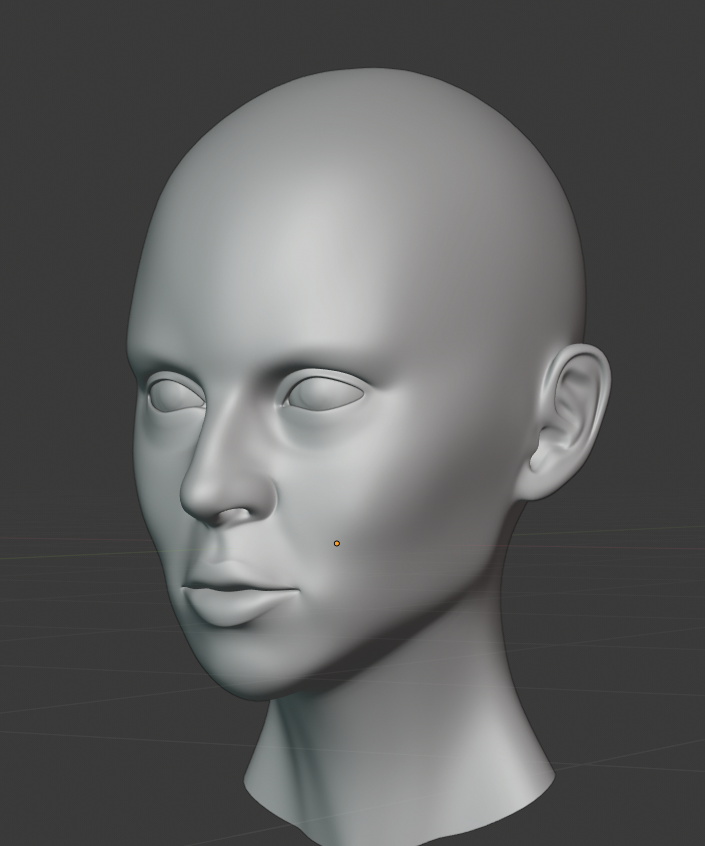
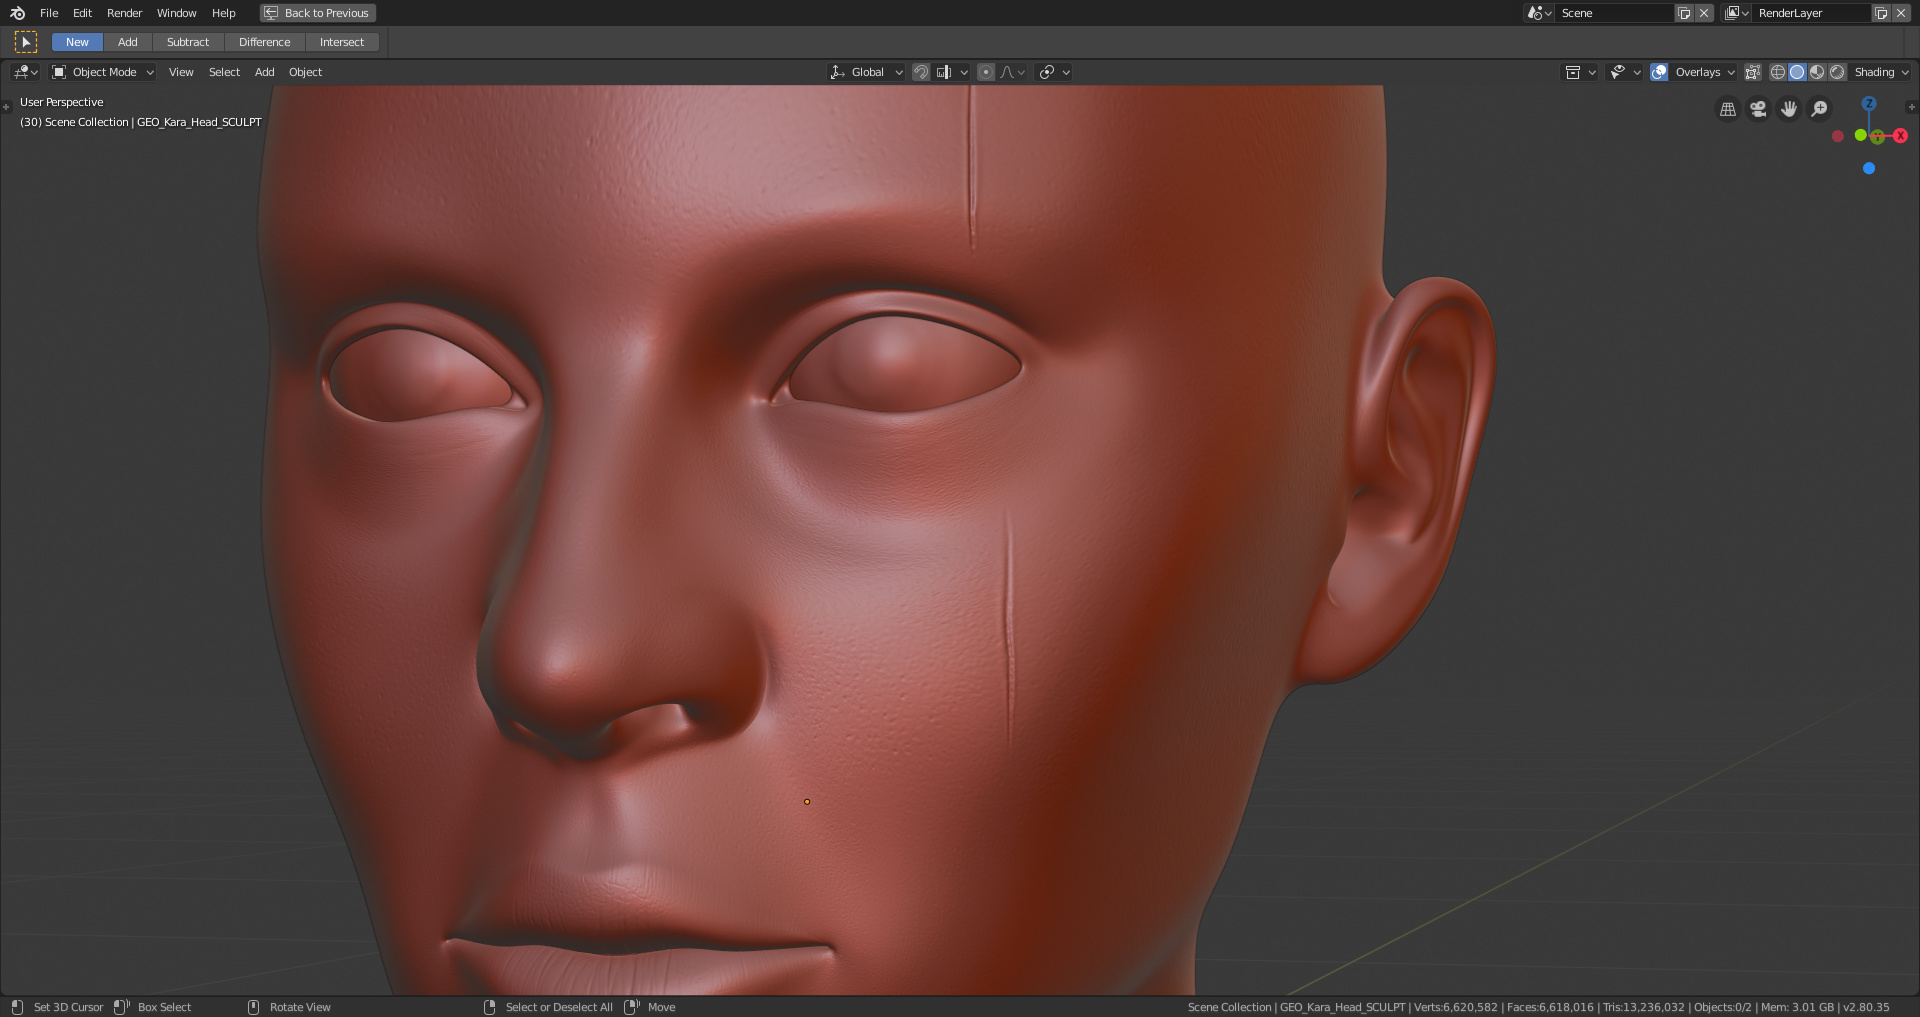
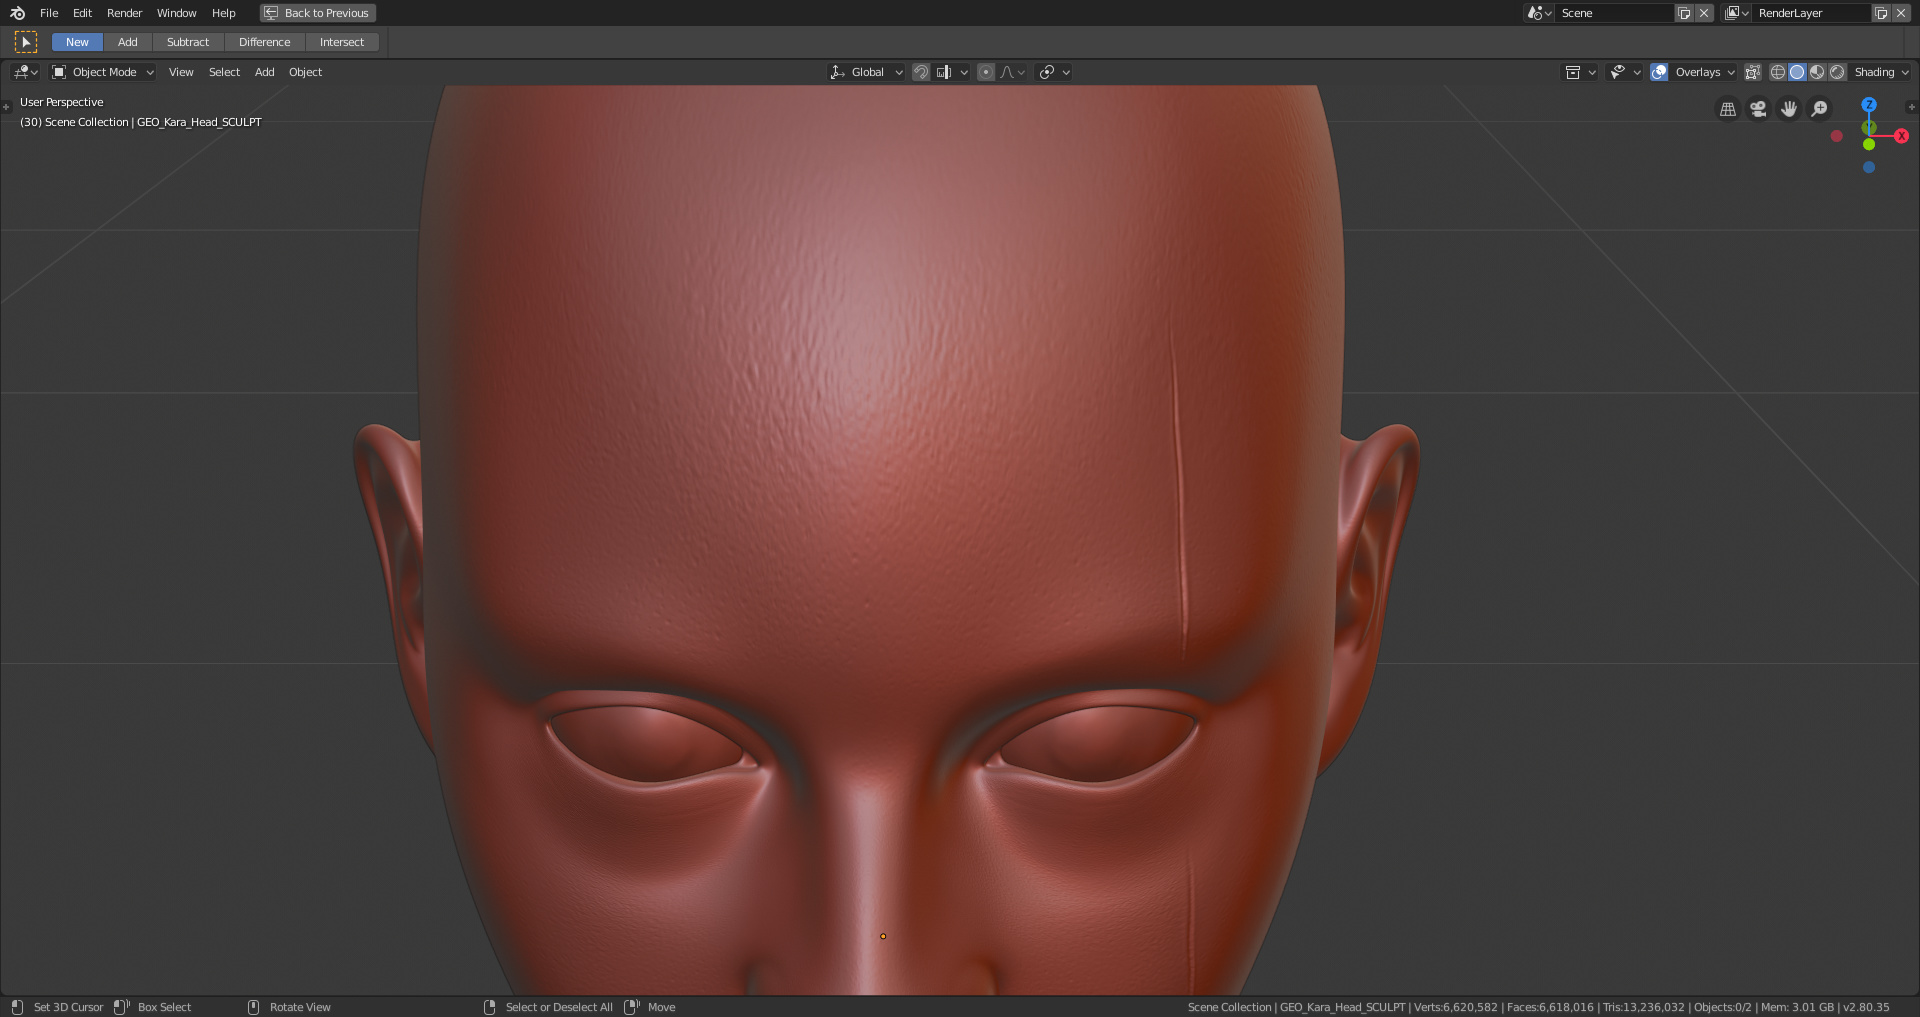
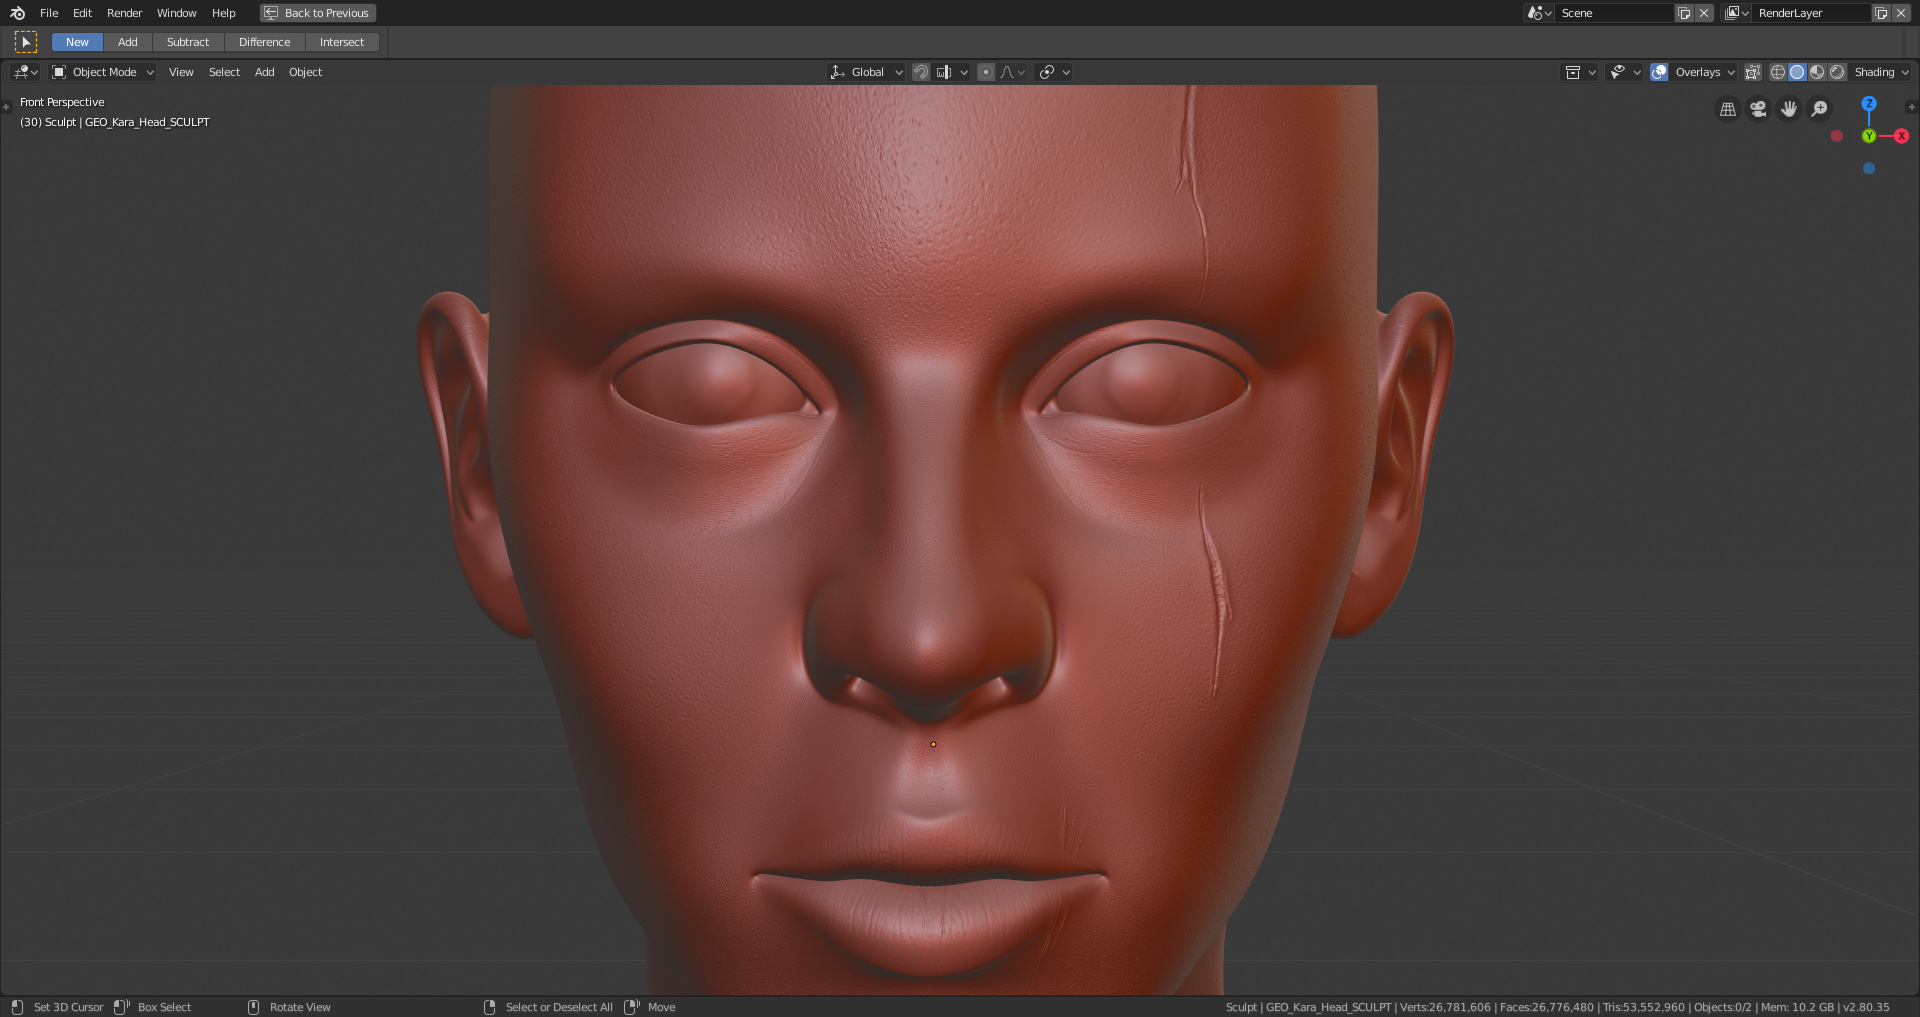
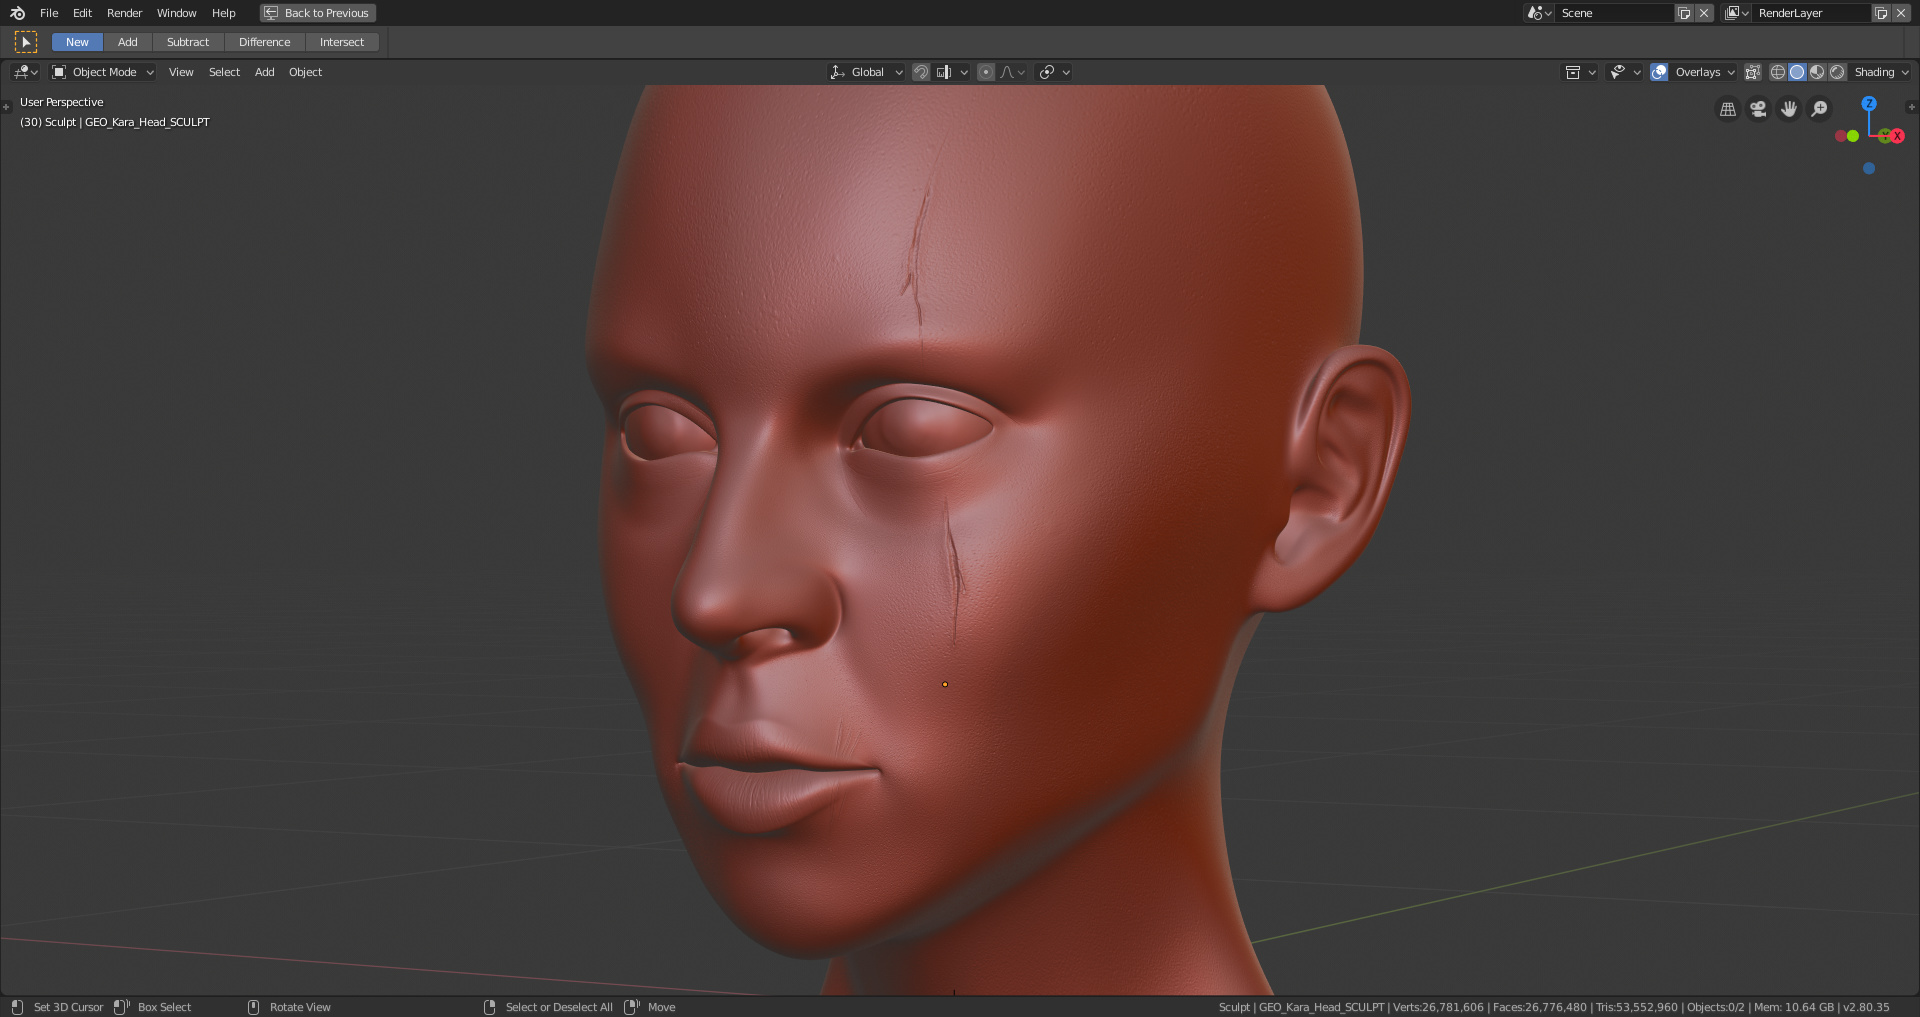
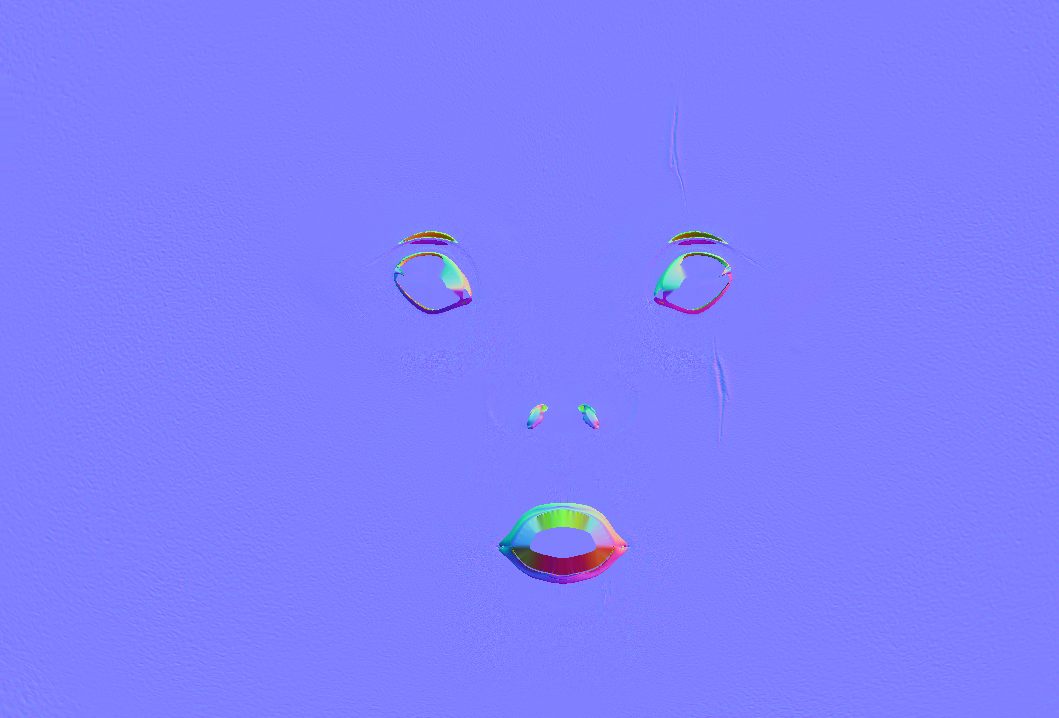
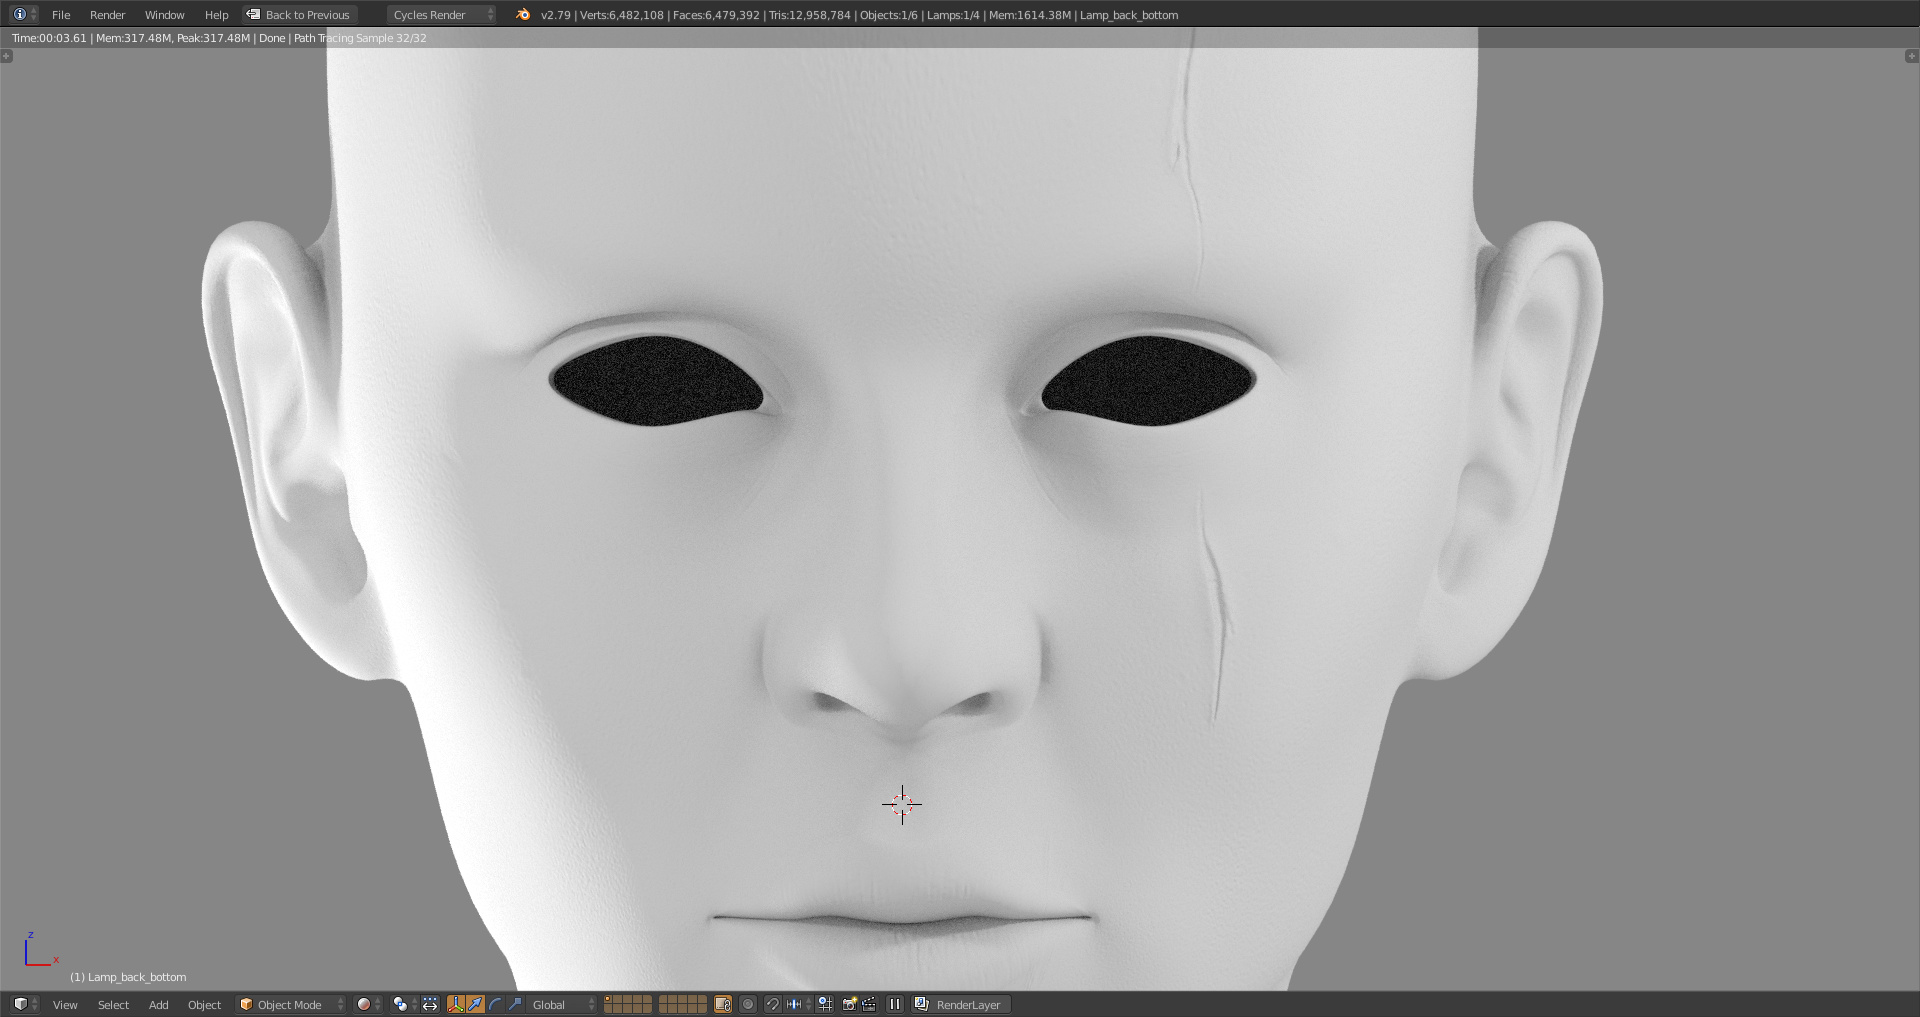
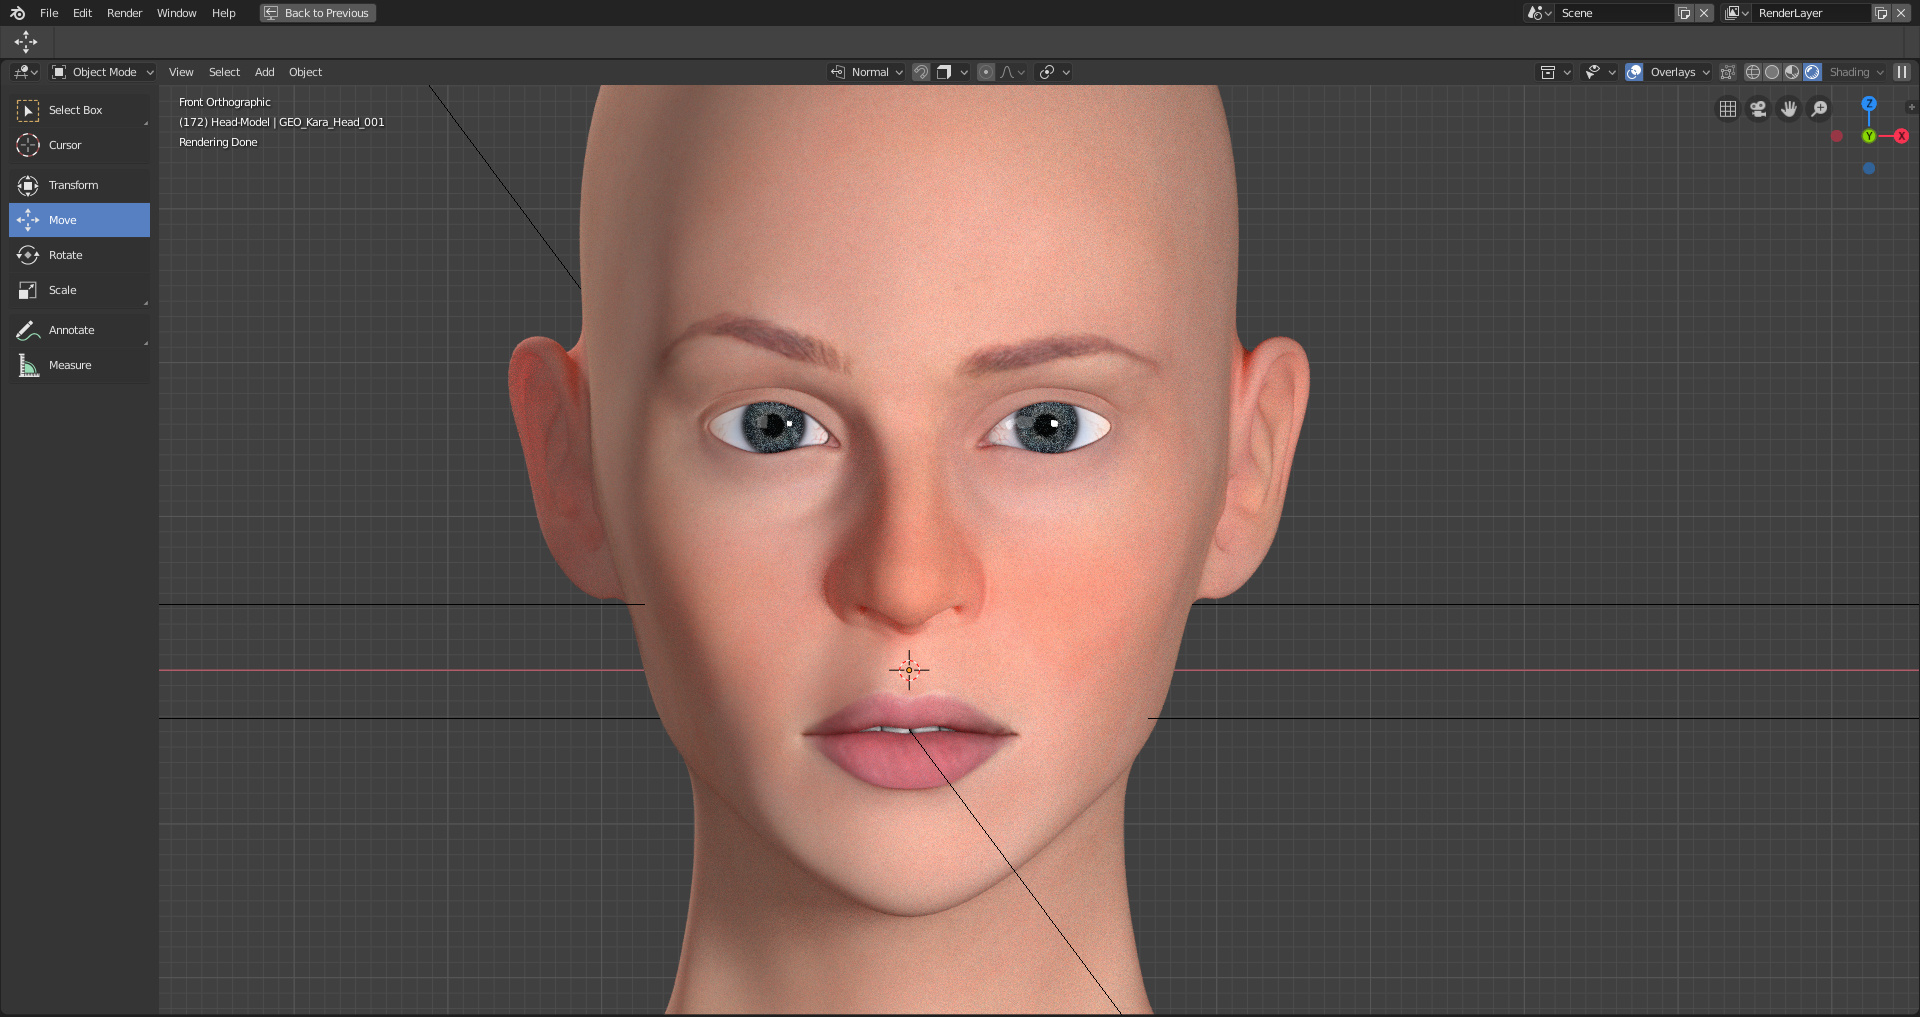
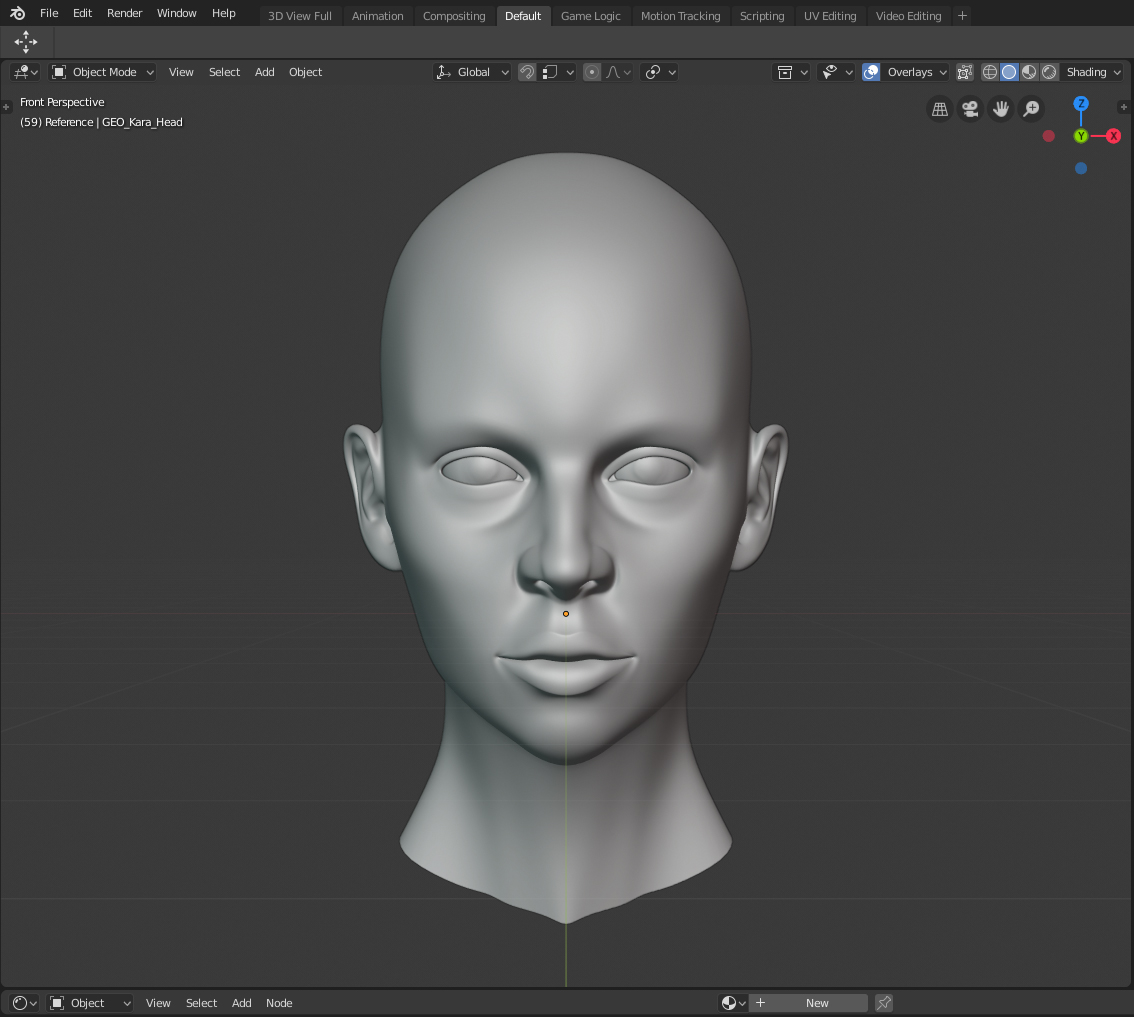
Here is the head at the moment. It’s definitely better than anything I’ve managed to produce so far (in head modelling terms). At the moment, I’m just trying to get the anatomy right. Hopefully someone here can help me with that a little. I don’t want to spend months becoming an anatomy expert, but aslong as everything is roughly right, I’m happy. Skull shape is always something I struggle with.

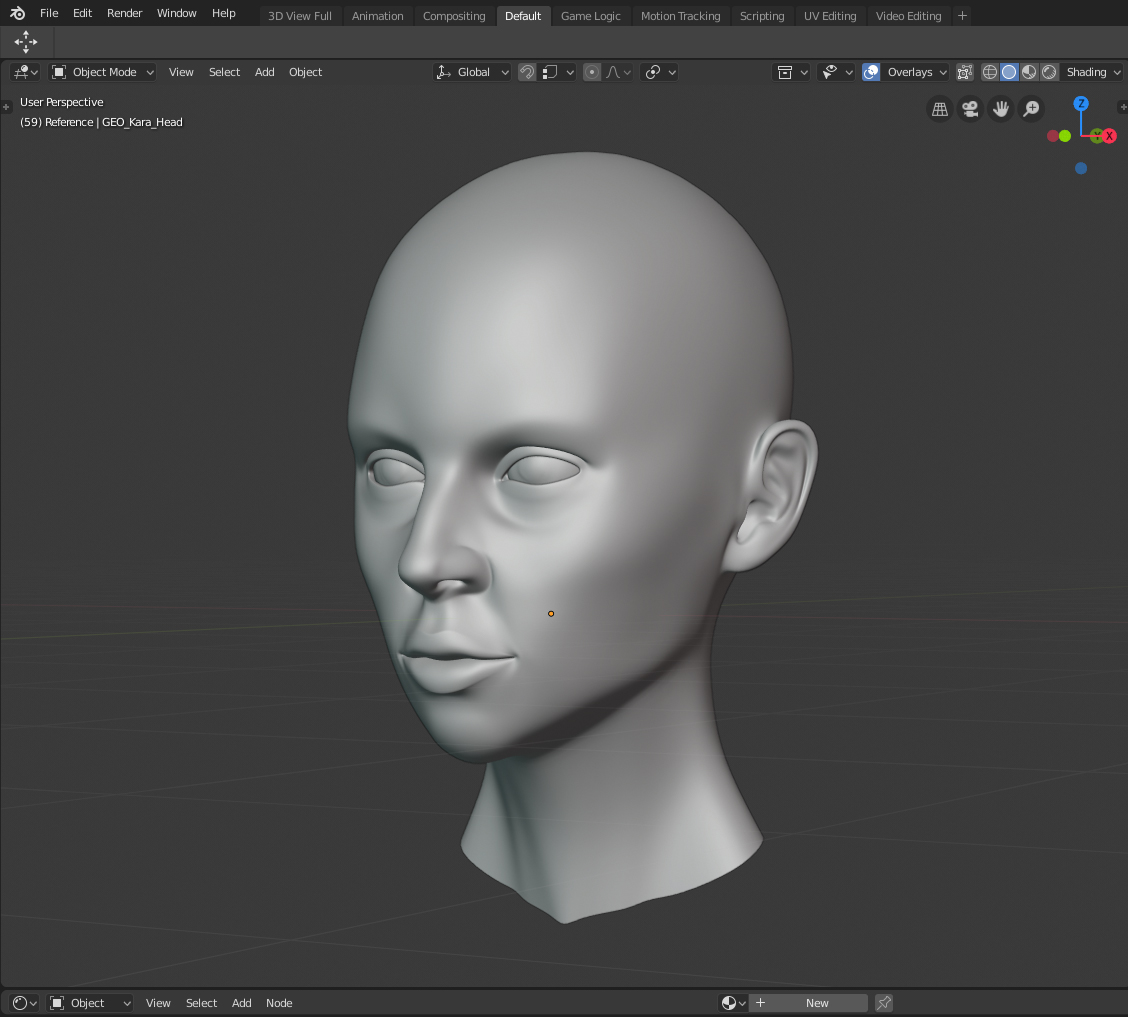
I think head models always look a little odd without any textures etc…Luckily, the reference I’m using has many pics with lots of angles of the face, so I can make lots of small tweaks to the general shape without relying on just front and side views. (which in the past has been a problem)

At the moment, I’m looking for some added insight on anatomy. I think it’s ok, but I’m going mainly by observation, and not genuine understanding.

11 Likes

Nice work! Nothing stands out to me as anatomically wrong, not speaking as an expert but as a fellow beginner. Just to be sure, could you xray the eyeballs and check whether the eyeballs are not too close to the upper orbital bone? They should be center of eye socket when viewed head on. (a useful tip I got from @anon61551747)

Something like this maybe:

images%20(19)

2 Likes

I’ve made some tweaks to the overall shape, and I’m now more or less done with the base mesh. I’m sure I’ll still make some tweaks, but I’ll probably mess around with sculpting some skin details next, and bake them as a normal map.

Most of this project is gonna be just blagging it…But I’m pretty happy with the head model. I’m sure it’ll come alive more once I start getting into texturing etc…

5 Likes

So, I’ve played about with sculpting a little. Nothing here final, just trying to get to grips with it. How on earth do people sculpt? It’s so laggy. I have a half decent PC. Am I missing something? Sure, it’s a high poly mesh with the multires, but it’s a nightmare. Am I doing something wrong? Will scaling the mesh down help at-all? Any tips appreciated.

1 Like

Hmm…So think I’ve worked it out. For the most part still playing about, will probably start the sculpting again. A little too soft I think still? But getting the hang of it a little better now.

Upped the Multires one more level. 26mil poly count o_O

Made the details a little more pronounced. This is a more final look at her sculpt level. Once I have this baked out as a Normal Map, I’ll start working on making the texture for the skin.

1 Like

So currently looking at Baking the high res model as a normals map. Blender shat it’s pants at 27mil verts, so I dropped it back down to 6 which seems fine. Had to switch back to 2.79 though, as Beta didn’t like normal baking.

I’m not sure what’s going on here. I’ve tried to increase the ray distance, but it doesn’t solve it. Details also seem very faint…

Any ideas? I’m generating at 4k atm.

So I discovered Xnormal, which works incredibly well! Nice 8k normal maps. Few teething problems, but runs well, and I think could even handle the 26mil vert model If I wanted. Although…the exported .obj for the high poly head was ~1GB o_O

You can see the normal map applied to the low poly mesh in this quick test. Works pretty well. Strength is probably about right. I don’t know whether to use a height map aswell? I guess that’s used for displace?

I’m pretty new to proper facial texturing/mapping, so any advice would be helpful.

Started to add the texture map. Material is WIP, just to give some sort of idea. I used painted the diffuse onto the model in texture painting, using the reference images as the initial texture. I then edited the resulting map, to remove eye lashes and eyebrows. A lot of the skins texture has also gone, but the base colors are all still there.

This is all in Eevee - not sure if it’s what i’ll use for my final render yet. May stick with it. Depends on results. So far 2.8 has worked well through this stage.

Still much work to do on the various maps before I’ll be happy. I think the lips need more detail, so will probably tweek some of the sculpting some more, and then rebake the normal map. May go up to 16k to get as much sculpt detail from the normal map as possible.

1 Like

Getting there. Added some temp eyebrows and eyelashes. Been tweaking the eye aswell. Need some more bump on the lips I think. It’s a little too subtle atm. But so far so good I think.

2 Likes

Back to Cycles…making progress.

More work on the main skin texture. Also made some tweaks to the spec map. I’m pretty happy with the actual shader. It’s nothing too fancy, but is probably good enough for what I need. Trying to get the lips right is proving a little more difficult. I think the spec is fine, but the normals are a little rough perhaps? Fixed some things with the eyes aswell. Happy with where this is going. Lots to do still :slight_smile:

A little bit more progress. I’ve grabbed the old models body and attached it to the new head. The Poly count of the old model was a little high, so attaching the two meshes wouldn’t have worked. So what I did was I duplicated the body mesh, and then cut most of it away, leaving the arms, legs and a little torso. I then duplicated the ting of verts at the base of my head model, and shrink wrapped them to the newly duplicated body mesh. I then created a neck and collar bone area. Once I had enough modelled (most of it will be covered by clothing), I applied the shrink wrap and the mirror, and then transferred the weight paints from the original body mesh, to ensure the rig worked. I then joined the new body mesh to the head, and merged the verts. It fit more or less perfect because it used identical topology to the head mesh.

I still have the original body mesh, which I will use for the main body shape when modelling clothes. But seeing as it will most be hidden, it makes sense to remove the geometry.

Also, this happened with the UV map…kinda creepy :smiley:

Last update before Xmas. I’ve fixed the UV’s for the body. I’ve also tweaked a few bits, and removed the scar from her lip area. I wasn’t a fan. Large scar on eye was always planned, but the lip one was kind of random. I’ve also temporarily added the old hair model in, just to get a feel for things. I’m still not sure whether I’m going to do mesh hair or particle hair. Both have their challenges. Also don’t know whether to do the hair next, or get the base mesh for clothes modelled. Also think the Iris on her eyes is ever so slightly too big? Also need to do a little shaping to the neck, as I lost some of it when attaching the new piece.

1 Like

Back with an update. I’ve made a few adjustments to the mesh, and have also started re-making the diffuse texture. Some texture painting using my original reference images, and tweaking externally. Lots to do still. Need to balance the colors, and blend some bits. Also, lots of cleanup, but this is how it’s looking atm with a very basic shader thrown on.

I’m also working on a new sculpt for the skin details etc…

It’s really coming along. Don’t forget to use Subsurface Scattering on the skin texture, particularly around the ears and other thin bits… you can partially see through this in certain lighting. Also, certain parts of the the face are naturally more oily then others, so will be a little shiny. These are small details, but it looks like your aiming for high realism, so i thought i would mention them.

You might want to sculpt in some Millia around the eyes too. Its a little hard to tell from your screens but i think you have put the eye texture for the iris on the eye ball… it should be actually inside, behind a lens. Apologies if you’ve modelled that correctly. If not, worth looking at some biology books :slight_smile:

1 Like

Hey, thanks for the reply :slight_smile:

The iris is a separate object behind the lens. I’m probably going to tweak the eyes some more anyway, I think the iris is slightly too big?

I’ve got a little SSS on there, but atm this is more or less just a diffuse shader for testing.

Not sure what level or realism I’m going for honestly. I’ll settle with somewhat realistic looking. Maybe a middle ground somewhere.

I think the pupil is a good size, but yeah, the coloured part is a little big i think. Im no biology expert but i did study art for years and spent weeks drawing naked people from life. The biggest point on most 3d models that ruins it is always the eyes (people treat it like an 8 ball and forget its actually quite a complex organ) and the hair. Doing a tight hairstyle like a top knot or a pony tail is always much more believable on 3d models.

There are things that can be skimped on, but do please spend a lot of time on the eyes :slight_smile:

1 Like

Little update for today. More work on the main diffuse. I’ve more or less ditched 90% of the photo projected texture, and am using that now mixed with new texture, more or less painted from scratch. Still A lot of work to do on it, but looking better. Still need to repaint the lips, and some more shading, aswell as balancing a few colors. Still just diffuse with a little SSS for now… Also need to blend colors on seams better, which I’m finding quite difficult. I’ll get a lot more info once the sculpting is done, and I’ve baked the various maps (AO Map, Curves Map, Normal Map etc…) Which I’ll probably work on over the weekend. Advice and critique welcome as always :slight_smile:

2 Likes

Working on the new detail sculpt which I’ll be using for a Normal Map, AO map and a Curvature Map. Still need to add her scar to right eye. But going well. I’ve gone a little stronger in strength than my original sculpt, because I noticed you loose a little when baking the normal map. Let me know if anything looks odd. I’m using the Sculpting Toolbox for the brushes which I purchased from the Blender Market just before Xmas - For anyone wondering…Also back to 2.79 for sculpting as it’s really slow in 2.8 I find.