Very nice. But: Vent slots in the front armor? Unreal! And the gap between glacis plate and tank turret is too wide. One shot kills the tank. And the elk test…
thats some fine modelling
Awesome work… Very Inspiring… Tells me I need to get off the schtick and get moving with my skills…
Keep up the good work!
Brilliant work you’ve done here, derGoldstein! As stated by everyone, the materials and textures are fantastic, as is the modeling! I like the extra details you’ve added to push the render over the top, like the light in the barrel. Really cool work, and very gracious of you to put it on Blend Swap! A well earned feature.
great work…thanks for sharing.
Looks Awesome! I would love to see this in a game!
As everyone said, the model is great. And I really like the shaders. I have been playing around with your ramp controlled layer weight and really like that look.
One thing that jumped out at me was the light in the barrel. It makes the inside of the barrel a focal point in the scene and that is a distraction to me.
That’s exactly what I thought, when I first saw the image.
Really impressive work. I love it. ![]()
Fantastic work. Love the detail!! Excellent!! 
I so downloaded this!
When your game release?
I like that old school feel in it. Reminds me of Metal Slug.
this is really cool !!:eek:
i like this style 
the texture is simply awesome, love it!
If you want to know anything about the material setup, let me know.
Yes can you share a bit here about how you got your shader effects?
I believe riveter mentioned…
As everyone said, the model is great. And I really like the shaders. I have been playing around with your ramp controlled layer weight and really like that look.
I’m not sure I’m familure with this in Blender… can you elaborate?
I remember RTS style games, haven’t played them in years, but I remember the square top-view look you mention.
Anyway, I love it!! It’s a rugged little beast!! Thanks for sharing the model, I’ll have to take a look at it soon, but it really looks top-notch from what I can see!!!
Great work, I envy your skill to get a model like this done…
Randy
Beautiful work, massive thanks for sharing the blend file too.
A very fun looking tank. Just Beautiful. Might include chibi soldiers also?
It’s perfect. I just want to group a bunch of these and and wreck havoc to enemy base. I don’t think enemy wouldn’t mind at all as it looks so cute lol.
I intended to post this earlier, but I wanted to actually elaborate on the material setup rather than just attach a file with no explanation.
Ok, shader time:
I’m attaching a file with the armored material. The only difference between this one and the one I used on the tank is that I scaled the textures differently and (on some parts) moved the location values (so just values on the mapping nodes).
The file has 2 images embedded – a scratched metal texture, and a (seamless) water texture.
You need to use vertex paint on the objects you want to use the material on – specifically “dirty vertex colors”, to get the desired effect. Ideally the edges should be white, and everything else should be close to black, but the transition should not be too sharp (select the object in the file I’m attaching and switch to “vertex paint” to see what I did). You then need to name the vertex colors “dirt” (or go into the material setting and change the name to whatever you prefer).
About the material:
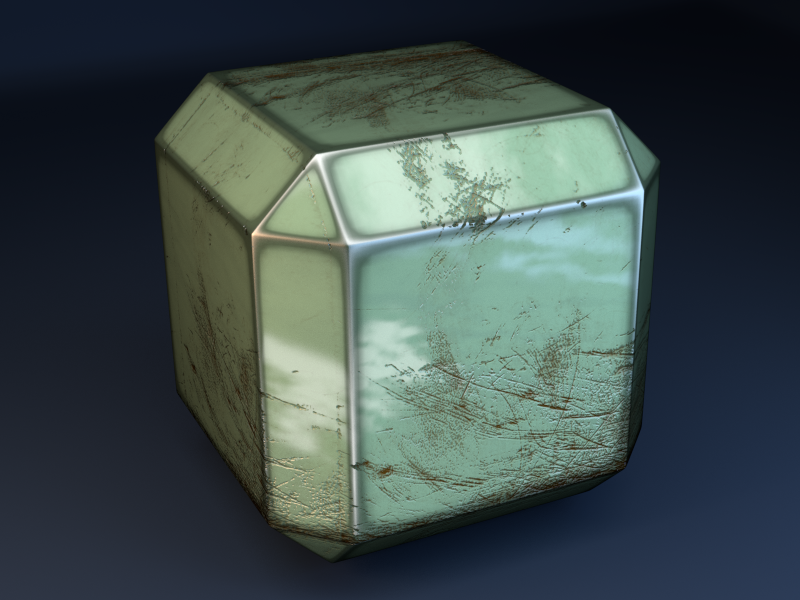
The main “trick” here is to use the vertex colors twice, to get 2 transitions: The first is from the armor shader to a darker armor shader, and then from that to a chrome-ish shader. The idea is that as you approach an edge, the material becomes darker (from wear), and then finally becomes “bare” metal because the paint was completely scraped off.
There are actually only 2 colors used – the one for the main armor color, and another for the scratches/grooves. You can easily get more colors in there with additional conditions. It’s likely that if you’re going for a non-ferrous metal (which doesn’t rust), you’ll want to change the brown color to something else, possibly a darker shade of the armor color, or maybe grey.
The main image texture used is the one that sets the scratches/grooves. You can use all sorts of images instead of this one to get different patterns – just adjust the color ramp that follows to get the desired effect.
The second image used is the one that sets the glossy areas. It’s blended in before the scratches are, so that the scratches will override the glossy regions. I used a seamless water texture, but you can really use anything here. You might want to use something that looks like rain, or maybe something that looks like the glossy areas of the paint were worn off from bumping into things. You can also easily use a procedural texture here, it just depends on what you want to convey.
There are many ways you can build on this idea. For example, you can add scratches that only appear on the bare metal areas, or only appear on the armor paint. Personally I’m going to try to add a layer of dirt on top of the whole thing, possibly something that looks like mud.
If you have any questions let me know.
Attachments
armored4.blend (1.74 MB)