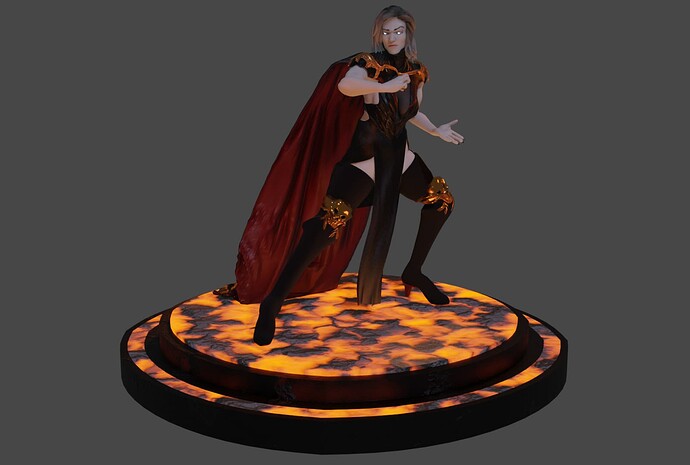
**** First section has been resolved thanks to some keywords and guidance provided by 3DArtGuy
̶S̶o̶ ̶I̶’̶m̶ ̶c̶l̶o̶s̶e̶ ̶t̶o̶ ̶f̶i̶n̶i̶s̶h̶i̶n̶g̶ ̶o̶u̶t̶ ̶a̶ ̶c̶h̶a̶r̶a̶c̶t̶e̶r̶ ̶a̶n̶d̶ ̶I̶ ̶g̶o̶t̶ ̶a̶ ̶c̶o̶u̶p̶l̶e̶ ̶o̶f̶ ̶t̶h̶i̶n̶g̶s̶.̶
̶I̶ ̶r̶a̶n̶ ̶t̶h̶e̶ ̶c̶l̶o̶t̶h̶ ̶p̶h̶y̶s̶i̶c̶s̶ ̶i̶n̶ ̶d̶e̶f̶a̶u̶l̶t̶ ̶T̶ ̶p̶o̶s̶e̶,̶ ̶i̶t̶’̶s̶ ̶a̶l̶l̶ ̶g̶r̶o̶o̶v̶y̶!̶
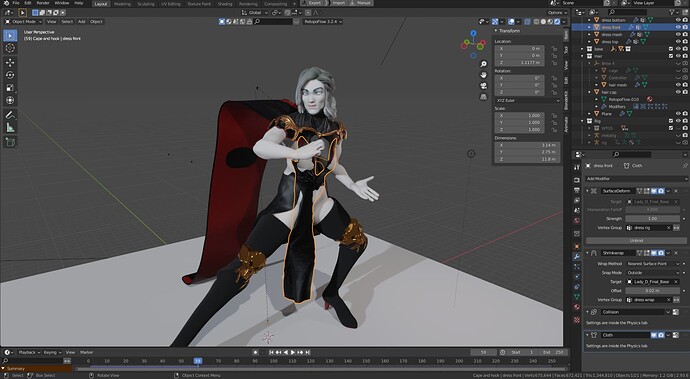
̶W̶h̶e̶n̶ ̶r̶u̶n̶n̶i̶n̶g̶ ̶c̶l̶o̶t̶h̶ ̶p̶h̶y̶s̶i̶c̶s̶ ̶o̶n̶ ̶a̶ ̶p̶o̶s̶e̶d̶ ̶c̶h̶a̶r̶a̶c̶t̶e̶r̶,̶ ̶i̶t̶ ̶g̶o̶e̶s̶ ̶t̶h̶r̶o̶u̶g̶h̶ ̶t̶h̶e̶ ̶c̶h̶a̶r̶a̶c̶t̶e̶r̶.̶ ̶I̶ ̶r̶e̶m̶e̶d̶i̶e̶d̶ ̶t̶h̶e̶ ̶t̶o̶p̶ ̶h̶a̶l̶f̶ ̶b̶y̶ ̶p̶i̶n̶n̶i̶n̶g̶ ̶t̶h̶e̶ ̶w̶h̶o̶l̶e̶ ̶t̶o̶p̶ ̶p̶a̶r̶t̶ ̶r̶i̶b̶ ̶c̶a̶g̶e̶ ̶u̶p̶ ̶o̶f̶ ̶t̶h̶e̶ ̶d̶r̶e̶s̶s̶,̶ ̶b̶u̶t̶ ̶t̶h̶e̶ ̶b̶o̶t̶t̶o̶m̶ ̶p̶a̶r̶t̶ ̶s̶t̶i̶l̶l̶ ̶s̶w̶o̶o̶p̶s̶ ̶t̶h̶r̶o̶u̶g̶h̶ ̶t̶h̶e̶ ̶l̶e̶g̶s̶ ̶w̶h̶e̶n̶ ̶r̶u̶n̶n̶i̶n̶g̶ ̶t̶h̶e̶ ̶p̶h̶y̶s̶i̶c̶s̶.̶ ̶
̶
̶T̶r̶i̶e̶d̶ ̶s̶e̶v̶e̶r̶a̶l̶ ̶f̶i̶x̶e̶s̶.̶
̶-̶ ̶I̶n̶c̶r̶e̶a̶s̶i̶n̶g̶ ̶q̶u̶a̶l̶i̶t̶y̶
̶-̶ ̶d̶o̶u̶b̶l̶e̶ ̶c̶h̶e̶c̶k̶i̶n̶g̶ ̶p̶i̶n̶s̶
̶-̶ ̶T̶u̶r̶n̶i̶n̶g̶ ̶o̶f̶f̶ ̶s̶i̶n̶g̶l̶e̶ ̶s̶i̶d̶e̶d̶ ̶
̶-̶ ̶c̶i̶r̶c̶l̶e̶d̶ ̶a̶r̶o̶u̶n̶d̶ ̶e̶n̶t̶i̶r̶e̶ ̶o̶b̶j̶e̶c̶t̶ ̶t̶o̶ ̶m̶a̶k̶e̶ ̶s̶u̶r̶e̶ ̶t̶h̶e̶r̶e̶ ̶i̶s̶ ̶n̶o̶t̶ ̶m̶e̶s̶h̶ ̶i̶n̶t̶e̶r̶s̶e̶c̶t̶i̶n̶g̶ ̶b̶e̶f̶o̶r̶e̶ ̶r̶u̶n̶n̶i̶n̶g̶ ̶p̶h̶y̶s̶i̶c̶s̶.̶
̶-̶ ̶d̶e̶t̶a̶c̶h̶e̶d̶ ̶w̶e̶i̶g̶h̶t̶ ̶p̶a̶i̶n̶t̶i̶n̶g̶ ̶(̶g̶o̶t̶ ̶w̶o̶r̶s̶e̶)̶
*******************************************************************scrap
— Now Primary Issue—
Second question, how do I get the cape to follow the pose in entirety? When posing then running physics, where it use to be stays up in the air while the very tip follows the empty I hooked to the mesh.
Thanks in advanced.
Updated dotBlend file: https://www.mediafire.com/file/u92sy0si3g0rusn/Lady_D_reimport_L_pose.blend/file
I dont have much time currently so i cant test the file.
Things i noticed:
- collision modifier should be the last. Currently its not knowing the deformations of the cloth since the cloth is last.
- Do you go from rest post at the first frame and then to the pose?
- For the cape i guess its also a messed up modifer order.
- Tried the first bullet, no dice
- Yes, goes straight from rest to pose, but I never thought of implementing key frames frames, i’ma have to read up on that.
- As for the cape it goes from Pinned vertexes > Empty > On base mesh as parent. Follows in object, but not into pose. May have to link with bones? I’m still getting familiarized with rigging. Don’t quite know how to add additional bones on a meta rig just yet.
Thank you for the insight, gives me a few ideas to try. Also I reuploaded the blend file, the base mesh was broken and kept crashing when going into edit mode. That’s since been fixed, and cleaned up the hierarchy a bit. So when ever you have the time, it’s greatly appreciated.
I quickly opened the file and thats not the way to setup a cloth simulation to action.
For some reason you have just used the rest and pose position of the rig. What you need to do is make a rest position keyframe to the rig on frame 0 and on frame 40 you have it posed.
The extra clothes of your character are also not attached to the rig so they dont follow. I dont have the time to fix it.
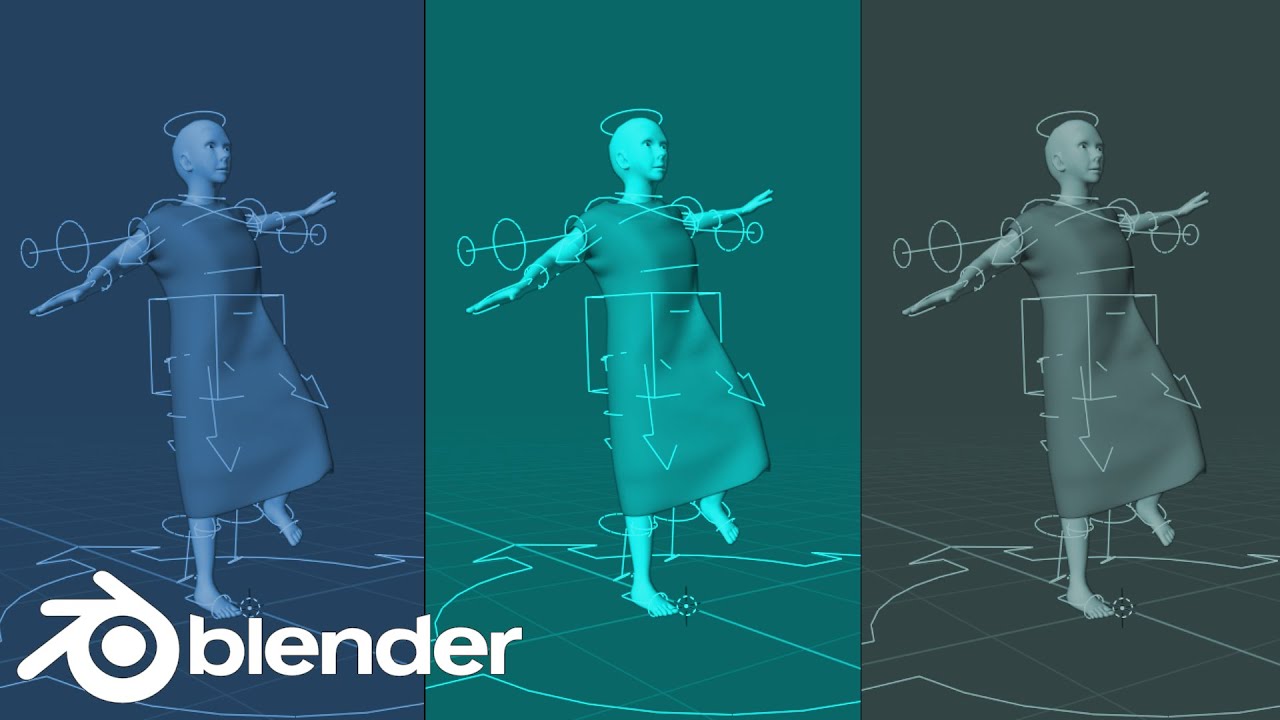
Maybe this can help you. Not very good tutorials but can help.
This one is explaining the process a bit more. Dont need to watch all like the settings of clothes but other parts can help:
Thanks for the insight! I tried these videos but something wasn’t clicking. I think I modeled too high and too complex too fast. Leaving a ton of room for error. Live and learn!
I’ve attached the clothes to the rig instead of relying on the deform modifier only. And the putting in keyframes definitely helped a lot with the overall flow of the front. Turned off single sided for the back of the dress and I got the results I wanted. I thought it was a simple as posing, and letting everything drop, but I was 100% wrong on that part.
As for the cape, I created empties on each side to hook the shoulder of the rig. The empties follow but the cape doesn’t. So i’m still scratching my head on that one.
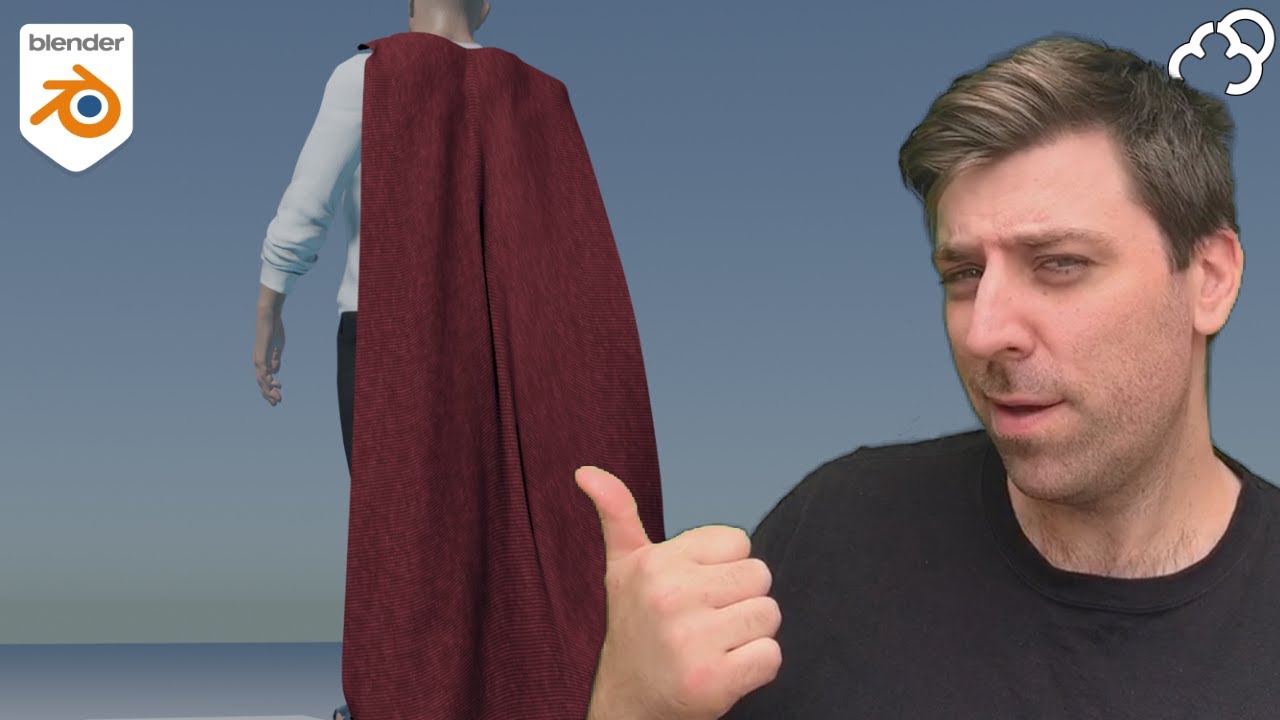
Tried following this video, but still not getting it right.
I’ll update the initial post with the new blend file.
Ok I figured it out, get this! I accidentally baked the cloth sim so it wasn’t going anywhere until I removed it and re-added, and now it’s behaving the way I initially expected.
Thank you again @3DArtGuy for giving me the keywords to do further research to figure this out.
1 Like
Gotta make a few tweaks here and there, but I think I got the technical aspect of cloth sim down for the most part.
1 Like
That’s great! I actually made a character with a cape too some years back.
I noticed you had all the modifier with subsurf and multires on a high viewport level. Also the hair had all the children particles activates. An easy way to have better viewport performance is turning on simplify in the render setting. Changing the first setting to 0 and hair children also to 0.
1 Like
I extra appreciate this tip, waiting 10 minutes to render out the cloth animation by .5 frames per sec had me in disarray.
1 Like
