There is an awesome website that sells superb sky panoramas, CG Skies. All cool, except if I want to put stars and planets behind clouds to create sci-fi skies, I can’t.
I’ve yet to see anyone successfully use Blender to render vast and believable (doesn’t have to be photorealistic) cloudscapes and skies to be rendered as equirectangular panoramas (please correct me if I am wrong).
I was looking into getting Vue Esprit 2015 with panoramic rendering plugin specifically to be able to render clouds, but I don’t seem to find any examples / training for that either.
So, I am looking for a solution to my problem - I need an ability to render equirectangular believable couldscapes and skies with alpha mask for clouds (or better yet just render clouds separately from skies).
Any ideas?
Thanks
P.S. By believable clouds I mean clouds that look closer to realistic ones and “wow” a person looking at it, not overly stylized or low poly clouds.
Strictly speaking, planets appear behind the atmosphere as well as behind the clouds. Think of the times you see the moon at daytime. The dark half of the moon appears to be the same blue as the sky. This can be achieved by placing the moon/planet over the sky image image using screen transparency. I’m not sure if this is what you want, but it can look really nice. But this doesn’t affect that you have to cut outthe clouds… can this be achieved by keying out the blues?
The edges of the clouds were picking up a little blue which was clashing with the replaced background, so I desaturated them for the mix. It was a quick and dirty test, so I’m sure there are more robust ways to go about this.
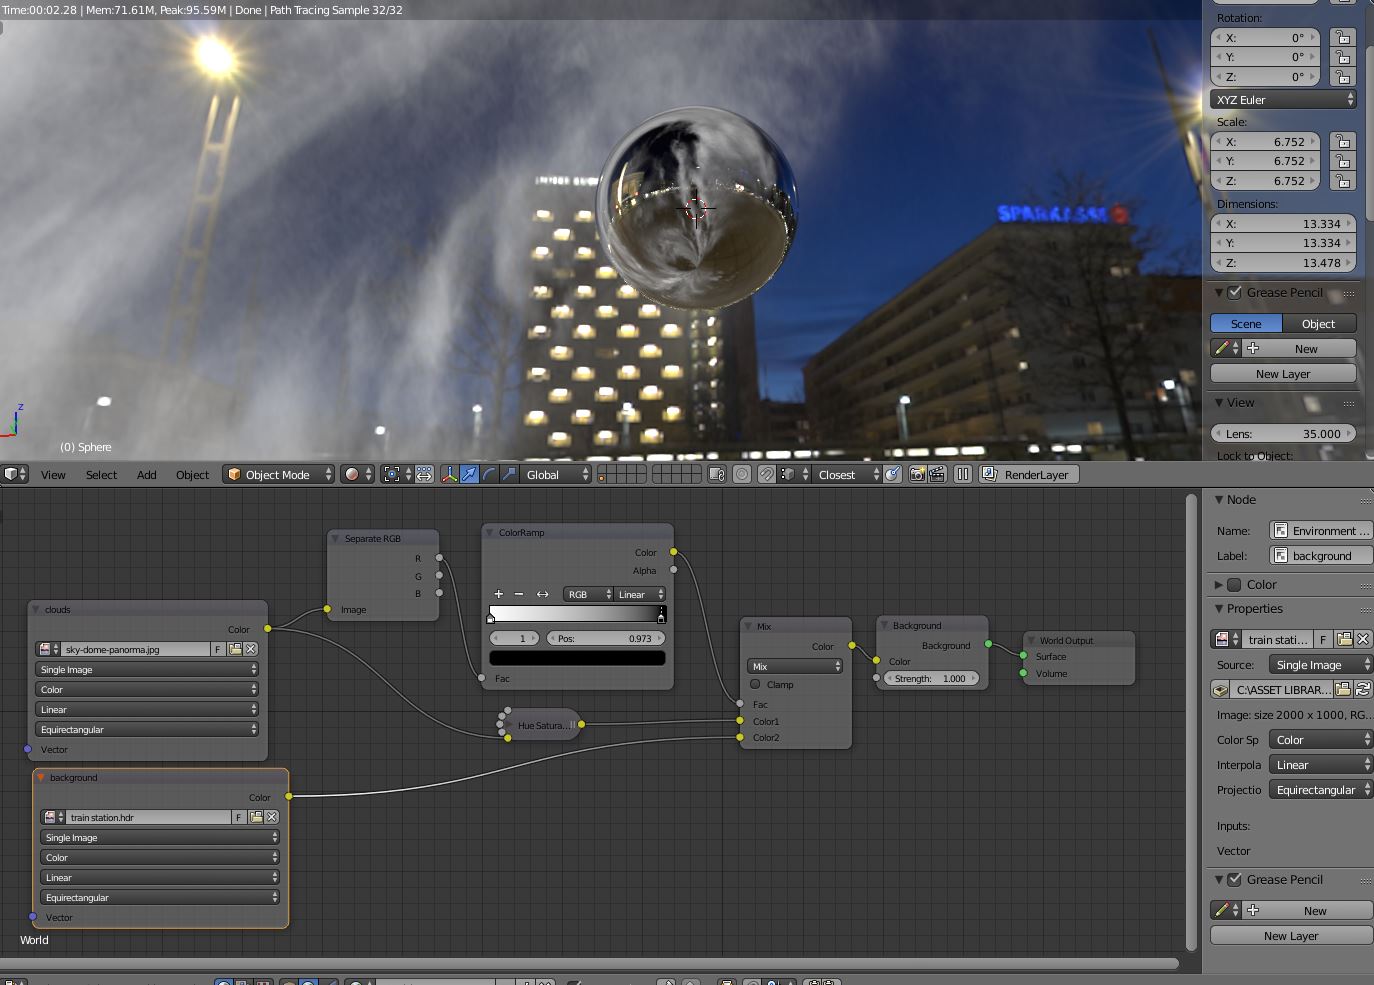
I’ve been using sky domes with vertex paint distribution maps feeding into cycles for clouds recently and been getting quite good results that render quickly. It leaves the non cloud areas transparent behind which I have my cycles sky texture but you could easily add in planets etc.
Issccp, it’s just something I’ve been trying. I like to try lots of different way of making clouds. its nothing fancy -
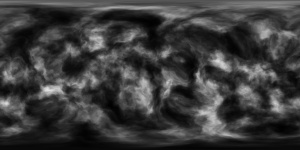
a well divided skydome
vertex paint the main clouds/ cloud masses onto the sky dome - this is what I meant by the distribution map.
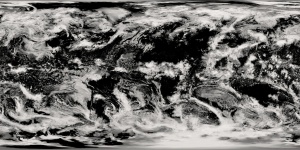
use the vertex color at the start of your node chain and multiply with suitable noise controlled by a color ramp to give the cloud areas suitable cloud texture.
the distribution map is used to fac between the noise textured clouds and a transparent shader. Thus turning areas out with the painted areas transparent.
suitable painting blurring etc of the cloud distribution map gives hard or soft cloud areas.
the transparency allows the sky texture behind to show through.
thats the basics. It’s heavy on vertexes though compared to a simple sky dome but it renders fast. Actually many of the vortexes out with painted areas can be easily deleted once the desired sky distribution is reached.
ive been using this to try to get another method of making clouds exactly distributed where I want them and more control over cloud hard soft edges. I can post a blend if I’m not explaining it properly.