Judging from the size of the camera in the viewport screenshot, the cups are on the large size. You may want to scale the entire scene down some.
The cups and teapot don’t seem to have any thickness. You can add a solidify modifier. And experiment with the scale.
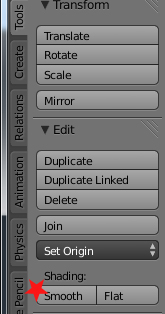
The top of the teapot looks like it has some flat shading on it. Open the tools panel (hit t) click the teapot and hit the ‘smooth button’
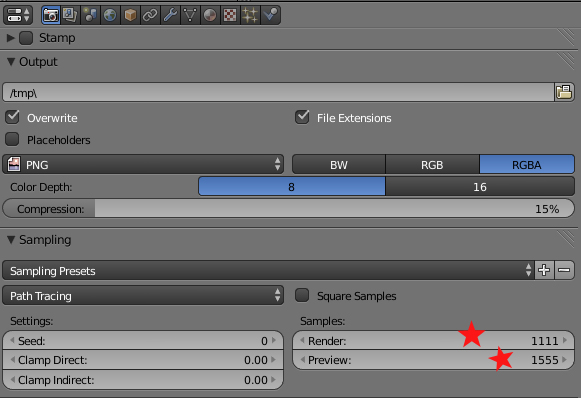
The samples look low, which is why you see graininess in the render. These materials should converge (look good) with a relatively low amount of samples (A few hundred) Make sure your samples is high enough, the default is 10 which is never enough. Try 100, 200, 500, 1000… Eventually you reach a point where increasing it is pointless.
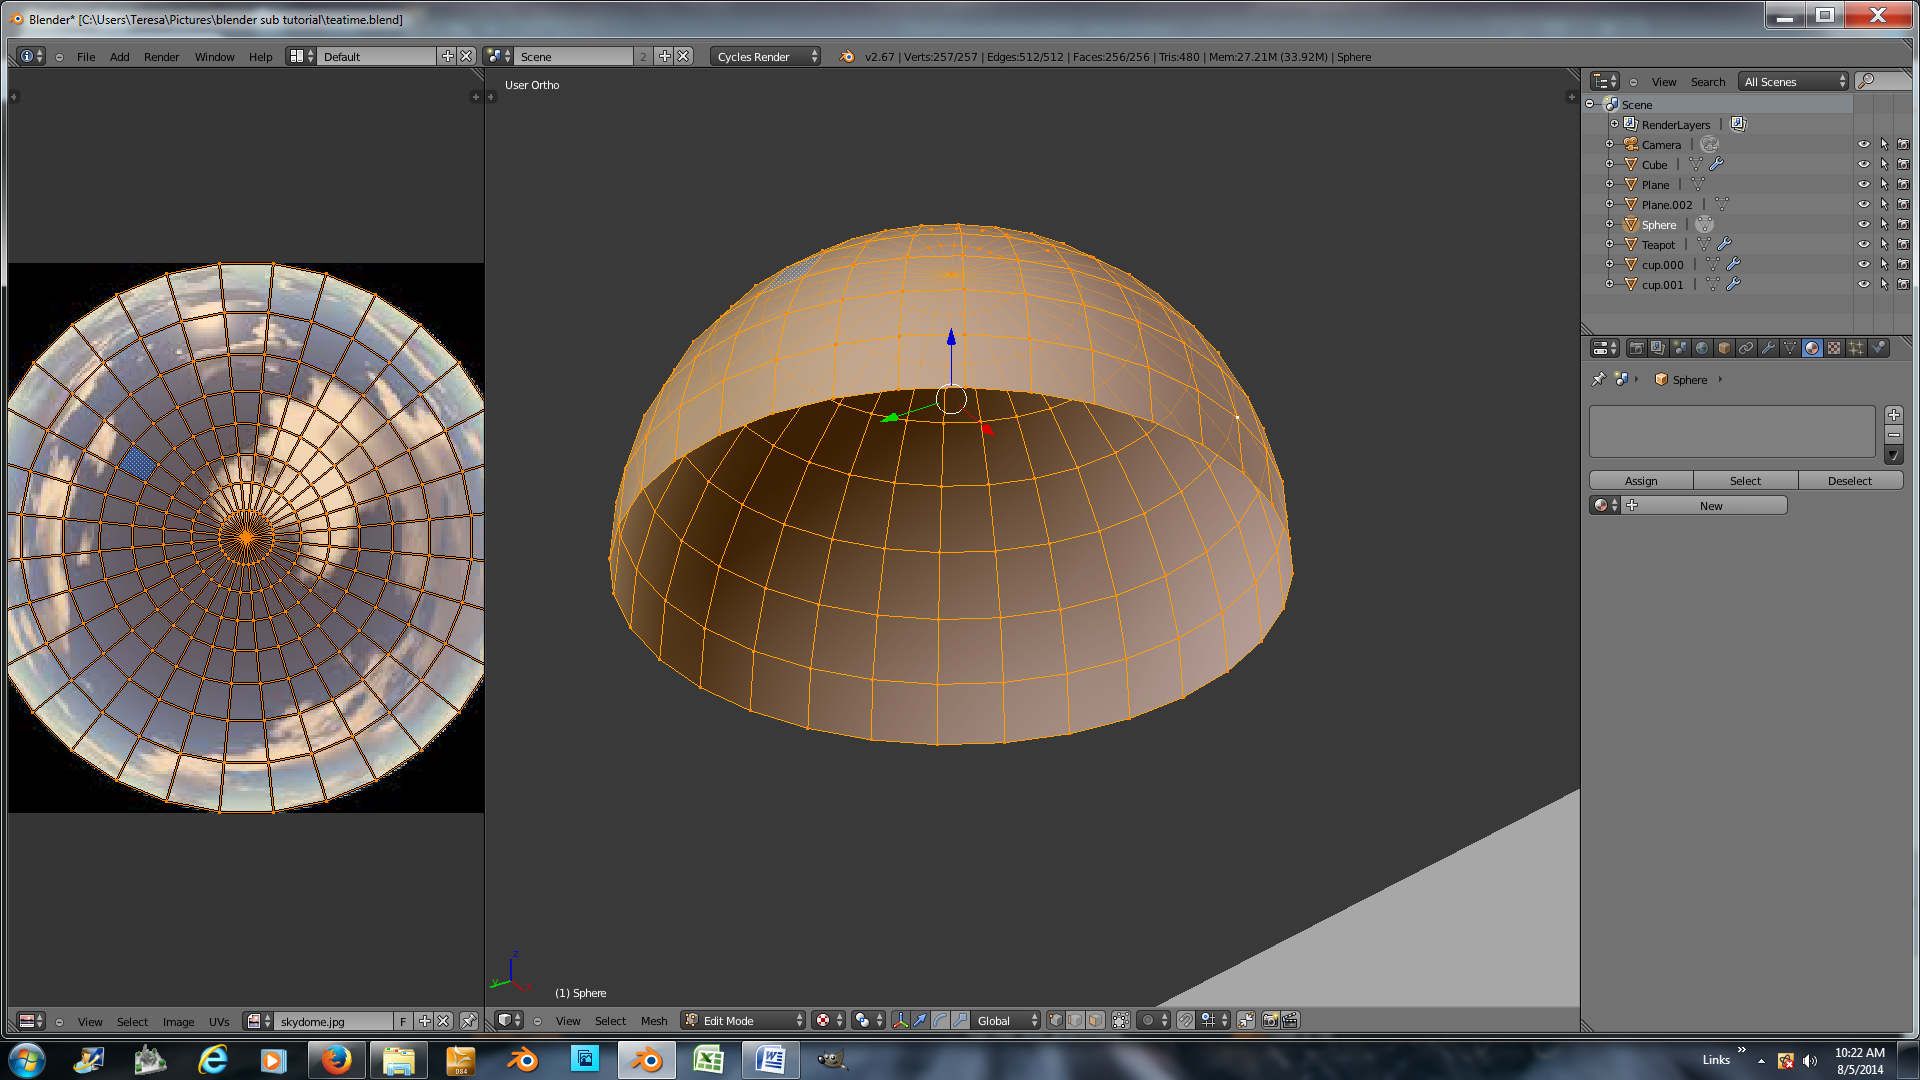
Post a wireframe (or editmode) screenshot of the teapot, especially the handle. I’d like to see how it is connected (or not connected)
Thx Photox I noticed that the handle on all three are not connected I just used a cyclinder on them. Just a question why does it matter if they are connected or not especially when you can join them. I also used extrude to thicken them which I thought was thick enough but it didn’t turn out that way. Also whenever I move the teapot it is always connected to the median point.
The handle being a separate object will mean that the shading may look off, and that it will never look connected to the body. It may not be much of an issue with a teapot but certain other models it will look bizarre.
The issue you are having with roatating the teapot has to do with it’s origin. Every object has an origin and by default when you rotate or scale the object it uses this point. Your origin is far away from your object. It should be within it, or on it’s surface. A logical place would be dead center on the bottom. This way you can scale it on a table and not have it pushing through the floor.
Select the teapot.
Tab in edit mode.
Select the single vertex on the bottom, dead center.
in the menu at the bototm, click mesh -> snap -> cursor to selected.
The 3-d cursor should move to the vertex you selected.
Tab into object mode
in the tools panel (hit t) click
‘set origin’- -> to 3-d cursor.
Now when you rotate/scale the teapot it will pivot/scale about the new origin.
Post a render of the teapot where you can clearly see the handle connected.
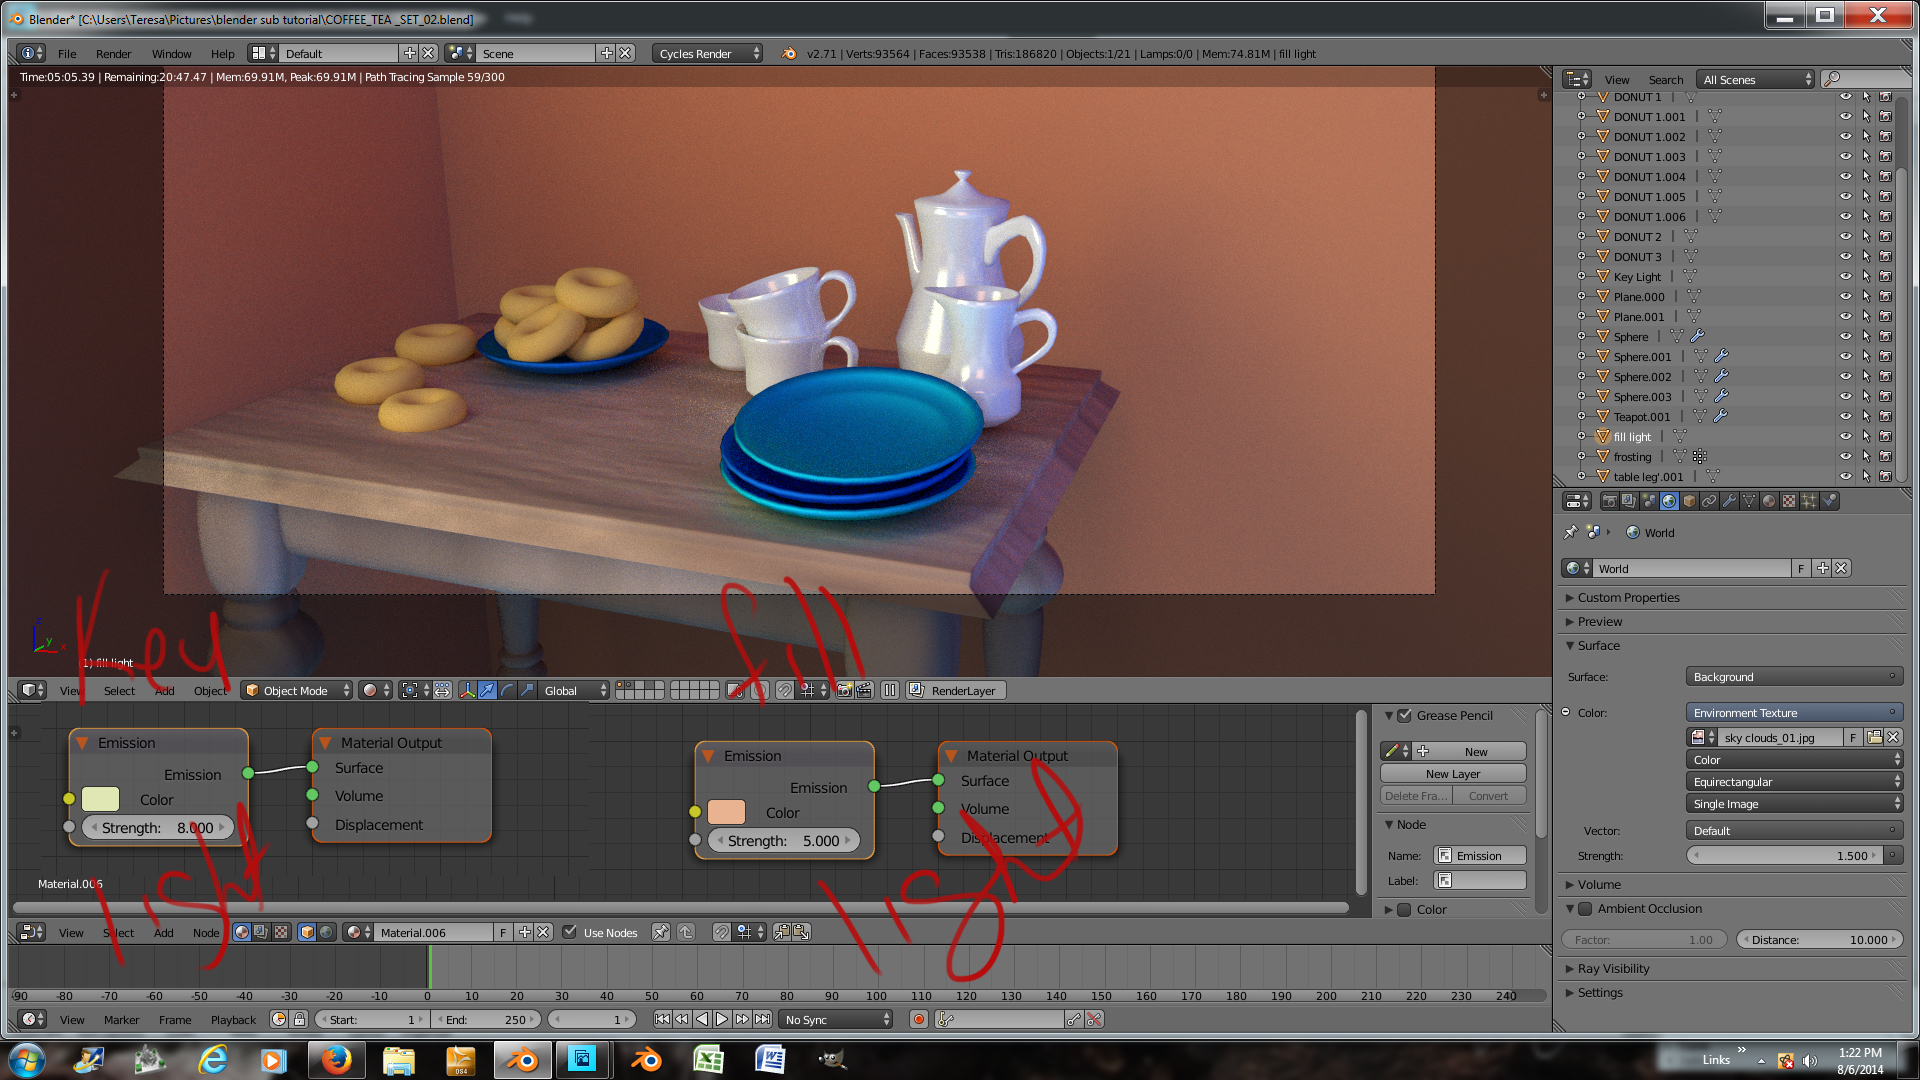
thanks photox I have been trying to get a background instead of the gray. I went to world then material then texture and clicked on clouds chose an image and then back to world. It isn’t working.
I also reconnected the handle of the teapot on top and the cup.
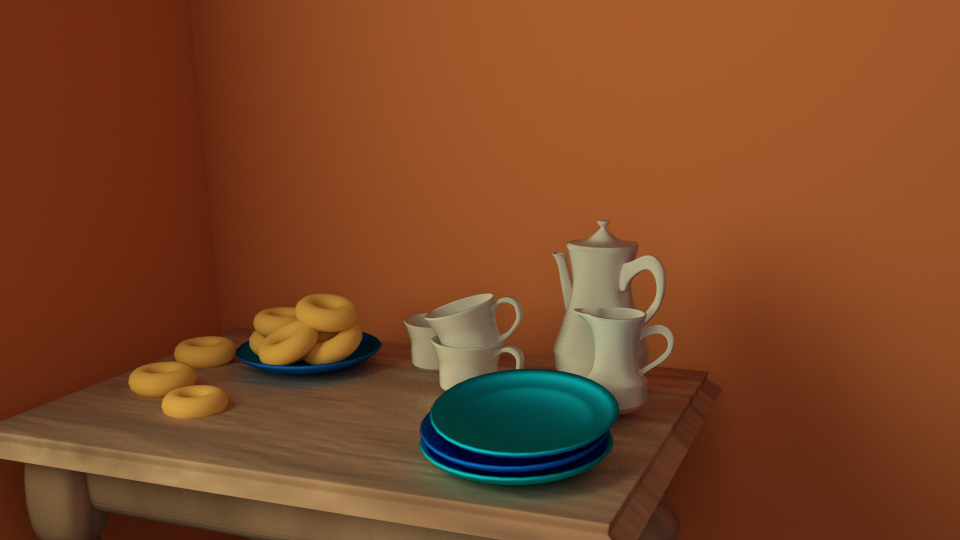
Here is the image
Is the cover of the teapot connected to the base? Perhaps make two different object and put them together. In the real world the teapot cover and base are two different physical objects (unless you have a very unique teapot). I would do the same in your mesh. if they are ceramics as your render implies, they probably would not fit perfectly.
Also, use a sky box (or a different one if you are using one) so the lighting is more realistic. You can use almost any png or jpg if you are just lighting with it. Also have the image tell a story (yea, I know, how much of a story can you have with a teapot, cups, and tray…)
The tray looks a little bla to me. Maybe add a bump map with a pattern. Here is a bad example:
thanks place57 I will work on that tray being more of a bump not sure how but I will see about a tutorial on that. I have been working on the skydome. I watched a tutorial on that and I followed exactly the same steps and it did work but it also show up on the marble.
I didn’t think it was linked together I didn’t see it linked so I just deleted the sphere. Big mistake.
How do I unlink to objects in the materials
Why is this not working especially when it worked the first time. I can’t get this to work.
Here are the steps I took are uvsphere, deleted half, smoothed it, UV unmapped, it worked the first time
did the same thing again and it isn’t working.
This question is off topic but I am also working on a cartoon character I was wondering what the rule are to combine these together in the same thread or should I start a different one.
Hello Spanishrose, thanks for sharing your work with us. One thing that I’ve noticed. You might want to rip to top part apart so that you get a crease. This crease would help the viewer to understand that the can is actually made out of two parts the bottom part and some kind of cap. Keep up your work.
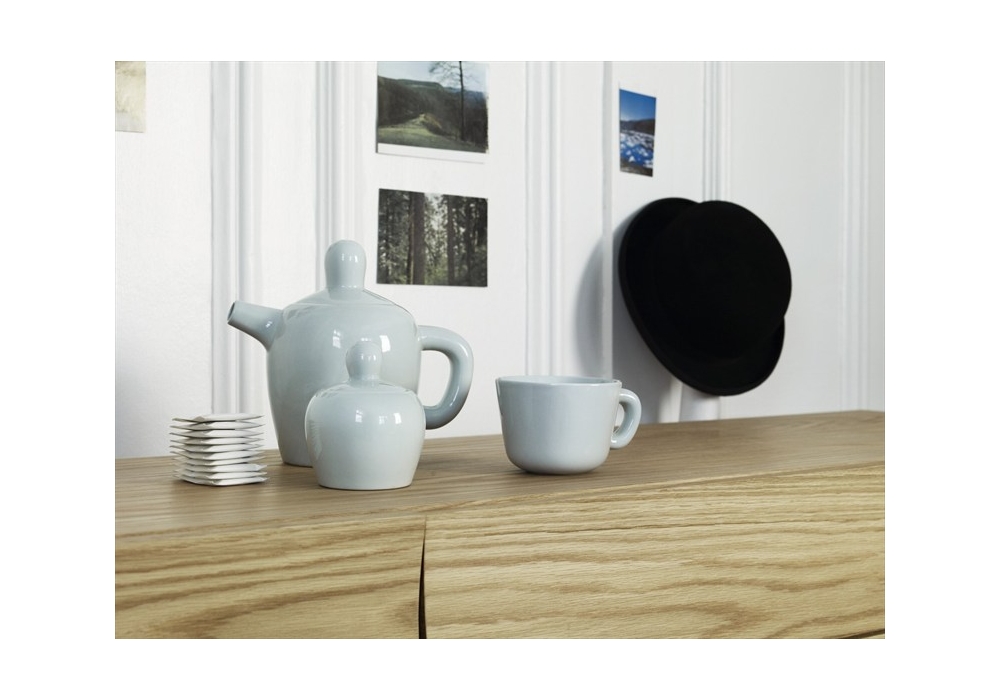
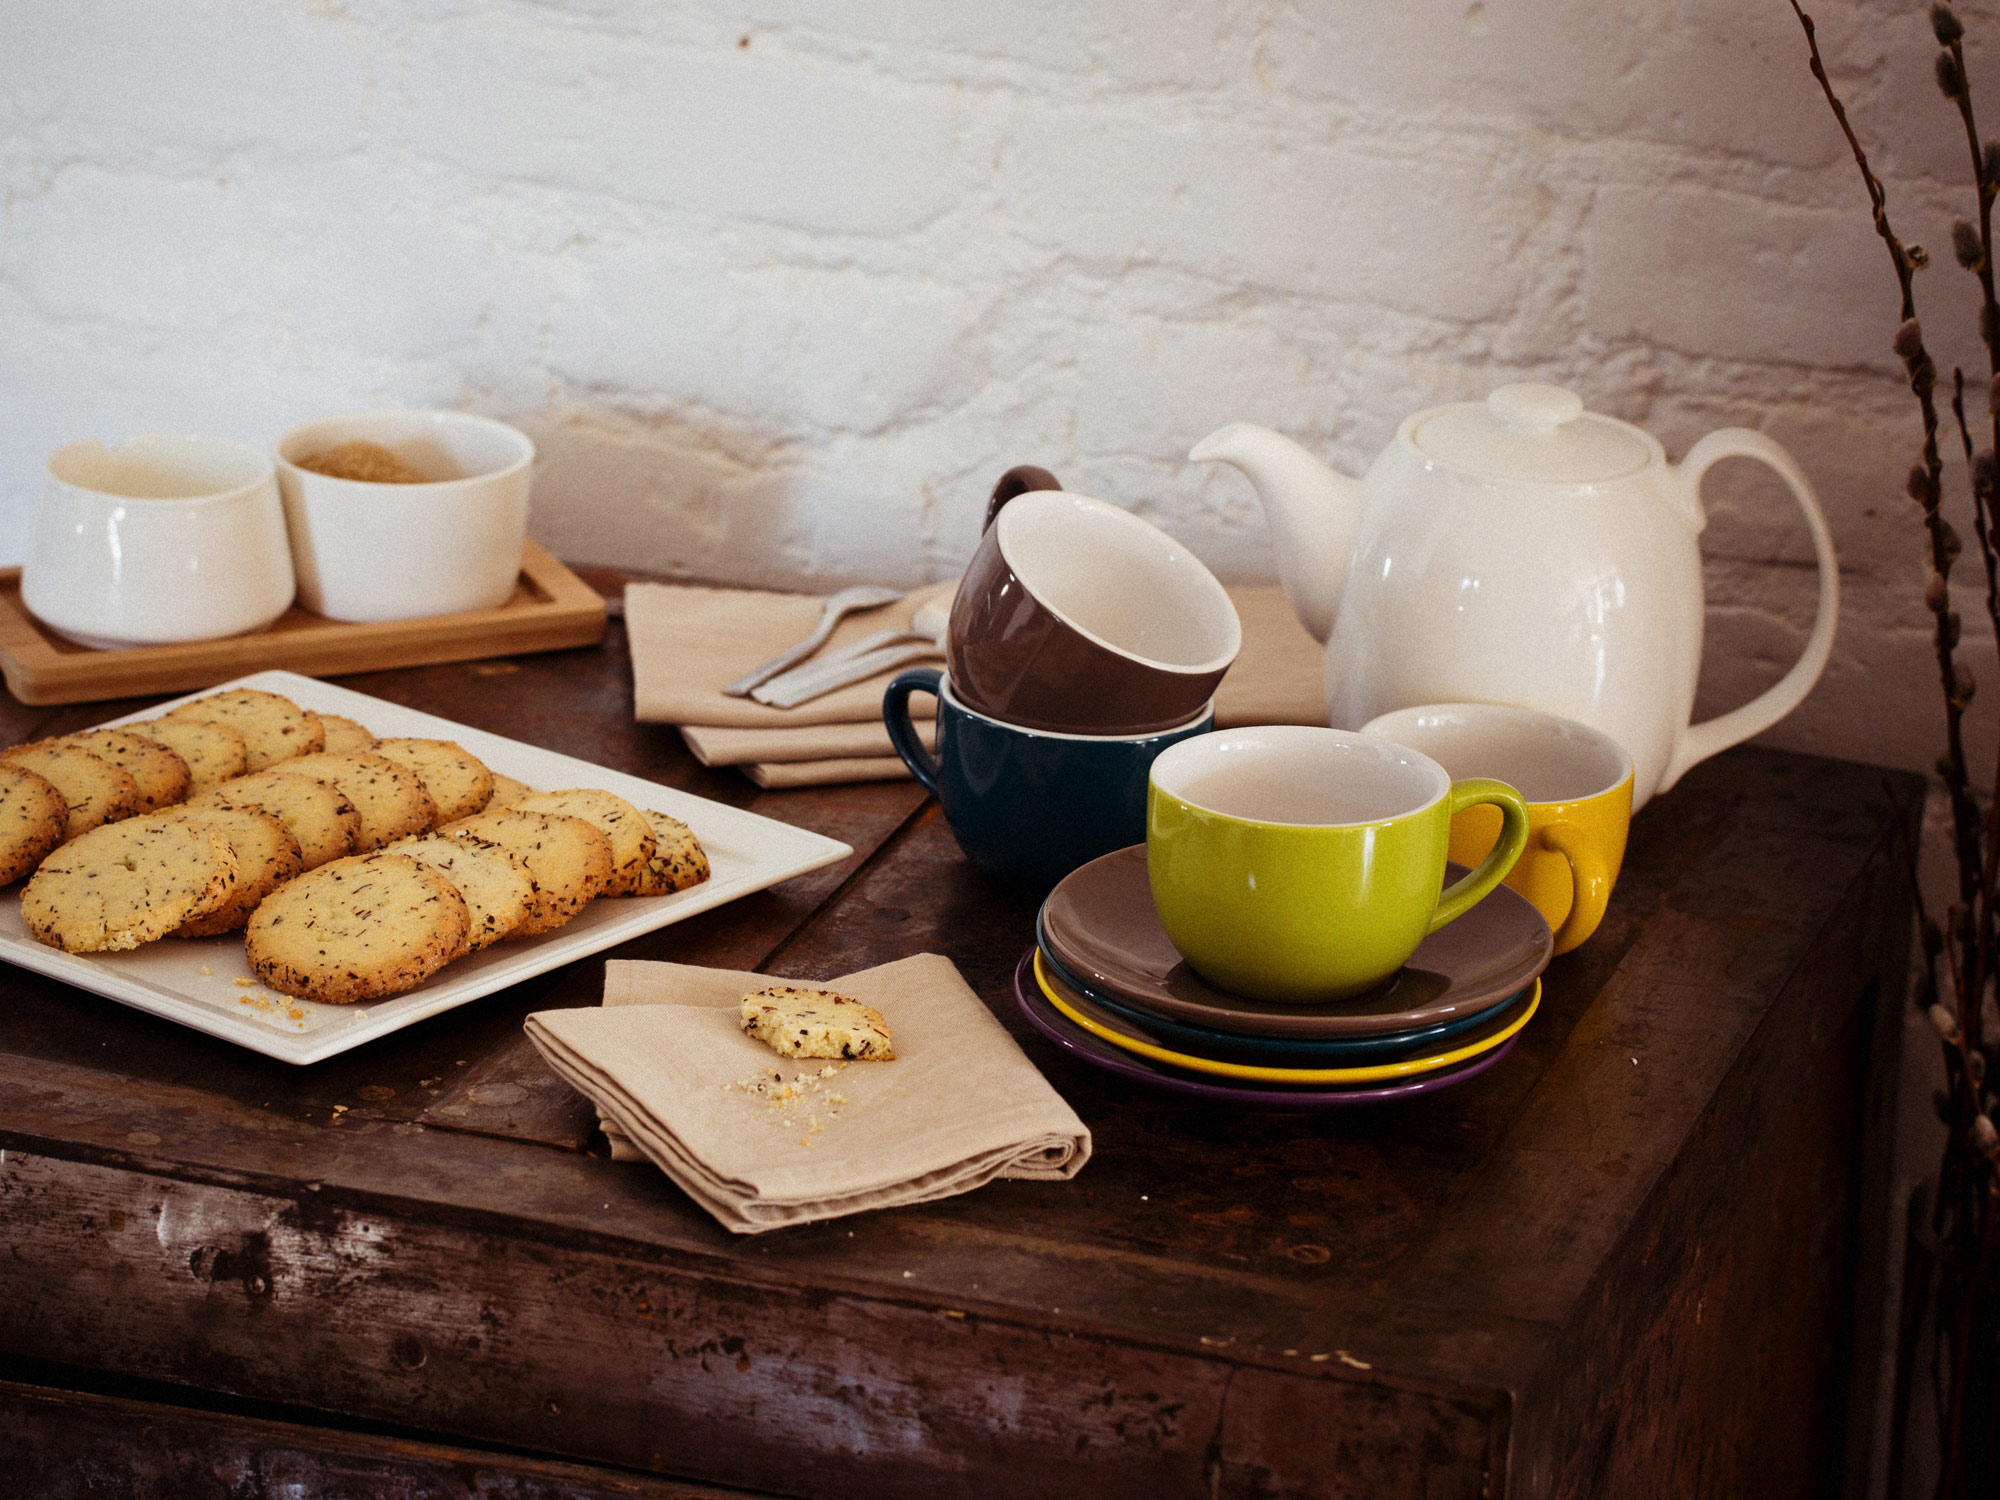
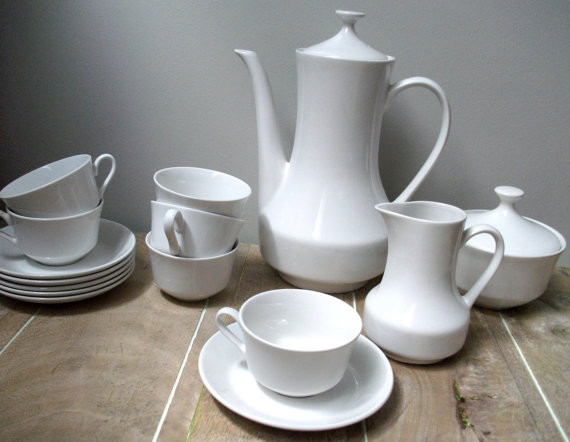
One high level problem that can occur when you decide to model something is the issue of the scene looking “set up” In general the scene will be a bit too simple, too few objects, the objects will be placed and modeled too perfectly. The cure for that is a dose of reference images. Here are 3 images of relatively simple tea/cup scenes. Why don’t you pick one of them (or find another on the web) and attempt to match the reference photo. It doesn’t need to be exact, but use it as a guide.
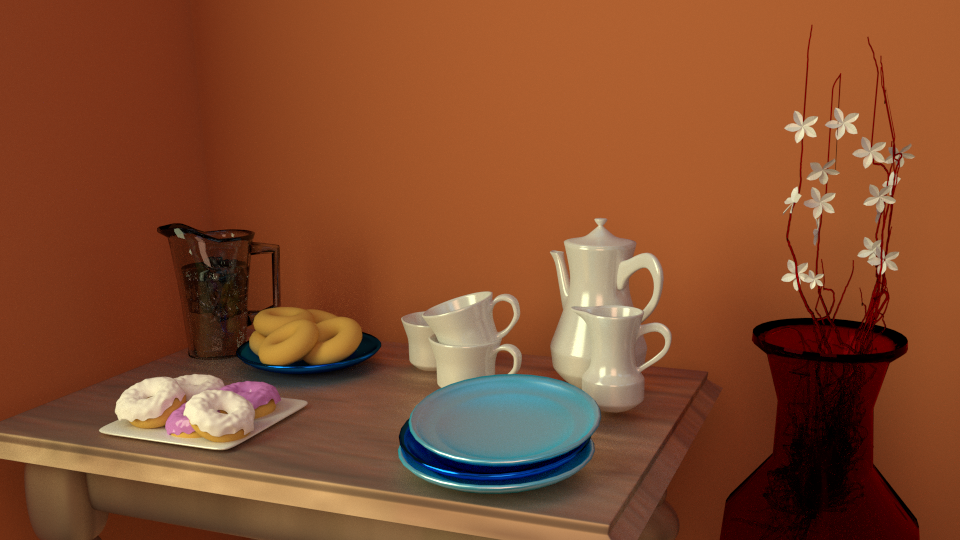
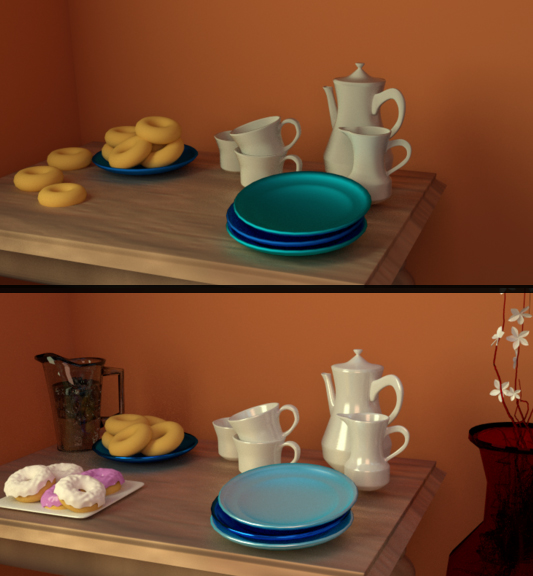
Well I have come up with this. I am not finished with it. I want to add more to it.
Will be adding a vase with flowers next to table, fix the lighting.
add frosting to donuts adding a tray, hoping to add water pitcher with ice?
I also was thinking about a napkin or table runner not sure about them but
will try it.
Also what are you using for lights. In cycles, you will get much better results using a planes with an emission material (sometimes called mesh lights) instead of using lamps.
I am using the two planes for the lights. One is key and other fill
Now I did put in the HDRI to the environment you will see it in the photo. It is really pretty but I am thinking the strength should be adjusted. For the moment it is at 1.000
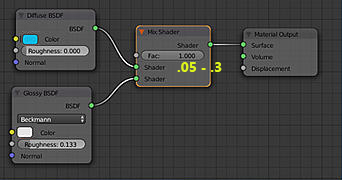
For the ceramics I changed it to what you recommended in that link post #5. It certainly made a difference in the ceramics. I just had a glossy and adjusted the strength. Wow that certainly a huge difference.
That’s looking much better! Now give those plates some gloss. The two important values on the simple diffuse/glossy mix are the roughness and the mix factor. The roughness is a measure of how reflective, or how close to a mirror the material is. So a roughness of 0 is a perfect mirror. I would give that wooden table some gloss as well, and the plates too. In fact nearly every material in the world has a at least a little bit.
Have you ever worked with masks within a material/texture before?
The effect an hdri environment image has on the materials (especiall very glossy ones) is enormous. In my opinion enviroment lighting is more important is a scene that has very few objects. Why? Well if you have a scene filled with all kinds of objects everywhere they will reflect each other. So the point is if your scene is low on objects choose your hdri very carefully. I noticed you chose a sky image, that will cast a blue hue to your reflections. It may look off if you have orange walls. My default hdri image for startup blends is called “Hamarikyu Bridge” I has a lot of brown, and a touch of blue and green. Download it from sibl, unzip it, and do a test replacing your ‘sky clouds’ image with ‘14-hamarikyu-brudge.hdr’ And just notice the effect it has. Never underestimate the effect your lighting has on a scene. For fun change one of your mesh lights to pure red. sIBL
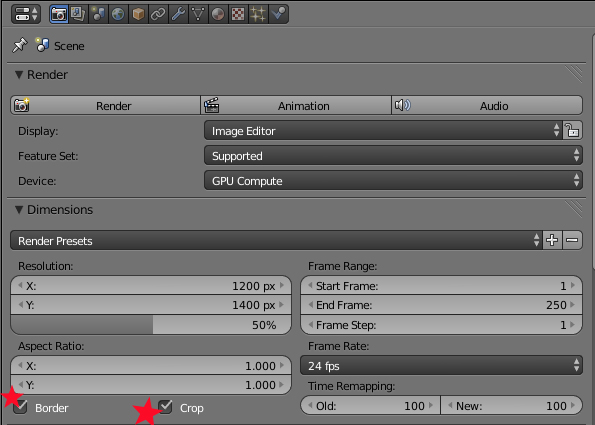
Oh one more thing, I noticed that your screenshot showed a viewport redner of only 59 samples which makes me think that maybe your system is a bit slow. One thing you can do to speed up viewport renders is to check the ‘crop’ and border checkboxes, so that only what is within the camera’s frame will render.
The glossy I only had glossy and not connected to anything but the material node then I followed what you said in the previous post you gave to me. The mix fac .0136 and diffuse 0 and glossy at .042 which worked but it didn’t have my color in that. So I changed it to the nodes in the image. It isn’t what I want. I wanted that aqua color I had and it changed it.
Even when I disconnect the diffuse and mix it still has that color.
I went ahead and put in the pure white for the pitcher, water, and ice when i render it it turns all white.
So I reduced the IOR from 1.450 to 1.330 to 1.250 It still has a very white. I also reduce the pure white on the water
and the pitcher it still does it. I have also deleted the water pitcher.
ON this last render that I have done I deleted the white frosting. What is going on


 Keep up your work.