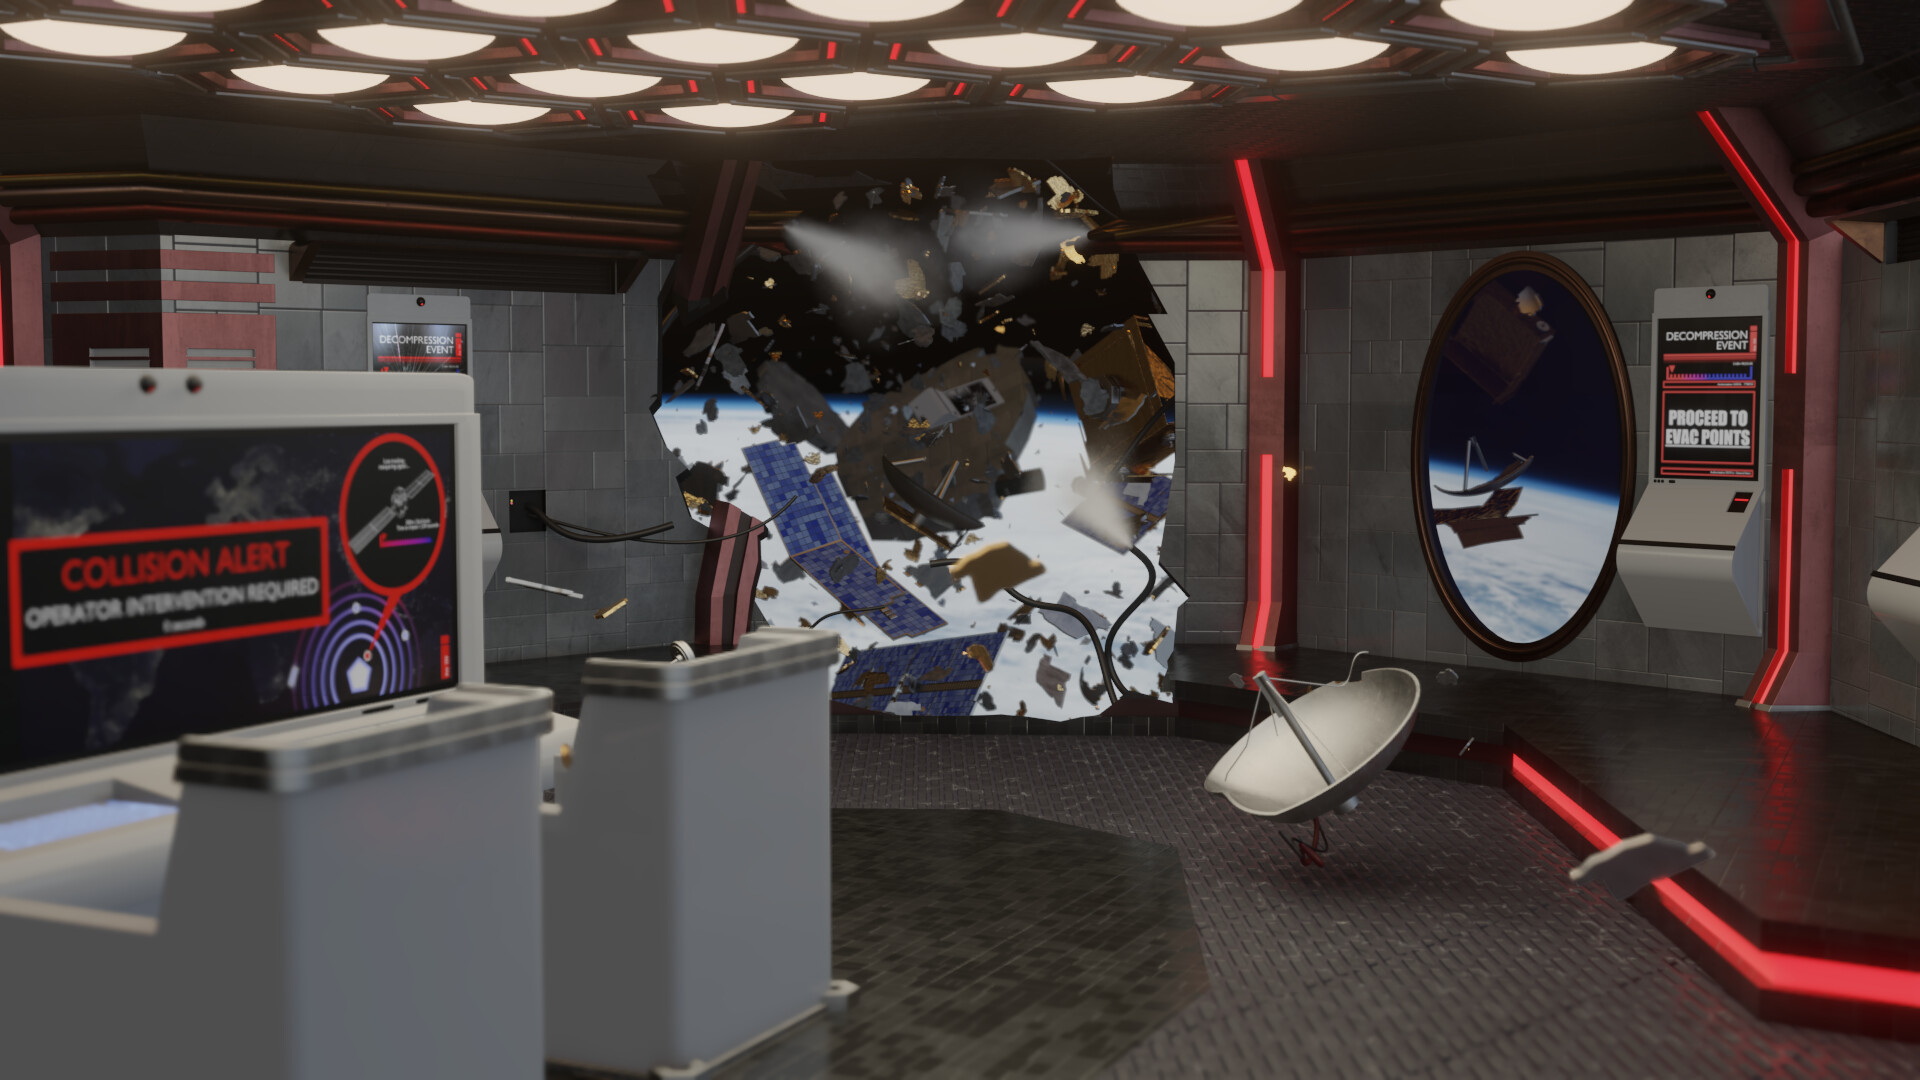
You can probably see the kind of thing I was going for here, but I’m not sure I’ve quite achieved it.
Looking for any feedback to help improve this. Anything that might add to the realism or atmosphere (no pun intended ![]() ) of the scene.
) of the scene.
You can probably see the kind of thing I was going for here, but I’m not sure I’ve quite achieved it.
Looking for any feedback to help improve this. Anything that might add to the realism or atmosphere (no pun intended ![]() ) of the scene.
) of the scene.
Looks like all the pieces are good, but you have a problem with depth; the image looks flat. Here are some tricks you can try to fix it:
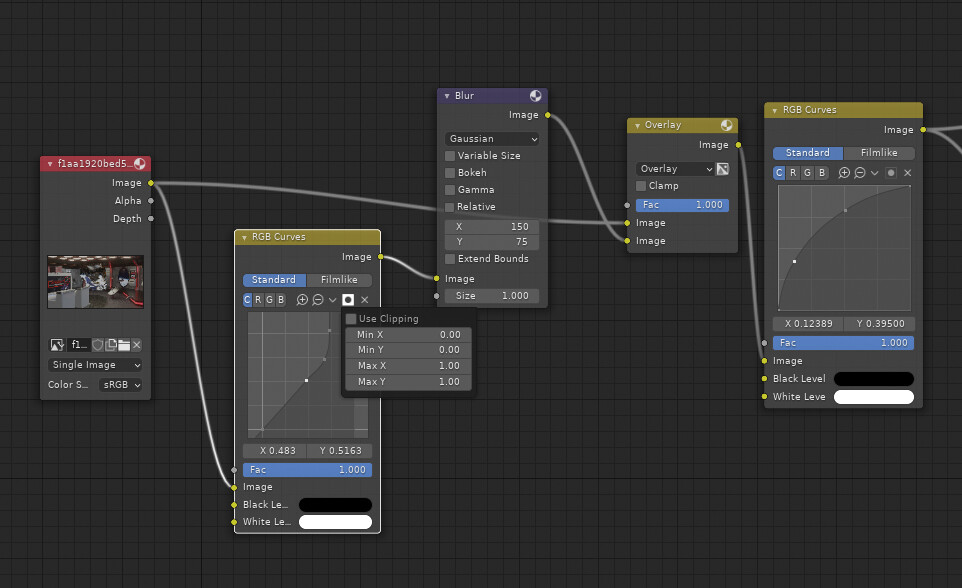
And this is your image when fed through it:
You can tweak the curve and the mix node to get different looks.
You can also use an RGB curves node to pre-multiply the bright sections before feeding the image to the blur node. This saves having to amp up the emission values on objects in the scene. It can be a bit finicky though, the curves node isn’t ideal for this (make sure to turn clipping off).
@joeedh That’s some great advice, thank you.
I knew I had a problem with it looking flat, but I was trying to fix that via the depth of field effect. It would never have occurred to me to play with the AO and bloom to give depth, so thank you.
This is all using Eevee settings and an S-curve for colour management. I’ve not used the compositor yet. I think it’s a big improvement.
Really appreciate the guidance.