Hey, emu, thanks for the comments. And yes, you and quite a few others have noticed that my video lacks shadows. Unfortunately, at this level in my Blender learning process, I lack the expertise needed to make good-looking shadows. I did try, though. Specifically, I tried to set up some shadows in the first room where Chris is shooting the rolling droids. I just couldn’t get it to look right (too many straight edges); so, rather than invest a huge amount of time in getting it right, I left it and went on with the project.
Also, a potential problem with using heavy shadows when integrating real footage is that if your actor is going to be walking into or out of a shadow in the virtual world, you must somehow recreate that shadow moving on your actor, a trick which, for the moment, is beyond me.
Also, about your greenscreen question, emu: putting my video on youtube hid most of the faults with my greenscreen work. If you look closely, you may still be able to see some artifacts in the last scene where Chris opens the pop can.
Now onto more of “The Making of Commando Kristoff.”
To get my shot list, I tried to use a storyboard for this project, but I am a poor freehand artist, so I went instead with a simple written shot list that had the name of each shot and what was supposed to happen in that shot. To make sure that Chris was positioned correctly, I drew a few quick sketches of the 3D scene that I had built and drew in the camera positions.
Let me next outline the flow process for each shot:
-
We did about 4 to 8 takes of each shot.
-
I imported the footage onto my computer using Windows Movie Maker, picked the take that I liked the best, and exported it as a DV-AVI file.
-
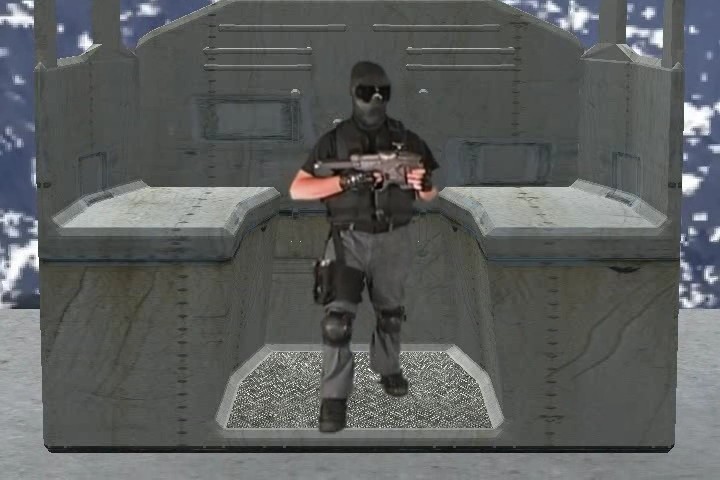
I imported the take into Blender and did a garbage matte, which means that I covered up parts of the image that were not covered with greenscreen (parts of my room, like the ceiling and walls) so that the only thing in the shot that was not green was Chris.
-
If a shot was a moving shot (that is, the camera did not remain stationary), I had to run the shot through Voodoo Camera Tracker to get a python script that would tell my virtual camera how to move in the CG world.
-
Next, I put the garbage matted shot back into Blender, gave my virtual camera the Voodoo script instructions, animated any objects that might need to move in the shot, and composited in any special effects like explosions or gunshots. In the Blender video editor, I used a plugin to lay my greenscreen footage over the image that was generated by the virtual camera. I rendered all of this together to make the shot in its final form.
-
Once all of the shots were done, I strung them all together in Blender’s video editor, added all of the sound effects, added music, and rendered the final video.
Shots that used terragen went through a different process, since they didn’t use greenscreen and required the use of a special integrating script.
All right, enough for now. I still want to talk about some websites that were very helpful to me during the making of this project, so keep checking back. Let me know if anyone has any questions they would like me to answer.