Community input needed: should bone constraints default to Local Space?

Hey !

It’s hard to tell , you might be right but it’s really a weird way of phrasing it…
World space is easy to understand !


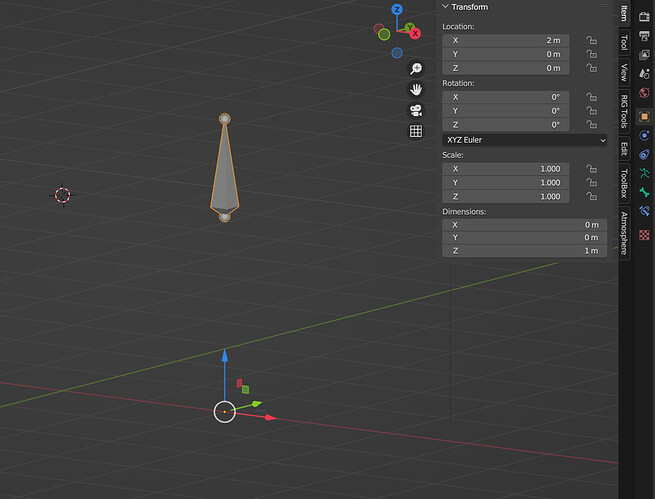
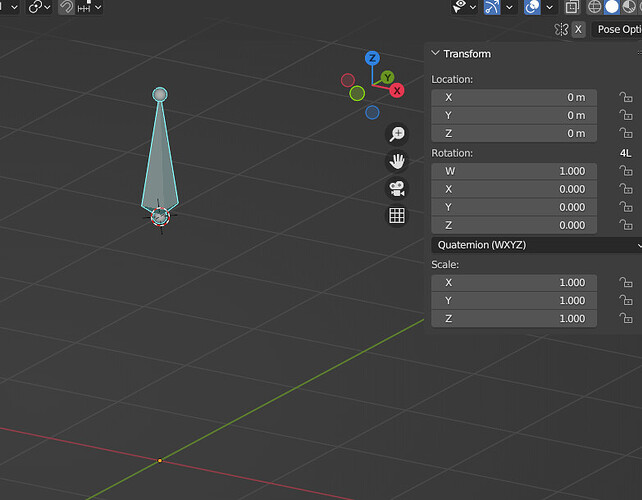
If you look at this bone, armature is at 0,0,0. Bone position in world space is 0,0,2 , but it’s local position is 0,0,0 , that’s what is displayed in the Transform location panel.
Basically the Local space of a bone could be seen as it’s little “own world”.

Pose space is the armature’s own world.


I’ve moved the armature to (2,0,0) , bone’s world position is now 2,0,2 , but it’s local space is still 0,0,0 . I’m not 100% sure since I’m discovering Pose space thanks to Zeauro, but if I’ve learned my lesson correctly bones position in pose space in that case is 0,0,2.

I highly recommend to watch Humane Rigging series on youtube ( or even better on blender cloud).
Author explains a lot of fundamental things like world vs local and it’s really a good introduction to more advanced rigging which implies to be at ease with all these concepts.

Now at first I thought Local is a good default too since it’s used quite often.
But it can be very misleading especially for beginners. To understand the problem. you can try the file here : Community input needed: should bone constraints default to Local Space? - #43 by sozap

These bones looks similar but some of them have their Roll rotated by 90°.
In local space the bone is supposed to copy the rotation of the red one, but it goes in another direction , which is natural, but very confusing since they are in their own world.
There is another example file with location, where even if both bones have a copy location they don’t go in the same direction.

In world space it’s very reliable and it does what we expect.
“Local” constraints is very needed, for sure these examples could demonstrate how you want your rig to behave. But for beginner as default that seems quite confusing to me !

Hope that helps ! have fun !
Apologies for not reading through everything here.

Would be good to see constraints work more consistently across bones and objects. There is already a strong relationship here for both, the unfortunate thing is that some of the constraints when use with some of the objects (not bones) have strange orientations for artists to work with.

IMO there are several things that need to be addressed here.

1. Object type to use with constraints.
2. Objects Initial starting Orientation.
3. Opening up all axis of constraints so there not tied to a single axis.

The above is going to require Blender to possibly break backward compatibility

1. Decided what axis all objects are going to be facing default Front view facing IMO is best.
2. Give the user the ability to change the orientation at the preferences level
3. The user should be able to change the default orientation of the object not changing the deltas of the object orientation (this could happen at a Data Block).

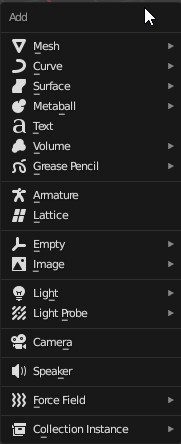
There are 18 object types in the Blender here is a list of their current Rotation
image

Mesh … Orientation = Forward
Curves … Orientation = 2D curve Up, 3D Curve Forward.
Surfaces … Orientation = Forward.
Metaballs … Orientation = Forward.
Text … Orientation = Up.
Volumes … Orientation = Forward.
Grease Pencil … Orientation = Forward.

Armature … Orientation = Forward.
Lattice … Orientation = Down.

Empty … Orientation = Down.
Image Type … Orientation = Down.

Light … Orientation = Down.
Light Probe … Orientation = Forward.

Camera … Orientation = Down.
Speaker … Orientation = Down.
Force Filed … Orientation = ?

Instance…Orientation = Forward.

Constraints Focus
Objects & Armature constraints work differently. Opening up constraints so that they can work on every axis instead of being axis-specific axis will offer the user a more consistent experience. Some constraints could adopt other constraint capabilities reducing the amount of processing for animation. Animators are trying to buy this power with every keyframe they can get.

A good example of adoption would be adding a checkbox to the:

  1. Track to constraint to adopt the Stretch to constraint behaviour. This would allow the object to stretch along the axis that the Track to Constraints is targeted to point at.
  2. Damp Track Constraint to adopt the Stretch to constraint. This would allow the object to stretch along the axis that the Damp Track Constraints is targeted to point at.

At the moment stretch to constraint only works on the Y-Axis making it more difficult to work with than it needs to be.

This all ties in with being able to have the pose library work with Objects, Armature & Verts for a solid clean workflow.

I should make myself more clear, addressing the issues above should help clear some of the confusion about working constraints

Most of the time I am adding extra constraints to counter other constraints behavior (I’ve just come accept Blender not making sense here). Personally, I just scroll through the option until one works, then test every step of the way. Most of the time working between the world and local.

I have to chime in on the child constraint, there are issues with it. i did find when it breaks the only way to fix it quickly. the user has to tediously go back looking at the relationship hierarchy; all the way back to the root if necessary and reset the child of constraint until there are no more Child of constraints being used and then it will finally reset back to normal.

As far as I know, there is no other way to do this.