Node setup is much less important here than understanding of what’s going on and why.
All the problems come from not proper setting of alpha mode in shading options of render, plus interaction between the colors (RGB) and alpha channel.
In order to make the setup work perfectly we have to first take care about setting the proper alpha mode (render settings, shading panel). We have 3 options:
- “Straight” (in latest releases it’s called “Transparent”)
- “Premultiplied” (In latest releases this option is gone)
- “Sky”
By default it’s set to “Sky” which is a big NO NO. If you want to do ANY compositing - change it immediately to “Straight” (“Transparent” in latest releases).
At first it may seem that “Premultiplied” is a good option, but it’s not. I won’t elaborate on this, especially that as we can see this option will most probably be NOT available in new versions, so let’s simply forget about it and begin to be happy that we won’t have to wonder why we should or shouldn’t use it. It’s gone and it’s good.
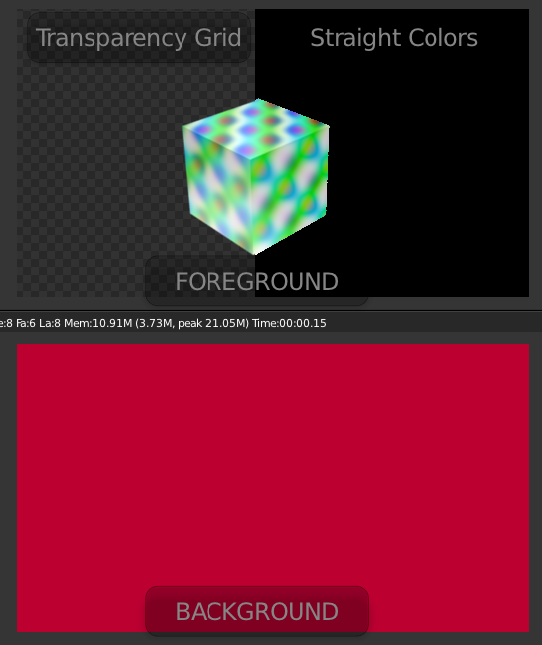
So this is what we are playing with:
The foreground is our cube. Top left part of the above image shows it composited over transparency grid.
Top left - straight colors of our render. There is nothing in our scene except this cube, alpha mode is set to “straight” so every pixel that’s alpha is ZERO is pure black. Every pixel that’s alpha is greater that ZERO (it may be even as low as 0.000001 or so) will have the color of the cube.
When we disable transparency and look closer on the edges we will see that they are jagged, but it’s not a problem at the moment. It will be taken care of when we composite it over our background using the alpha channel.
When we blur such image we will get some of this black color at the edges. When we think about it without analyzing alpha it’s logical. All of the colors are blurred, so those black pixels from the surroundings of our cube will also be taken into account. This is where this black fringe comes from.
Two component get blurred: Colors and Alpha. Colors however get “mixed” with black pixels. The ones that alpha is ZERO. After blurring we get the result as we we had colors pre-multiplied with alpha. Therefore in order for those colors to mix nicely with the background we have to “reverse” pre-multiplication, which in practice means - we have to divide colors by alpha.
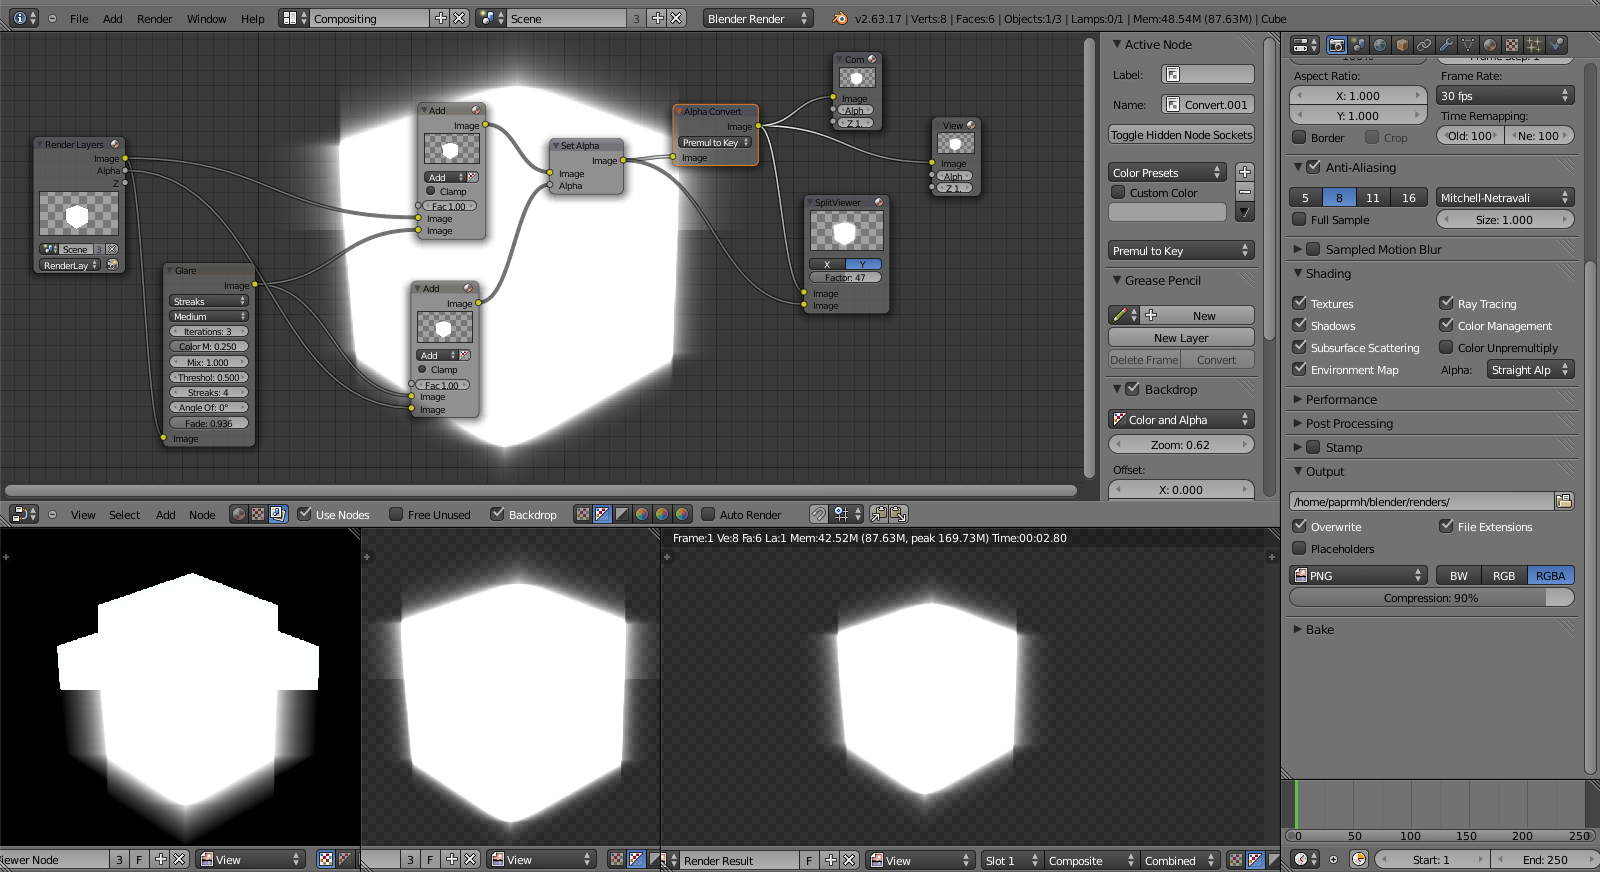
There are several ways of ding it: We can simply use mix node where we plug blurred image into upper socket, alpha into lower one, set blend type to “DIVIDE” and we’re done.
We could as well use another option which is “converting” the alpha mode, so we use “Alpha Convert” node from “Convertor” section. When we set it to “Premultiplied to Straight” we get exactly what we want, meaning: “un-premultiply” or in other words - divide by alpha.
When we do so - we can now use simple “Mix” node with “Use Alpha of second input” option turned on, or use “Alpha Over” node.
The latter is in our case simpler, as “Alpha Over” node expects premultiplied inputs. So if we decide to use “Alpha Over” node - we don’t have to… we even mustn’t convert alpha mode. We plug our blurred cube straight into this node.
When we take a closer look at “Alpha Over” node we see that we have the option there: “Convert Premultiplied”. We need to enable it when the inputs are NOT premultiplied before they go into this node. In our case we DON’T do it, because our sources ARE pre-multiplied.
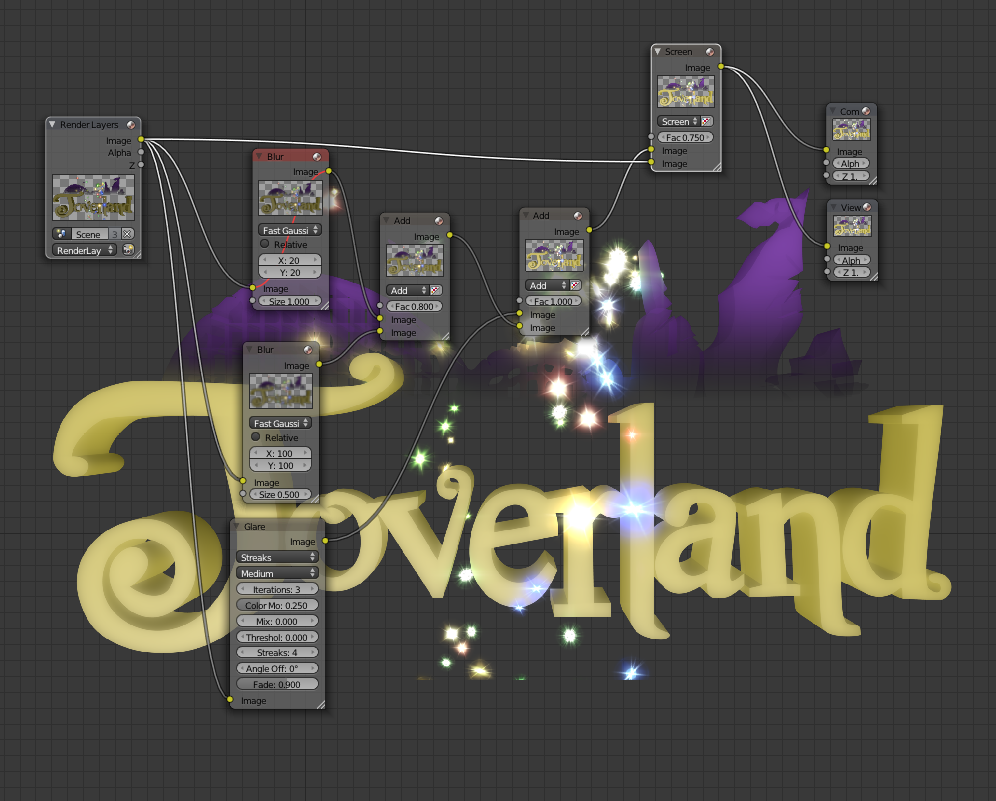
Below you’ll see 3 setups:
- Cube with glare composited over red BG using “Alpha Over” node
- Cube with blur composited over red BG using “Alpha Over” node
- Cube with blur composited over red BG using “Mix” node
Please note that I didn’t at all use the option with “Mix” node to composite glare. This doesn’t want to work if we don’t use some complicated setups. It IS possible to set it up, but I think it’s rather not practical, especially that we can use just “Alpha Over” node and it will work nicely.
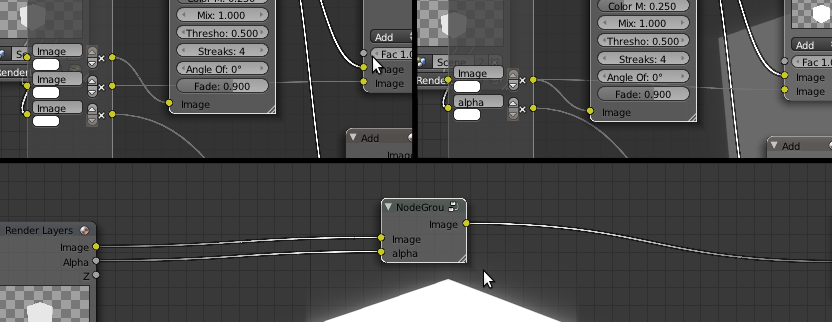
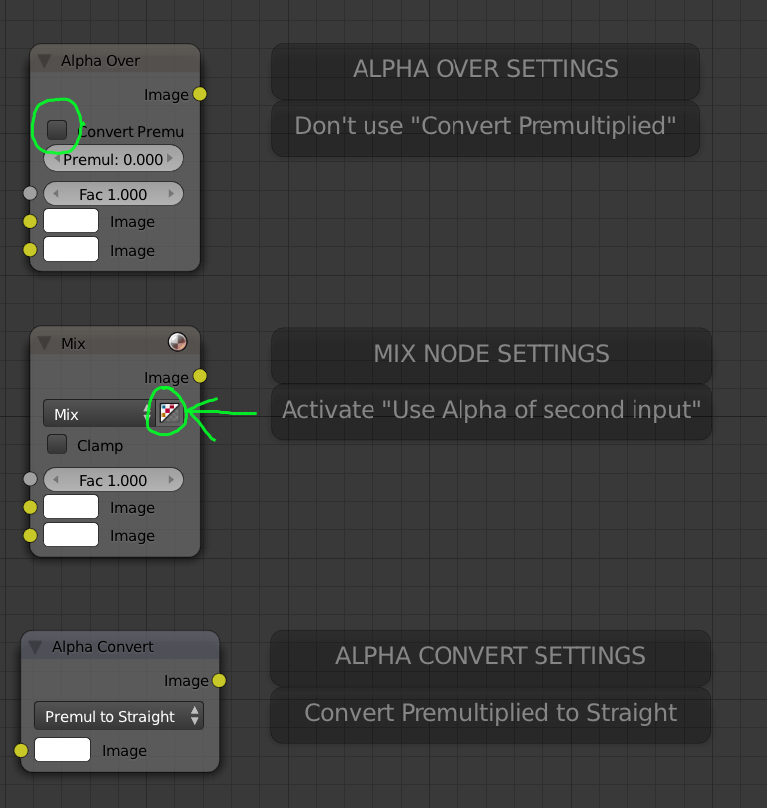
And here are closeups to settings of “Mix”, “Alpha Over” and “Alpha Convert” nodes: