I need to start posting art again. Late New Year’s resolution perhaps.
Yes sir, been looking for your stuff on youtube and here.
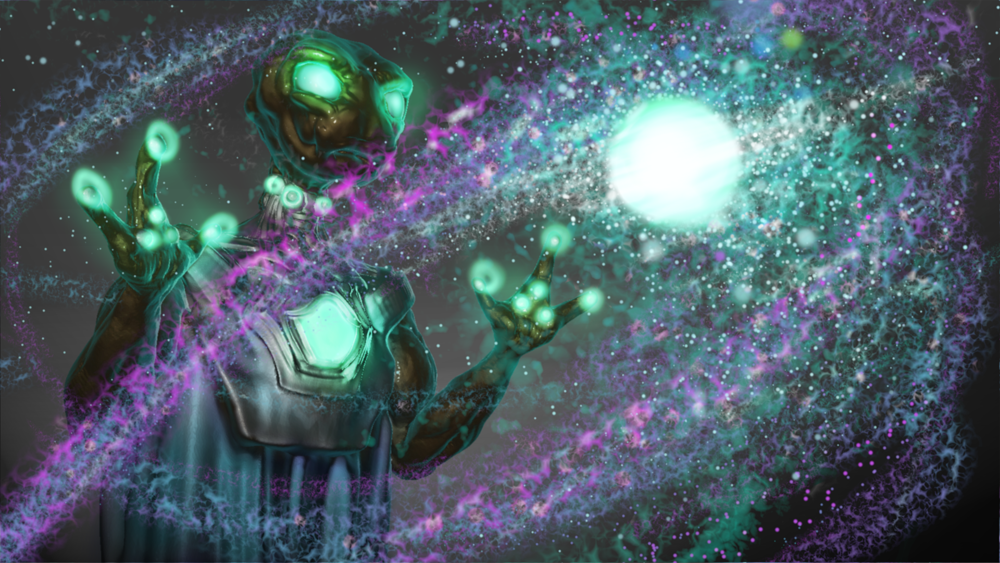
Meanwhile, I am kinda jumping the gun into this as color, and I think it is going to just go until I decide I am done with it - really need to move on and do some study work.
Lost most of my work to a computer failure - but good news is that I save a bundle on car insurance.
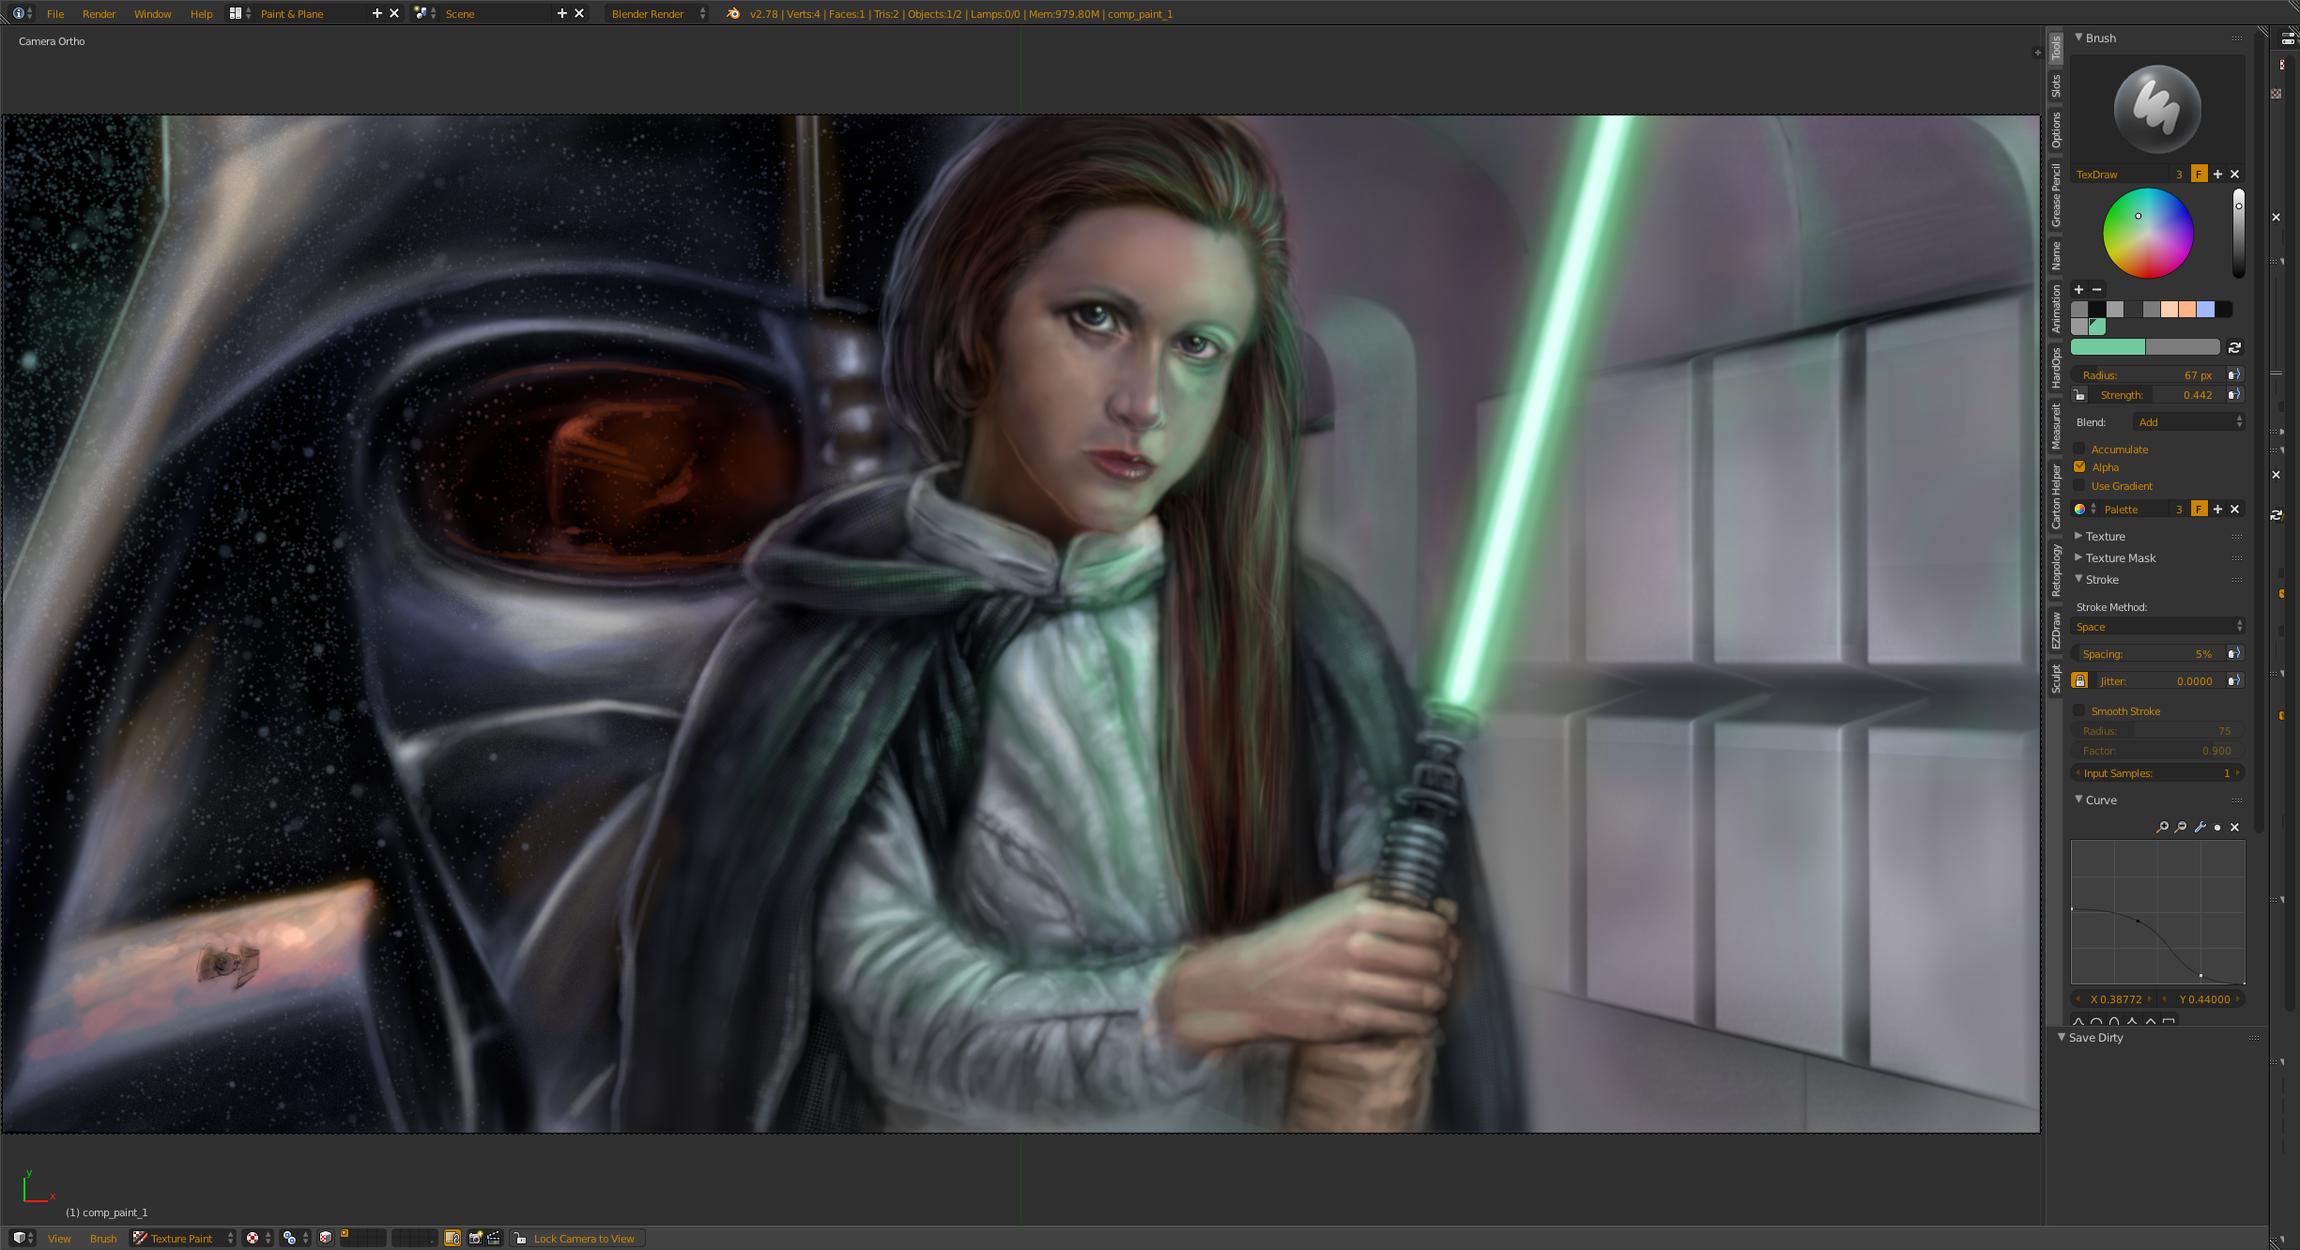
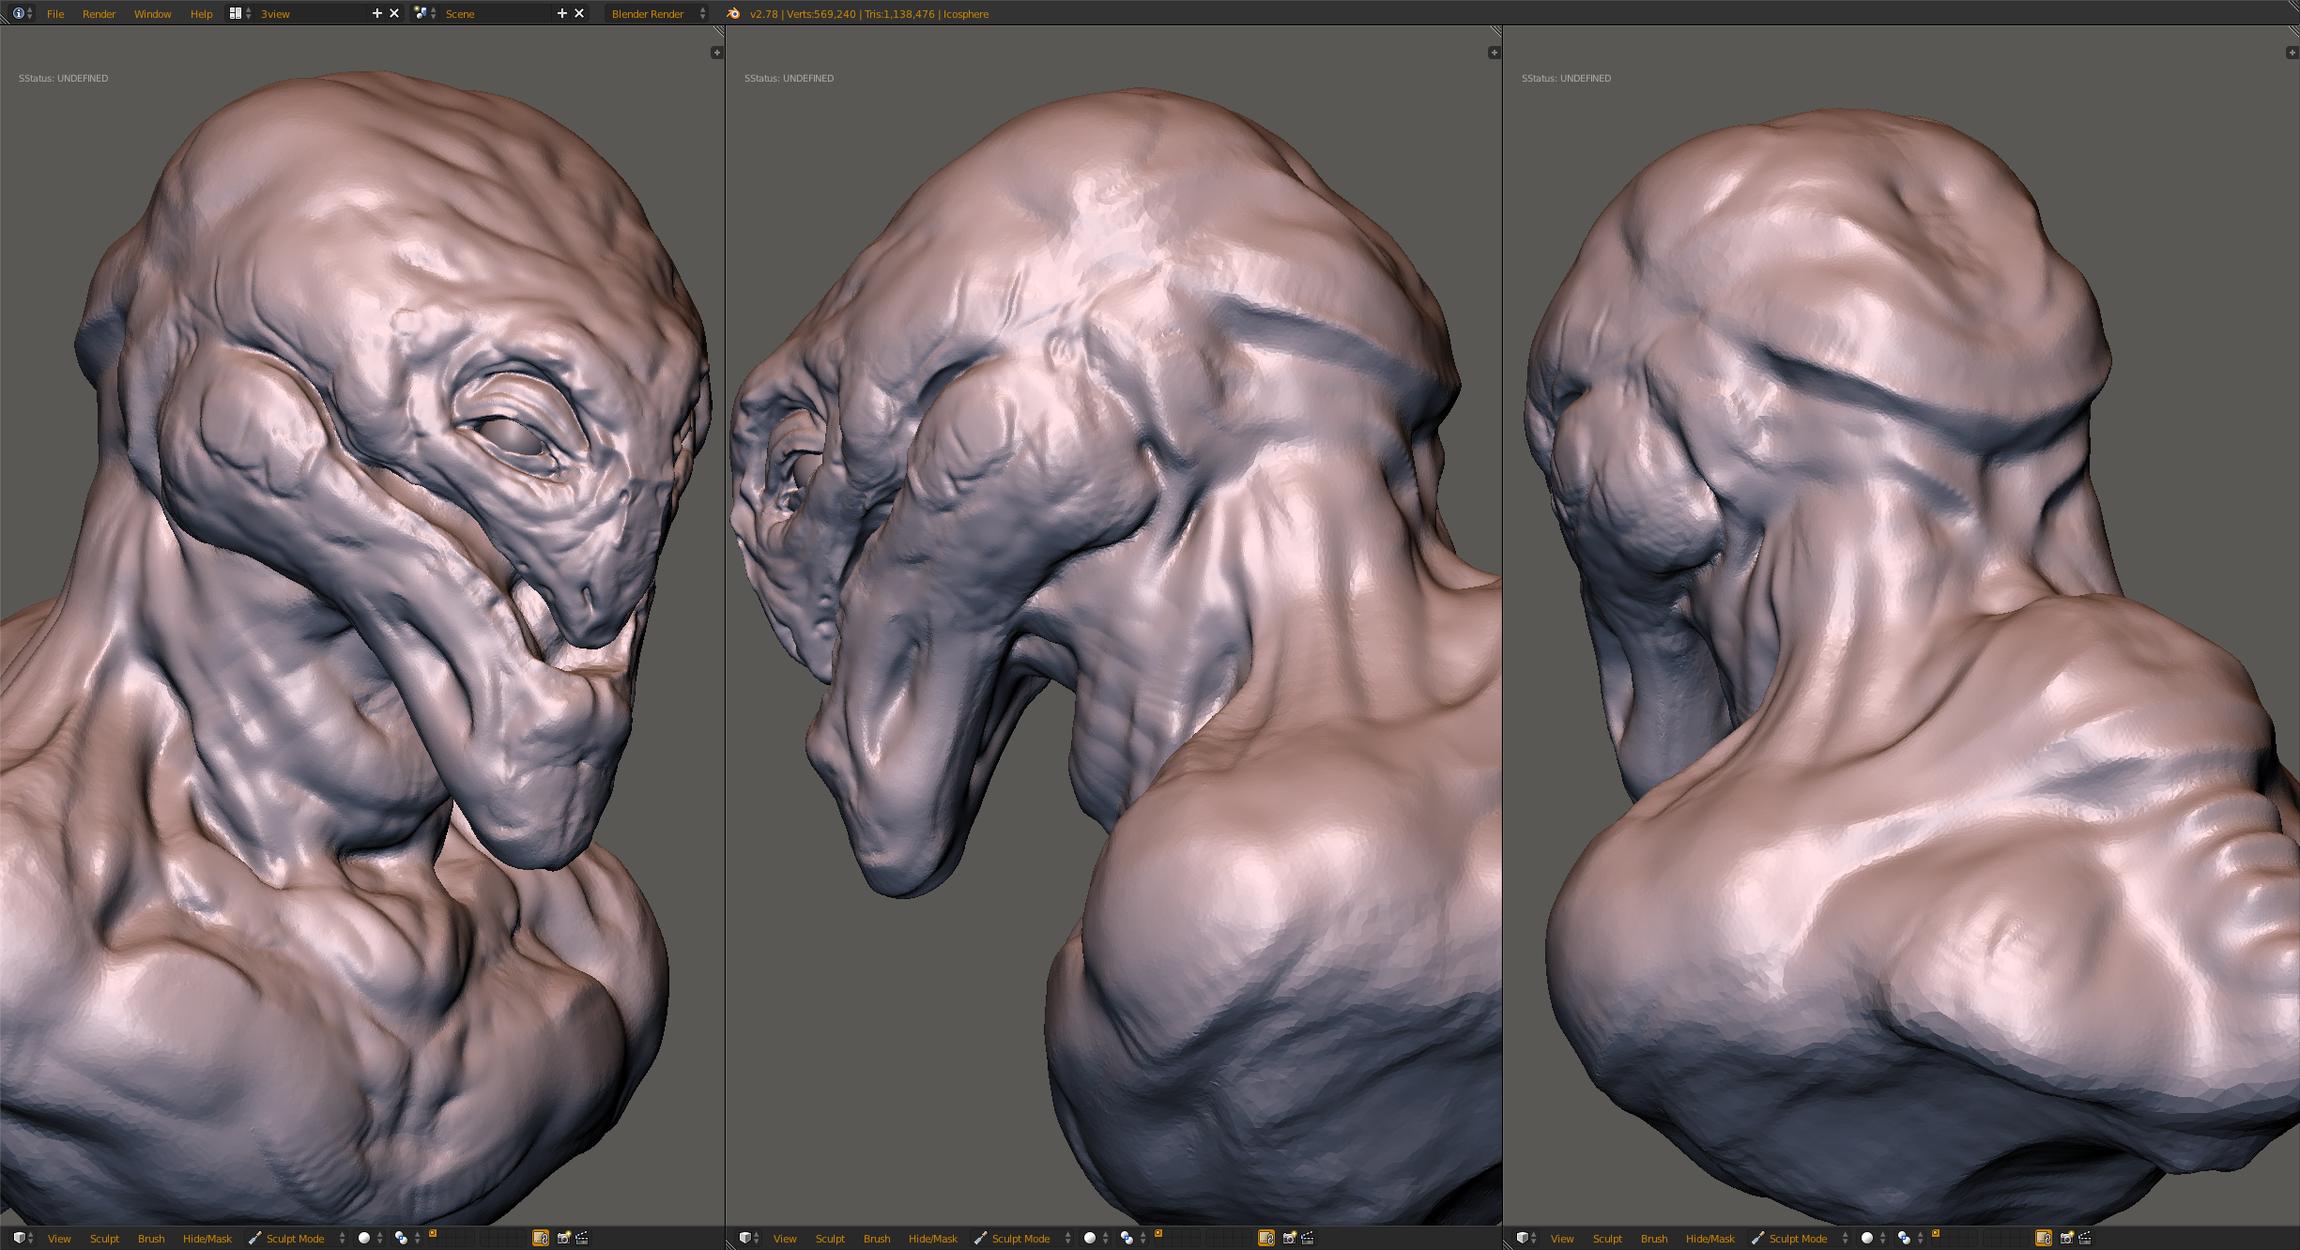
I decided to give it a go again with some sculpt and paint over, using the OpenGL matcap renders as layers and stenciling between. Fun stuff to get back into the groove with.
What is the computer failure? I had a HDD go out on me a few months back. Turned out it was just stuck and fixable.
It was a no boot, and no recover situation. I think I over worked the hdd, but even with a new hdd I couldn’t boot. I tried getting the latest stuff from the hdd onto the new computer, but I couldn’t. I found enough stuff to keep working with, but now I have set up a dropbox account to back stuff up to. The important stuff like my story work and basic models I found on thumb drives, and some of my painting brushes. The rest of the stuff is either already online in google drive or blendswap, or just not that necessary. I will learn.
And I have been out of sorts lately, thinking I might stop. Then I paint one thing, and then end up trying again. Funny how life is.
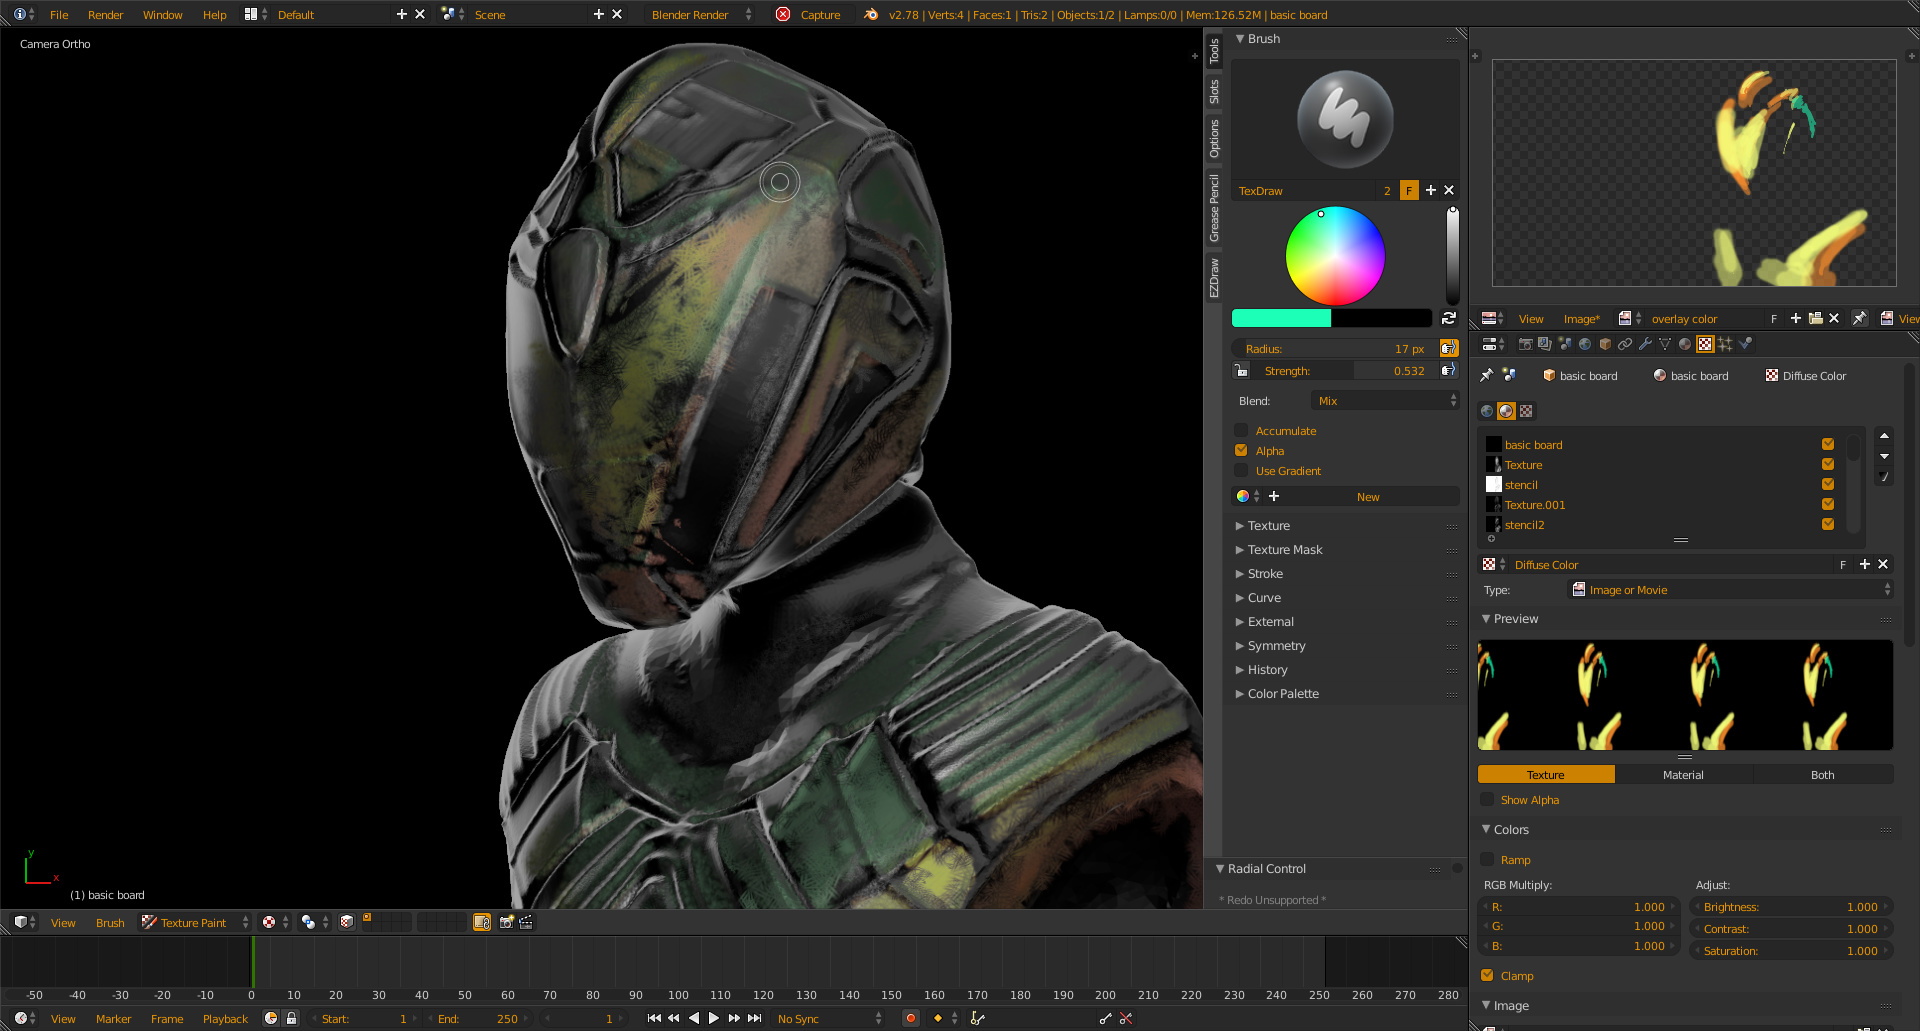
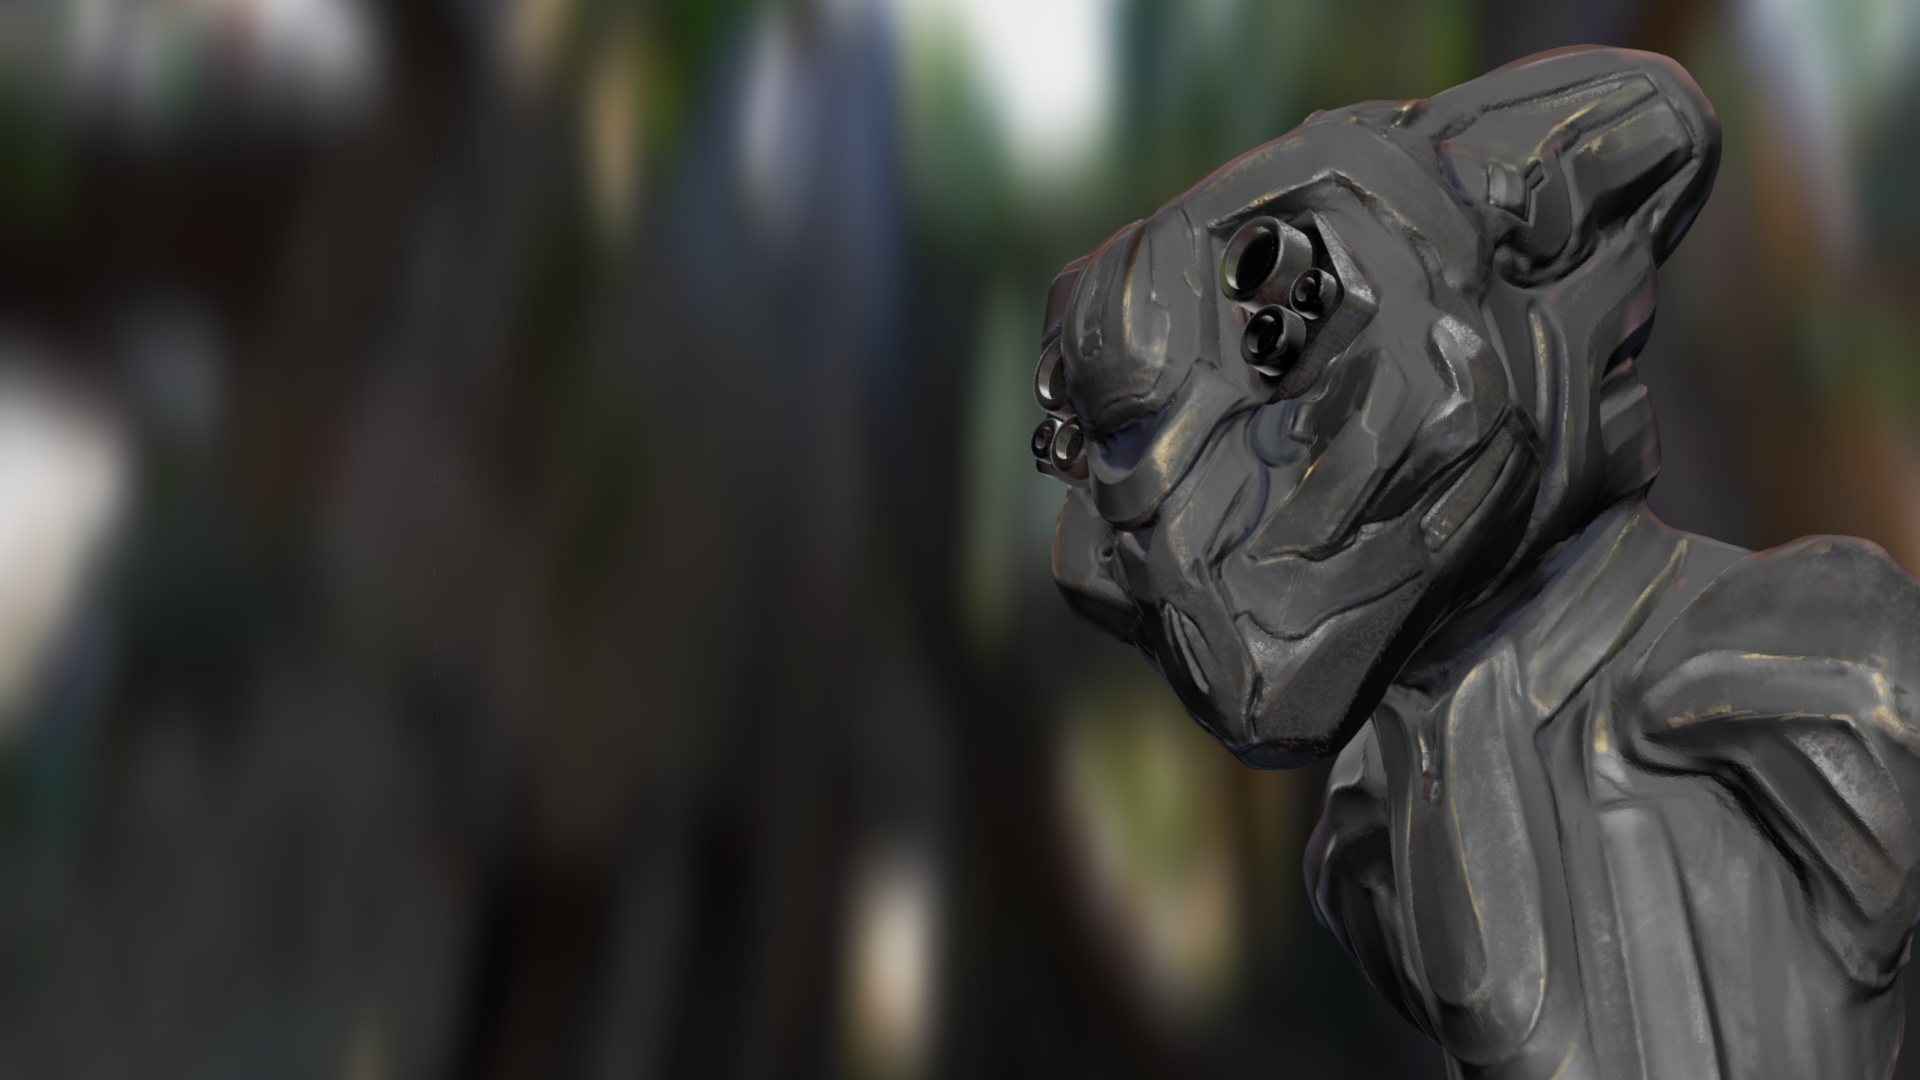
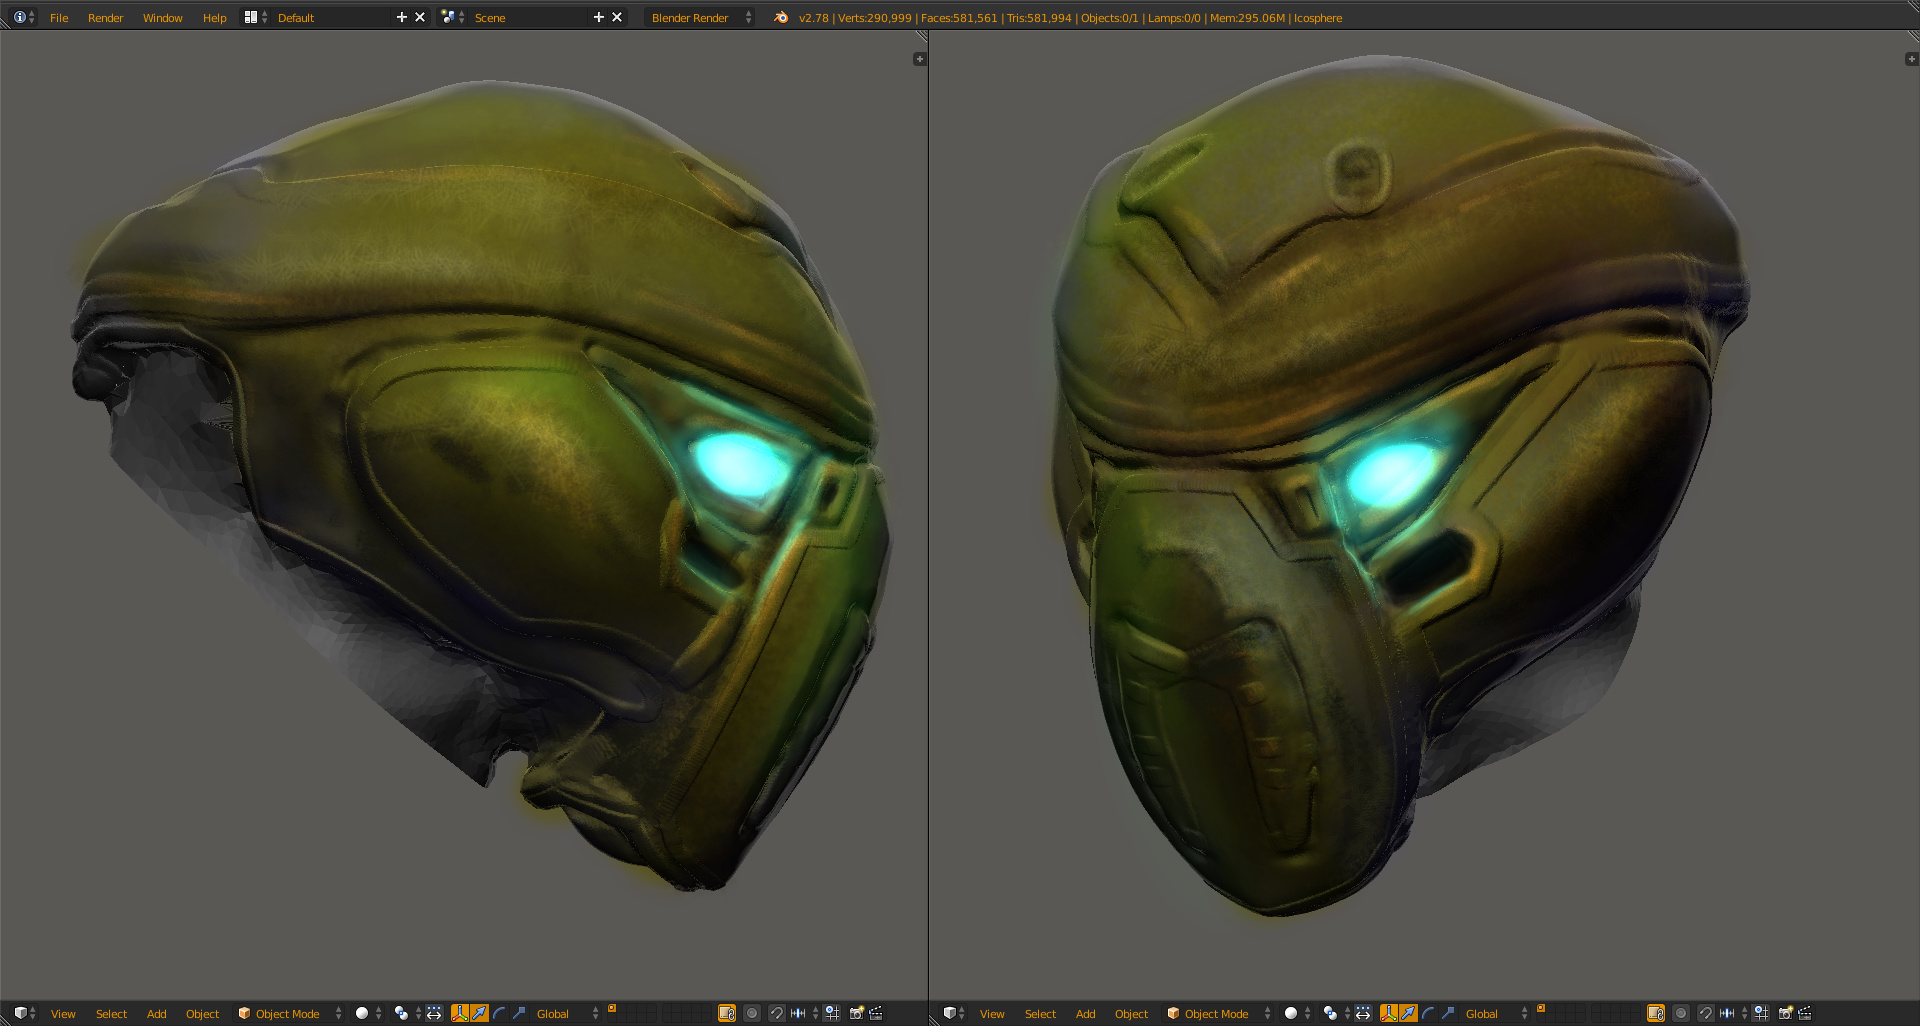
This is another sculpt turned into matcap opengl renders stacked on top of each other and stenciled between with procedural mask brushes to reveal the wear, and composited over a blurred forest view. Fun stuff.
It is an the great work of painting
as always
Thank you very much!
Really quality work Craig.
:eyebrowlift:
Thank you for saying so, BluePrintRandom, that is kind of you.
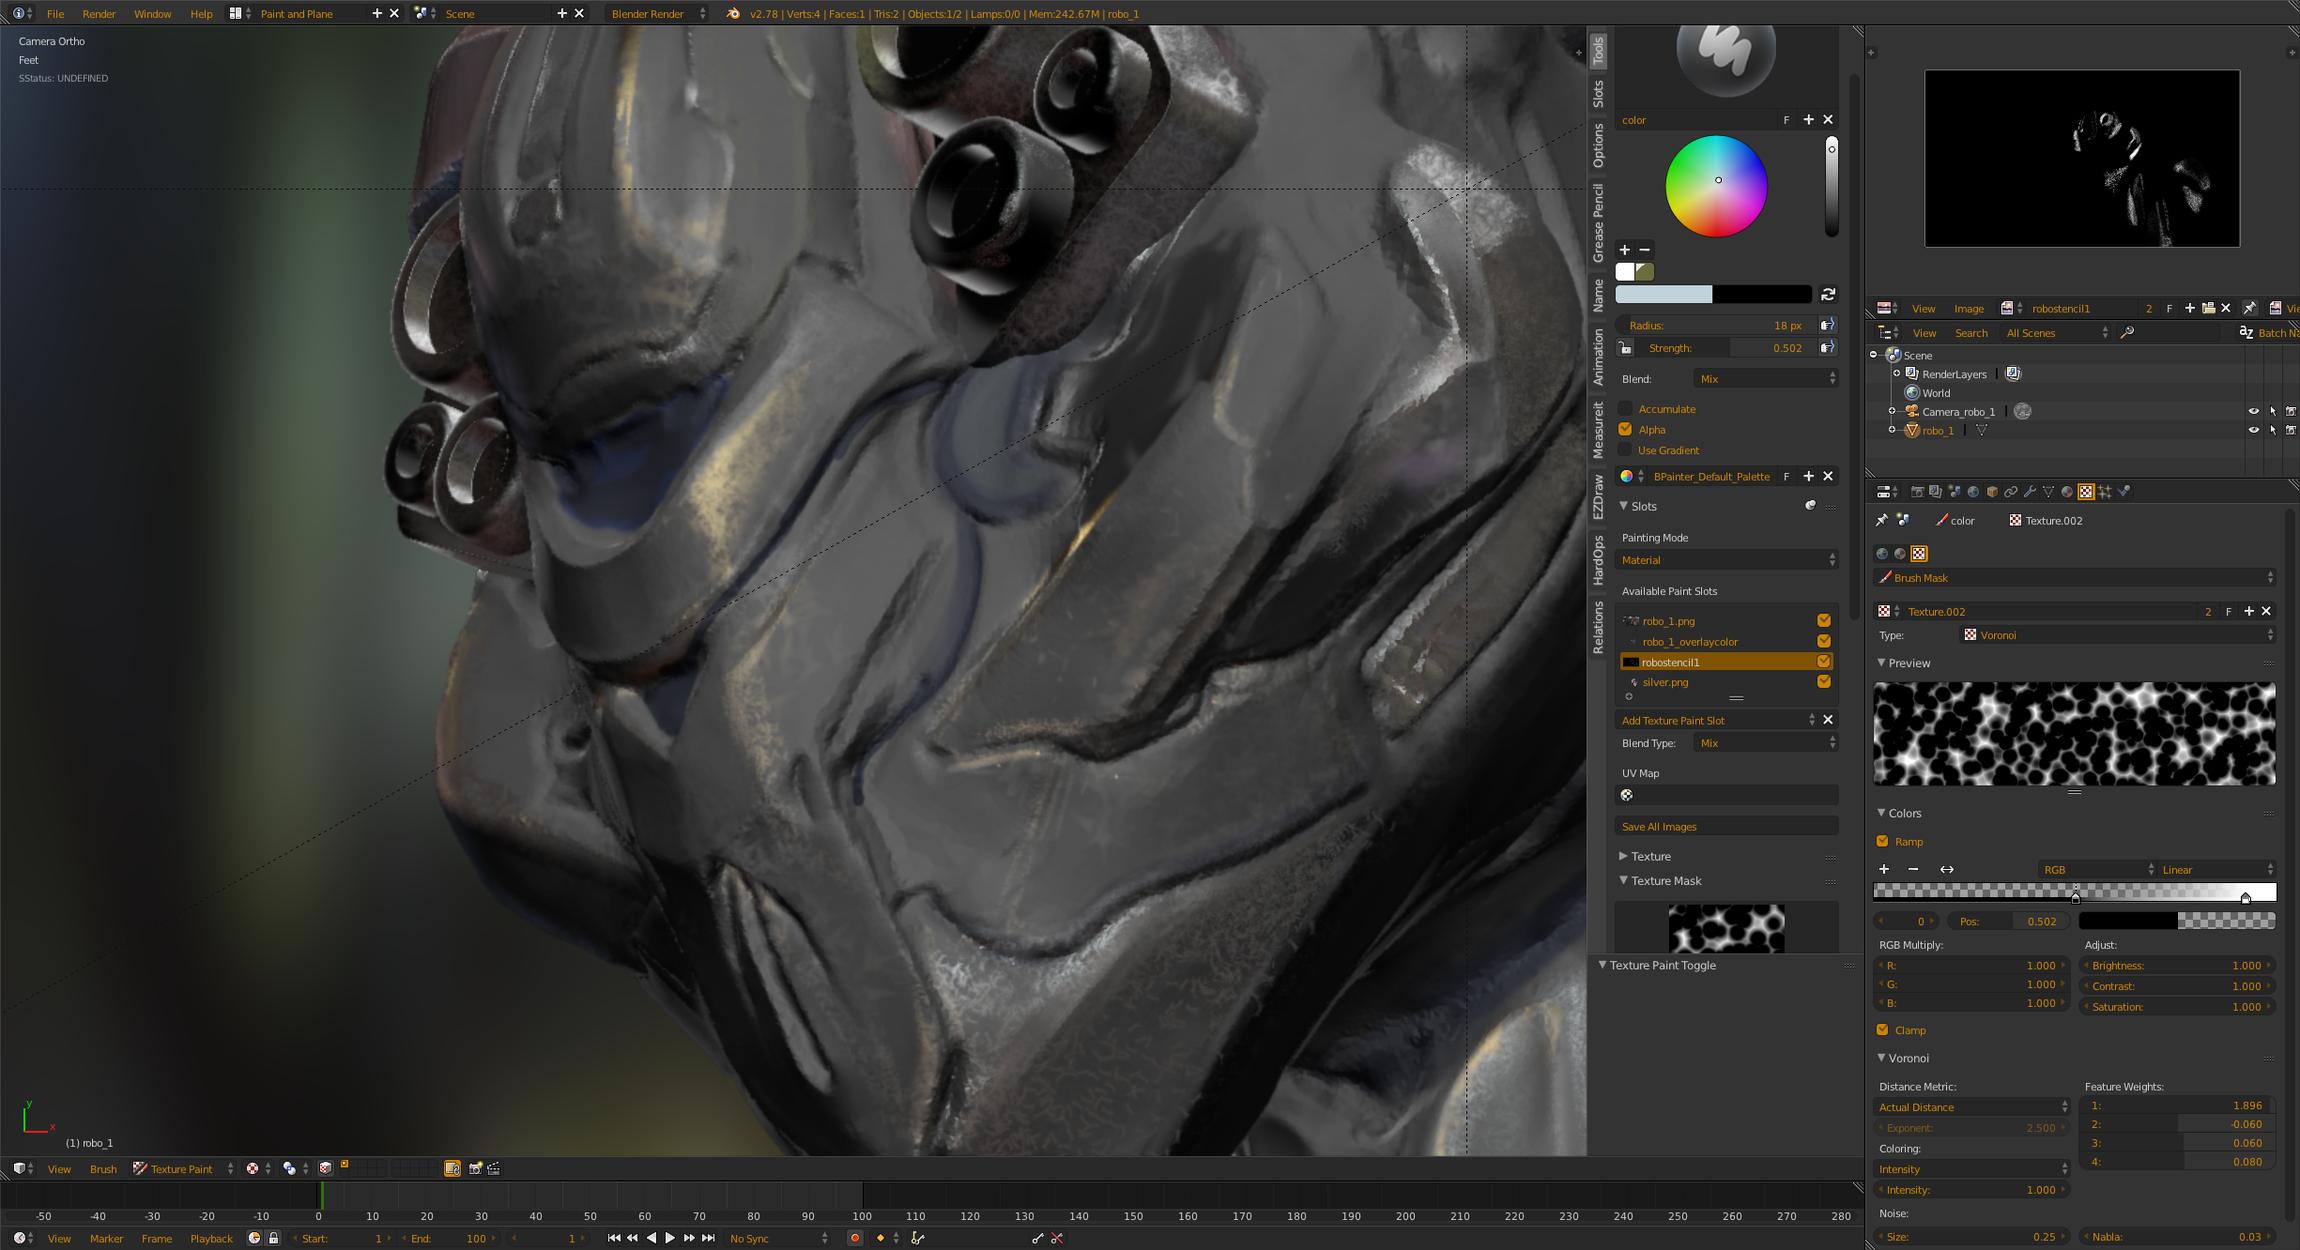
I did another dyntopo/matcaps/paintover thing and kinda got into it.
Craig after preaching backup to my daughters for years I had a HP go down with a damn proprietary GPU which was no longer available. Yeah who but HP and I realize it’s a different situation except I had lost over two years work. And, on the new puter I had moved from Windows 10 to Linux OpenSuse. Only to discover mounting the HD with all the lost work as a second HD in Linux is a trip to Nerdsville.
Then I happened across something I didn’t know existed. A Hard Drive Docking Station. In my case a ‘Cable Matters’ USB 3.0 to SATA brand. Damn things cost next to nothing. I bring it up because with that and a old Hard Drive you can use that for backup. Anyway nice to see you recovering.
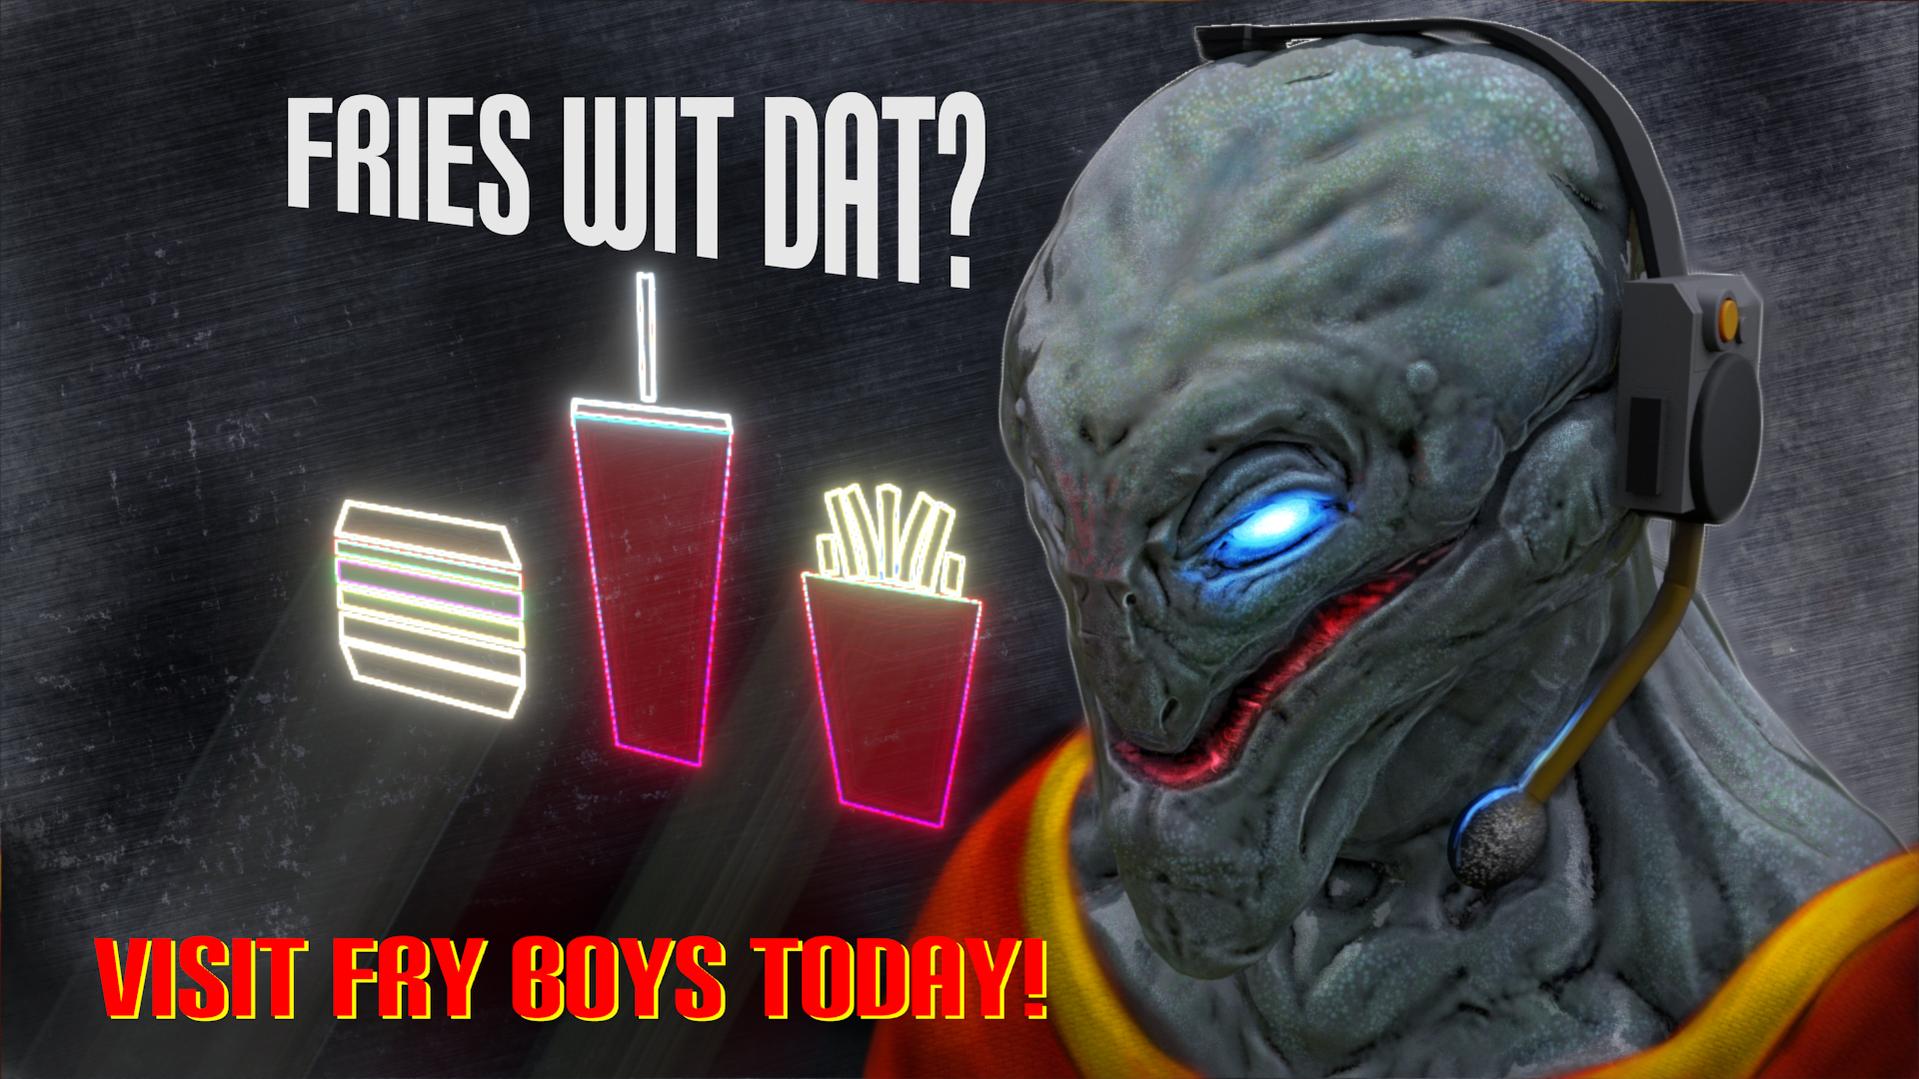
Thanks for the advice, I will look into it as well. Here I bring a little sculpt to paint over as a way to laugh over all the junk lately.
Just a note in passing - I had to trace a drawing that was liek 500x544 pixels, and it was crazy to have to deal with it since it was a 2 color design. Instead, I loaded it as an image plane in camera view and set up to texture paint instead - and then added a new texture slot.
The coolest thing about Blender as a painter is that unlike in other painting apps that are limited to the same resolution because they are using a multi-layer image format that is tied to the main image loaded, Blender is capable of generating a new 0 alpha image to paint onto that is whatever pixel count you need.
I added the new image for the slot, typed 5500 in the first field and 5544 in the second field, and then enjoyed smooth painting over the top of the pixelated original image. After I was done, I flooded the original with white and then rendered with F12 to get the composite with nice, larger pixel count 
I checked and I don’t think I have any other painting apps that do this, but chime in if you know of one. For now, I will enjoy the freedom that using independent images as texture layers affords me lolol
Just playing with dyntopo and then painting over it for fun while listening and watching a live stream
Attachments
Your work is great and truly inspirational! I had no idea Blender can do that
Hey. great stuff you have here. Do you use any special addons?
Thanks! To be fair, most people don’t realize how good the texturing workflow is in Blender until they dig in a bit. I’ve been playing this game of “what if you were on an island and could only work with one piece of software” and seeing what I could do with Blender in that sense. It is a fun ride so far!
I use an assortment that all work together https://github.com/artistCDMJ?tab=repositories
Main ones are : EZ Draw, EZ Draw Pie, Texture Paint Plus (Spirou4D edition), Stencil Widget & Drawtype Operator pie. Those are the main ones, and in my repositories you will find the older version of EZ Draw called Artist Paint Panel - I have a thread about it, and my youtube channel has several videos documenting the development so far ![]() Spirou4D has been very helpful and encouraging toward the development that started about a year and a half ago. I have a thread about it all too.
Spirou4D has been very helpful and encouraging toward the development that started about a year and a half ago. I have a thread about it all too.
Excuse me, what’s the difference between Alpha channel and Mask?
How do I set an Alpha channel in an image using the UV Editor?
Beside this, is it there any addon to make brush dynamic? Not pressure sensitive, but shrinking and growing as the brush is being used.
Alpha in Blender is different than in most software since in the 2d editor, you can use ‘Erase Alpha’ and see the color disappear and then paint it back in with ‘Add Alpha’. In Photoshop, if you used an eraser tool to ‘erase’ the alpha, you cannot paint it back in with a brush setting except to actually repaint it.
A mask in the sense of using the texture paint Mask tool is to add a black and white image to the image view that is not seen, and you can paint with the Mask tool and then switching to the Tex Paint or other paint tool will allow you to paint into the unmasked areas of your designated mask image. This only work sin the 3d view Texture Paint mode on an object that is using the image texture - you can only set the Mask texture by having and object in the 3d view in texture paint mode I mean, and you set that in the Slots tab after turning on Mask.
If you want to make your brush radius change based on pressure, just click the pressure icon on the right of the Radius slider under the color picker.