I too, recieved a valuable lesson from this tut. Mainly that I have advanced in my n00bness to another level. That of knowing almost as much as the tut god. Because, in my n00bness, I can tell you that this is the tut that we all seek. Gather round, Ye N00B, from hither and yon, and behold the Suzanne that arises from such a tut. :eek:
HD: http://trainingpen.com/lotsolights4.png
Thanks reynante,
n00bie
Hahahaha! You’re very much welcome, man. =) I have another tutorial up, but it’s about GIMP though (on my sig). I hope you’ll have as much fun as you’ve had. ![]()
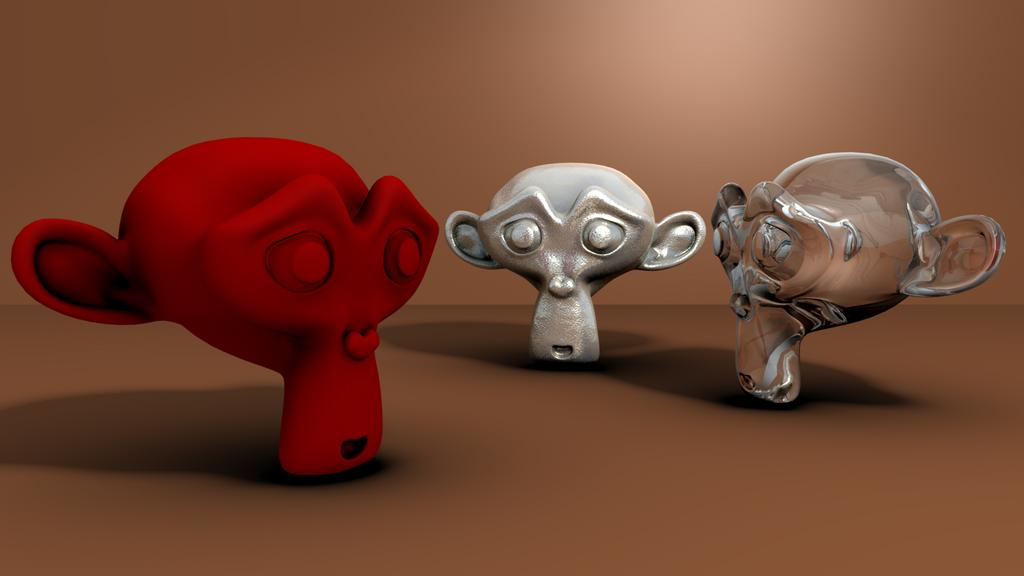
Looks great N00BIE. If you look at your image the transparent head creates shadow on the ground.
On material for the ground you should turn on the “TraShadow” button under the shaders tab. This makes blender calculate the light that goes through transparent objects.
Play with the Filter /Limit/Falloff parameters under “Mirror Trans” tab for the “Ray Trans” settings for the transparent material.
This is something many are unaware about!
This is great, I will definitely book mark the pages.
I decided to just mess around with AO and so far my scene is already great with this test render.
Attachments
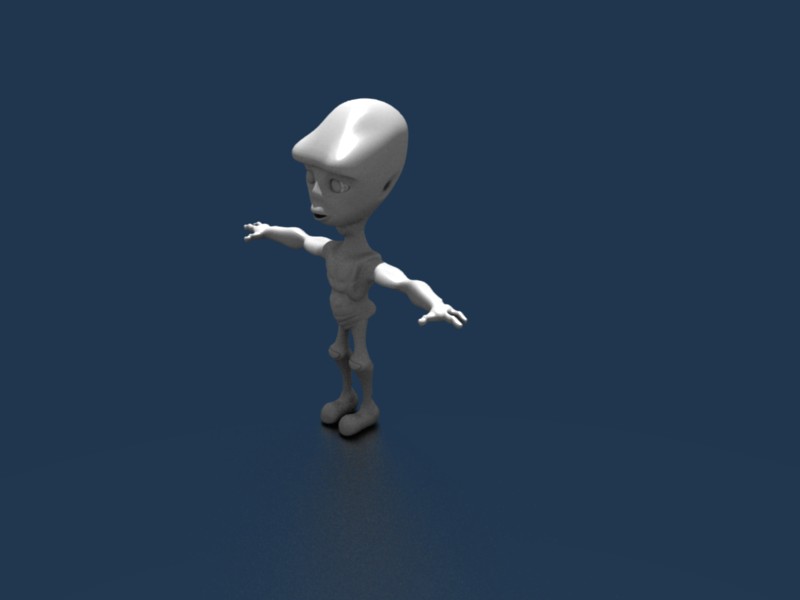
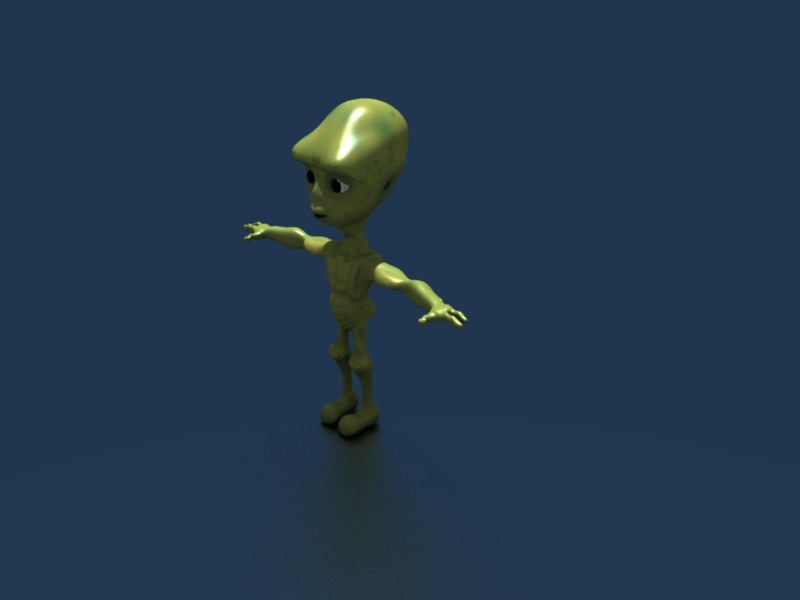
Wow, that’s great looking! Though I do suggest you work more on the lighting. The glossiness of the floor is just right even though it has a low amount of samples. =)
Yeah lighting needs work, I’ve just finished the character, and I need the rig fixed first, something is wrong with the roll on some of the bones and it doesn’t fix without messing up the mesh.
I am very happy with how my character turned out, as it was my first full character, that I plan on compositing and animating.