Cycles Development Updates

Just curious: do you guys use volumes a lot? I almost never use them, except when I happen to need some clouds in the background, or a puff of smoke. :slightly_smiling_face:

I know it can be used for atmospheric foggy lighting, but to me that’s more of a gimmick, not something I use often, also because of the increased noise / rendering times.

4 Likes

Yeah, it’s very rare in my workflow to have any volumes, let alone nested volumes.

2 Likes

Not a lot but I’m doing a personal project where I’ve decided to use them as learning something on this.

Actually, in my daily job (unfortunately, at the moment, not done with Blender) I don’t use at all (or really really rare)… so if I switch to Blender it will be the same.

In any case, in my opinion, if you do environments renderings, volumes will be really helpful to improve output quality…so, for those people, some regressions on rendertime will not be so good to have.

3 Likes

Yeah it’s a gimmick until it’s not… Do you use camera tracking often? I don’t. We all do different things.

6 Likes

Right. Null scattering was meant to make the fix less hacky.

Well, I use volumes all the time for archviz and environment/ landscape design. The old algorithm works fine, but VSP + Null scattering is definitely better. Denoising volumes is always tricky, so better convergence really makes a difference.

2 Likes

no and it’s because it’s slow to render, otherwise i’ll be using them more

5 Likes

I don’t see an issue in removal of Volume Steps.

Volume Objects and Geometry Nodes are allowing us to control volumes resolutions and volumes merging, to obtain desired quality.

So, Volume Steps seems redundant, now.
To gain in performance, lowering amount of voxels is a lot more effective.

And the current situation is very far from what I experienced few years ago ; when any attempt to render volumes were requiring dozens of minutes.
With volume path guiding, we can have few volume bounces without a render time taking ages.
Nowadays, people are complaining for less than a dozen of seconds.

3 Likes

After reading all the bad things about the new Null Scattering, I thought I’d give it a quick try with a production scale VDB ( https://disneyanimation.com/resources/clouds/ ). I used the largest version of the cloud which comes in at ~2,9GB.

I loaded it into Blender, added a Nishita Sky, set the noise threshold to 0.025 and the volume bounces to 2 and left all the rest of the settings at factory defaults. BTW I didn’t aim for a close match with the cloud renderings on the Disney site but just slapped together a VDB and a sky texture :wink:
My system is a 5 year old XMG laptop with a RTX 2070 Super Mobile with 580.65.06 drivers on Linux.

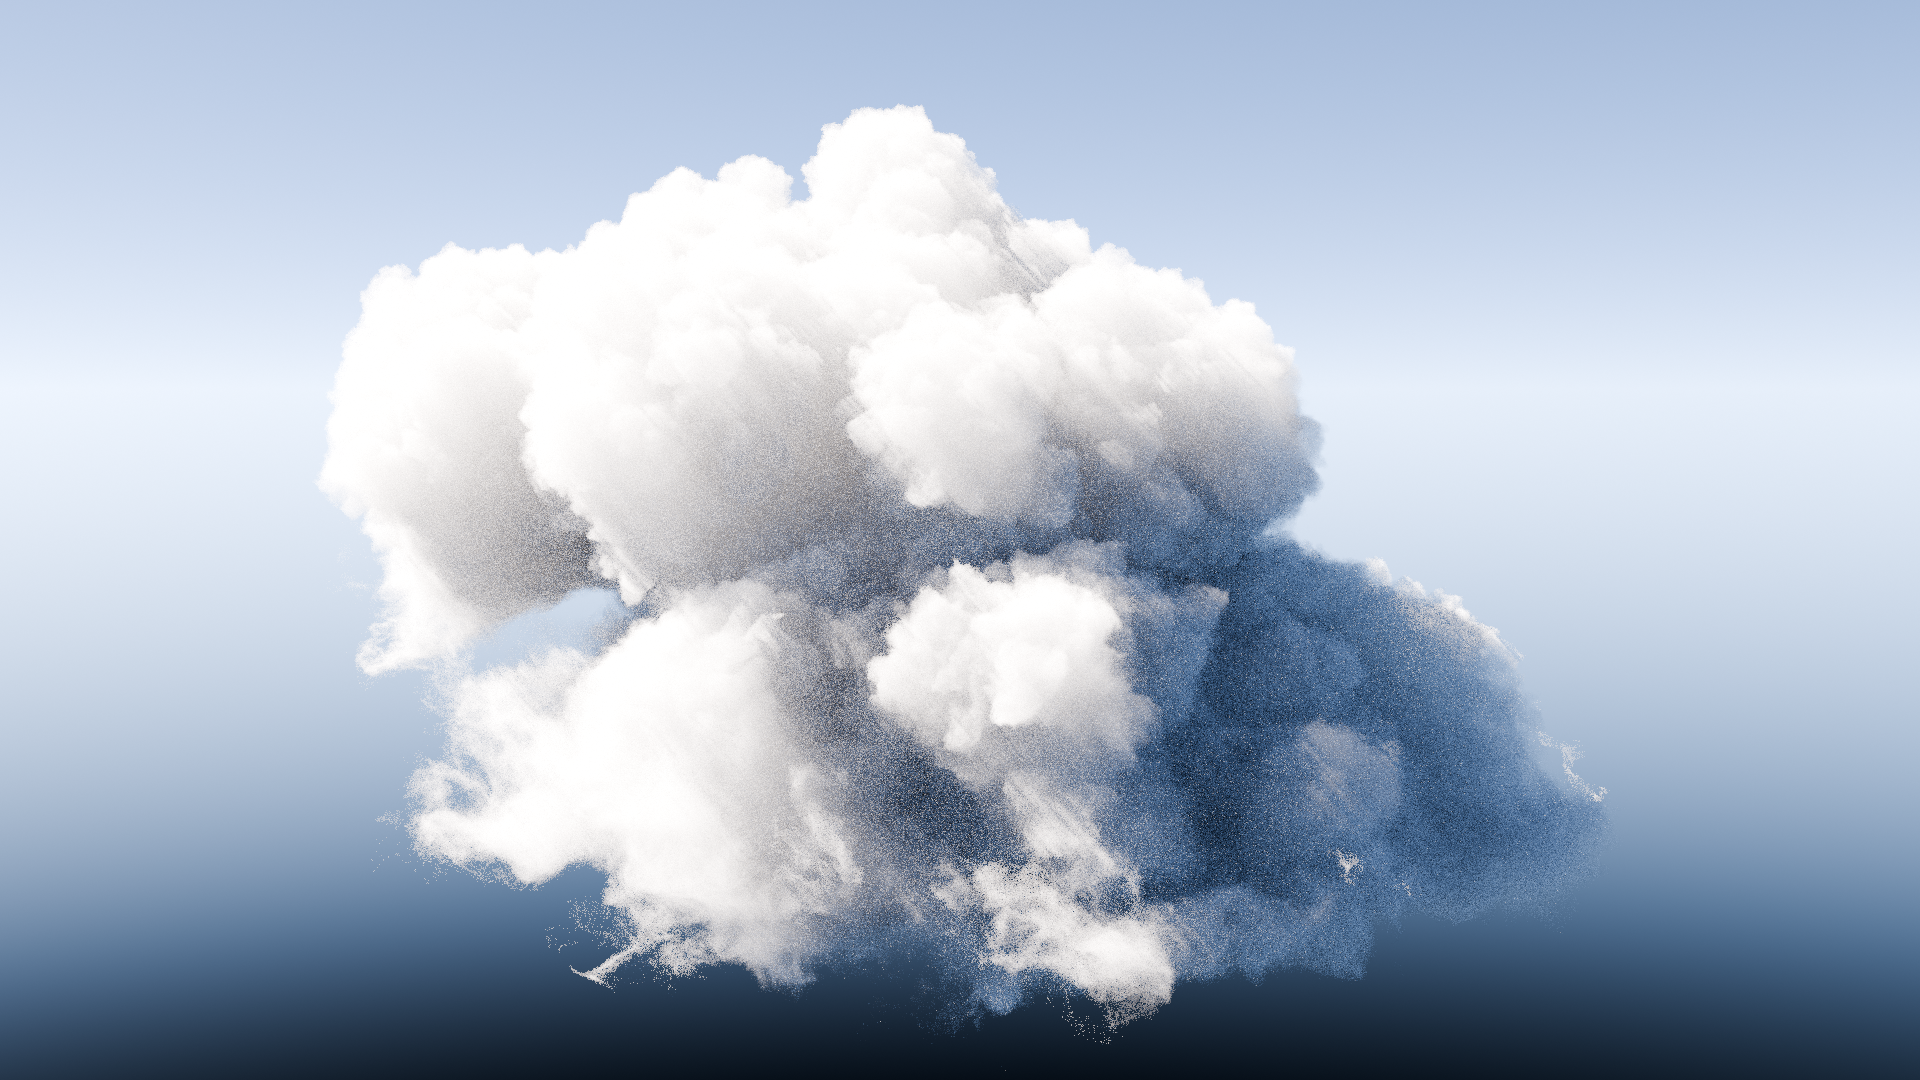
I started in Blender 5.0, current build of main. The F12 render starts in less than a second and after 3:52 minutes this is the undenoised result:

When checking the ā€œUnbiasedā€ option the rendering took ~10 seconds longer, but the both renderings were visually identical.

Then I did the same in Blender 4.5.1 LTS. I made sure to set the sky model to Nishita, because otherwise I would’ve gotten a black result (because Cycles then would’ve used the outdated and now removed Preetham model.). Apart from that, same settings, same system.

F12 render takes ~15 seconds before the first rendered pixels appear in the viewport. Then with the default Render Step Rate of 1 I get this:

You might wonder why it’s so noisy. It’s because after 3:50 minutes Cycles was at sample 30 (instead of 4096 in Blender 5.0 at the same render time). The remaining time reading was over 8 hours, which I didn’t want to invest. So I increased the step rate to 10, to 16, to 24 and finally to 32 to reach a finished rendering with 4096 in 3:50 minutes like in Blender 5.0.

Now the result looked like this:

Noisewise it looks similar BUT there are ugly stripes like these
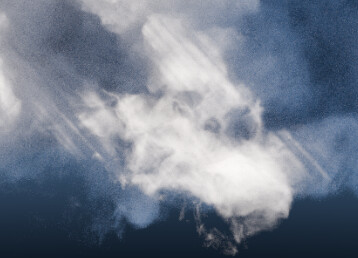
image

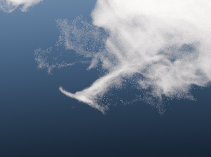
and compared to the Null Scattering render the cloud is now missing details because of the increased step rate (4.5 compared to 5.0):

Detail_4.51
Detail_5.0

So for me not everything is worse than before but quite the opposite. Especially not having to fiddle around with step rates to find the sweet spot between unbearable render times and ugly renderings is a benefit in this example. YMMV though.

EDIT: Increasing the Transparent Bounces to something like 128 got rid of the stripes. But again another setting to remember to get good results with the ā€œoldā€ volume rendering.

22 Likes

For atmosphere, I typically use a big volume with a very low density, light blue color and toggled only on camera rays so it doesn’t impact rendertime too much (or at all, really). This is preferable to adding the atmosphere in post, because it doesn’t play well with the depth pass when you render with depth of field. There’s probably a solution I’m not aware of, but I am happy with this strategy so far.

Then there’s clouds, and finally absorption in bodies of water (I have a lot of ocean in some scenes). That’s it. But these volumes are typically homogeneous, there’s no textures involved… it’s an easy use case.

6 Likes

I use it quite often for atmospheric foggy lighting.

It can also be very useful for quickly hiding stuff, like too abrupt transitions between objects and stuff like that.

Large volumes that encompass the entire scene are quite useful for tying everything together even if it is just a slight, barily noticable fog.

The render times don’t increase that much if you don’t use complex shaders or complex imported VDB files.
It often saves a lot of artist time at the price of somewhat increased render time.

5 Likes

Cool, thanks for the test. I recently wanted to include a couple of VDB clouds in a project in Blender 4.5 but ultimately had to ditch dem due to render time issues. Great to see that Blender 5.0 tackles this problem.

1 Like

How do you use volumes this way ? can you give an example ?

1 Like

Recently I had a scene with a forest in the background. Snowy ground and trees sticking out of it. Now, the trees coming out of the snow allways looked unnatural because the the transition from snow to tree was just too abrupt.

The solution would have been either creating a snow pile around each tree stem to break up the uniformity or to create some sort of snow to dirt transition around the trees. However, it were hundreds of trees and a simple height fog at ground level hid the problem nicely and took like 10 minutes to implement.

3 Likes

Great to hear :slight_smile:
As I said, your mileage may vary but so far I’m very happy with the new Null Scattering. And I used this behemoth of a single cloud as a test case to see how Cycles deals with it. Actually I had more problems with the viewport becoming laggy (before setting it to only display points instead of the volume itself) while Cycles just rendered without a hitch.

Copying the Volume object 10 times and randomly distributing it across the scene caused a whopping 200MB increase in render memory usage, which is awesome and allows me to fill my hole environment with dozens of killer clouds like this without even coming close to the GPU memory my old laptop GPU has (8GB).
And I can even stack these clouds inside each other without risking visual artefacts.

2 Likes

Have you tested how it holds up regarding flicker when rendering an animation with denoising?

1 Like

Did you try reducing the volume’s max steps? It’s one of the biggest optimizations you can do in the old system. The default of 1024 is crazy high, you can cut it in half multiple times and not see any visual difference.

1 Like

ā€œi’d rather haveā€ is kinda the point. different projects and different users have different needs. you’ve cherry picked an example with multiple intersecting volumes that does cause an issue that the new system resolves, but there are absolutely cases where the visual differences might not be meaningful to the artist and they can literally cut their render times in half or more.

just in case people are taking me the wrong way, i am not against the new method. i’m positive it will come in super handy! i am just expressing that exclusively offering the new method for sampling volumes does have a meaningful performance cost, not a minor one.

my opinion is just that this is one of those cases where ā€œbothā€ methods should be kept, at least until the performance penalty can be shaved to consistently no more than 10-20%

1 Like

No, I haven’t yet. I know this setting and I’m sure I can spend several minutes / hours finding the optimal setting that renders faster than the new system.
But that’s exactly what I don’t intend to ever have to do again: fiddle with these kind of settings in the future.

It reminds me of the days when Arnold just surfaced in the wild (no longer being a Sony-only in house renderer) where all it had was samples. Full stop. No thresholds, no tweaks or workarounds, no irradiance caches with dozens of settings that could be tweaked, no per-material samples tweaks. Just brute force samples. If it’s noisy → more samples, twice the samples twice the render time. But no more expensive artists spending 90% of their time setting render options like in V-Ray back then (and maybe even now? Haven’t used V-Ray since 10 years).

I have to leave for today, but here’s the rudimentary blend file I used. You’ll have to download the VDB for yourself though because it’s several GBs large ( https://disneyanimation.com/resources/clouds/ ). But maybe you find settings that are visually identical or even better.
And remember, my laptop is old and slow. So if your compare the render times, compare them to Blender 5.0 on the same system.

Disney_Cloud_Blender45_v01.blend (110.9 KB)

3 Likes

I haven’t yet, no. But I guess that the flicker will be much more consistent / pixel sized instead of hole shards of volumes swimming through their step rate ā€œegg slicerā€ artefacts or how could I say it :wink:

2 Likes