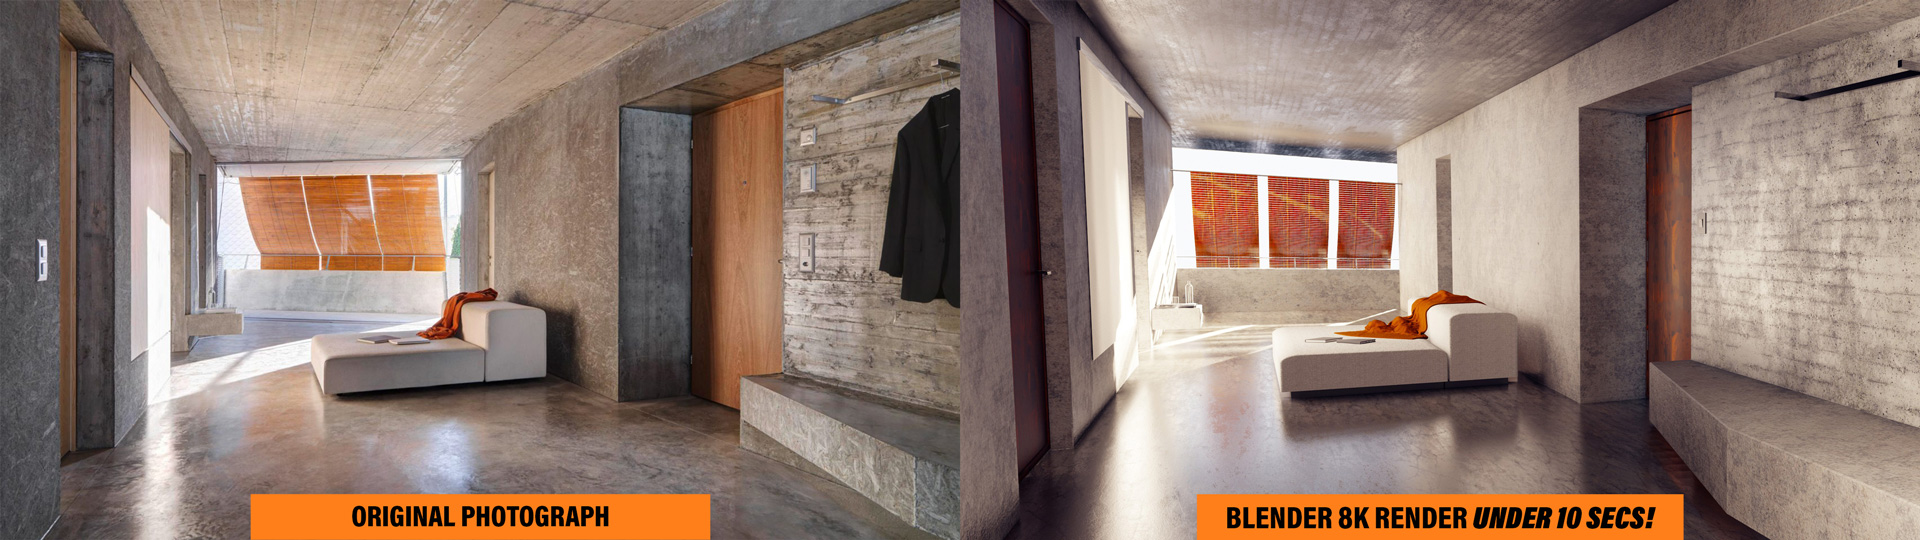
Hey guys,
You may know me from the KIT OPS kitbashing addon, or the Definitely EEVEE: Definitive Interiors course. I’ve also got some free tutorials on using the new camera matching application fSpy (works now in 2.8!) and EEVEE glass shaders. Eric Klein has helped so much in providing valuable insights and direction for all the EEVEE stuff, including his new near photorealistic EEVEE glass shader.
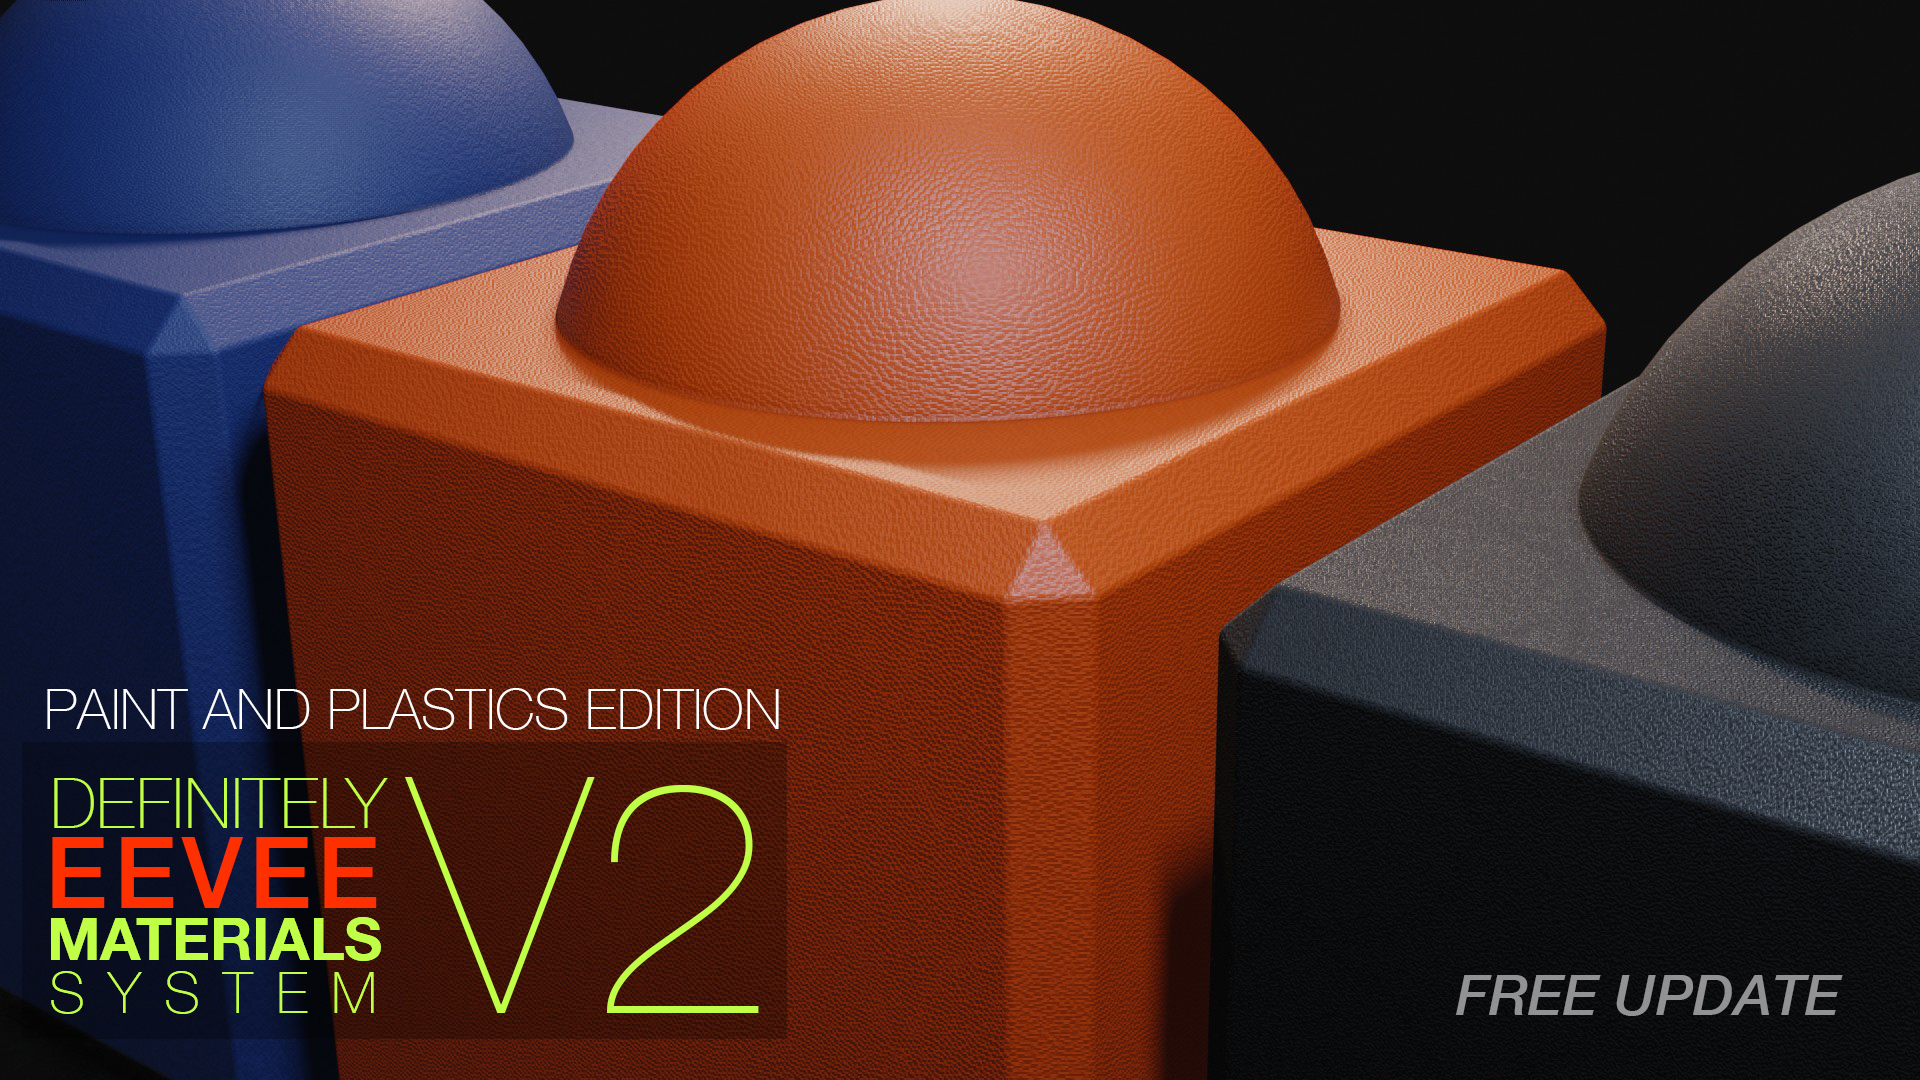
I just yesterday launched this new product called Definitely EEVEE Materials System. It’s available on Blender Market and Gumroad. Current introduction pricing is $25. No subscriptions, no textures only.
BTW, you can also swap out material maps with your own tileable textures. Plenty of CC0 sites out there that have reallly good PBR textures! Just pick a material that alreay is set up for the sort of material you want to swap for, and tab-enter into the node group. See Video 7 from the Course List on YouTube
It uses KIT OPS FREE (or PRO) to automatically filter materials and insert them directly on the selected object (without adding the INSERT geometry!).
There you can learn much more about it, and also see the material list and read the FAQ.

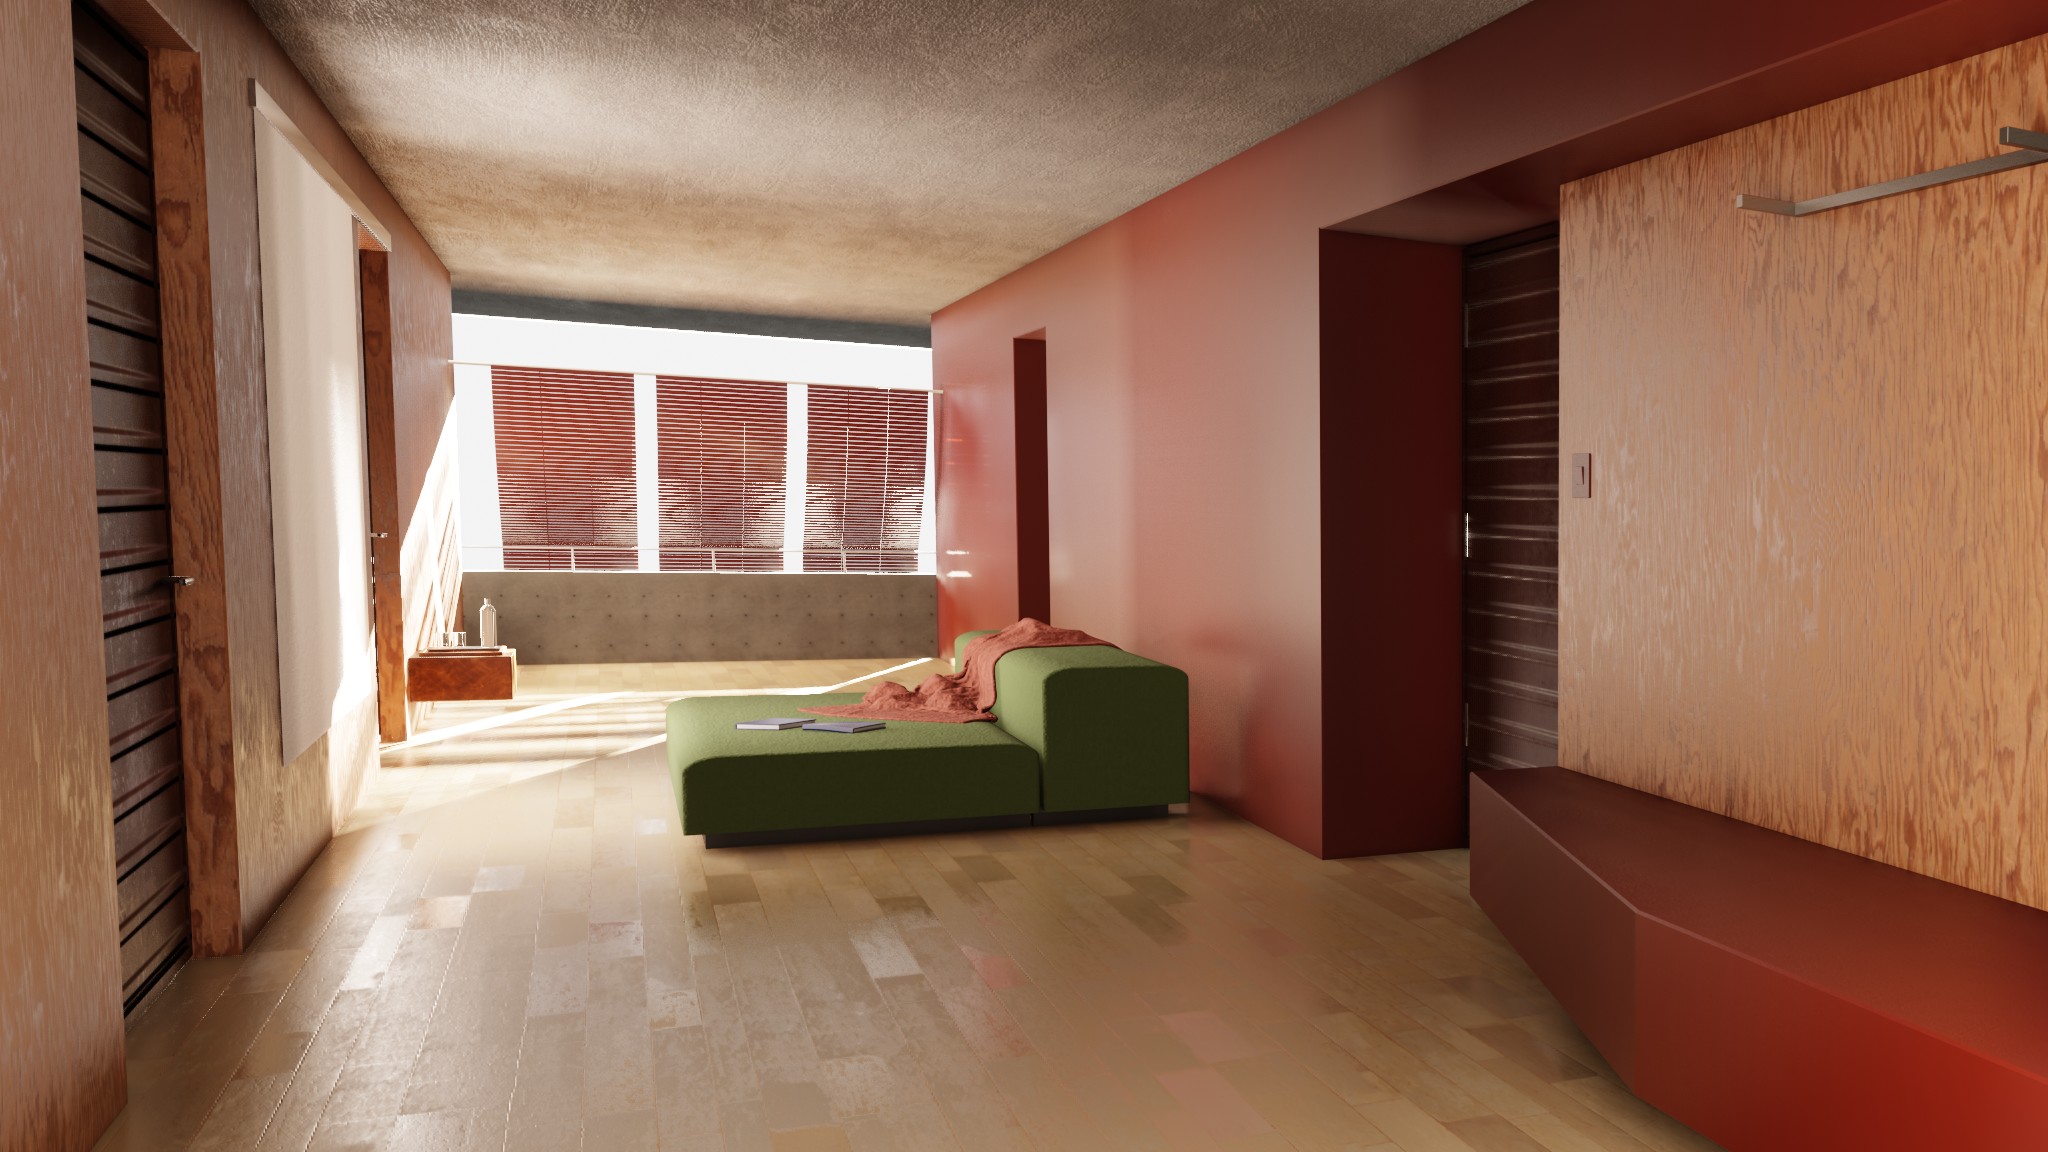
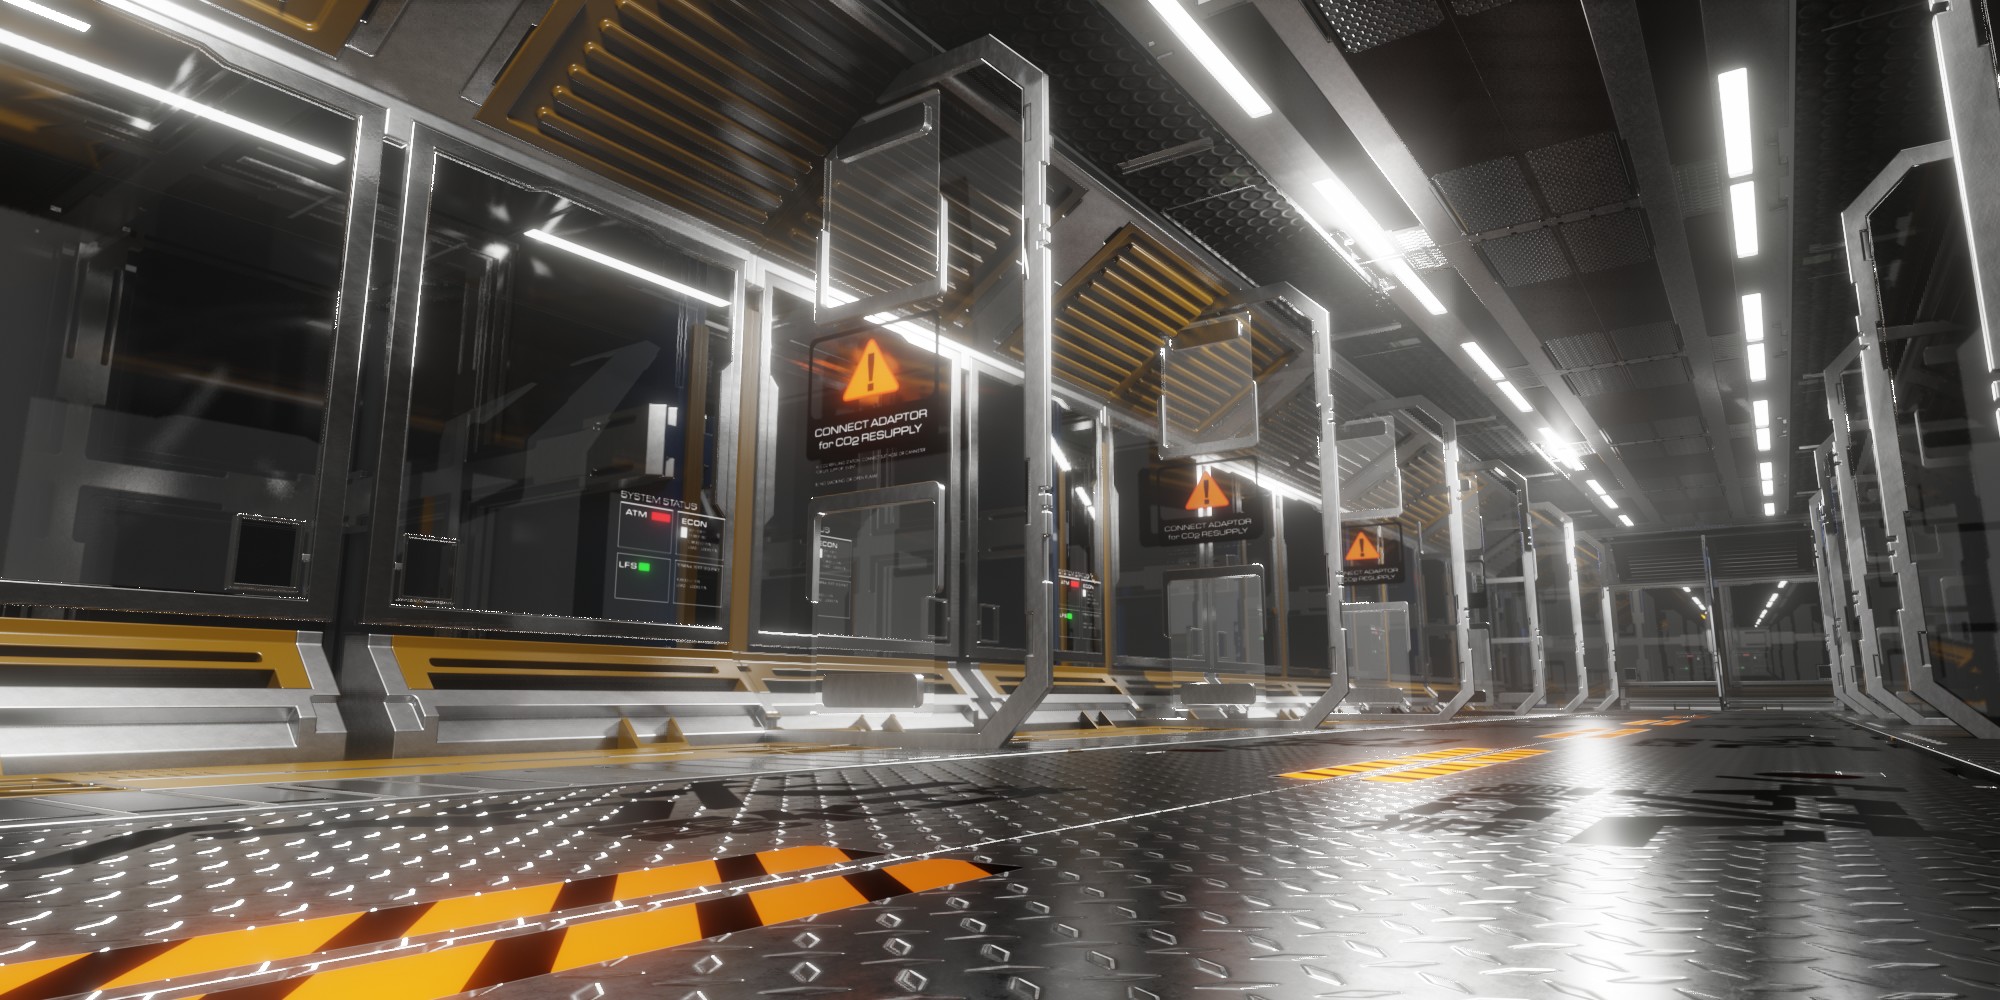
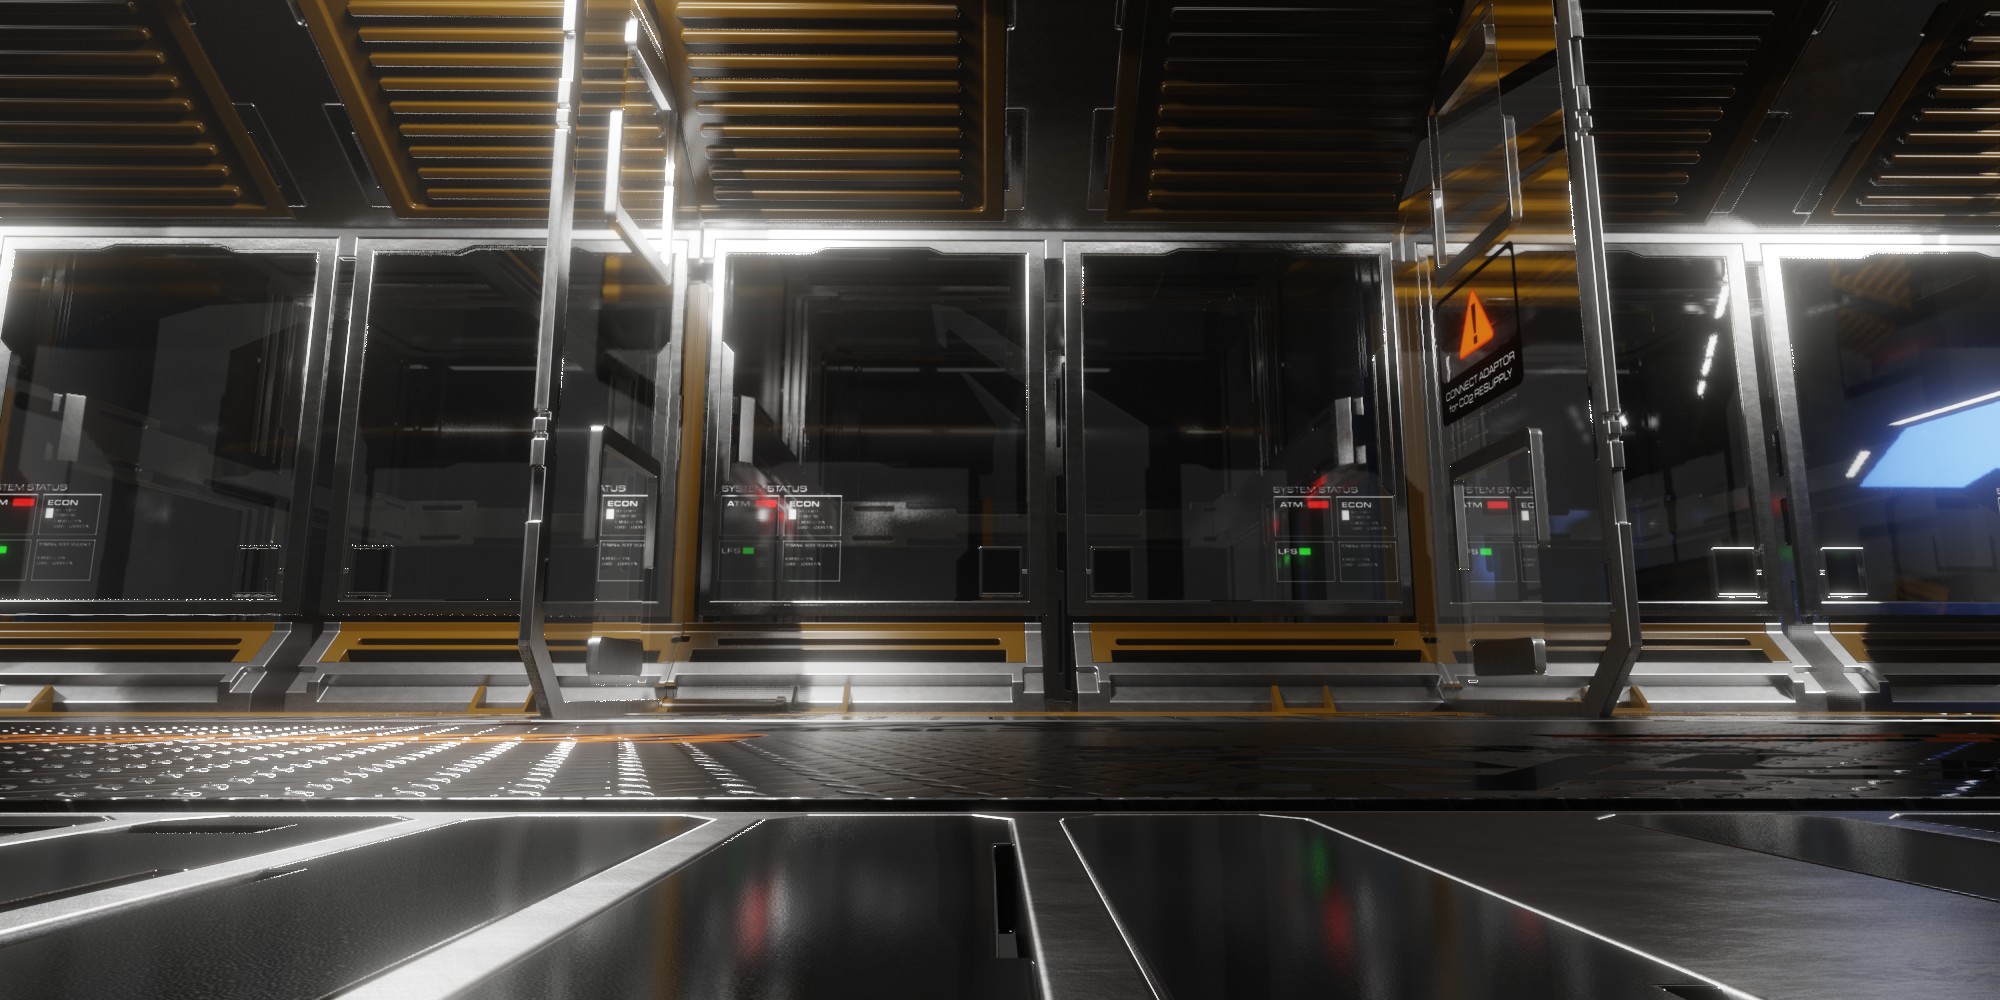
It’s all about creating great renders with over 100 customized materials, all based on a simple system-- so you can quickly and easily customize them ad infinitum! Plus it works without having to UV Unwrap meshes (and works doubly good if you have meshes that are already unwrapped).
Plus there’s this really amazing DIRT GROUP NODE that allows you to add dirt in controlled ways to any material. And there’s the new Excalibur materials and so much more.
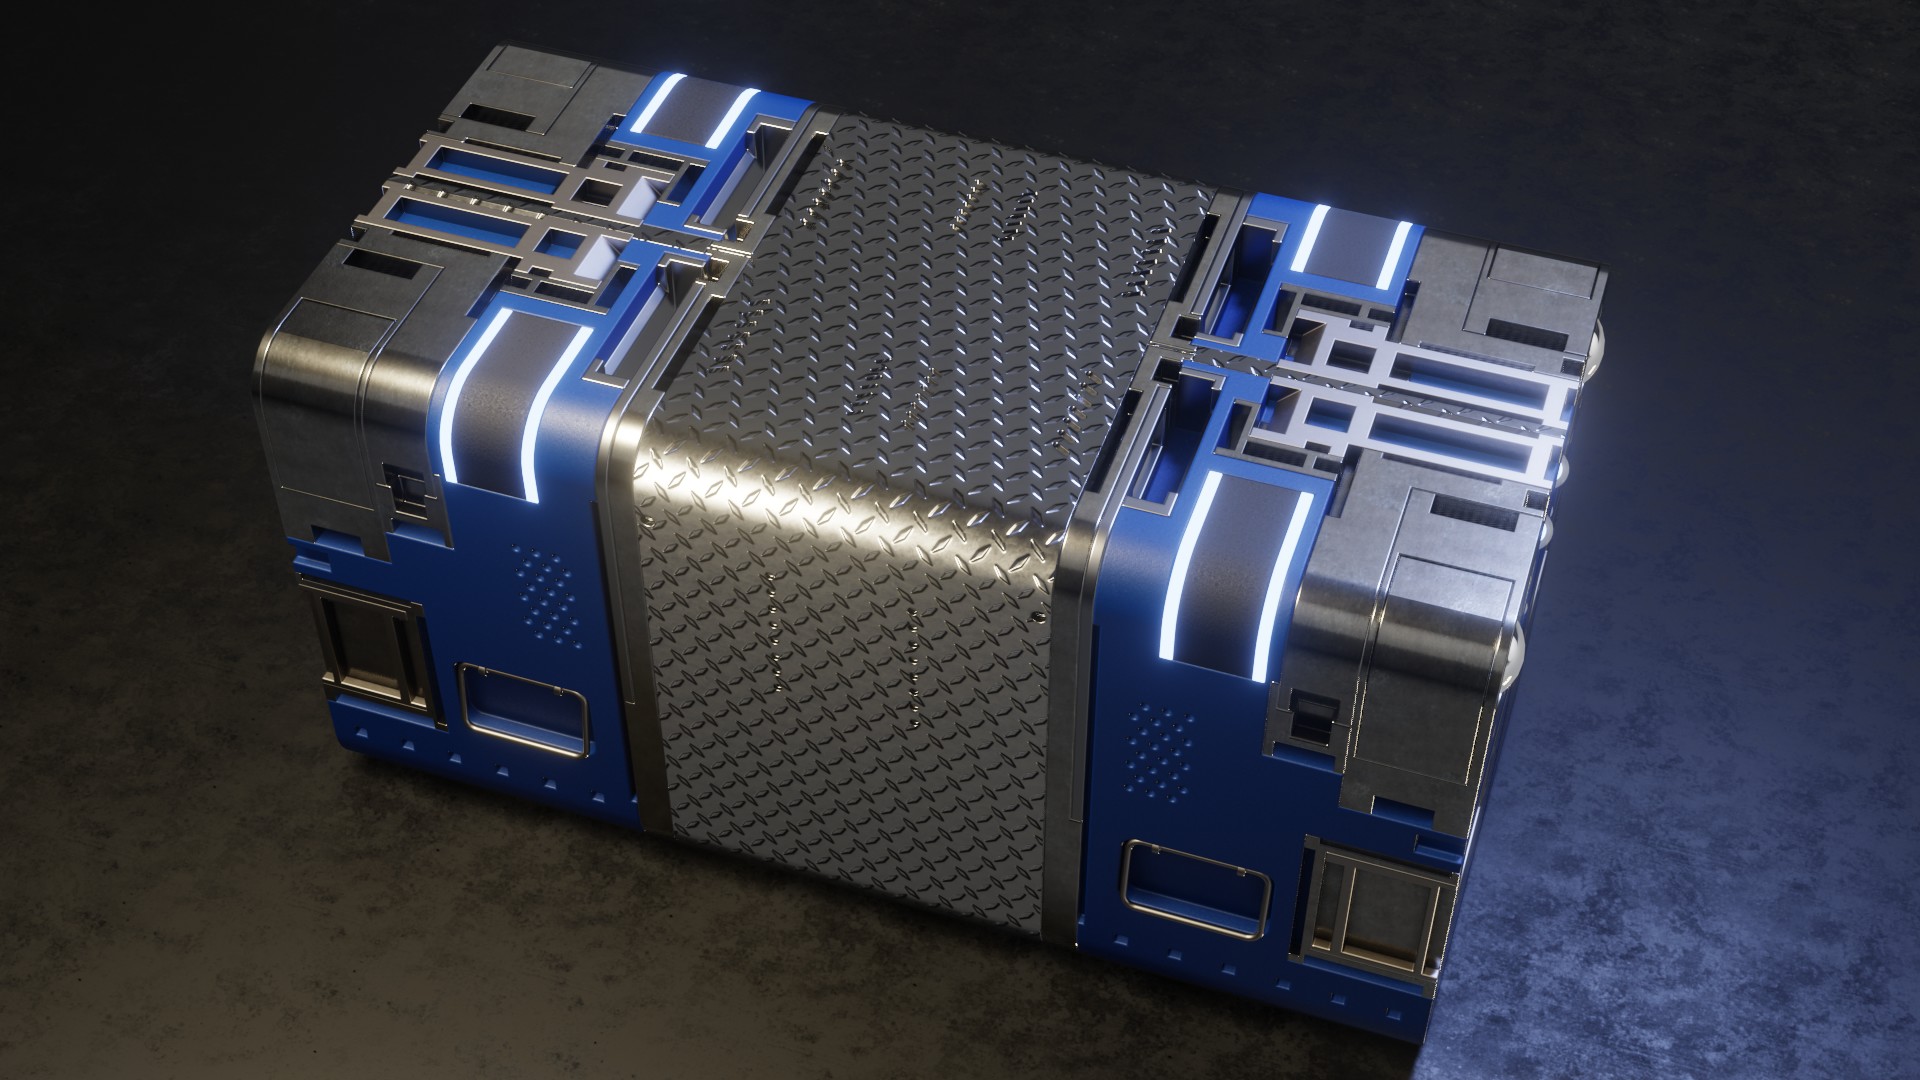
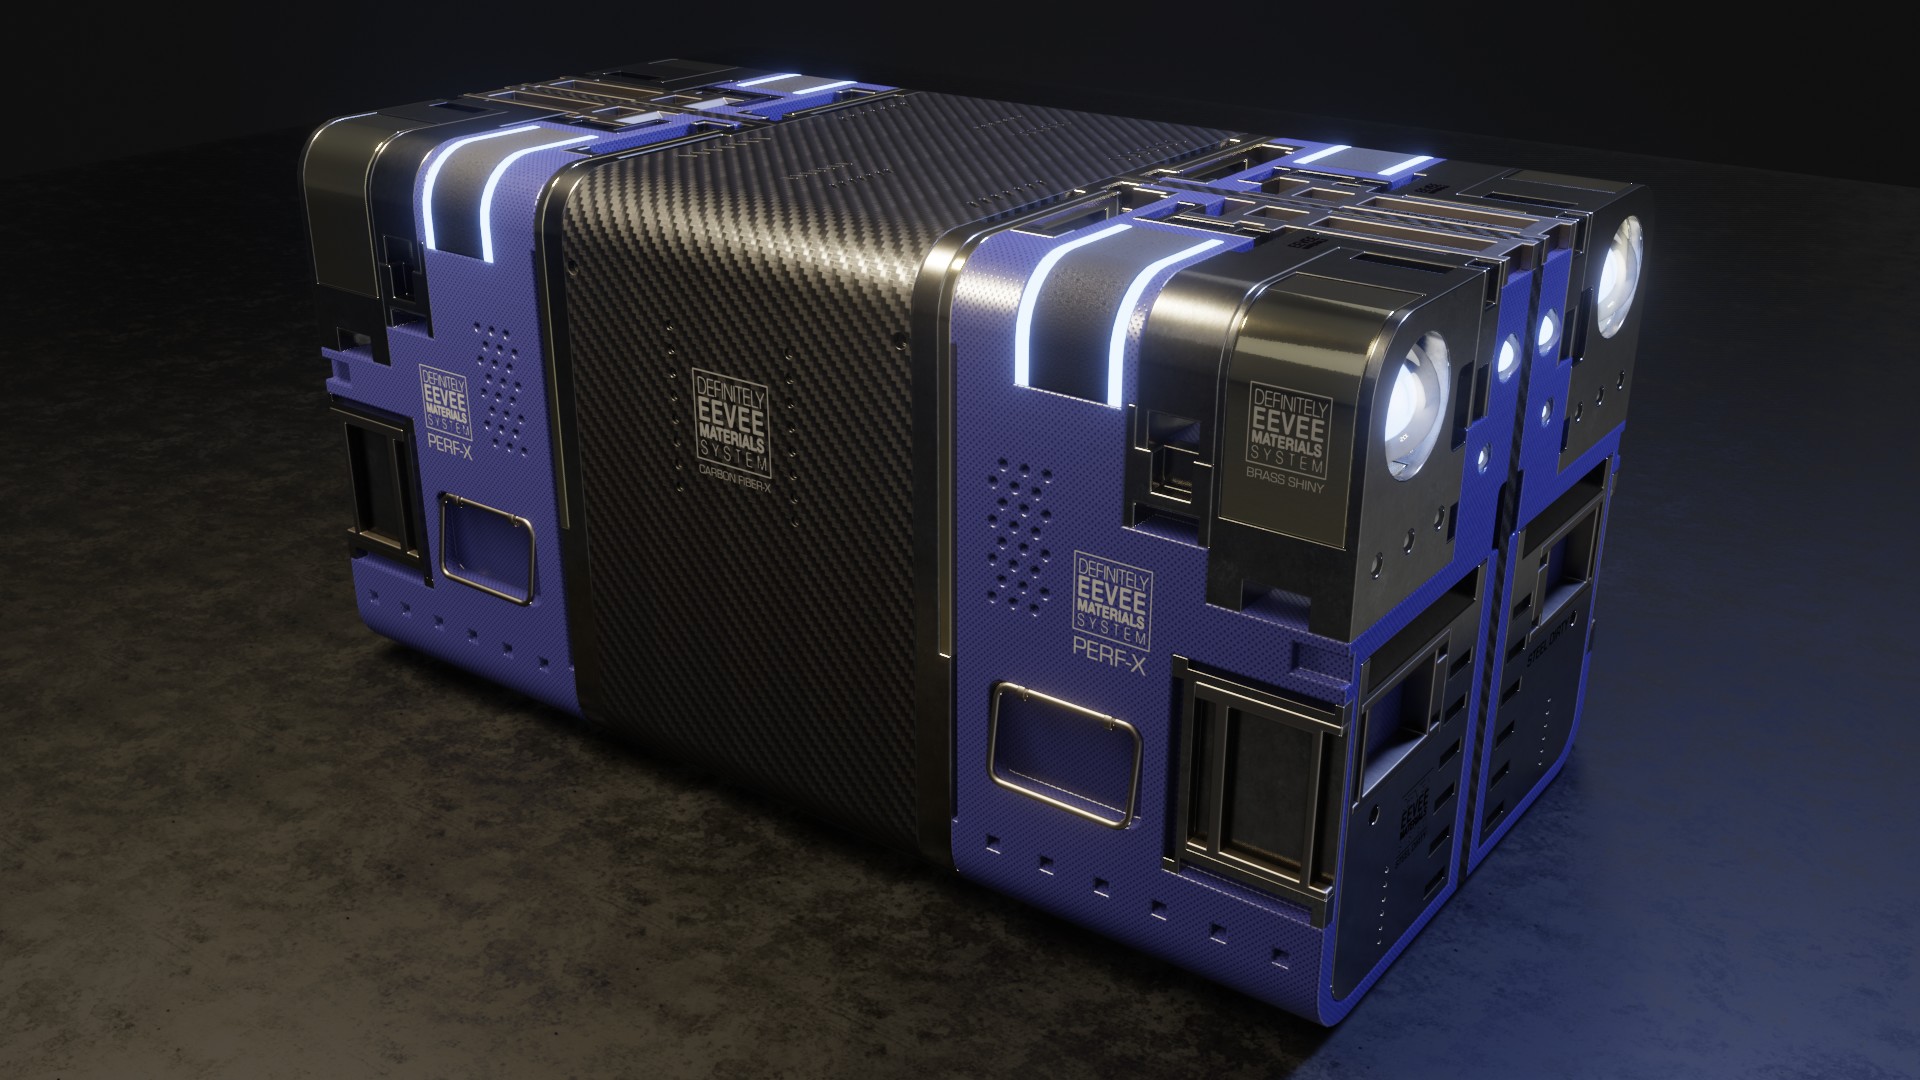
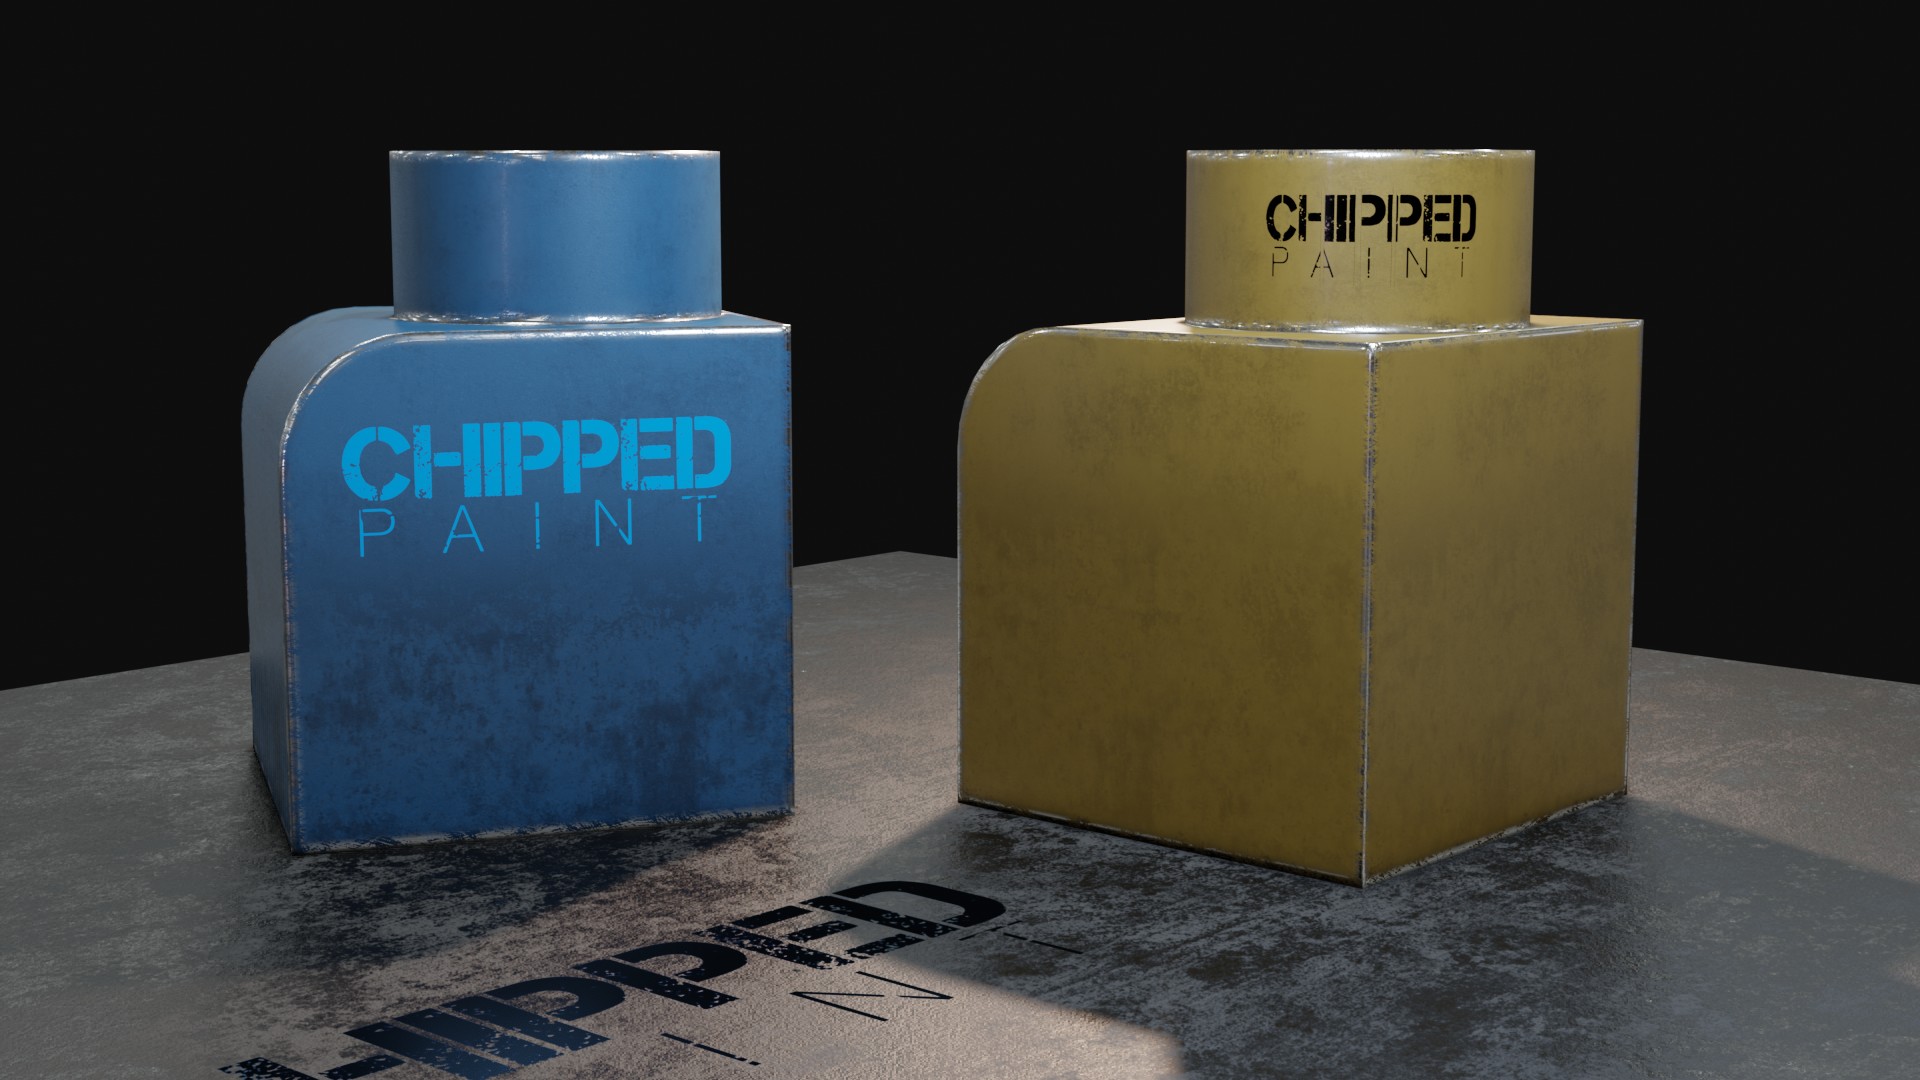
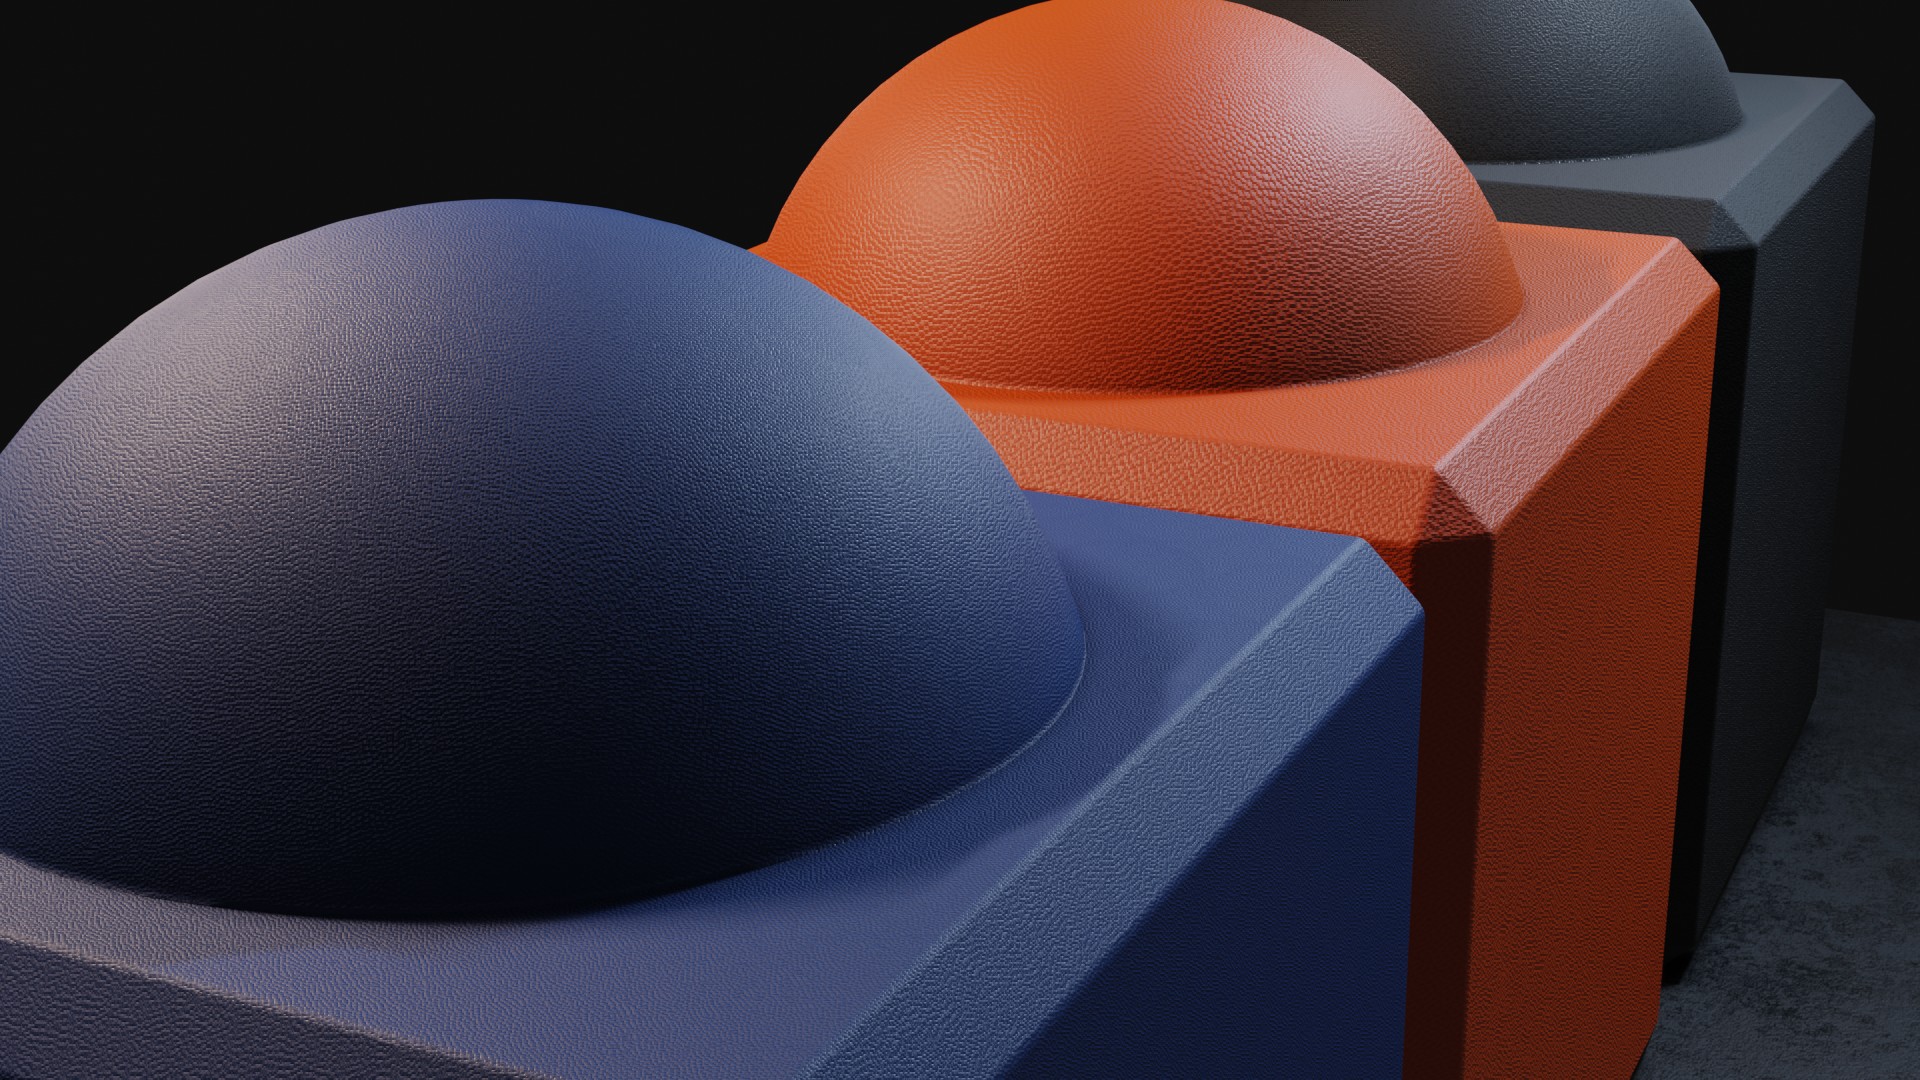
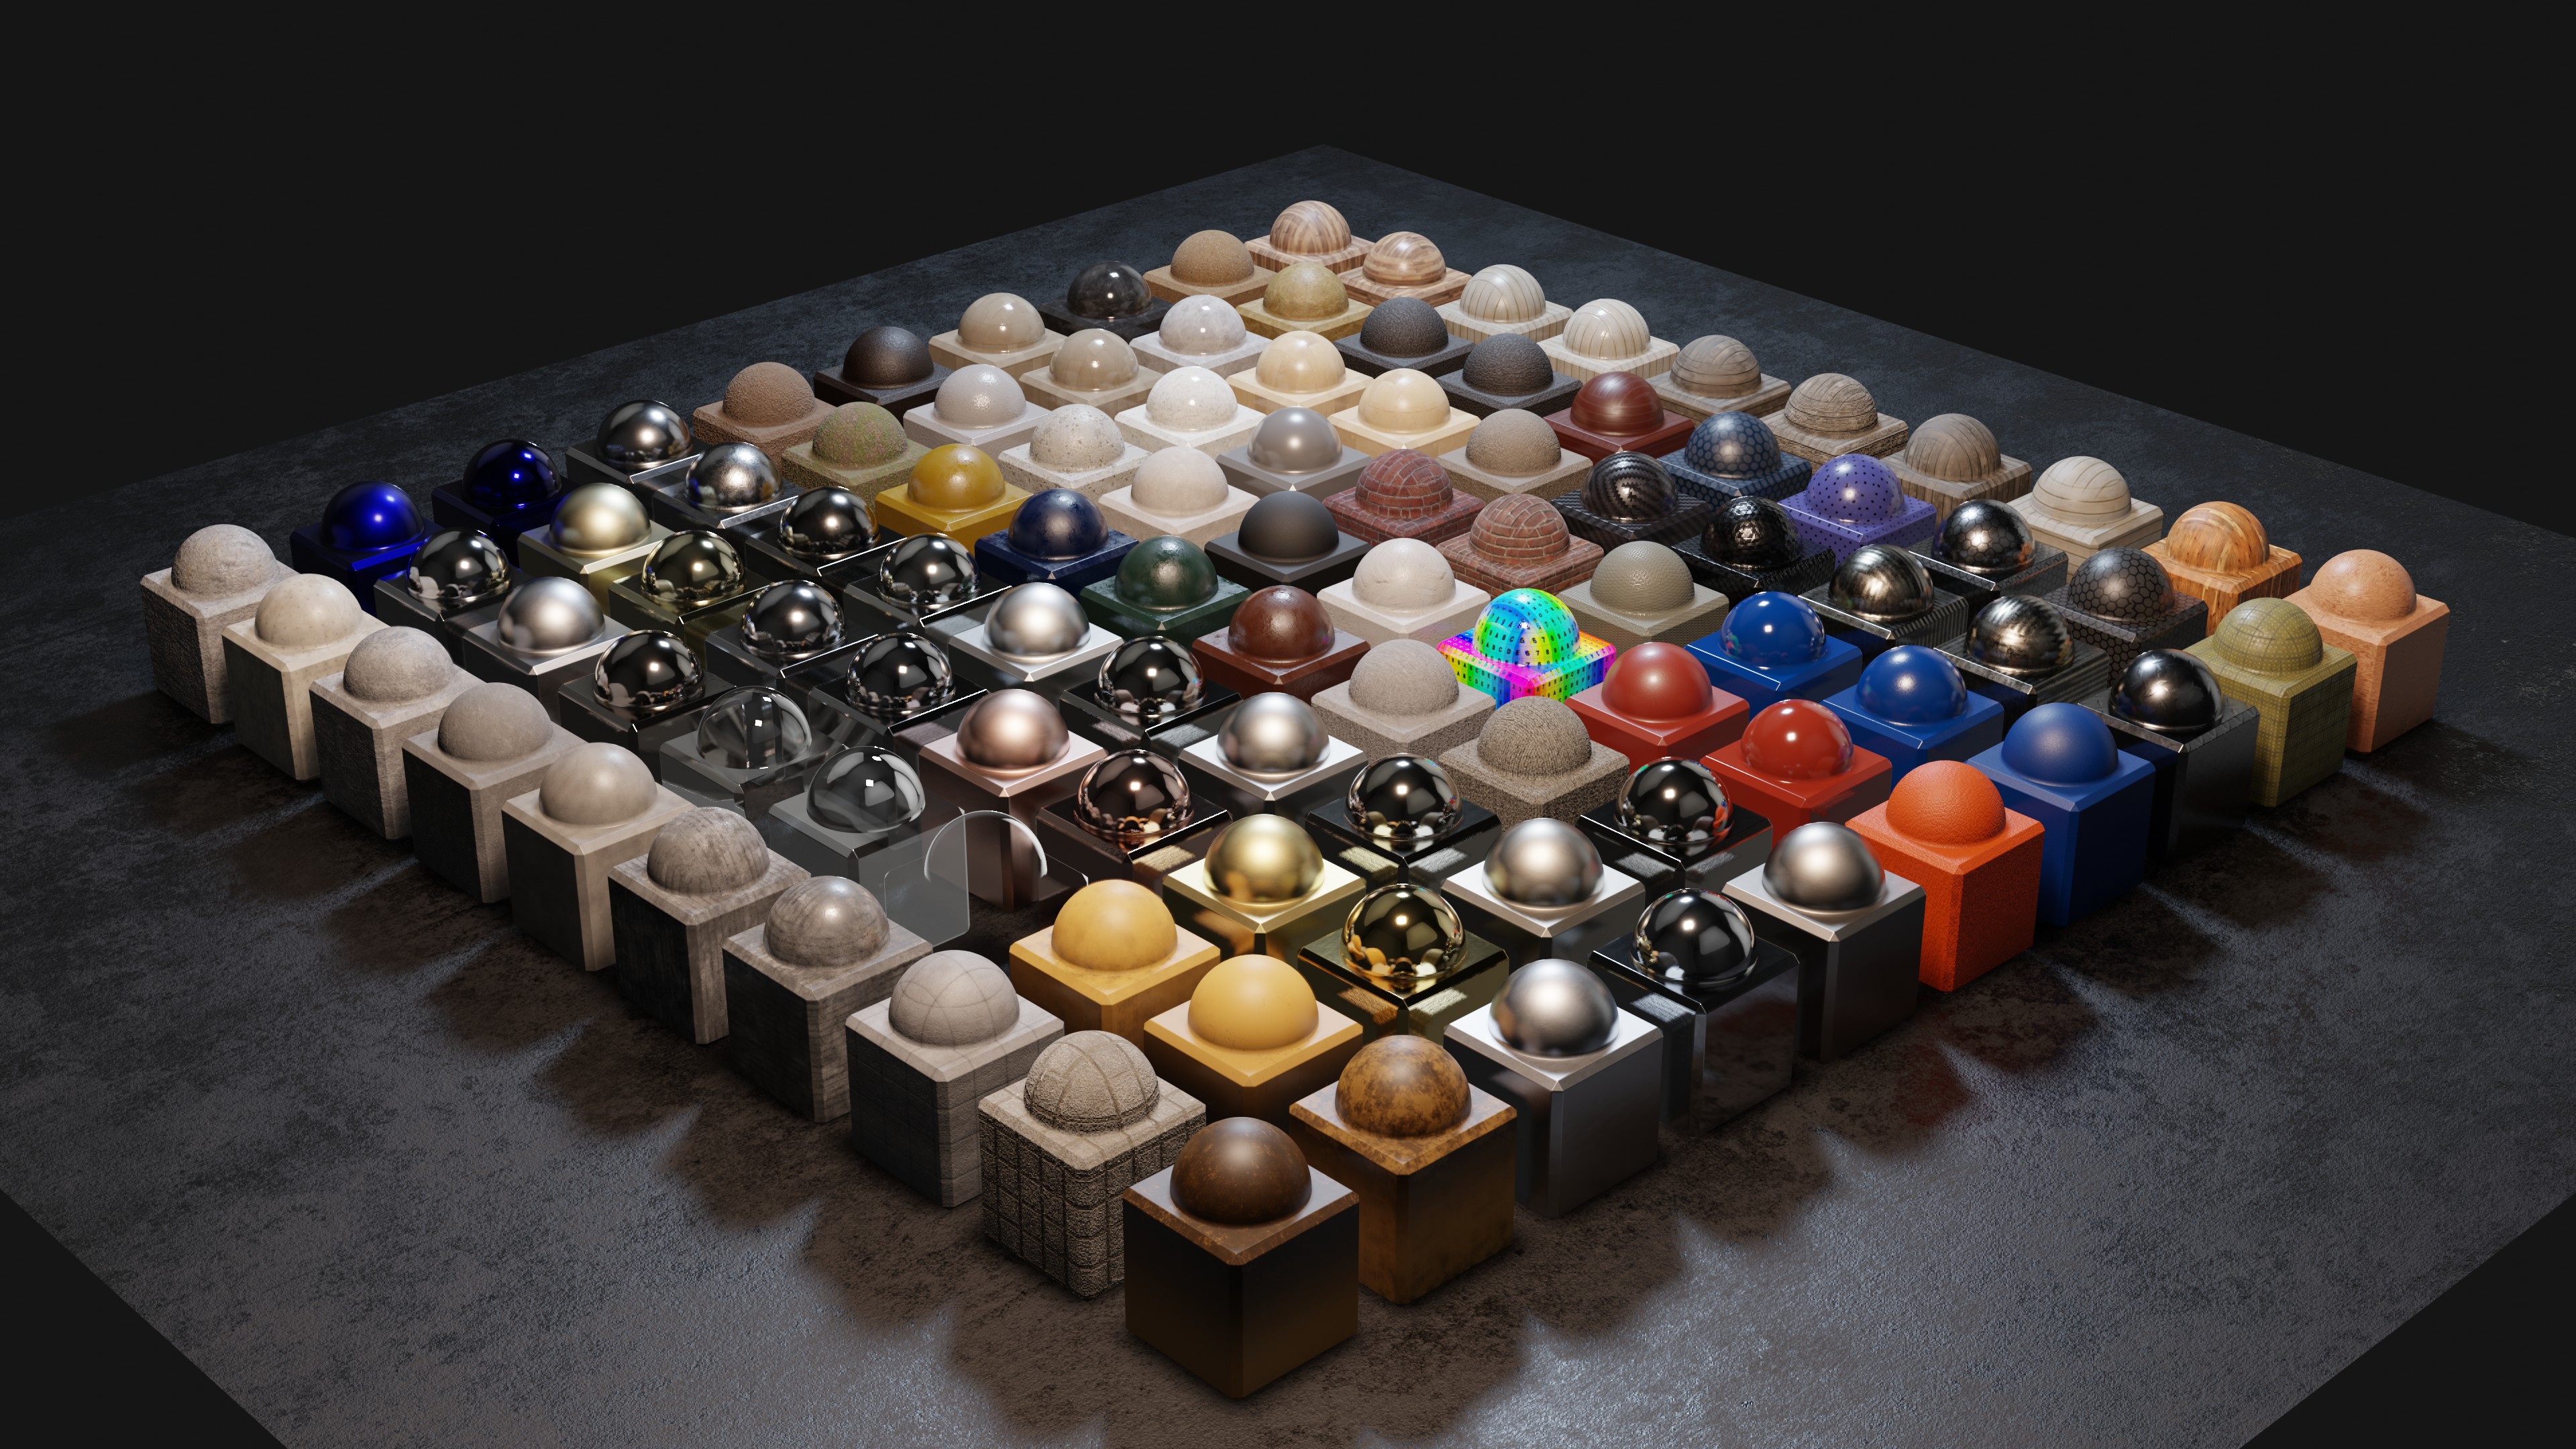
A few closeups of the materials (click first 2 to view full rez):
BRASS
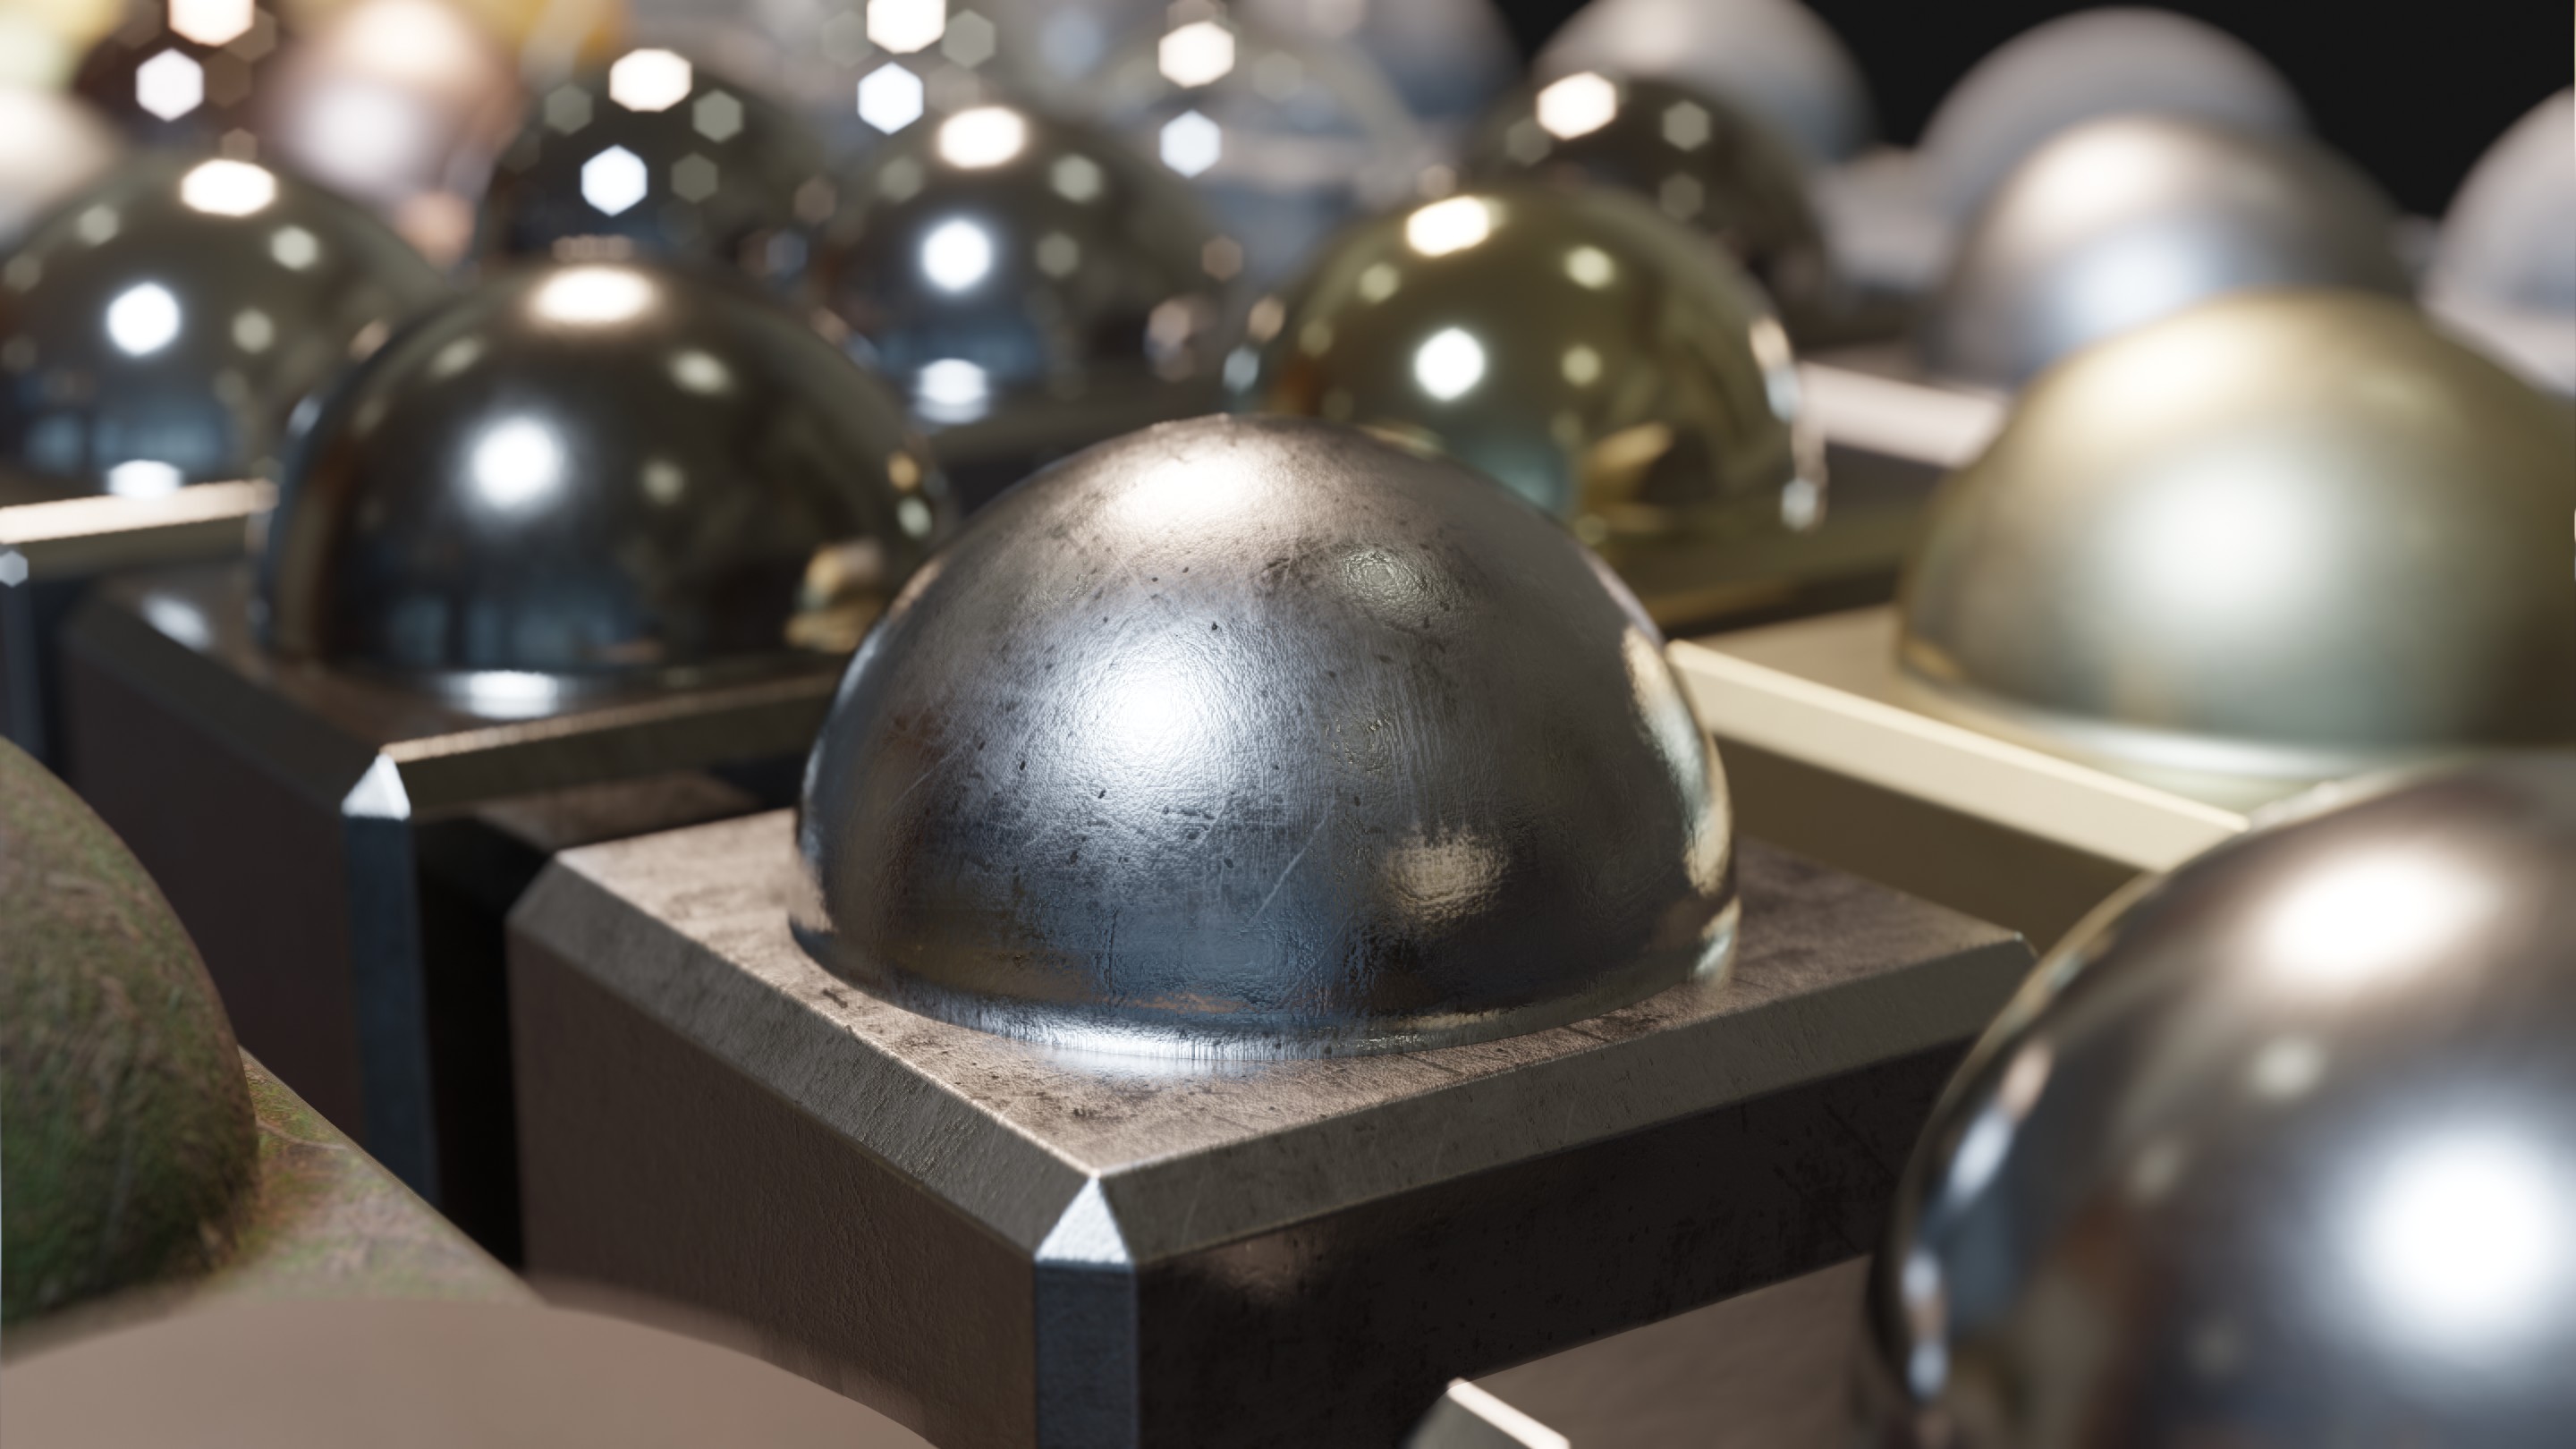
DISTRESSED STEEL
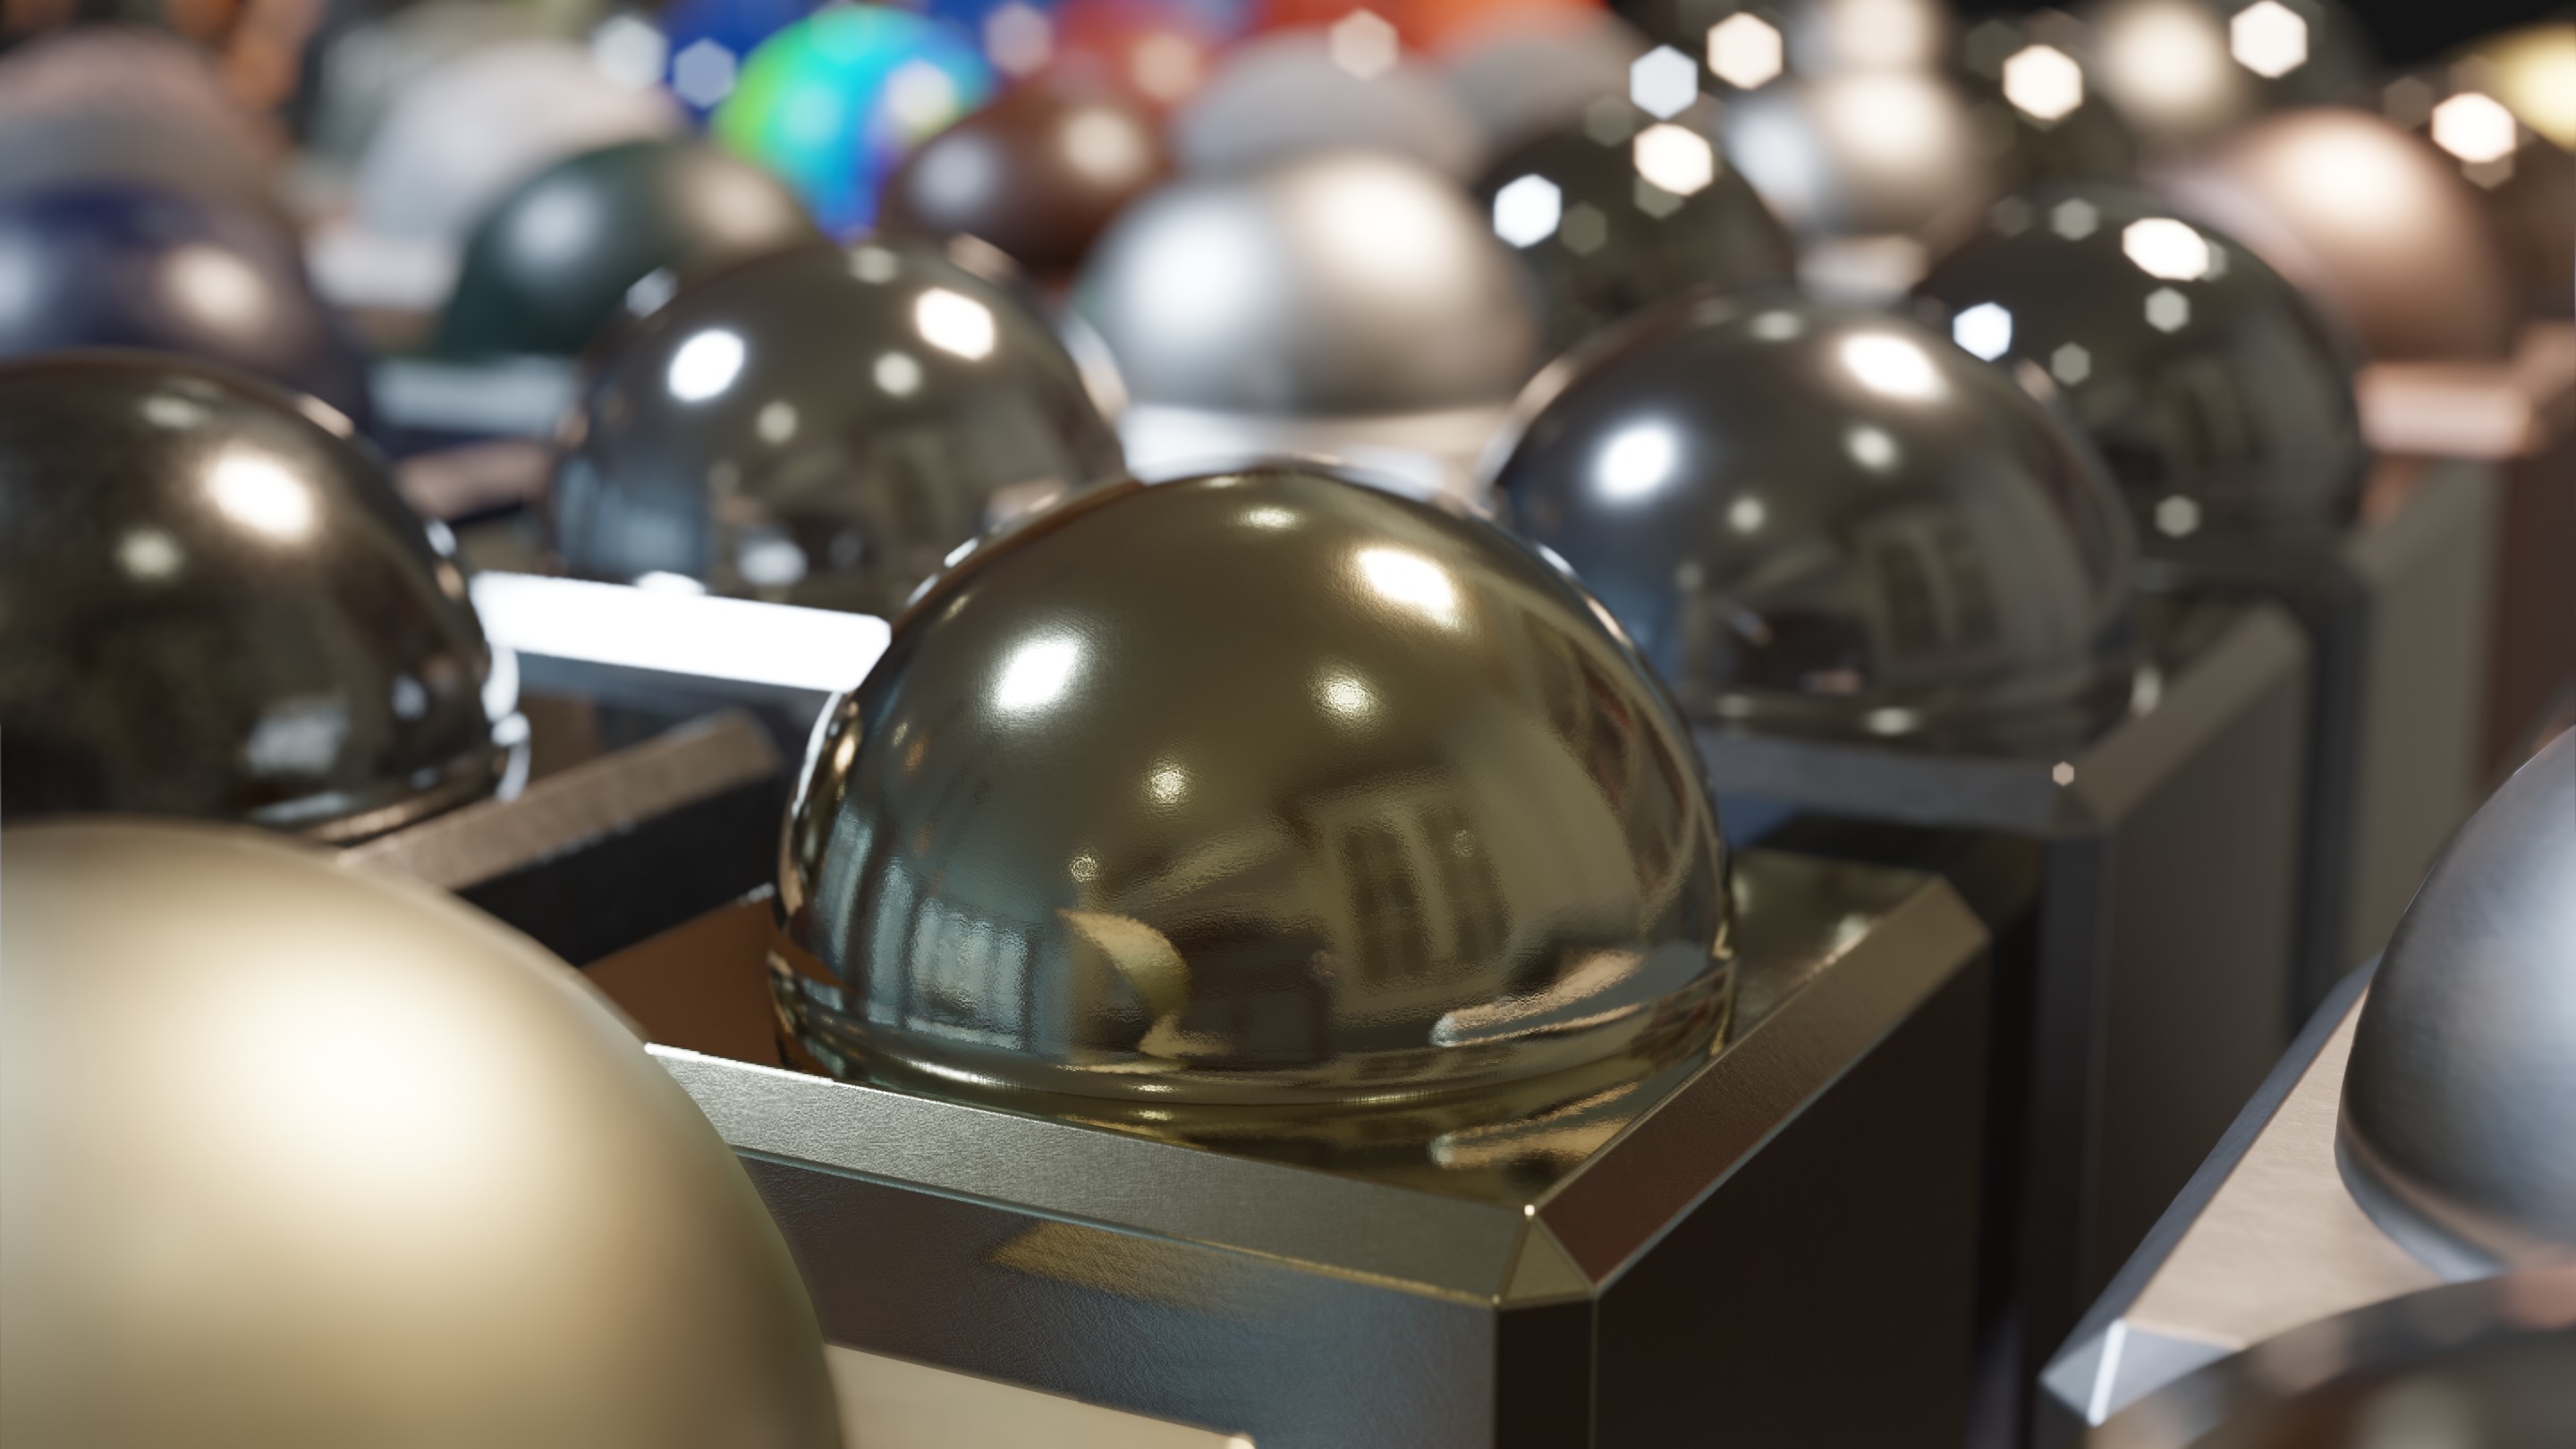
And showing most of the 100+ materials:
Some more information
I’ll be using this thread to answer questions, and post some renders I’ve compiled of some images created with the Definitely EEVEE Materials System. I also hope ot continue to add new materials on to this product as I end up needing them (first needs to be a Camo KPACK with different camouflage textures. Also TAKING SUGGESTIONS!
Thanks to the beta testers for forcing us to streamline the material adding workflow. And as always, @masterxeon1001 and @proxe for their tireless help and support and coding and sample files and pushback and overall great partnership thinking!