Good morning, Blender Artists! I have a big project in the works, and in it I’m combining Blender elements with live action footage. I’d like to keep the lighting as simple as possible, and have decided to use .hdr/.exr maps for all of my indirect/environmental lighting (with a sun lamp for the directional sunlight).
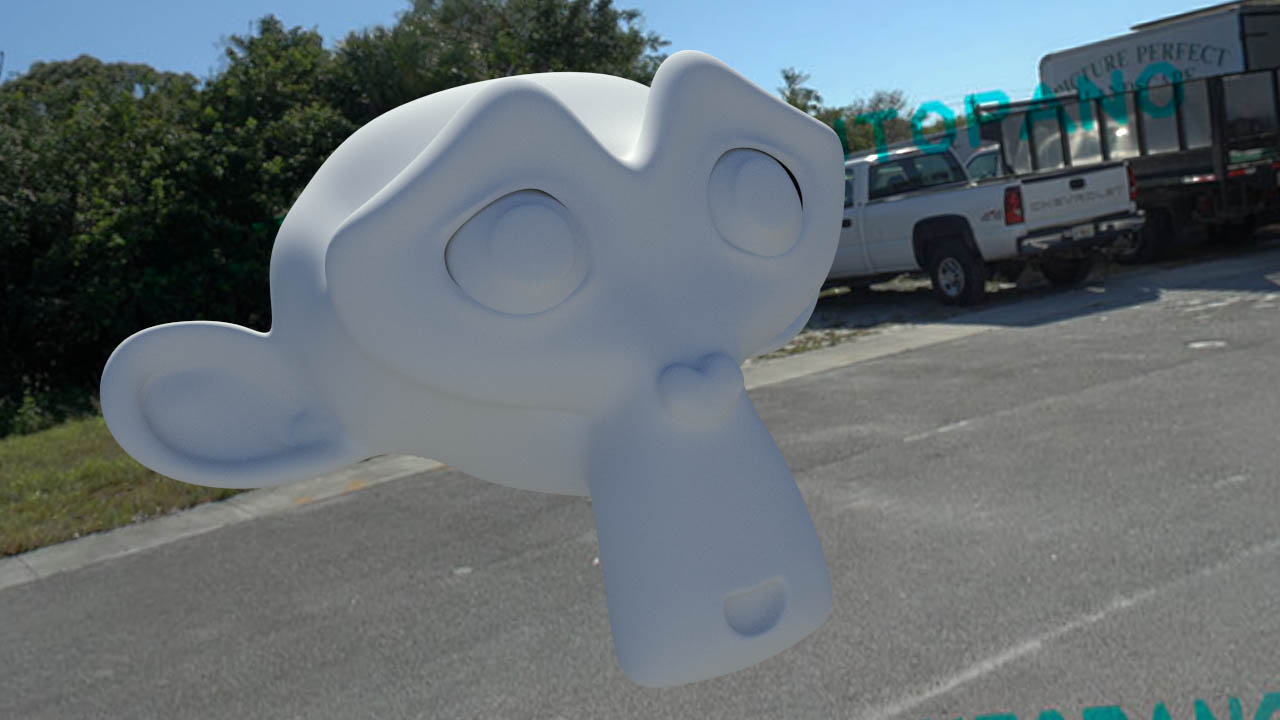
I’ve completed my first lighting test yesterday. First results, and then a breakdown:
The .EXR was generated from only 3 exposures, as this is just test 1, and I wanted it to be fairly easy to do. Also, as you can tell by the watermarks, I only have the trial version of Autopano and can’t save project files. There is a trick you can perform to get Autopano to stitch together images with very bright or very low exposures (to enable stitching of panoramas further away from 0 EV in the illumination range), but you must be able to save your project files in order to do so. So, for now, only 3 exposures.
I do feel the images would benefit from more exposures, I would go as high as 5 or 7 for this scene. But what are your thoughts? Do you feel there would be a benefit to more exposures?
As for the sun lamp, I adjusted it’s size to 0.1, and gave it a slight yellow tint.
At 720 Res, it renders at around 2 min, 45 sec per frame for 300 samples. Keep in mind I have a 6-7 year old quadcore with 3 GB’s ram and CPU rendering. I feel the rendertimes are acceptable.
So what are your thoughts? Does the object appear believably illuminated by the scene it is in? What could I do to improve it?
And I used .EXR because I thought I remembered someone saying once that it performs better, but cannot recall the source. Would .HDR perform any differently?
Thank you, mexicoxican! I don’t believe I have tried it, I will look into it though! Is it difficult to learn? I’ve tried PTGui, and if I remember correctly, said “eff this” after about 3 minutes.
You will probably efff Hugin after a few minutes LOL
Honestly, no jokes now, Hugin is a good application.
I’ve seen some easier ones, but you have to pay for them.
In any case, you have to pay a lot for hardware equipment. ~$2000 min.
LOL, You are probably right, Michalis. I’ve noticed that while the opensource stitching programs are quite capable, they also tend to require much more manual work than their commercial siblings. I will find a good tutorial this time and give it a go!
Michalis- I had not seen that thread previously, thank you. What are your questions? Perhaps I may be able to help.
VickyM72- Thank you! It is indeed encouraging to hear praise from someone who pays such careful attention to the lighting in their own scenes!
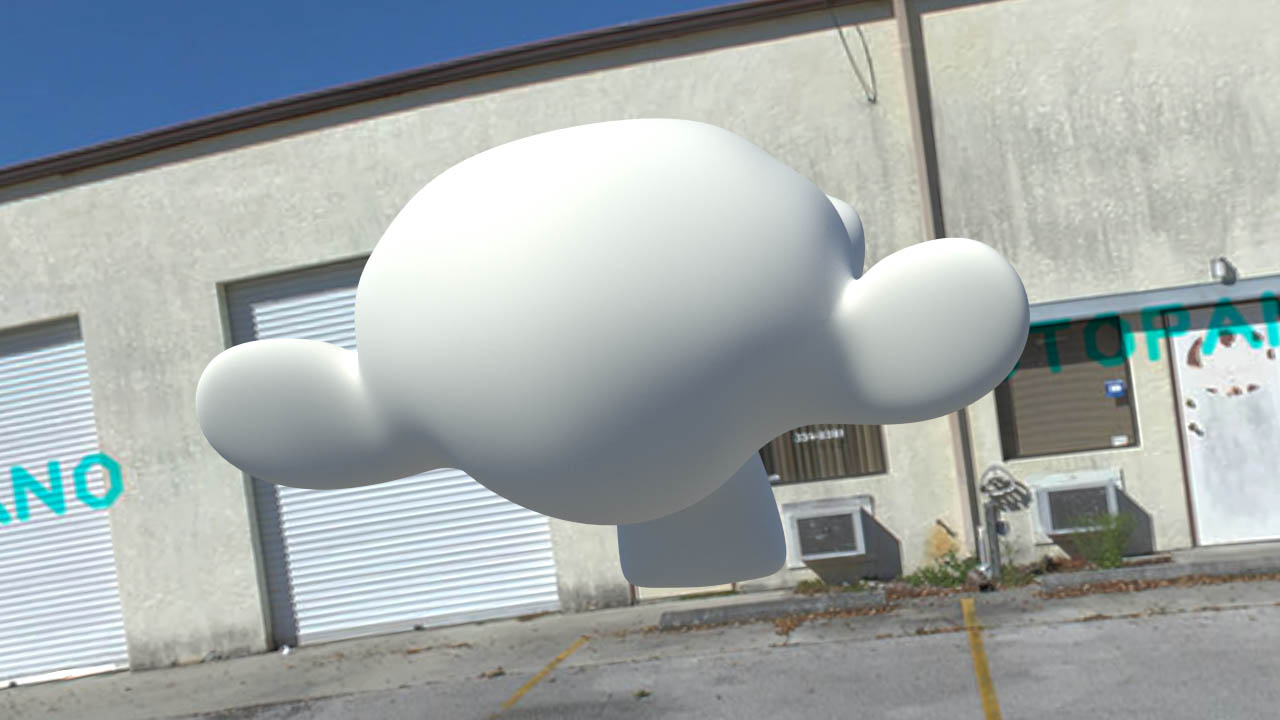
Kilbee- I experimented at first with only lighting it with the .EXR map, but as has been my experience in the past, it simply doesn’t produce the results I’m looking for. I have rendered two images to show the difference.
Suzanne with .EXR only:
It may be possible to obtain better results with many more exposure brackets, but the shadows would very possibly still be too soft. Therefore, I believe it is better to utilize the HDRI map as a purely indirect/environmental light, and the sun lamp as a key light. At least in this type of environment, I feel that 3 brackets may be sufficient information to succefully recreate the indirect light.
JoHal- Thank you! I had not heard of this software, but it will be very welcome on my computer without a copy of Photomatix on it!
Looks quite believable, I am not sure that such a matte surface on the model would portray more bit depth or dynamic range? Also Sun should not really be yellow, it only looks that way because of all the Blue in the sky (tricking the eye). Seen from space it is broad spectrum/white.
I too thought that the idea with HDR was to light the scene, including point sources.
Yeah, It does seem strange that you are getting no lighting at all, not even noisy light, from the sun in your probe. I’d verify that your exr file is in fact at the right exposure levels. Is it possible that the hdr wasn’t merged correctly? even a LDR .jpg can provide decent environmental fill light. Also, how many stops were you bracketing? if you are doing a full on sunlight probe, you’re probably going to need a pretty wide range of exposures. I don’t think you necessarily need more brackets, just wider brackets.
These are just some thoughts, you are getting a really good result with the sun light. It’s just nice to have a single exr you can drop into any scene without fiddling with additional lights.
I will try to do another test today! If not today, then tomorrow!
I have to say, I think you guys are right. It does seem strange that there is such a low range of intensity generated from the .EXR file.
I was using my older camera for this test (maximum of 2 stops in bracketing), but I will try with my new camera which allows for up to 5 stops of EV compensation. I choose to use the auto bracketing instead of manually bracketing my shots, as it helps to reduce camera movement and of course time taken to shoot.
I will also try using Hugin or PTgui for the stitching, and report my results as soon as possible!
I have to correct myself; my new camera also only shoots a maximum of 2 stops apart for three bracketed exposures. It is able to shoot a maximum of 5 + or - EV compensation for single shots only. So I will be manually bracketing for my next probe test.
I did do some more tests with the scene today, though. Using the larger .HDR file instead of the .EXR file, the scenes renders exactly the same. I will continue to use .EXR’s in the future.
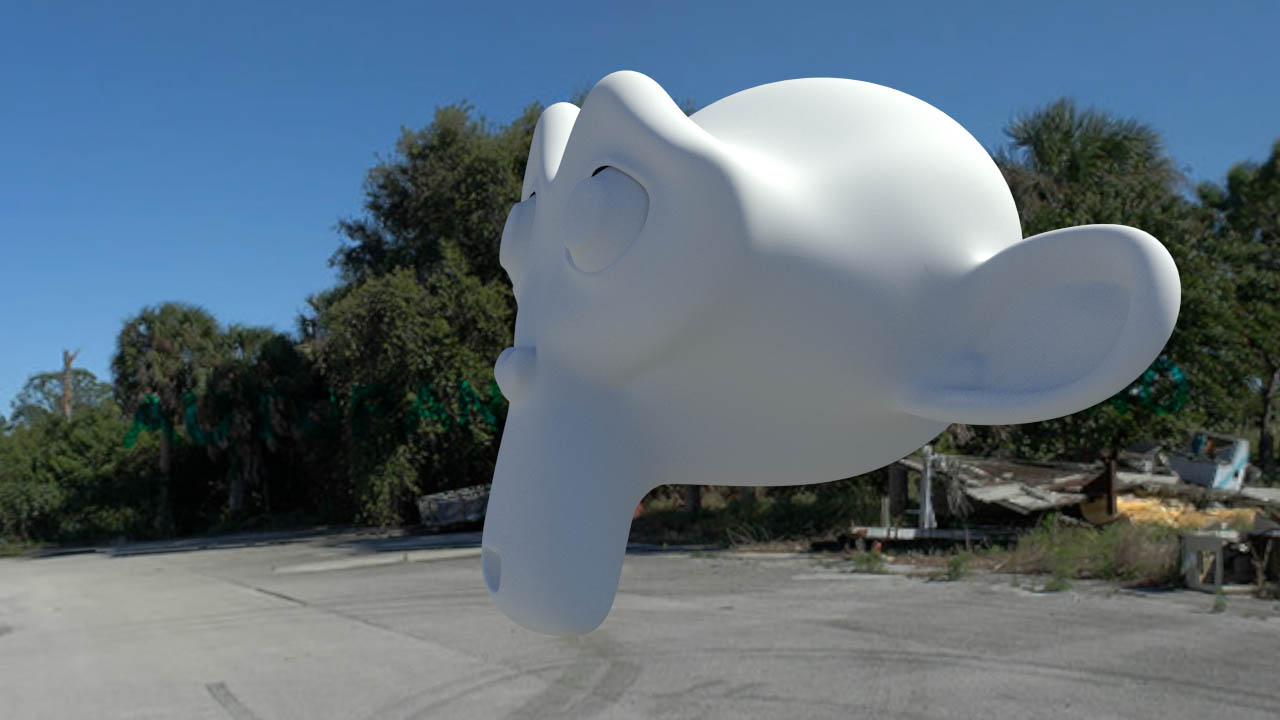
Then I decided to try out another probe; I downloaded the sample from Dosch 3D, here are the results:
As you can tell by the shadows, the camera is facing the side of Suzanne that should be lit by the probe, but the results are very similar to my own probe. I’ve also tried sampling the map as a light, but there was no change.
I brought the Dosch .HDR file into Photoshop, and raised and lowered the exposure. To my surprise, the dynamic range looks very similar to my own probe’s. In both cases, most of the information is stored in the mid range and the shadows. Once you start exposing for the highlights, the sun turns gray well before it should. Perhaps this is because it is a free sample, and it may be that the final product contains higher dynamic range. I cannot say.
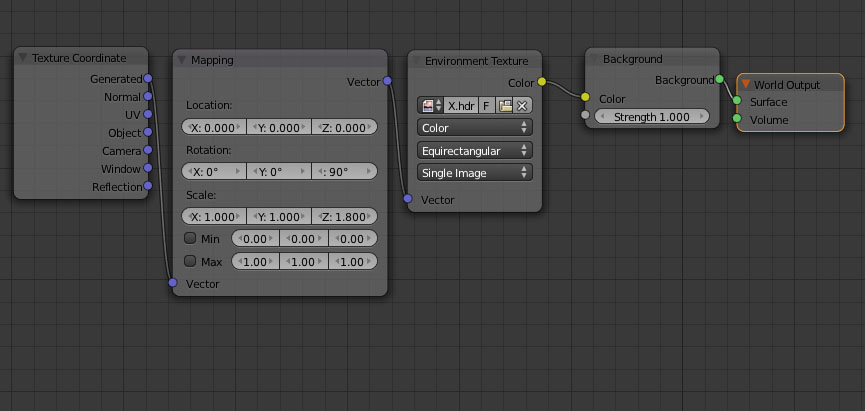
In any case, I will be doing my best to expose for the sun as well. Below is the node setup I am currently using. If anyone has any recommendations, please share!
Using the hdr for just the environment light is not the wrong way to go about things at all. It is, in fact, the most common way you would see being used. This page explains this approach.
Relying on the hdr for some sharp sunlight is always going to be noisy unless you really pump up the samples. As far as environment (indirect) light is concerned, 512*256 blurred HDRs not only give the same results as gigapixel ones, but also much smoother. You need the big ones for what shows up in the reflections.
Many software packages support using different images for reflection and lighting and this is all what that sIBL thing is all about. Blender doesn’t (yet). If there is nothing particularly reflective in the scene though, you can get away with using small blurred ones.
Also, Hugin is extremely powerful, and can be used for a ton of things. Learning curve may be steeper than commercial applications, but nowhere near what you may have experienced with Blender. I followed the tutorials on the official website and could make 50 image panoramas in around a week.
It is a useful piece of software to be able to use, and I would recommend investing the time in learning it.
@James Candy: can you share with us your render settings please. Sampling/light paths…
It is strange that you get such a result, it seems the same as a ldr image.
Have you enabled clamp in the render settings ?
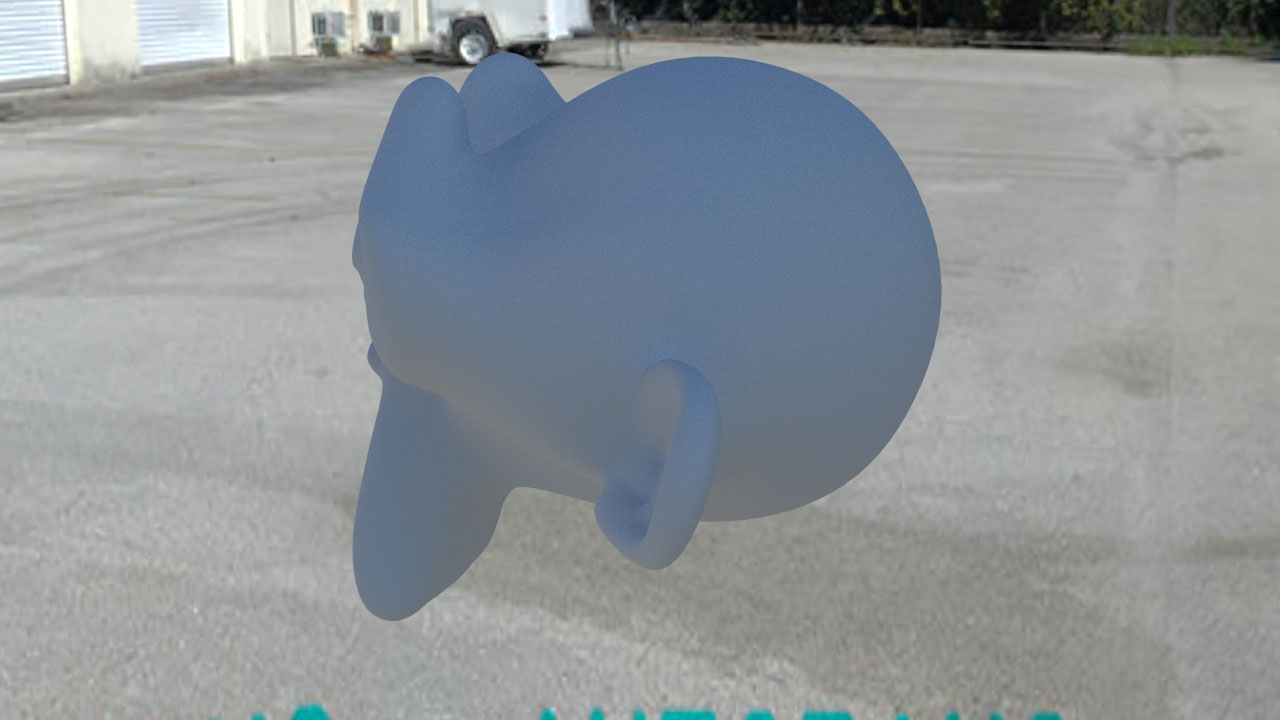
I made a test with a downloaded mirror ball probe, only suzanne, camera and the hdr as environment background
and it is much brighter than yours (no additional lamp used)
EDIT: Try to use the setup in my second image, turn down the exposure in color management, left click on the brightest spot on your image and post the values.