A major problem in blender developing is that things are often developed by single persons and without a design at the base, so in the better case they come out bad integrated, if they ever come out at all.
and luckily that we have a UI Team…
paolo
A major problem in blender developing is that things are often developed by single persons and without a design at the base, so in the better case they come out bad integrated, if they ever come out at all.
and luckily that we have a UI Team…
paolo
paolo, i rarely use masks too, but on this greyhound it is nearly impossible to sculpt on the legs without masking. they are very close, almost touching…
yii7, thanks for the addon. i just tried it. it is a good start. for now i love the smoothing option most. this is very useful and saves me quite some work on refining the masks borders.
yes, when sculpting over an area that is stored in vertex group as mask it needs tidy up after sculpting over it. but it already helps me, since i have then all four legs as masks and can use the other three to clean up. this is much easier then recreating a leg mask each time. thanks for sharing! now i can sculpt further with less frustration of recreating masks completely from scratch each time 
i need try your mentioned method 2) still. but i fear the closeness of the legs will not work well with projecting data. at least they are a horror for shrinkwrap modifier…
thanks for the ideas and help. yes, lets hope the next time a dev works on sculpt we get better masking tools…
If i were you, i would cut out legs and have them separate till finish. There is no way to have mask system and maanipulation widgets known from zbrush in near future and thats makes me sad ;(
yes, i had them first cutoff and separate, but then i was not able to work properly on the muscles near the cut borders. i like to bring sculpts evenly further, and separating them off, hinders that… and yes, it is sad, sculpting tools in blender had no big priority, at least that was my impression. but then there is dynatopo, really the best sculpting tool in its base. it would deserve to get the tools it needs to be able to sculpt with it at its fullest potential…
Hi. Perhaps a stupid question. Is there any way to sculpt starting exactly from the center/middle in ortho view? Perhaps in some way with the cursor position?
For example in this image:
http://pasteall.org/pic/show.php?id=108274
I want to drag up from exactly the upper pole of the sphere. But if I drag in that way then it is not exactly in the center, but shifted a little towards the front.
Try to get a bigger brush and lock the x- and y-axis. Hope it helps.
Thanks erickBlender, but apparently it is not possible. This is always shifted slightly forward. Apparently there is no way to configure the plane where you want it to be the starting/initial point of the stroke (the stroke starting point is always where you pick on the mesh).
To achieve what I want there should be some way of defining a plane, and that the stroke always starts from the intersection between that plane and the mesh, the closest point to where you start to draw. For example, in ortho view Numpad 1, define the plane XZ, Y=0 for initial stroke point. Then you could do something like the following thing and being sure that each strokes is exactly in the middle:

Do you all like how Scale detail value is handled in Constant Detail mode? I work with real scale and always end up with values like 0.05% and less doing medium details. If you also don’t like that have look at my proposal here:
With this change setting sculpt resolution will be more handy in all scenarios, not only with 170 meters tall characters. 
@Monio: Since the resolution value slider for constant detail mode is retro-active the hotkey for changing scale is broken for it (Shift+D). I also like to work real scale but I use the eyedropper tool to determine the values in first steps. But you’re right about small models and the previous slider having a hard time going to -.1 values. Your proposal seems legit but please fix the hotkey.
If some of you didn’t play with the soc pbvh-painting branch, you really don’t know what you are missing. I put a build in my google drive, go ahead download and enjoy https://drive.google.com/file/d/0B62B6BmVbltVSDg3eW1YYnNiaEk/view?usp=sharing
Thanks Nathan and Bastien for their work, this is a “must-in-master” branch
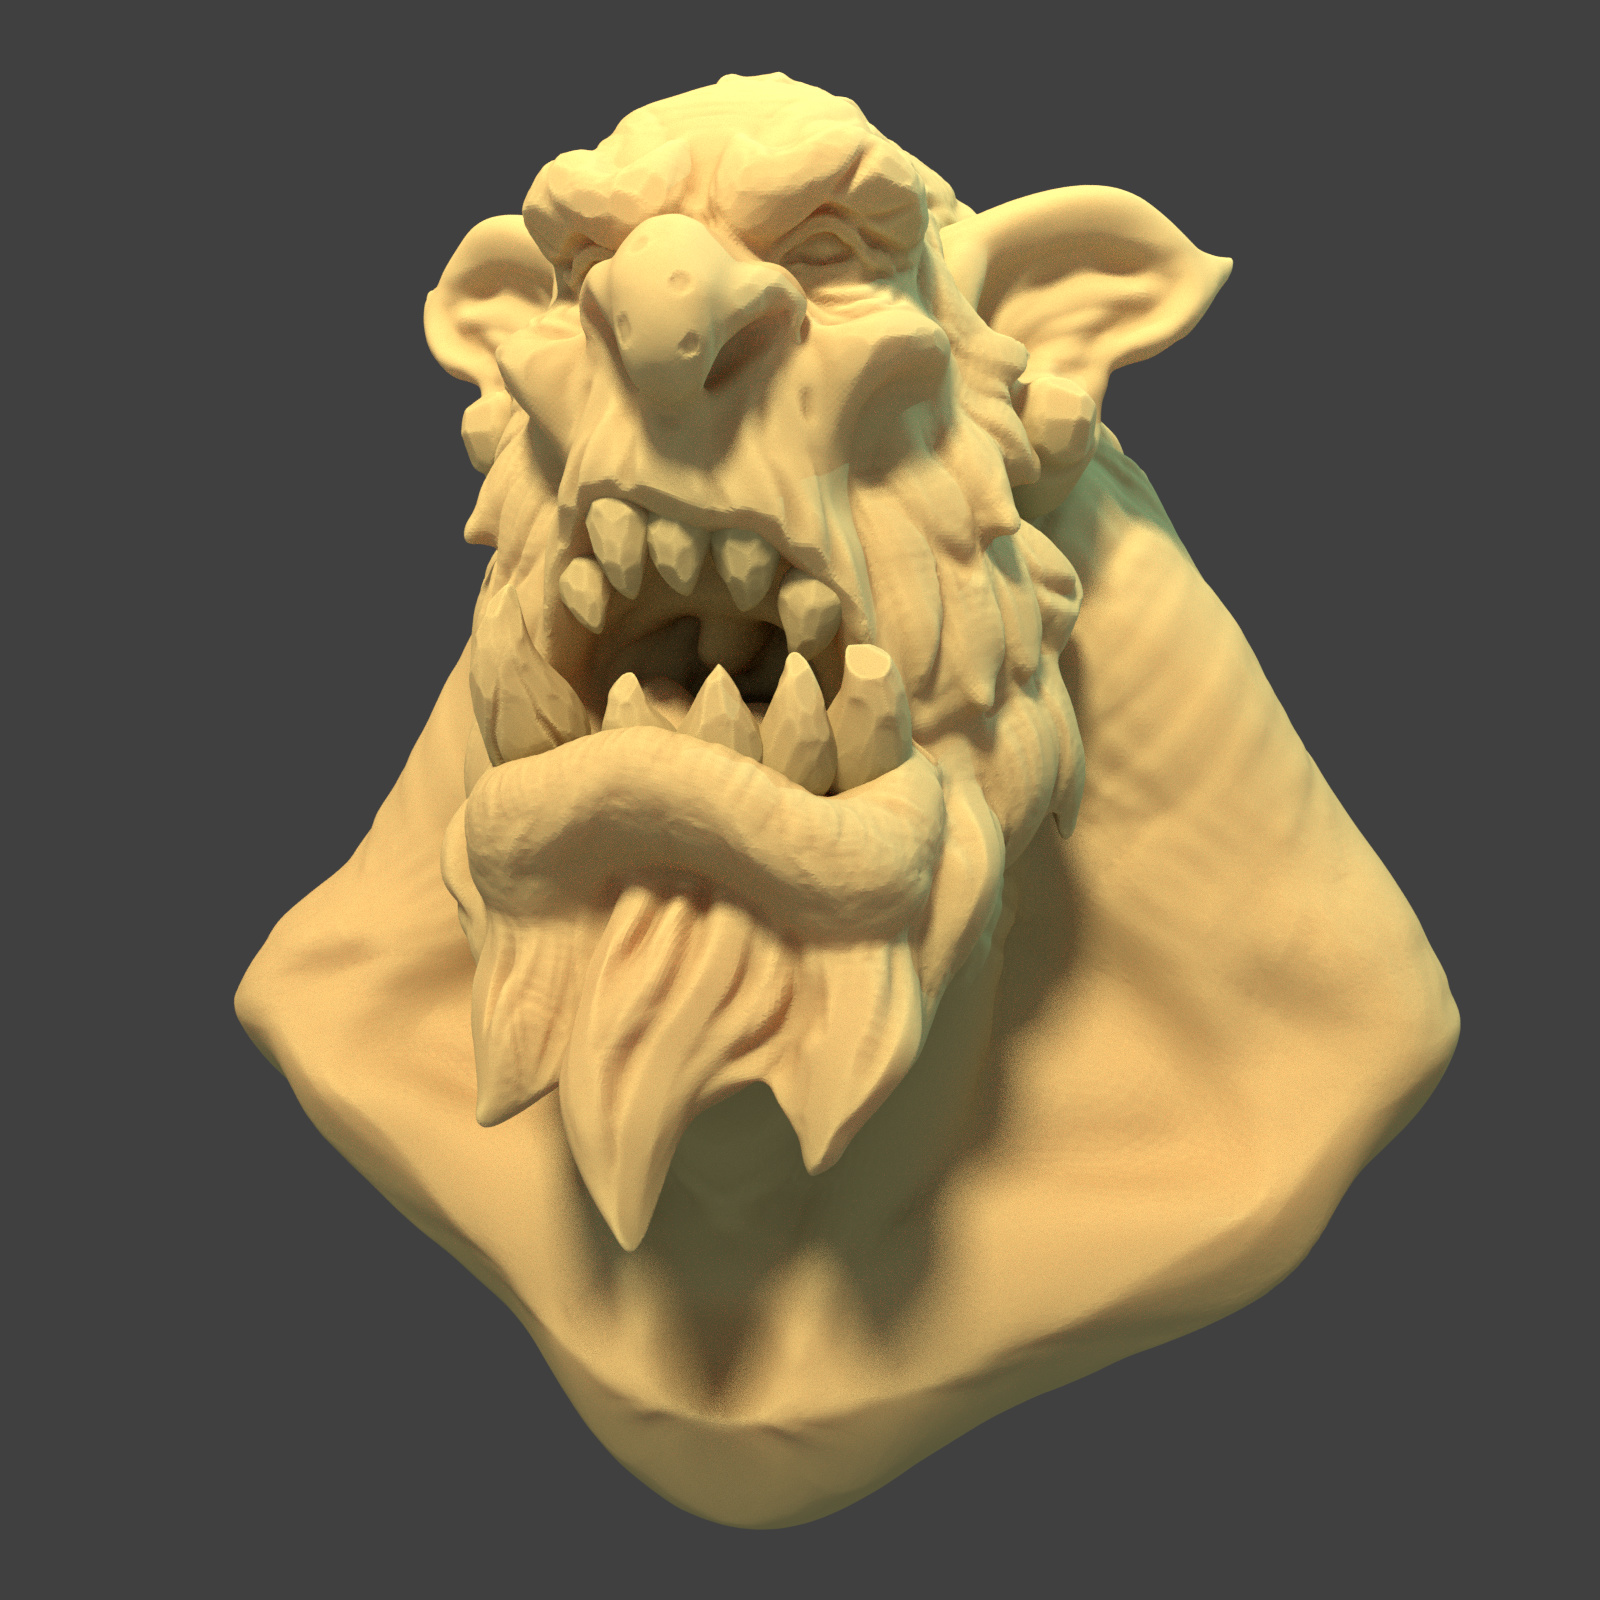
pachupp, that is brilliant! I love those cheek bones, and teeth like rocks 
#6324 - pachupp, that looks awesome!
More views! Let’s see the volumes from other angles, screenshots are fine 
Oh, nice! Reminds me of Darksiders art.
What brushes did you use?
anyone knows where to hit with screen space curvature idea in viewport? could be useful in sculpting and mesh visualisation. Should be fast i think
http://madebyevan.com/shaders/curvature/
// License: CC0 (http://creativecommons.org/publicdomain/zero/1.0/)
#extension GL_OES_standard_derivatives : enable
varying vec3 normal;
varying vec3 vertex;
void main() {
vec3 n = normalize(normal);
// Compute curvature
vec3 dx = dFdx(n);
vec3 dy = dFdy(n);
vec3 xneg = n - dx;
vec3 xpos = n + dx;
vec3 yneg = n - dy;
vec3 ypos = n + dy;
float depth = length(vertex);
float curvature = (cross(xneg, xpos).y - cross(yneg, ypos).x) * 4.0 / depth;
// Compute surface properties
vec3 light = vec3(0.0);
vec3 ambient = vec3(curvature + 0.5);
vec3 diffuse = vec3(0.0);
vec3 specular = vec3(0.0);
float shininess = 0.0;
// Compute final color
float cosAngle = dot(n, light);
gl_FragColor.rgb = ambient +
diffuse * max(0.0, cosAngle) +
specular * pow(max(0.0, cosAngle), shininess);
}
and thats how it was implemented in sculptgl
Good looking monster out there ![]()
I don’t knwo but maybe show it to Mike Erwin ![]() He was showing a lot in the talk about the Viewport…
He was showing a lot in the talk about the Viewport…