Well, I’m sure you all see fancier stuff than this all the time here, but this is my first ever high poly model and I’m proud of it anyway!
I’m used to making low poly game models, but I’m still a noob when it comes to 3D modeling - 2D comes a lot easier to me. I wanted to make this for to normal map my low poly model, rig and animate it. Still a WIP… she is missing a pouch at the belt, the daggers are still low poly and she lacks hair - as far as I know, there’s no use in normal mapping hair, so I wont bother with hair on the high poly version. I used Blender’s sculpt tools; and legs, chest, sleeves, head and gloves are made on different layers, since my comp can’t handle a whole high poly model. If anyone has any tips about how to make the process faster I would love to hear about it.
The sculpting work is very pretty. I like the folds in the sleeves and the boots particular. I like the boot design as well - it calls to mind some of the quaint outfits from the sixteenth and seventeenth century. The face is natural and good looking as well, and I know how tantalizingly difficult it can be to produce a human profile that way.
I’ve yet to model something this advanced yet, but I can think of some things I’d do to improve if it were mine. The lack of hair is the most disconcerting bit, but you admitted this yourself, so that’s not a big deal right now. More usefully, I suppose, I’m noticing a definite lack of ornaments and designs on the chest and boots. Perhaps there could be more straps, a harness of some kind, or buckles on the boots - anything to make an opportunity for more eye-catching designs. Perhaps if you texture her you can add evidence of seams or cloth textures - I imagine along the lines of Link from Zelda Twilight Princess. All in all it’s great work and I’d love to see how it progresses.
Pretty good but personally I would make the cloak longer. If she is an adventure, she will probably want better leg protection than that. That is unless she’s got the whole Link leather pants think going on.
She’s an adventurer so don’t try to bring in the conflicting ideas of fashion and armour. She needs better armour than that, even if she’s an archer, at least they wore leather, you should probably make her skirt one of those battle types with greaves underneath. She also needs a few decent weapons like a shortbow or a shortsword.
Pretty good but personally I would make the cloak longer.
That is a hood, not a cloak. But if I made a cloak I would most definitely make it longer!
For details - buckles and such - I was thinking it would be better to do it simply with texture, since I am, after all, faster with a pen than with a mouse, but perhaps the difference with normal mapped details is great enough to justify the extra effort - I can’t say, since it’s my first. If you people say it’s better, then I’ll take your word for it.
@ Krayon: I don’t think it’s the type of armor that defines an adventurer, nor the weapons. None of the hobbits in fellowship of the ring wore armor as far as I recall, and they had an amazing adventure (even though some of them “upgraded” to armor later on in the story). I was aiming for a bit of sneaky/thief type person here - archer and plate-clad knight is a later project!
Well, I test-baked the model a couple of times but the normal map I get doesn’t look like others I have seen - what do I do wrong? It kind of works, but the pattern on it looks wrong.
It almost looks like you are baking details from 2 separate meshes into the normal map. Thats just a guess. You can also start a bake with .5,.5,1 in RGB and have a nice blue normal map.
as far as I know, there’s no use in normal mapping hair, so I wont bother with hair on the high poly version
Looks like one or the other models doesn’t have Set Smooth enabled. Another thing to check is if all the normals are oriented correctly on both models.
Thanks for trying to help me out, I really appreciate it!
I have checked set smooth and checked normals on everything but can’t find anything wrong with the meshes. I’m following a tutorial that says select the high poly model first and then the low poly and hit bake, and I only have two meshes, so shouldn’t be a problem either - no ghost meshes messing around in the background. But looking at that triangular pattern in the normal map they seem to follow the faces of the low poly model. What I haven’t figured out is the RGB settings Tamarin suggested, cause, well; I don’t know… where?
And no, this is not for a game, it’s only a practice piece, so I will learn how to normal map a mesh. Something I obviously seem incapable of… :o
Help, someone! What am I doing wrong?! >_<
Edit: Ok, tried with a very simple test mesh, and the normal map I get looks simply borked - like both the high poly mesh and the low poly mesh is affecting the map. I have a round ball mapped on a very simple sphere, and this is what it looks like - very much like the normal map for the girl. Any ideas?
Also make suree your lo-poly mesh is set to Smooth.
I really like your mesh, but if she’s wearing a costume with that much extra fabric, her breasts won’t be that well defined, as there will be cloth between them. The tops of the boots, instead of flaring up like that, should be folded over. There’s no reason for the way they are now.
Ok, I’m seriously stumped. I have tried Tamarin’s list, step by step (many thanks for taking the time to help! ^_^), but the result is the same. I have tried two different test files with simple spheres and got them to work after a bit of tweaking in the Material settings, but even though I have the exact same setting for the girl, the result always comes out borked. I’m tearing my hair. I don’t know what it could possibly be.
@ Anayo: Thank you!
@ Dim: I have set my low poly mesh to smooth so many times I have lost count. Yet, I know it still looks as if it’s on solid, but it’s not. I’m toying with the idea of a duplicate mesh that is occupying the same space, but if there is one, I can’t find it. Plus, I don’t see a reason for there to be one…
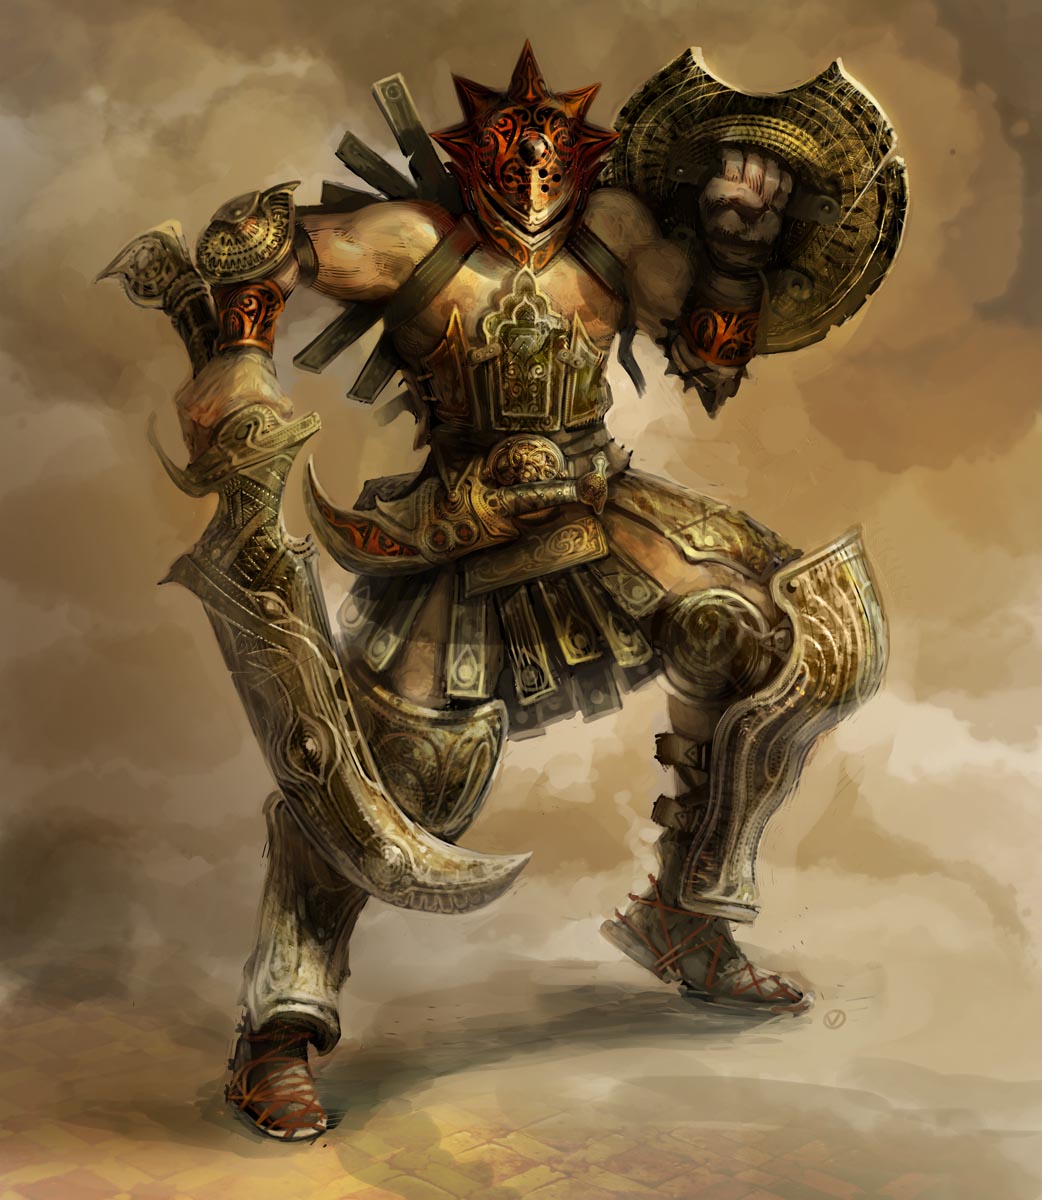
Her tunic and her shirt are of different materials, the tunic being of soft leather. The top of the boots is vaguely based on 1600-1700 riding boots - those with huge flares you could pull up your thighs to get less dirty on the muddy roads - though mine have smaller flares and are not meant for folding down, instead. I could have made them tighter and more practical of course, but sometimes you have to make what looks good rather than what works. How many times do you see awsome concept art from the real masters that are actually practical? The best of them usually go for what makes an impression!
Favorite, awsome but hardly practical:
Ohhh… have to stop myself from linking more of Vyle’s amazing stuff, I’m such a fan-girl! Anyway, you get the point. I’m constantly fighting with myself not only to make the practical solutions, but those that simply look good as well!
In the hopes that someone more knowledgeable than me will be able to find the error, I have uploaded the blender file here: http://www.out-online.com/test/adventurer.fem.highpoly.head.zip for download, if anyone have the courage to try and find out what’s wrong. It’s only the low poly and high poly head mesh, to make things a bit simpler - just add a texture and try to bake it. If anyone of you can find the error I would be forever grateful! I would hate to have to start anew and simply remodel everything… even though it is just a practice, it would be nice to have something to show off after all the hard work.
Try baking in object space then. Maybe that’s what you want? Under BAKE button you got that dropdown where you can choose it.
That bake of sphere on simpler shape is valid for tangent space, I believe.
The test spheres I made are on different layers, and since those are the meshes that works baking, it shouldn’t really matter. I tried it anyway after seeing your post, but it didn’t make a difference. Thanks anyway for trying to help, Serialsiner!
Glodomor, I have tried baking in object as well, though all the tutorials says that tangent should be fore animated objects, and having in mind to animate this one, tangent is what I’m aiming for. However, I have tried baking with every option I could find, and none of them works. Thanks anyway!
I have even tried importing the meshes into a brand new file and bake them, but no difference. I’m starting to wonder if I’m cursed… >_>
It looks like your UV map is half the face. I had Blender unwrap the whole face and rebaked. The new map looks a lot more continuous. Seems that baking gets confused with a half map [Win32 2.4.6]
ppClarity, you got it! So simple - I thought about it before but discarded it, but your post got me thinking about it again! I’m unwrapping the two body halves on top of each other, since I’m used to texture only half of the body and mirror it on the other half - that’s what I’m doing wrong! Thank you so much!!!
But this means I will have to texture the whole body separately, right? So there is no way of mirroring the textures, meaning the textures will be twice as big as I first intended. Or? Is there any way to fix this? Can I still mirror the texture but keep the normal map separate?
OMG OMG I can’t believe I can finally go on! YAY! :evilgrin:


 Anyway, you get the point. I’m constantly fighting with myself not only to make the practical solutions, but those that simply look good as well!