It is sort of worse than that bug report, although that is a portion of issues.
The core issue is that Cycles isn’t colour managed. Nor is Eevee I believe.
At all.
It is sort of worse than that bug report, although that is a portion of issues.
The core issue is that Cycles isn’t colour managed. Nor is Eevee I believe.
At all.
I think color is like alchemy at the moment everywhere around. Nobody understands it even in industries closely related to it. I mean even Adobe gets it wrong in default Photoshop’s blending modes! It’s Adobe… and they get it wrong… At the moment even the mesurement systems used in monitor manufacturing are innacurate… It’s a pitty. But I don’t believe it is going to change very soon. Standards need to actually be standard. There are no clear sources of information for that, no tutorials, no leasons… Its really hard to learn the stuff, that’s why people do not know about it and that’s why the standards are not standard.
When people “grow up” with something, in this case, painting and drawing with RGB, they rarely ask the simple questions. The simplest sometimes becomes invisible.
Ask any experienced digital pixel pusher “What does changing an RGB value do?” in a typical paint program, and you might be surprised with the answers.
Adobe’s blending modes work fine for its display referred history / architecture. The model doesn’t work as well as it could in 2018 for simulating light transport.
On the final point about colour science measurements, there are some that are quite accurate[1]. Key point, is that in this example, you are confusing colour accuracy of a display with the larger colour management concept. I would advise to avoid conflating this aspect as the whole idea.
Many people tune out colour management because they think it is about minor colour tweaking for colour accuracy. It isn’t. Colour accuracy is a part of colour management, but the large one typically discussed around these parts has nothing to do with those sorts of adjustments.
Colour management is about aligning colour values to a common ground truth and scale. This aspect is well documented, well understood, and not something that is complex once one starts from better foundational understanding.
It all starts with the first question above.
[1] Bear in mind that there can never be a single standard because each different measurement system will perform well for one series of needs, and less so for another. There is no perfect design.
Hello guys, very informative thread. I still have some questions regarding the filmic colormanagment using HDRI. I especially hope @troy_s cut help me out here 
According to this post you should use higher values for sunlights:
Does this also apply to HDRIs? I noticed different behaviours using HDRI-Haven’s HDRIs by putting in different values. First like 4 for strength and other times 400 for strength.
I read a lot about those Grey Cards. Should I get values of 0.19 in xyz values? Because then my HDRI sometimes even needs values lower than 1. (in this case dry field from HDRI haven) Or is it enough if I get the Grey Colors in False Color Lookup? I have way more questions but thats one of the first for now. I am also having difficulties now adjusting my materials by using real world albedos. They look too bright or too dark. In some cases I still Need to put in Albedo values that are below whats realistic to get an accurately dark material.
It is important to keep a solid grasp as to what function Filmic is providing. It is a camera rendering transform. That is, it is handling the rendering of your scene values into an aesthetic camera render, or the entry point for such.
If you think about a physical film / DSLR camera, loading it with film or randomly opening up the manual mode and taking a photo won’t work; you must calculate and set the exposure to meet your creative needs. The same applies for Filmic.
There are largely two ways to go about this:
TL;DR: You will need to adjust the relative exposure of either the lighting or the data to align the intensities to the camera rendering transform.
A middle grey value of 0.18 scene referred is the anchor point for the Filmic camera rendering transform. If you place a diffuse grey object of 0.18 albedo in the zone that you wish to have rendered as “middle grey”, and use False Colour or sample the values accordingly, this can work as an entry point for an exposure setting.
Determine how to properly scale a colour down into an albedo ratio is a nontrivial thing in some instances. It is safe to say that getting the albedo correct is the first step to a reliable material that will work with all camera rendering transforms.
It is possible that you aren’t using a reliable approach to scaling albedo values.
Thank you Troy. Do you have any resources for a reliable approach for albedo values.
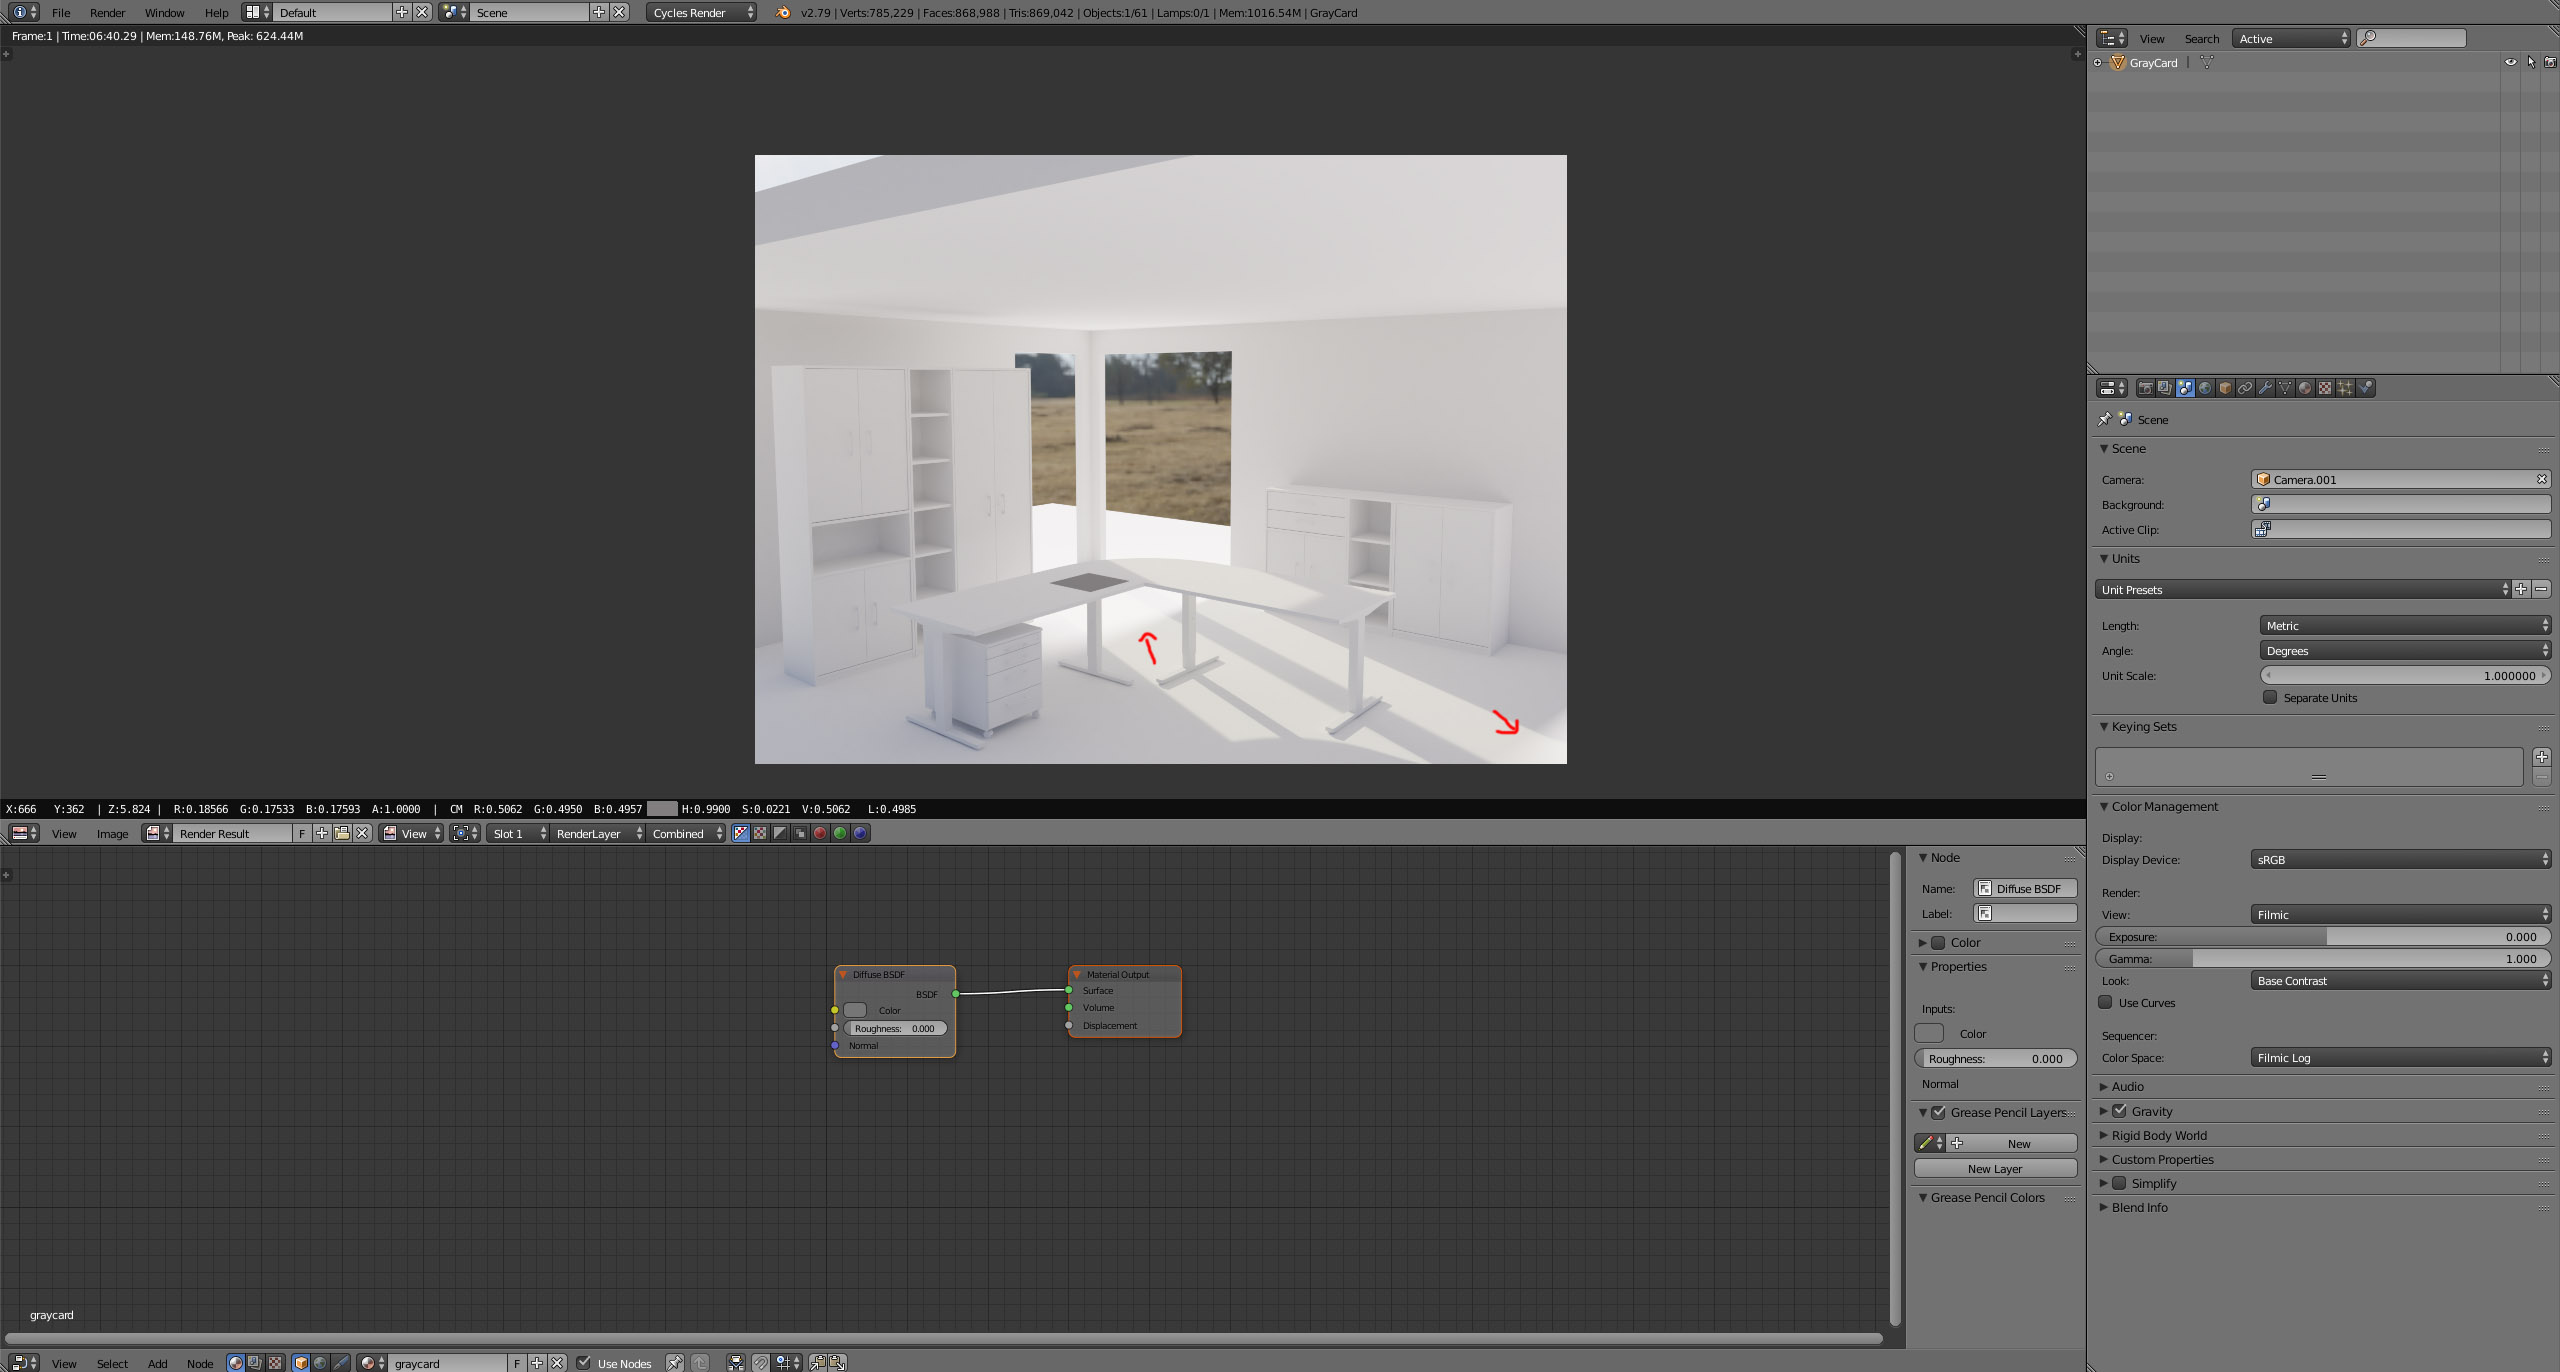
I am posting a screenshot here of my current scene with a grey card. Its albedo value is 0.18. I tried some Border Renderings to determine that the scene referred value is roughly 0.18.
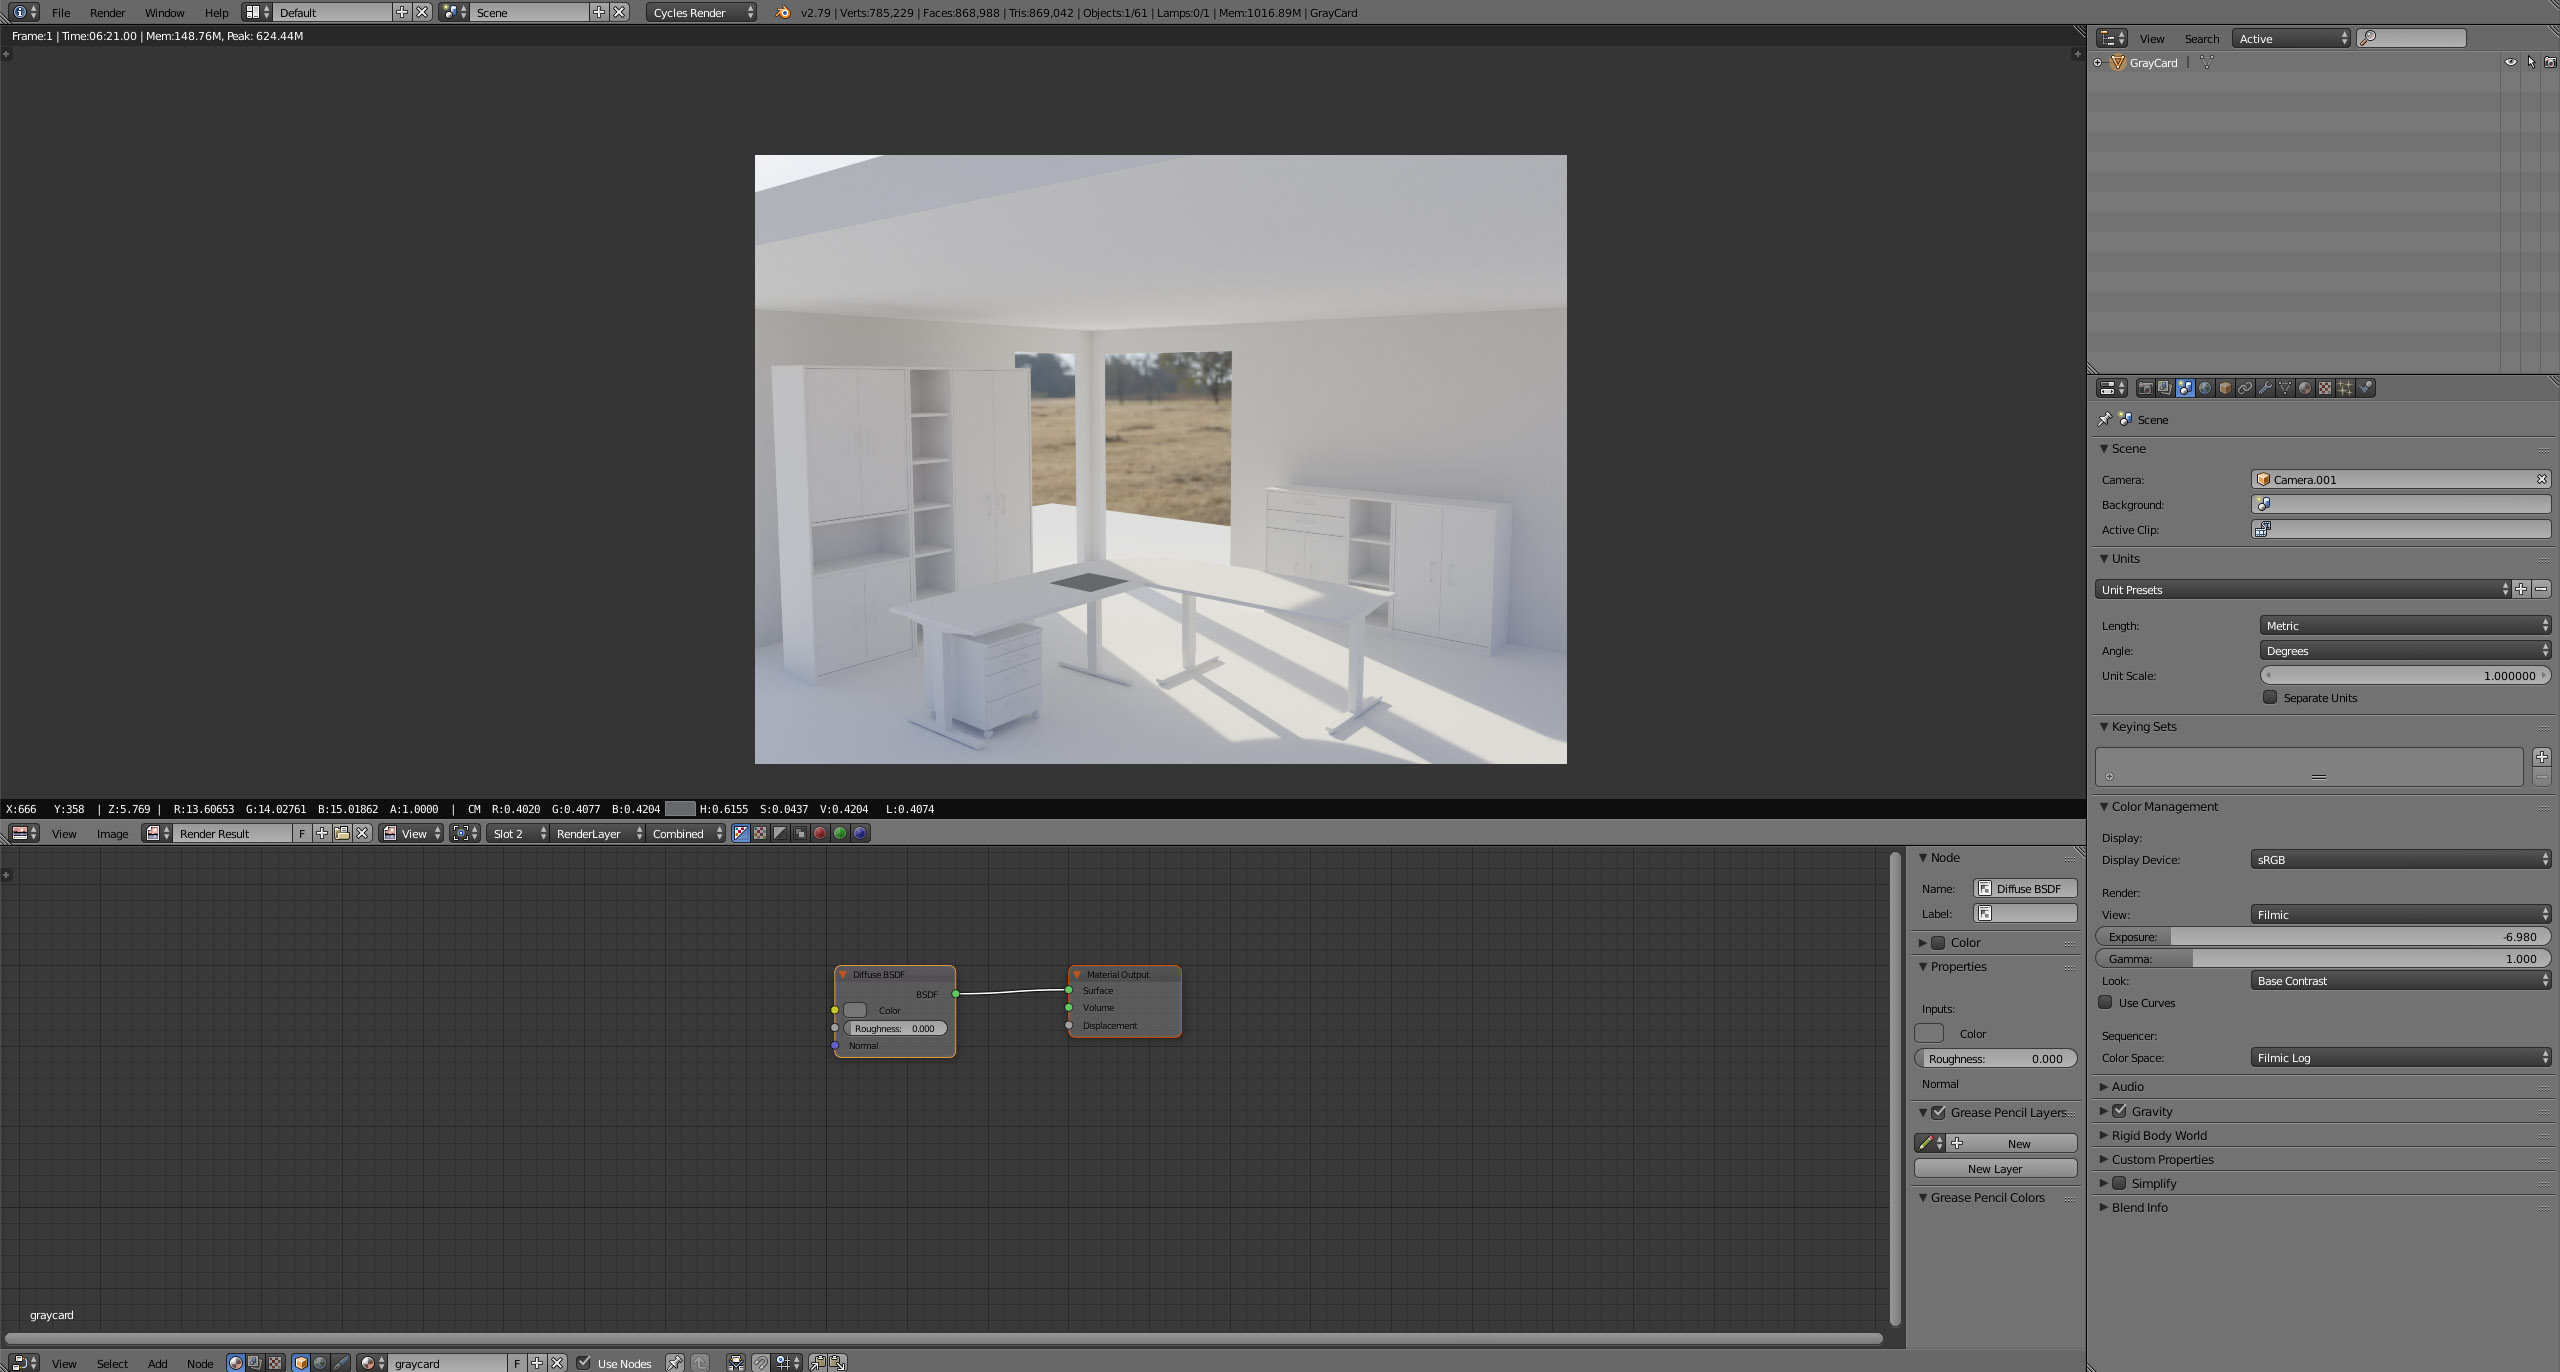
I also noticed that the shadow of the windows look better when using a higher value for the HDRI:
Can you explain what is the reason for the difference in the two pictures? I tried to match the second one to the first one by adjusting the exposure. The results are very different.
The first one is more physically accurate I assume? I left the exposure untouched and adjusted the HDRI strength to get my scene referred 0.18 value for the grey card. But in the first one you can see the light is cutting off the shadow (marked red).
I am still trying to wrap my head around this. I think it was also briefly mentioned in this thread that there is a problem when using textures.What would be the best approach here with textures that I already have and need to use for a certain project?
I hope my post wasn’t too confusing.
Nature of the beast. Exposure is a creative weapon just as any other toolset.
In traditional photography, your exposure can determine whether windows are blown out creatively, or sometimes one exposes lower to achieve some other effect. Sometimes creative lighting is added or light is blocked to achieve the look desired.
In this instance, it might be worth setting the strength such that it would be at that time of day, and adjust the exposure using the Film / CM panel. The reasoning is that the HDRI would be fixed at a given level relative to your scene, and you would be bound within that if you were photographing it. If there are elements of the scene that feel too dark, it might require artificial fill etc.
Not in the least!
Don’t confuse the Filmic camera’s fixed rendering transform sensitivity for some ground truth. It is closer to the speed of film one would install in a camera; it has a fixed sensitivity and the exposure determines how the scene appears in the final render.
If you are aiming at “realistic intensity values”, you would need a ground truth within the scene of some known and fixed unit. A sun, a lamp fixture, etc. The rest of the values would need to be set as a ratio of those units. Then, when photographing the scene, you would need to consider your creative vision and set the exposure accordingly, including potentially augmenting the scene with artificial lighting as required to achieve the goal.
I outlined a potential quick scaling formula somewhere on this forum.
Did you try the Photographer Camera addon? If you don’t have fixed intensity values, you can set i.e. EV16 for bright sunny or EV8.5 for office lighting or EV4.0 for candle. Then you can add your lighting and eyeball intensities while keeping reasonable ranges. I end up with ~40 strength for Barce_Rooftop_C_3k.hdr and ~400 strength for sun lamp supplement (hdr is clipped), giving pretty good exposure for the bright sunny setting (EV16). You can also go full manual with ISO, shutter speed, and aperture (ISO100, f/5.6, 1/2000 gives similar results in sunlight as I would expect to get from my camera).
I find it odd that we don’t have any usable ground truth reference lights (such as a sun&sky system).
How do I set the strength to time of day? Is there a rule for it since I wouldn’t know where to start?
When we are talking about ground truth how do I know the ratio of a downloaded HDRI from say HDRI Haven compared to a lamp with about 80W? Also do I set a lightbulb to the strength of 80 in Blenders Units for an Emission light or Point Light?
You don’t happen to remember where that was since I can’t find the time to search the forum.
Yeah I tried that. Its very nice.
Does that mean you use an HDRI with a sun lamp together?
Thank you both so far for the help.
FYI, my exposure calculations in the Photographer addon are taken from the RealCamera addon.
I’m definitely not 100% sure these are correct and I have noticed some inaccuracies, I’d love to have someone like @troy_s to review that formula:
Blender exposure = -0.68 * Photographic Exposure Value + 5.95
EXRs (and HDRs) if encoded scene referred linear, merely assert that the ratios are linear between them. To align them, you would need to know a value within it, and align accordingly.
The formula for exposure is very simple in a scene referred environment. Typically the slider is measured in stops. It would be (2^STOP_ADJUSTMENT)*VALUES.
Example:
So the Exposure slider is in stops? Interesting, that means that the RealCamera formula is not correct with the -0.68 multiplier. I’ll do some more tests.
In this case, yes. Most of the HDRIs I have are clipped, meaning that the real sun intensity is nowhere near as bright as it should be. I arrive at ~400/~40 based on this:
I made a video about HDRI capture that could be relevant (comparison between unclamped and clamped captures with a sunlight): https://www.youtube.com/watch?v=PcDTLF8hk_g
EXRs work fine in Cycles. Not sure, but I suspect your EXR creation is hooped. Worth looking into. The HDR encoding format is sub-optimal.
This is why I’ve been using EXR all along, but even uncompressed, I couldn’t get it to work properly in Cycles with very high values. I’ll try with some HDRIs from HDRI Haven
Solid video. I would be willing to wager it is the software’s fault generating the EXRs. They work better than HDRs, and Maxime Roz has a good selection on his site that work properly, as well as proper scene referred renders directly out of Blender. A bug perhaps?
I’d only add that Photoshop is the worst for adjusting exposure values simply because the entire application is largely display referred, and, as a result, contains pinch points and unseen failures that make generating legitimate scene referred / useful imagery almost impossible.
Good point, I should probably use Nuke for this kind of operations.
I should chip in, simply so that people don’t think I’m interested. I started this thread, and am watching with interest at the more knowledgeable answers. In my “Go To” test scene, I have a couple of texture fixes to make, but when I have time for a complete render, taking away what I learn from this, I expect to have both a better understanding of HDRI lighting and exposure. Thank you to all responders.
To address a couple, the HDRI I’m using at the moment has a bright sun, and absolutely doesn’t need a second sun lamp (It’s one from HDRI Haven), so how exactly do you decide the point that you do. For info, I usually setup HDRI with two nodes, one for visible, and one for illumination. This HDRI just needs one for both.
Sorry Roken for hijacking your thread ![]()
Just to answer some of the questions above:
And @Roken, my opinion on your question:
I think that using realistic lamp values, proper albedo values rendering in filmic with enough bit depth should give you enough room for tonemapping and bring information in your interior as well as in your exterior. However, keep in mind that a lot of what you see in movies or architectural renders is “faked” and creative decisions are made to make it look more appealing.
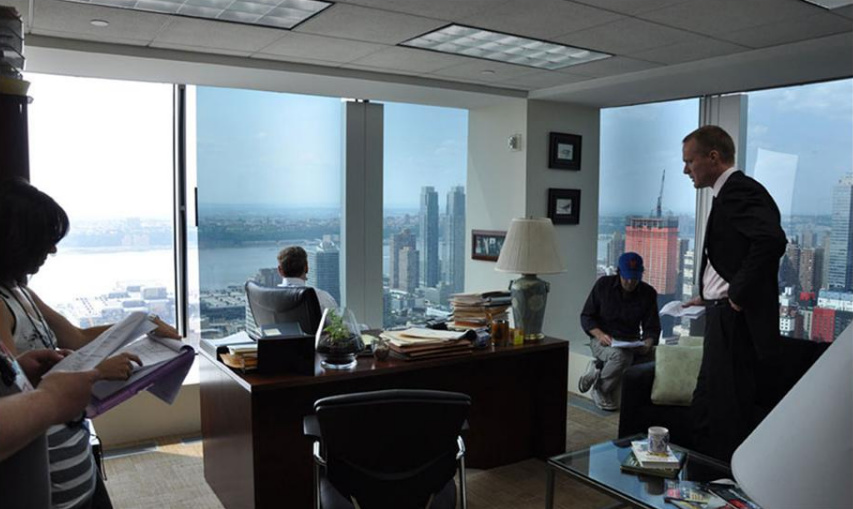
Like when the exterior doesn’t exist at all, everything is an interior set with softboxes on the windows, and the exterior are CGI. Or when they put ND filters on windows (from Jeremy Vickery’s GDC presentation)
My advice is to always start from “ground truth”, and then break it for your artistic purposes. The only important thing is that you have to know what and why you start breaking things, it needs to be a conscious decision. If using two nodes for your HDRI is what gives you the look that you want, then do it ![]() Don’t really want to do some shameless promotion, but I made a GDC presentation about PBR and how we usually break it in games ^^
Don’t really want to do some shameless promotion, but I made a GDC presentation about PBR and how we usually break it in games ^^