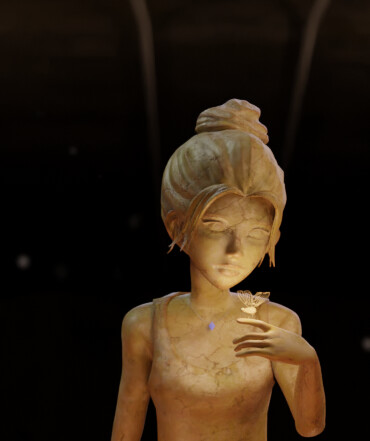
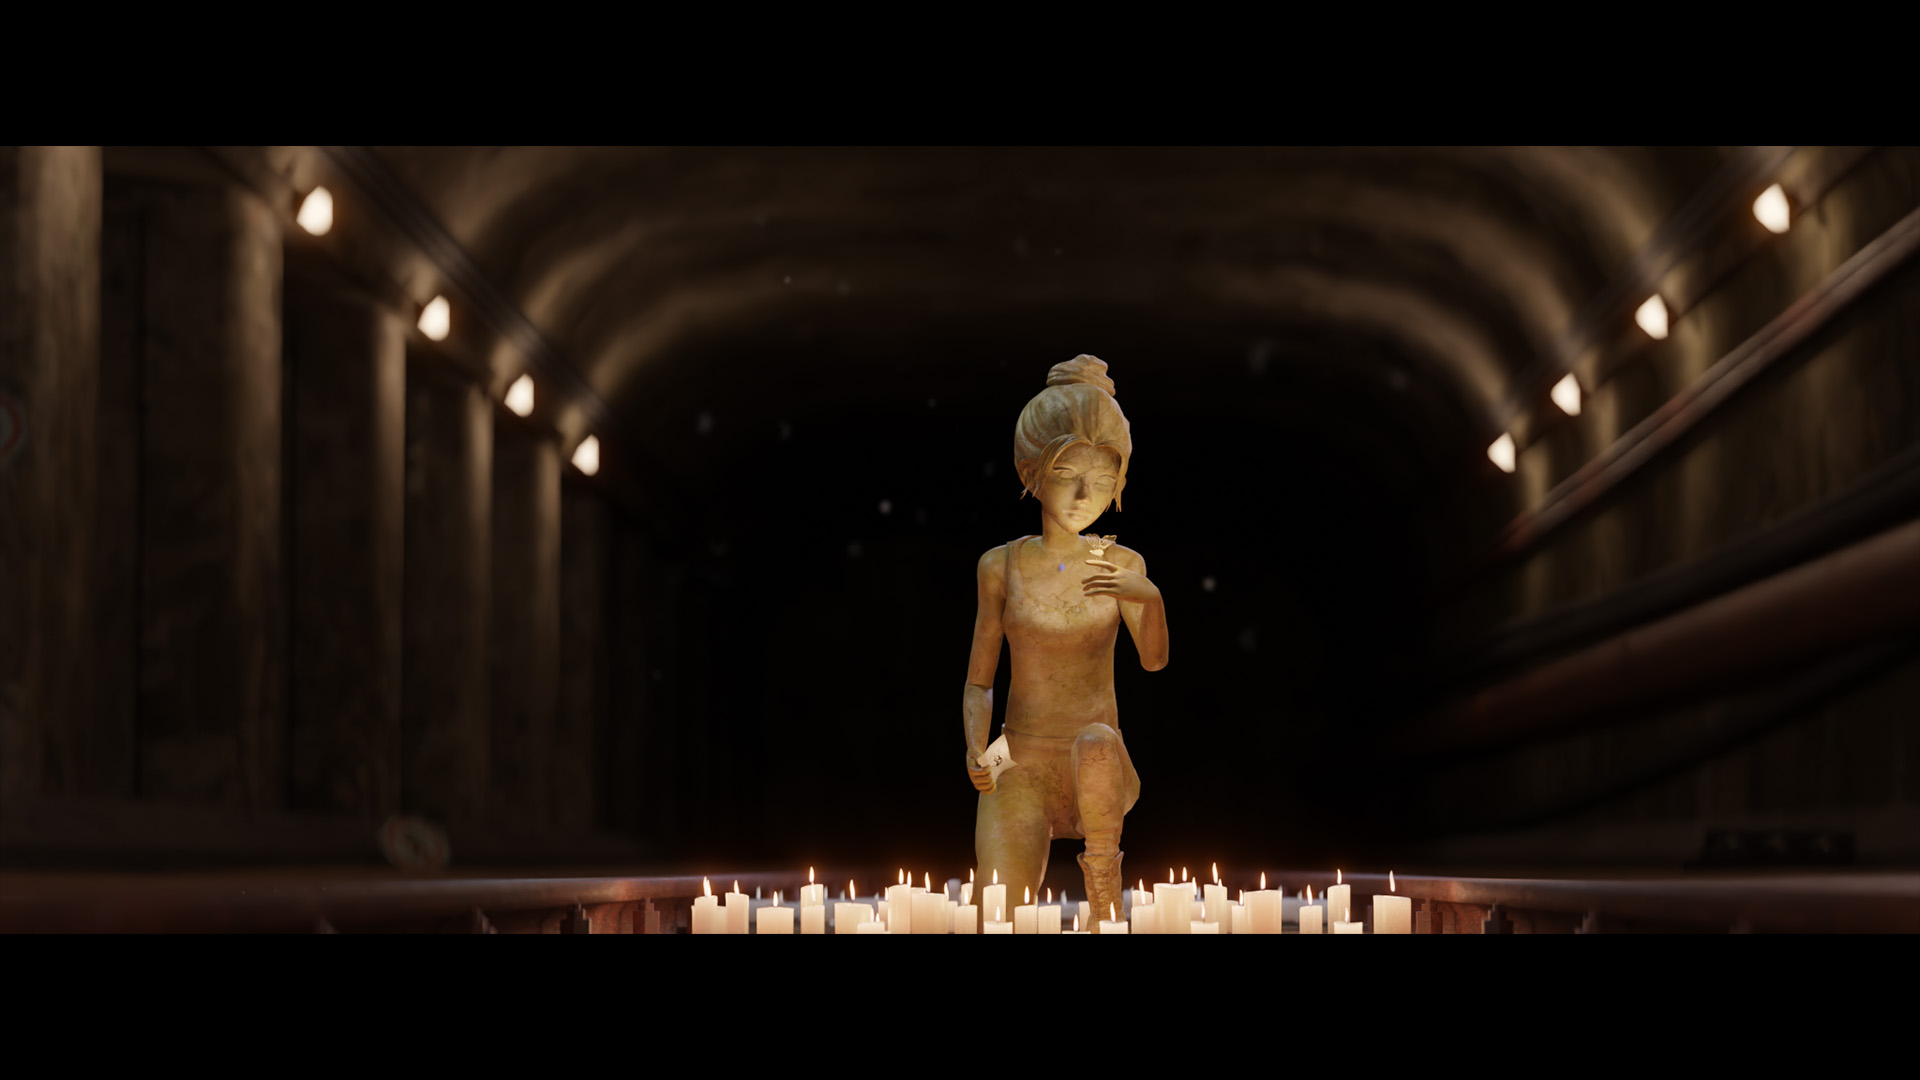
a close shot for the girl and the butterfly

1 Like
Some technical issues are that I can’t upload the whole scene on sketchfab in one shot, I tried to upload everything from the first time, it didn’t show.
I then tried to add more items every single time I reupload my model.
Then I tried to upload the pendant, necklace, and the butterfly but they won’t load like this


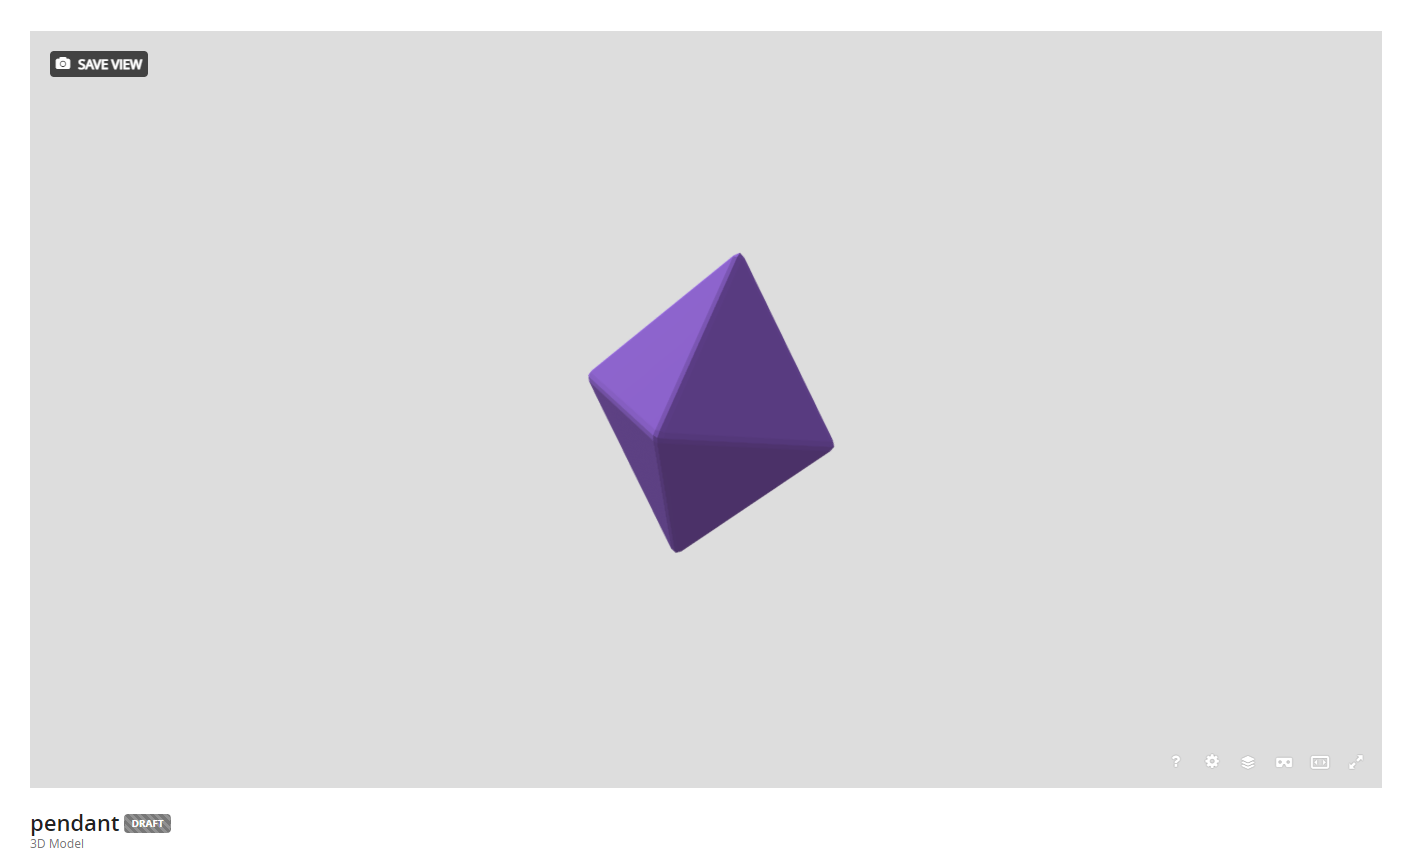
after exporting my simple pendant as FBX to check what’s wrong, I got this
and it’s just a bevelled cube!

So I was doing some troubleshooting, and ended up testing it in incognito mode, and everything was perfect except the pendant, again.
so I deleted it from the scene and made a new one, and all is perfect.

1 Like
LOL, what a weird bug. Glad it’s working now! Deadline is Thursday, September 15, and make sure to tag it #bcon22challenge
1 Like
It sure is xD thank you so much for reminding me, I really appreciate it!
1 Like


So I was really enjoying the experience, and I would like to share it with you.
First of all finding a concept.
After watching the movie, I realized that the plot was about this beautiful soul seeking a cure for death.
What I liked about it is that it was inspired by an Epic from the Mesopotamian era called Gilgamesh.
My concept is that it’s post-apocalyptic time and after people found out her great efforts to save humanity, they decided to honor her by making her a tribute statue and visit her.
I tried different perspectives but couldn’t make up my mind so I started my journey by creating a character for the first time.
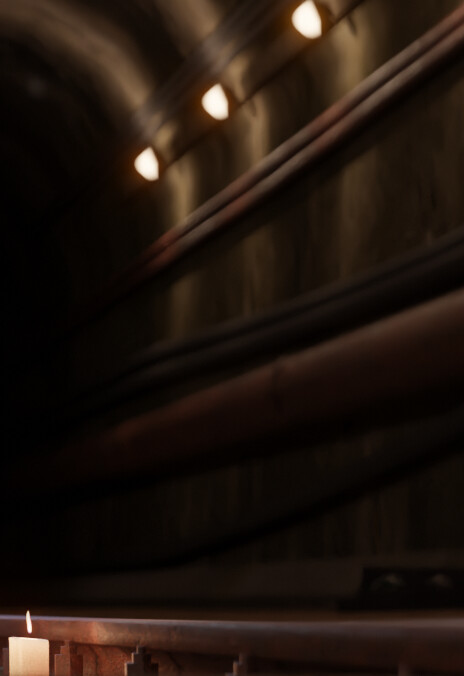
In the mean time I was creating the tunnel and the elements inside, making everything from scratch.
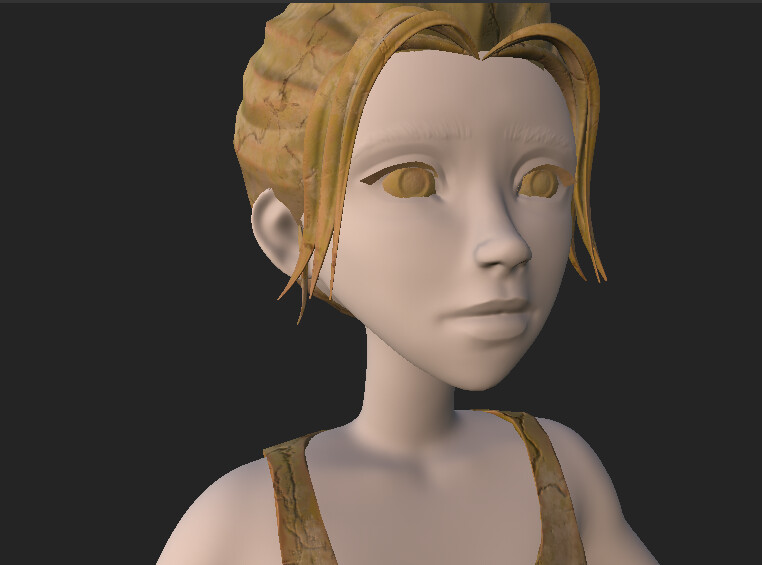
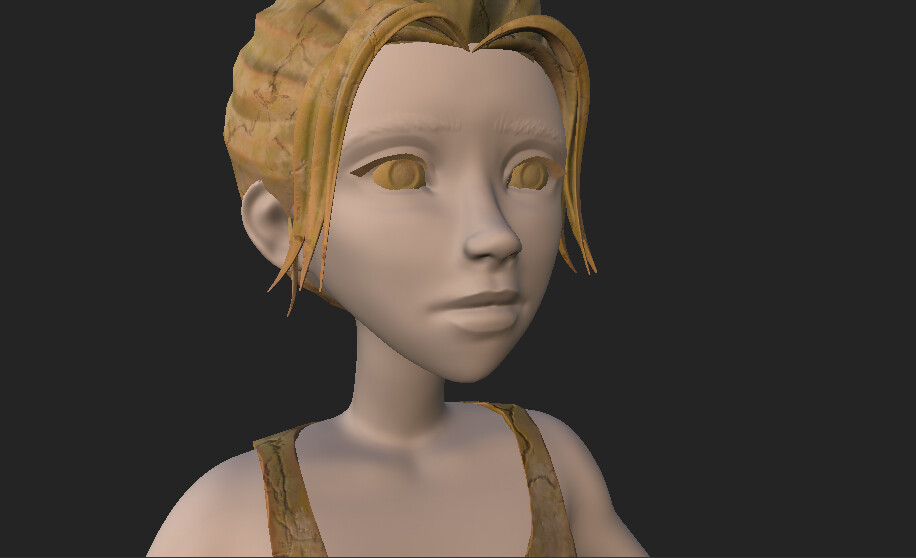
For the girl I decided to give her a decent hairstyle and facial features.
Instead of insects that she were chasing in the movie looking for the cure, I made her a butterfly as butterflies are the most beautiful creatures, I was inspired by the one from Arcane.

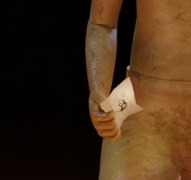
The girl was holding a paper in her hand, I kept it in her hand.
I thought I might like the scene in daylight with ivy and so, but I ended up making a dark tunnel.
1 Like
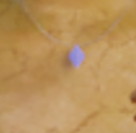
I was making up my mind about the pendant color, I ended up making her a crystal pendant with a bluish-purple color almost like the Blue lace Agate crystal
which resembles Hope, Unity, Optimisim, Appreciation for the natural world, which also is a projection of her beautiful soul.
For the Tunnel, I decided to create keep it simple so the focus would be on the main character.
My main approach was using the array method for creating almost everything.
I tended to make pillars on the left and pipes and wires on the right for a variation.

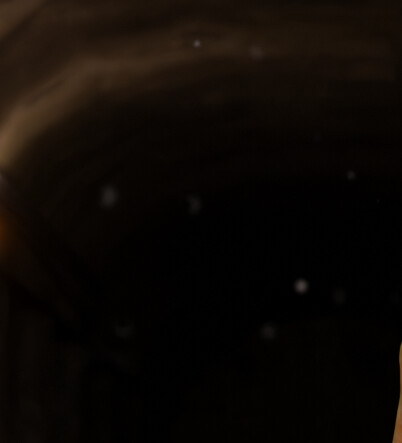
I added some dust using an image
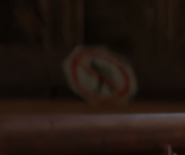
and created some signs using a downloaded image
1 Like
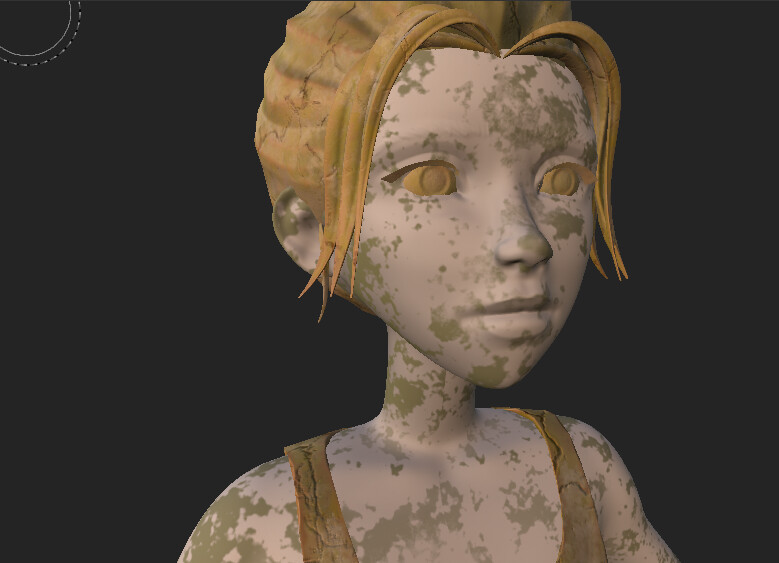
For the textures, the girl I made the texture in Substance painter, and used some cracks alpha that I downloaded and edited on photoshop.
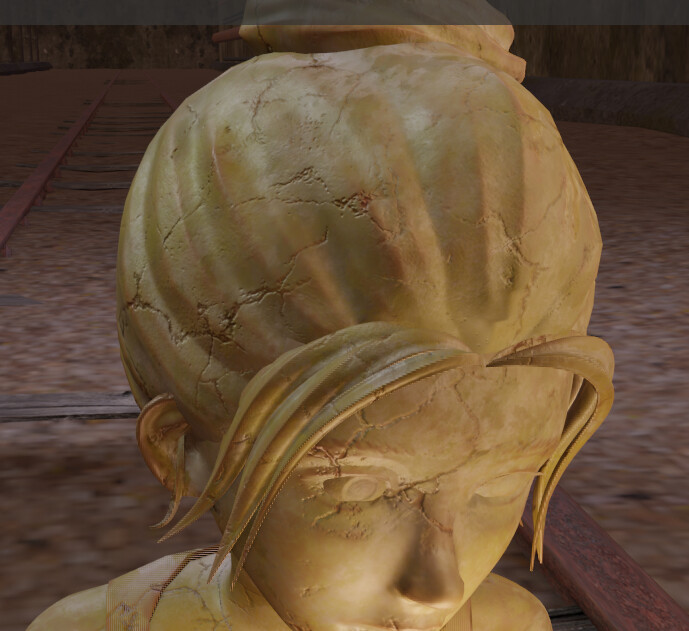
Eevee render
The strands were created using paths and bevel method.
It took me some time to nail the texturing part though.
Then I dedicated a day to learn rigify for the first time which was so Cool for me to pose her.
I faced some issues like the bone heat error but I figured out that I missed some unwanted faces in the strands.

Unwrapping the boots was a big challenge for me, but I eventually nailed it.
1 Like

I guess I can call it finished and I will be uploading it on sketchfab, hoping the process will be smooth.

I’d love to learn more details about your statue shader ![]()
1 Like
Sure!!
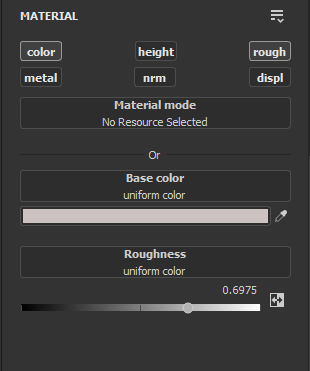
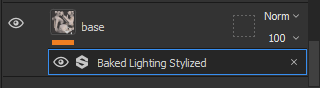
So as I mentioned before I used Substance Painter for this approach so I started with a base color
Then I applied baked light filter
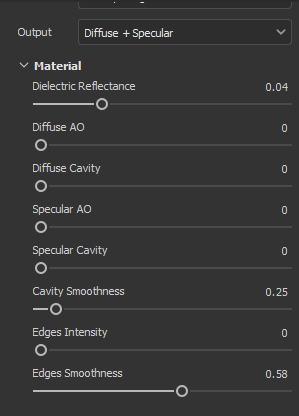
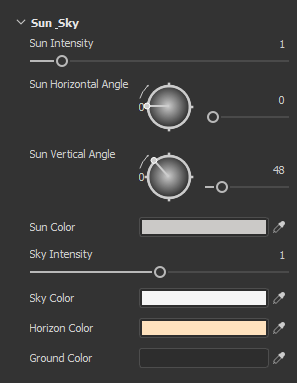
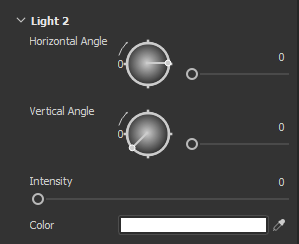
I adjusted the material, sky color, sun, and horizon
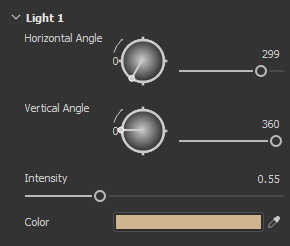
and the light1 directions, while left the light2 without any changes
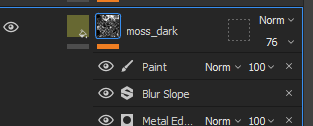
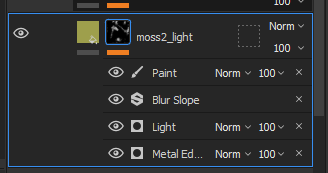
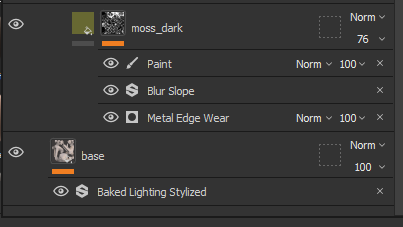
Then I created three moss layers with different shades of green
the first one is the dark one with roughness 1 and applied metal edge wear
The grunge is cloud 3
added some blur slope and painted some parts of the statue

The second layer is lighter with the same roughness and metal edge wear and blur slope but also applied some light generator to direct the position of the moss
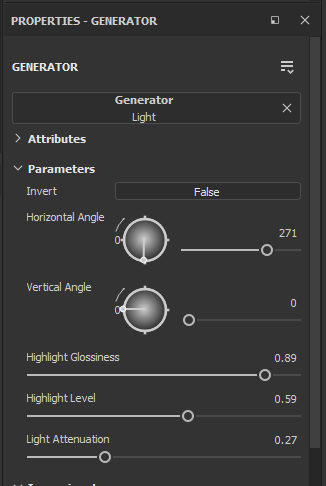

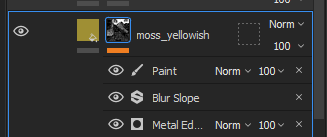
The third layer of moss is a yellowish one

with the same generators but without the light gen.
I painted some in different parts of the statue.
Next I added some reddish shades that are in many statues, I don’t know their labels so I called them rust LOL ![]()

I gave it a light reddish color
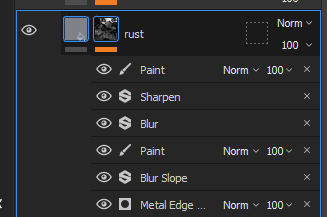
same settings and painter on her face, and chest
then I added an intense one in some parts of her face and body

Next the cracks
I picked a dark maroon color, added a fill layer, and to it I added a cracks alpha that I downloaded

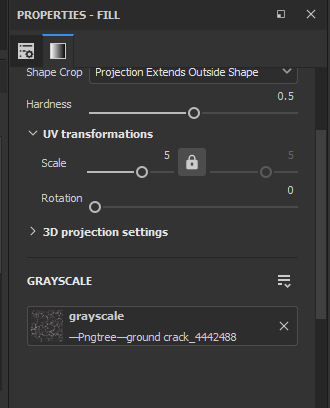
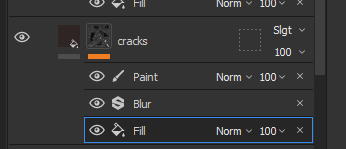
I changed the blending mode to soft light blending mode, and masked some areas that I didn’t want the cracks to be on the figure.
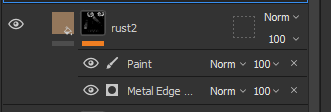
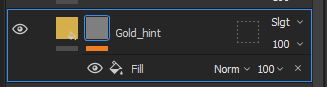
The last layer I gave it a goldish color with a slight metalness which was a Happy Accident ![]()
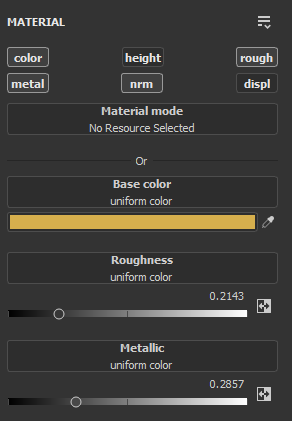

with a fill layer to give it a slight goldish color with soft light blending mode
and voila!

Here are all the layers

I hope I didn’t miss anything! and of course would like to answer anything ![]()
1 Like