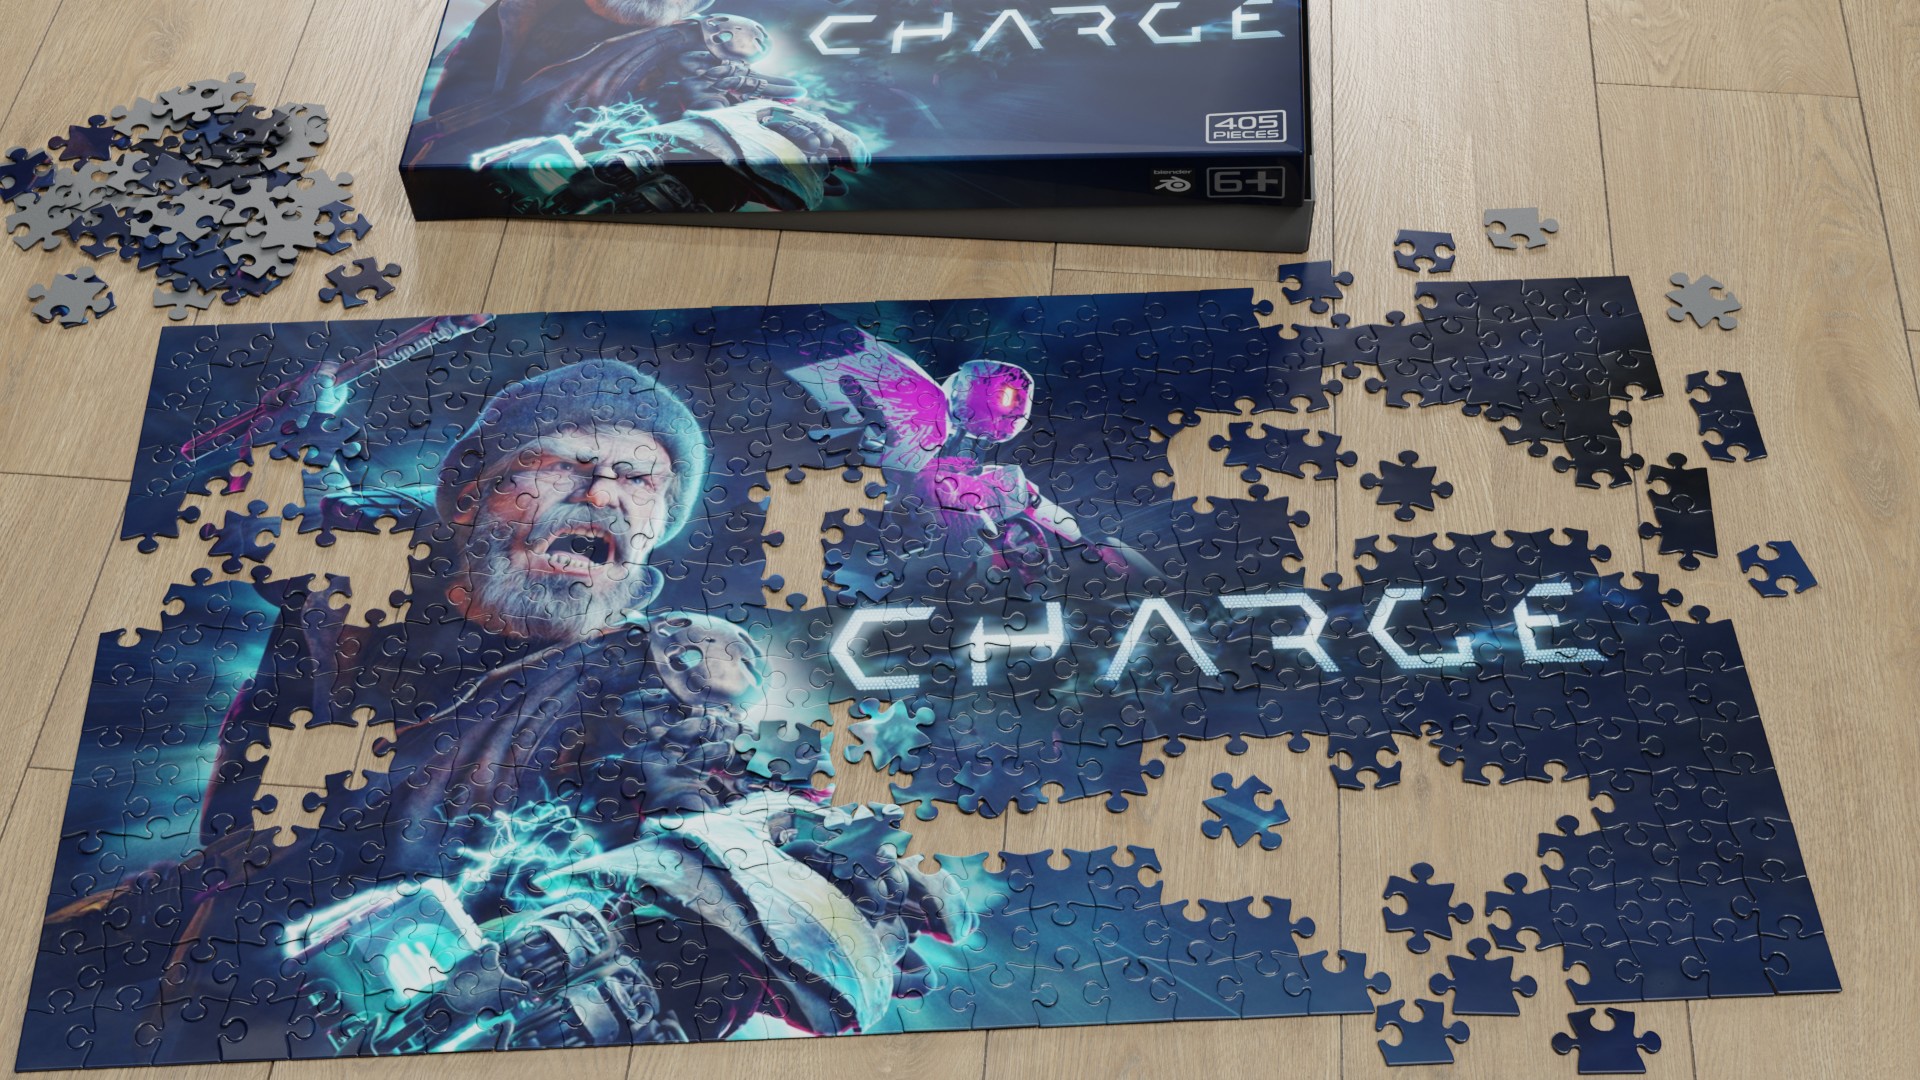
I wanted to try using Geonodes to replicate a particle based jigsaw I built a few years ago. The old version was clunky and envolved a lot of steps. Here I just drop the image in the modifier and the image texture and Bobs your uncle. It will automatically adjust to the image dimensions while allowing you to set the puzzle and tile size. It can also facilitate cropping and stretch to bounds.

19 Likes
That’s amazing this is one of the best models I have seen on the website it so simple yet so charming
Thank you Ahmed.
That’s amazing - could you share your setup with the community?
Awesome!
As a big puzzle fan, I can honestly say that you’ve done a brilliant work
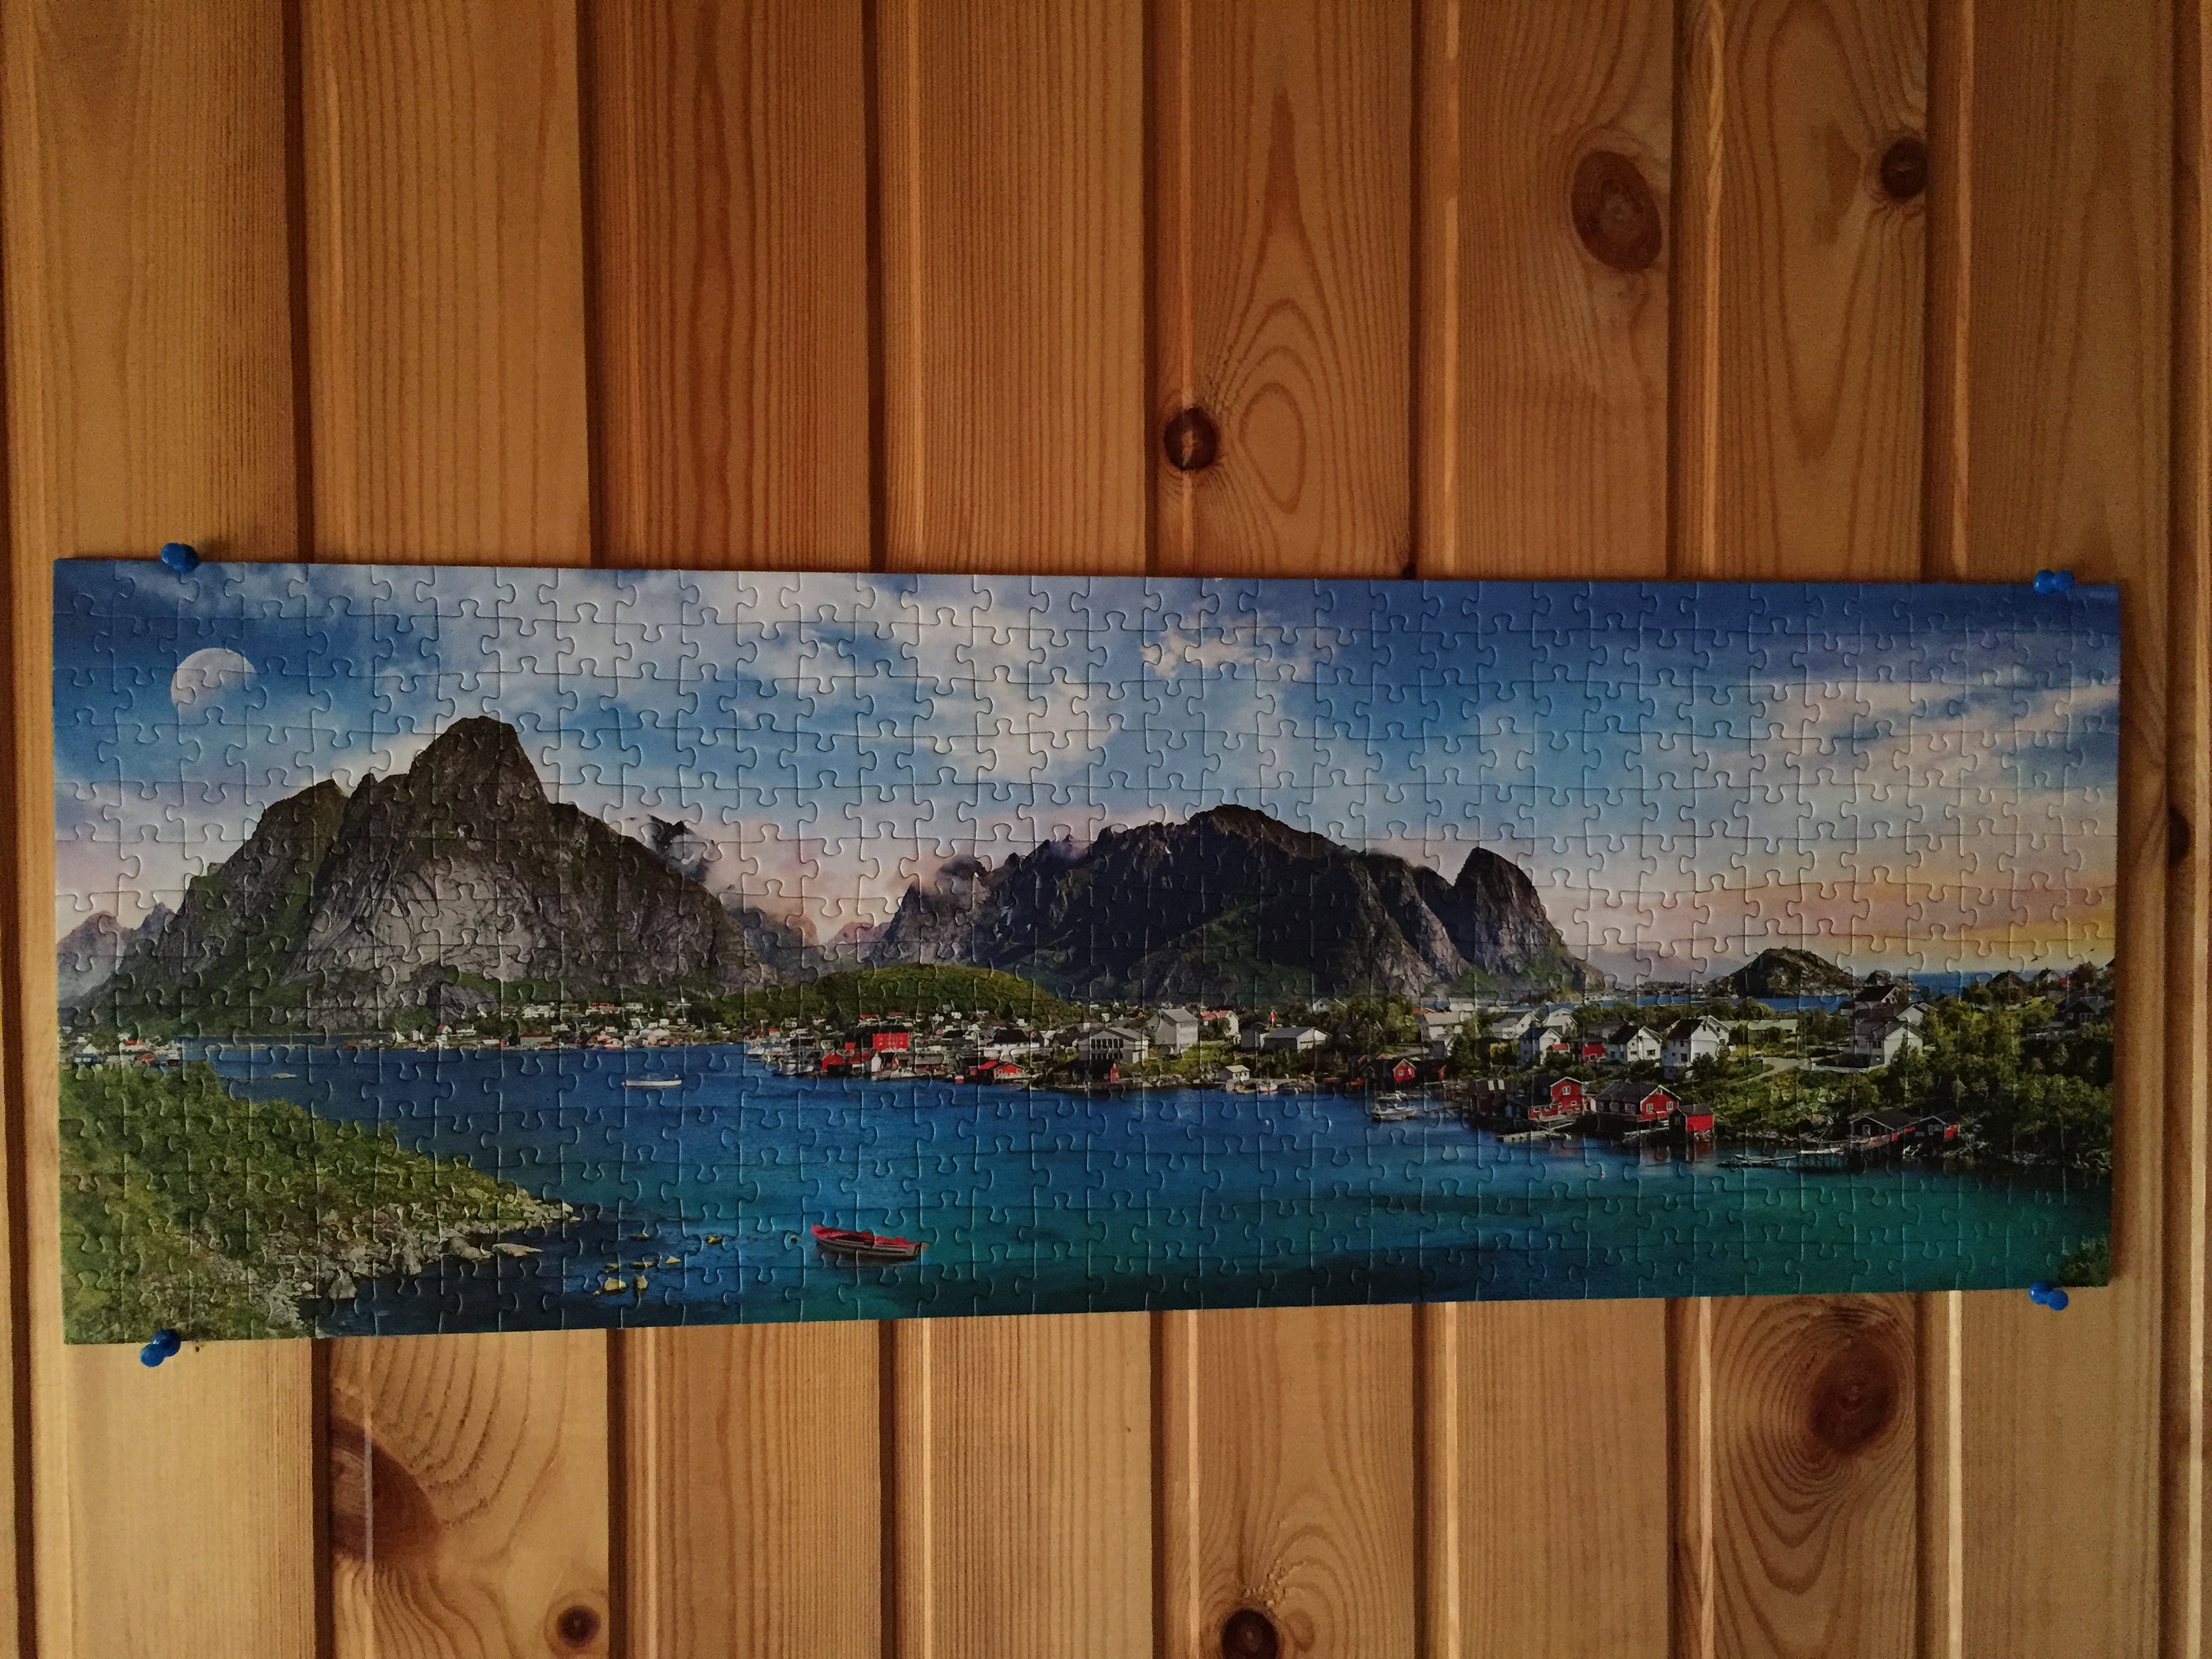
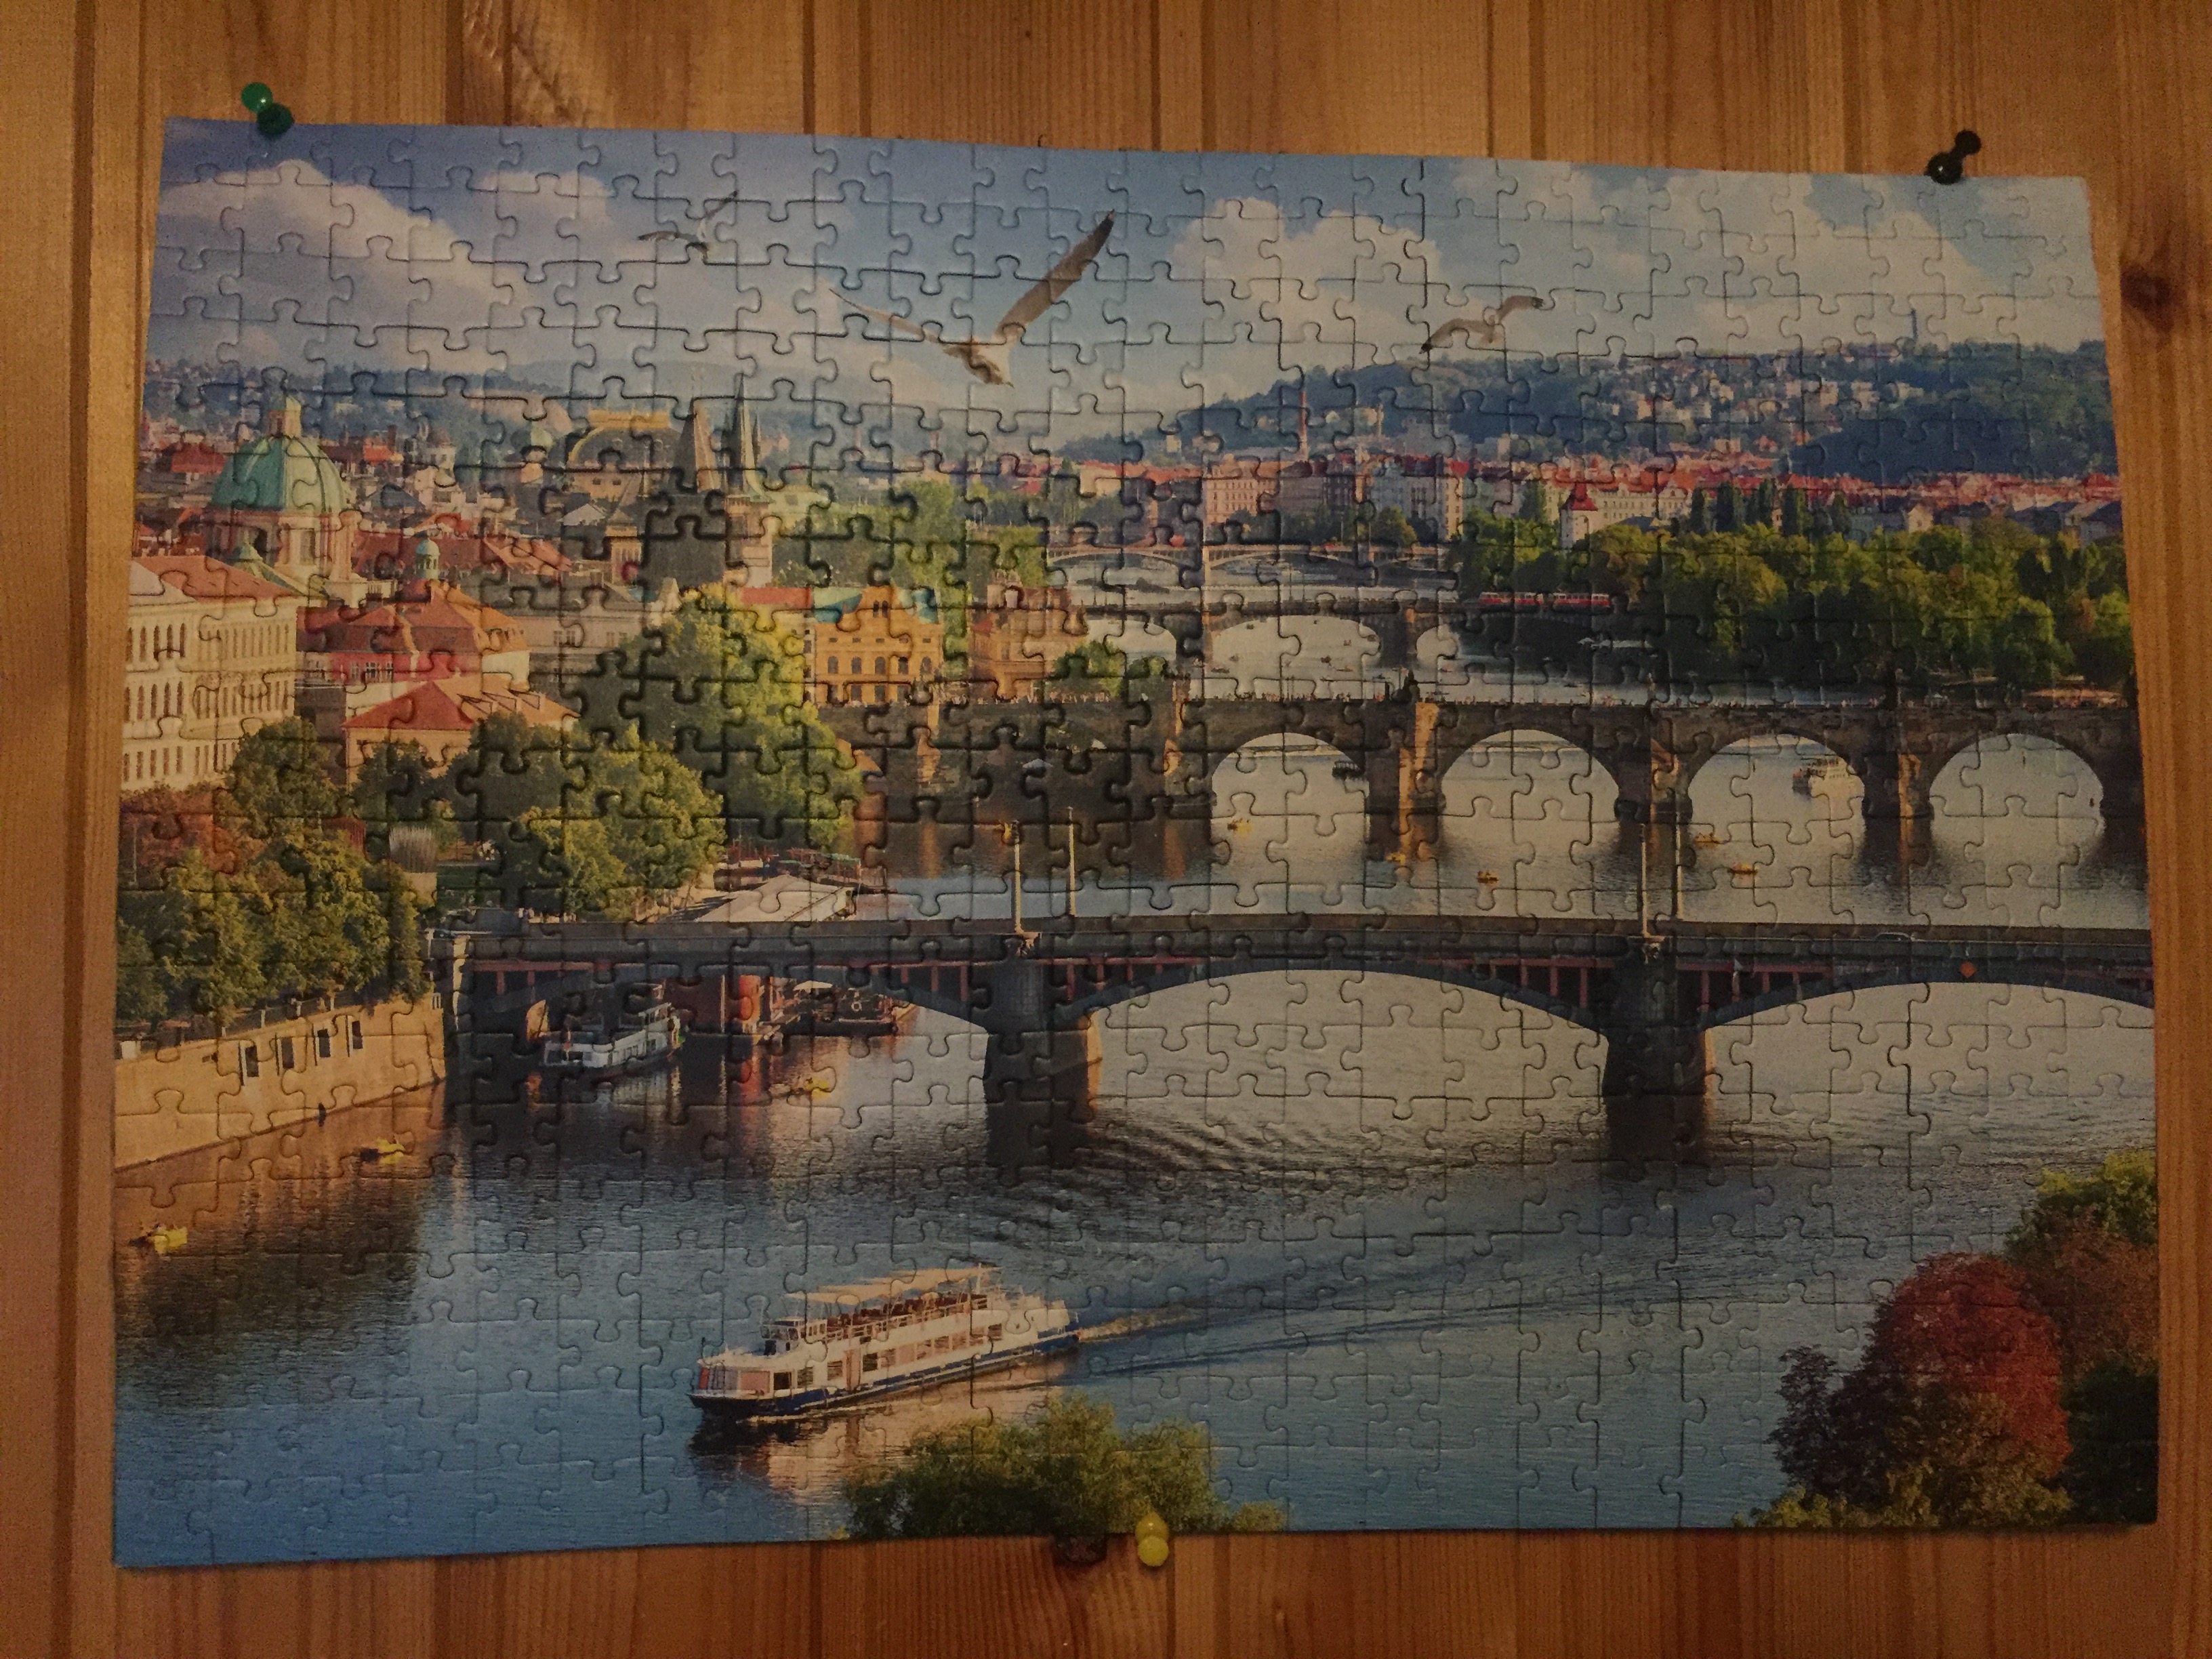
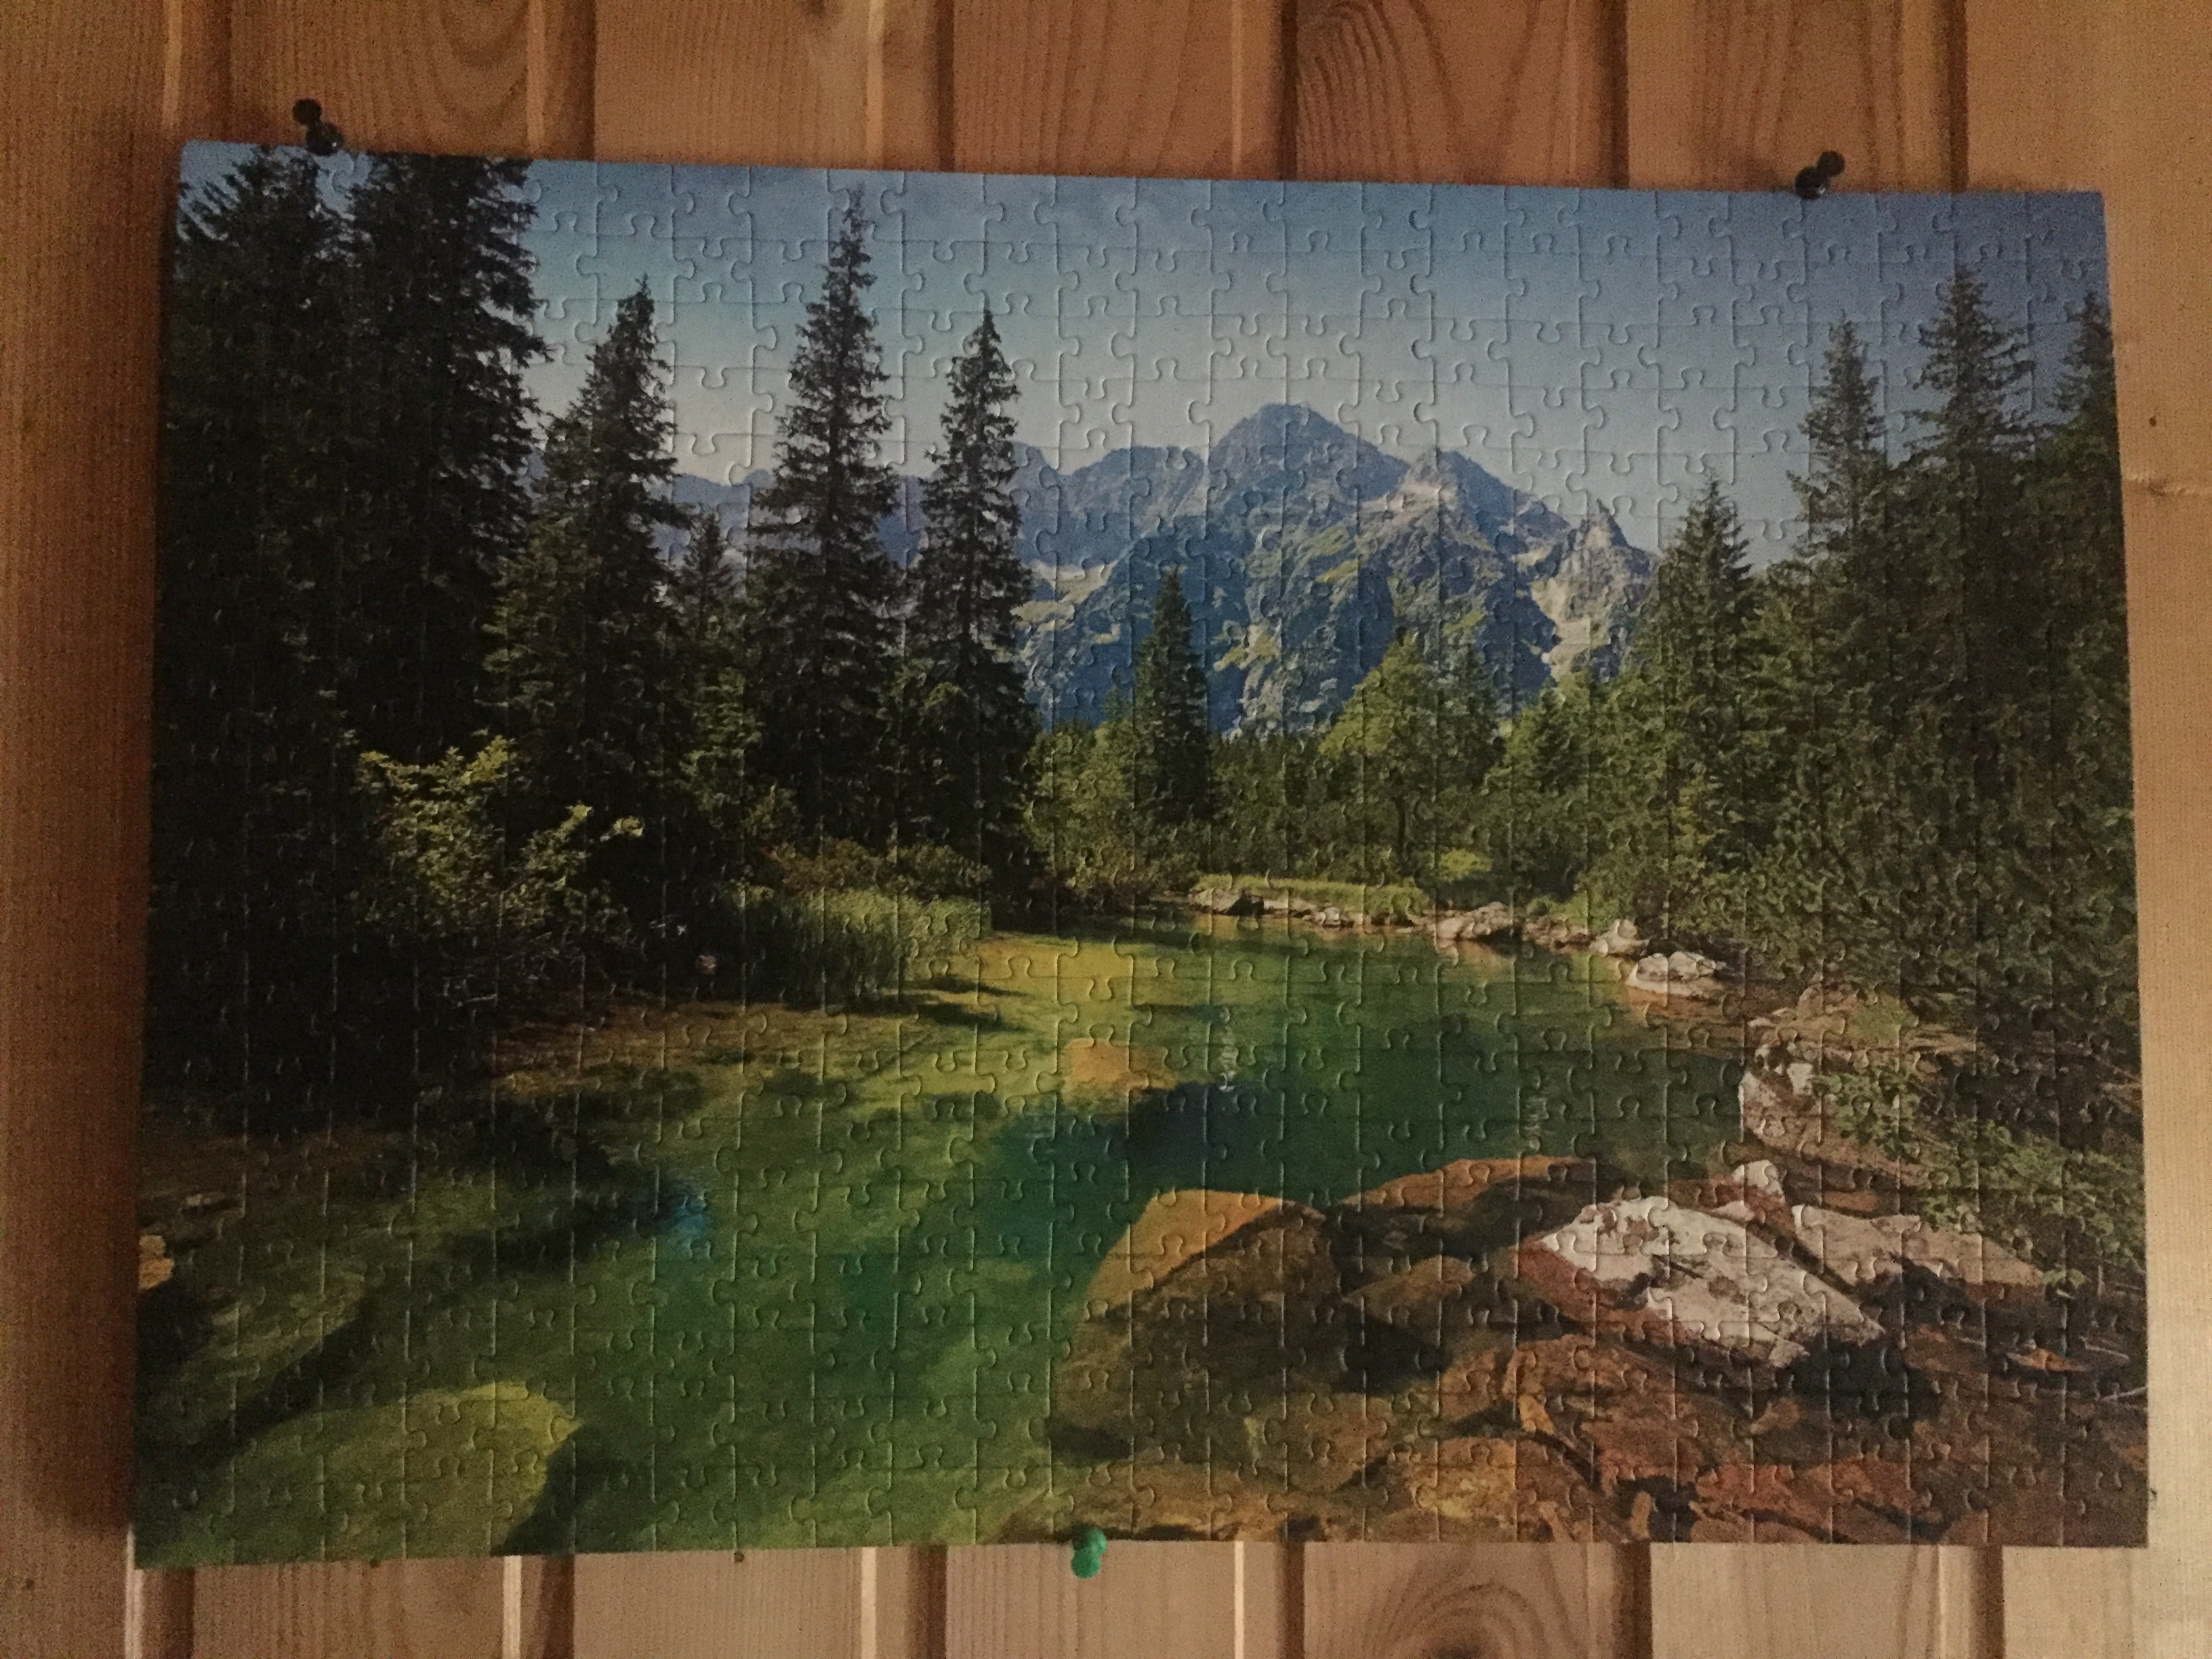
BTW, here’s one of my puzzles:

1 Like
Cheers Bart. I’d be glad to, I presume you mean the node setup. I’m off to the parade now,( Paddy’s day and I’m in Dublin) so I’ll post a breakdown of the node tree this evening.
3 Likes
Thank you Sergey. Only problem with jigsaw puzzles is that when you start one you suddenly realise it’s fourteen hours later and you have’nt eaten, slept or peed since you started.
Yeah, I feel you
My first puzzle which consists of 1000 items took me like 2 weeks to complete it
I featured you on BlenderNation, have a great weekend!
Wowser, thank you Bart.
1 Like
The system is built around three Geonode modifiers.One on the initial component and two on the jigsaw,one controls building the jigsaw and the other controls random tile offsets.
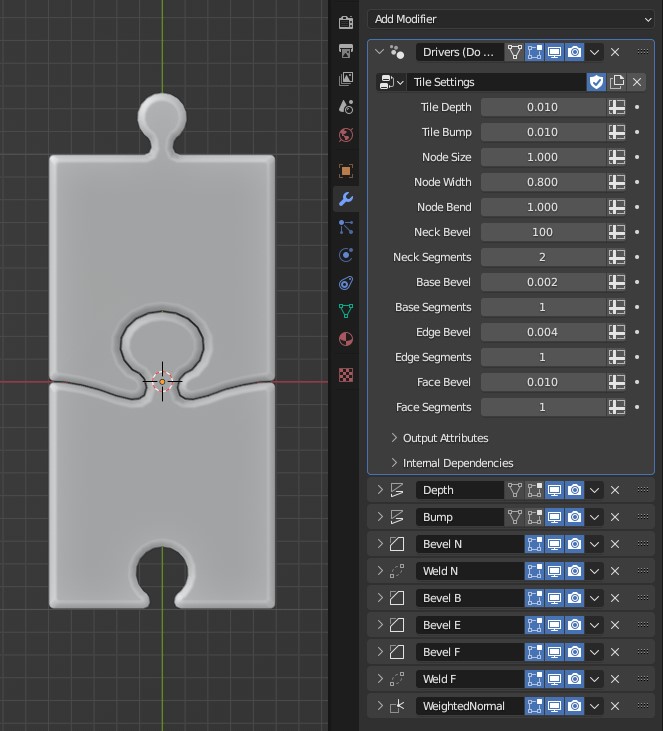
The initial component has three shapekeys to control the node shape and several modifiers for tile dimension and beveling.These are all driven by an empty geonode modifier with the inputs used as drivers.

The nodetree for building the jigsaw is not very complex and can be broken down into five stages.
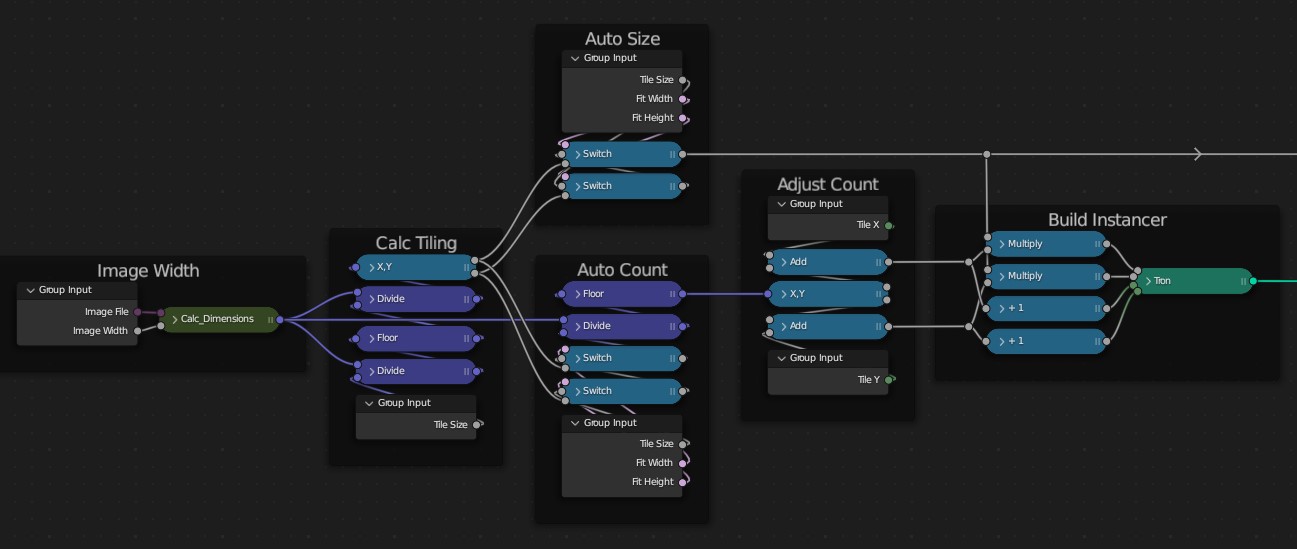
Stage one - Build instancer.
The Calc_Dimension group just takes the image dimensions and converts them to the desired dimensions.
Use the output to calc how many tiles fit X and Y based on desired tile size or using that size as a target
size to fit exactly either X or Y dimension.
The Adjust count then allows for limiting the number of tiles if you only want to capture part of the image.
Then build a grid for instancing.

Stage 2 - Instancing
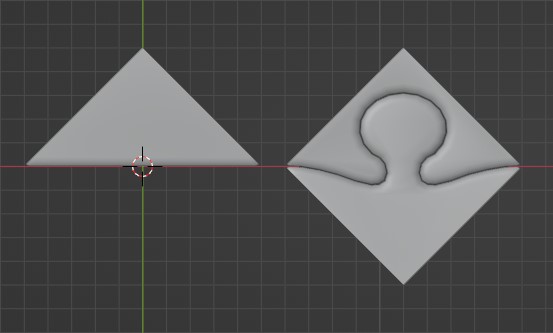
The Separate group takes the initial component and breaks it into two required meshes,an edge and a coupling.(Using two objects in a collection was causing issues later with merge by distance due to loopslide in the beveling)
Then determine which edges of the grid are external or internal and instance accordingly.
Edge components are rotated based on their min max positions on the grid.
Coupling components are rotated base on wether they were instanced on a mesh edge with
equal vertex X positions.
Then rotated randomly by 180 degrees.

Stage 3 - Fitting both X&Y Dimensions
As chosing to fit tiles to both image X and Y dimensions may cause non uniform tile size, it was
easier to just scale the existing puzzle to fit the image bounds after the component instances have
been realised and merged.
As the face positions(center points)of the instancing grid are used in the second geonodes modifier(jiggle modifier),the grid is also scaled accordingly.
For each mesh island(tile), the closest grid face position is stored on each vertex to be used as the pivot
point for each tile in the jiggle modifier.
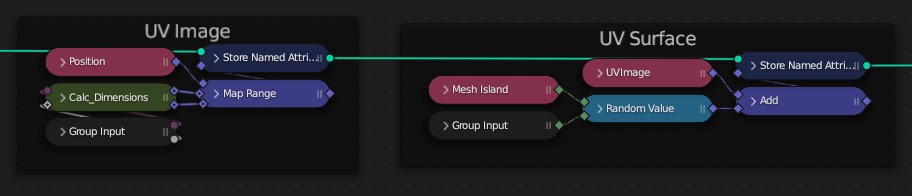
Stage 4 - UV mapping
Create a UV map for the image by mapping the vertex positions to the min max of chosen dimensions.(Justnoticed there is an issue here I need to fix)
A second UV map is used to randomly place mesh islands within the procedural part of the material, basicly compensating for the lack of Random per Island in Eevee shaders.
Stage 5 - Background image
You can turn an image plane on in the background as a visual aid when cropping the puzzle to parts of the image.
This is added to the previous image UV and a color value is stored so the shader can present it in greyscale to make it easierto visually separate from the puzzle.
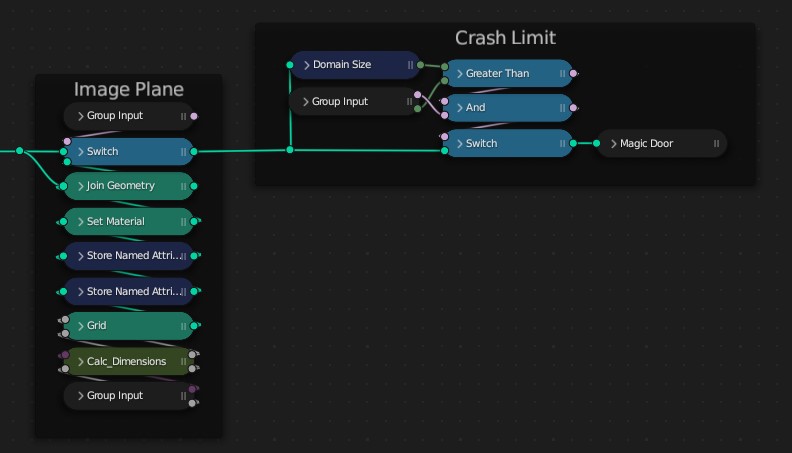
I’ve then added some crash protection because the vertex count can get high pretty quick and my computer doesnt like me.

The second Geonode modifier is where things got tricky.After randomly rotating the mesh islands(each tile) around their center points,each island needs to be raised up so the lowest vertex sits on the zero plane. As the statistics node does not support group id’s,I had to store the minimum Z value for each island on each of it’s verts. The Z_offset group achieves this. This group is derived from a post here on blenderartist by moshus.
Took me three days to reverse engineer his node group and figure out what was happening and simplify it for my own needs. Basicly it creates a proxy mesh, captures the original values, assigns them to edges and sorts them per island using the Edges of Vertices node.
By placing this lot in a second modifier, the user can turn off the random jiggle on tiles they want to manually place or run through a rigidbody sim (after applying the jigsaw settings modifier)
4 Likes