Hi everyone,
recently got motivated again to start some creative projects and learn to use Blender more than the little side tool for some 3D related coding. Had been looking at Blender for quite some time, but usually was looking in the past more into Houdini. Since the advancements in 2.8 and the sculpting enhancements I now want to get into this topic. So here I start my little sketchbook (hope I find enough time to post something from time to time).
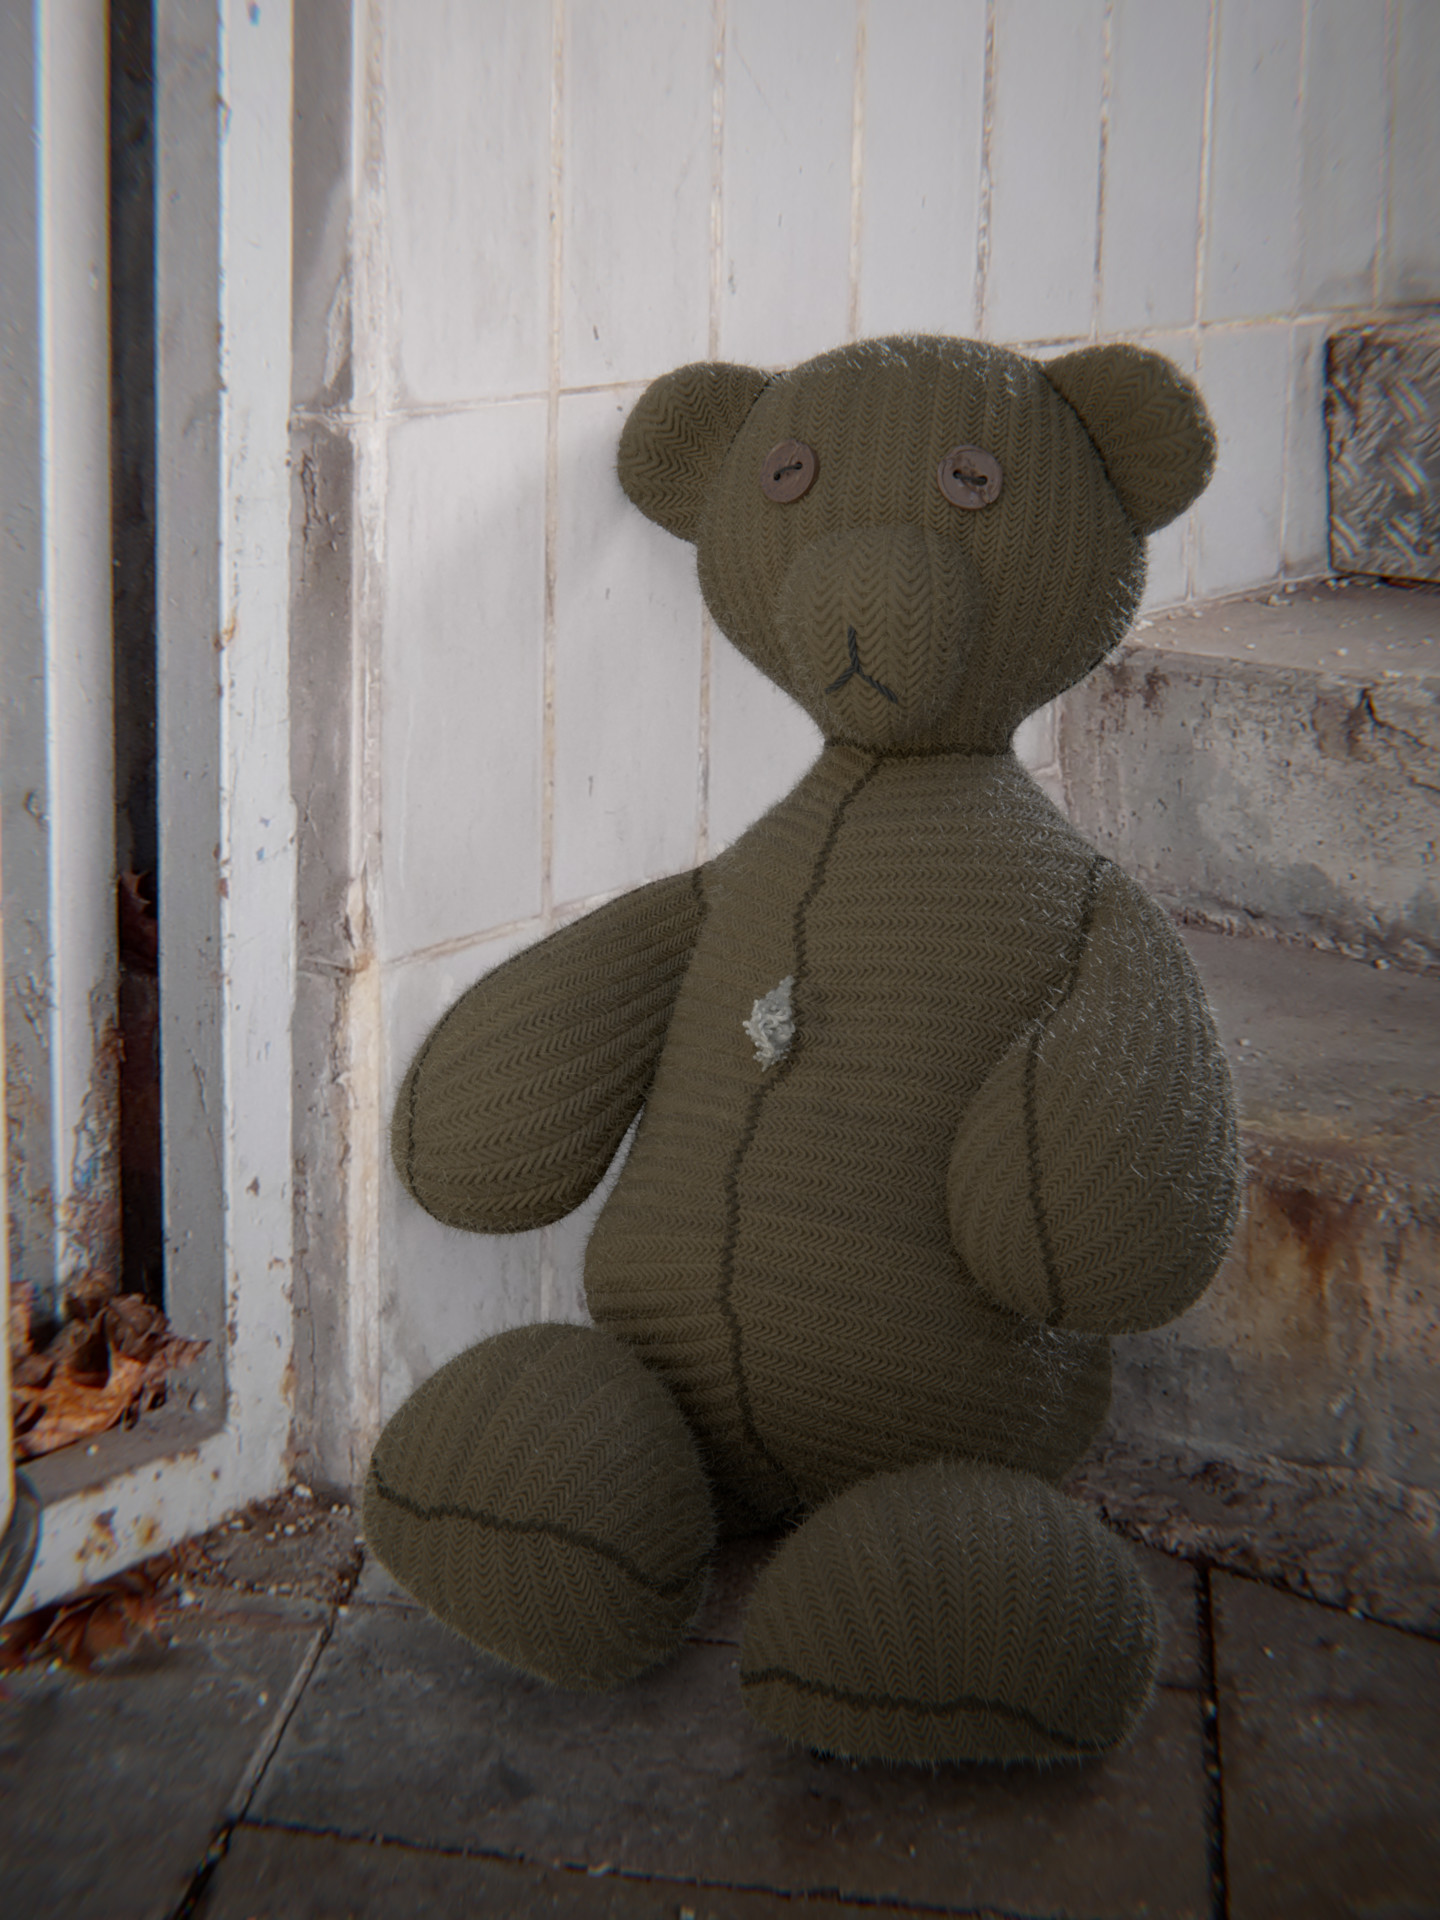
First image was inspired by the great video from Andrew Price: Improving Your Art - Making a Teddy Bear Look Great, but giving it a little twist by not doing a shiny new teddy, but an abandoned one. I still see quite some issues in the image, like distortions in the unwrapping, the procedural displacement map could be improved, etc. However in order to move on, I post this one now in the sketchbook area and hope to post soon further images…
Thumbnail section
5 Likes
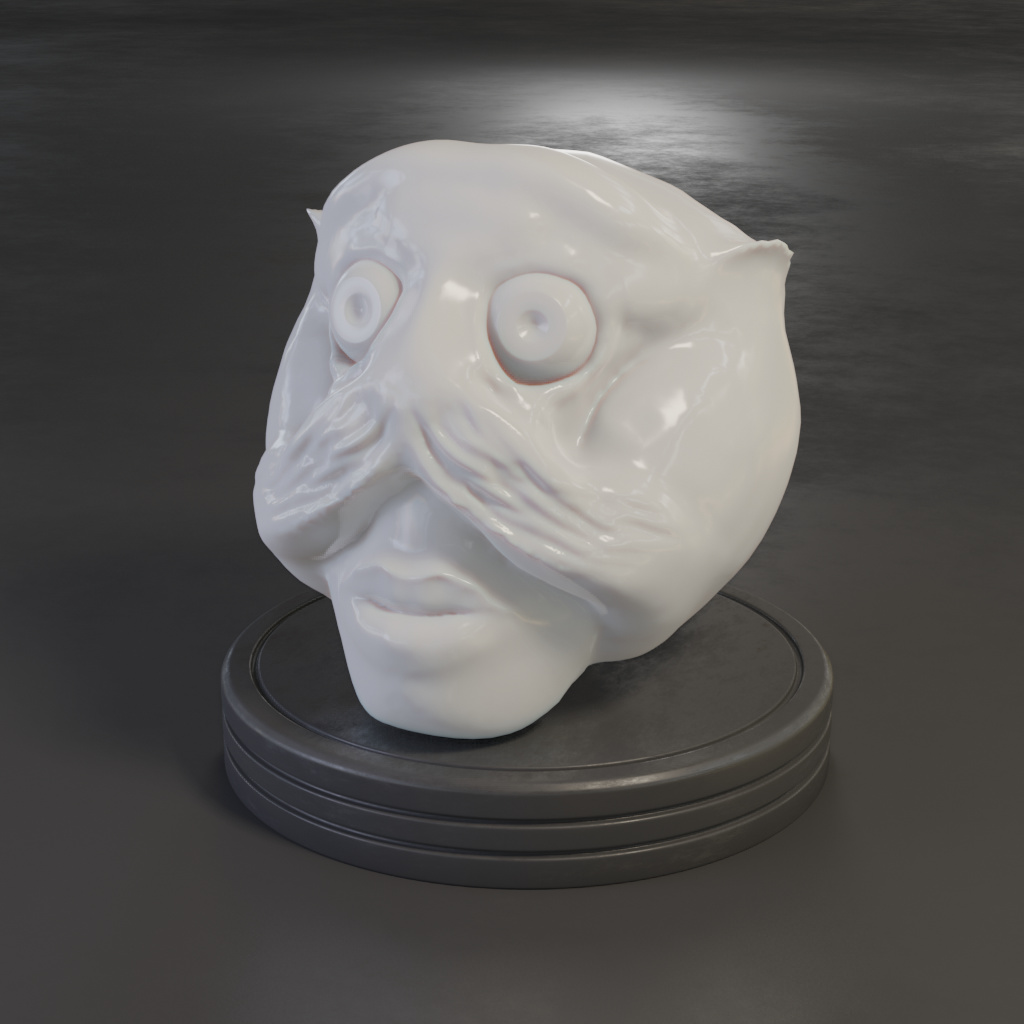
Learning how the sculpting brushes work. I like how easily accessible the sculpting workflow is. It took less time to sketch this creature than putting together the shading/lighting/staging… Looking forward to more 15 minute sculpts 
Today it’s a little monkey:
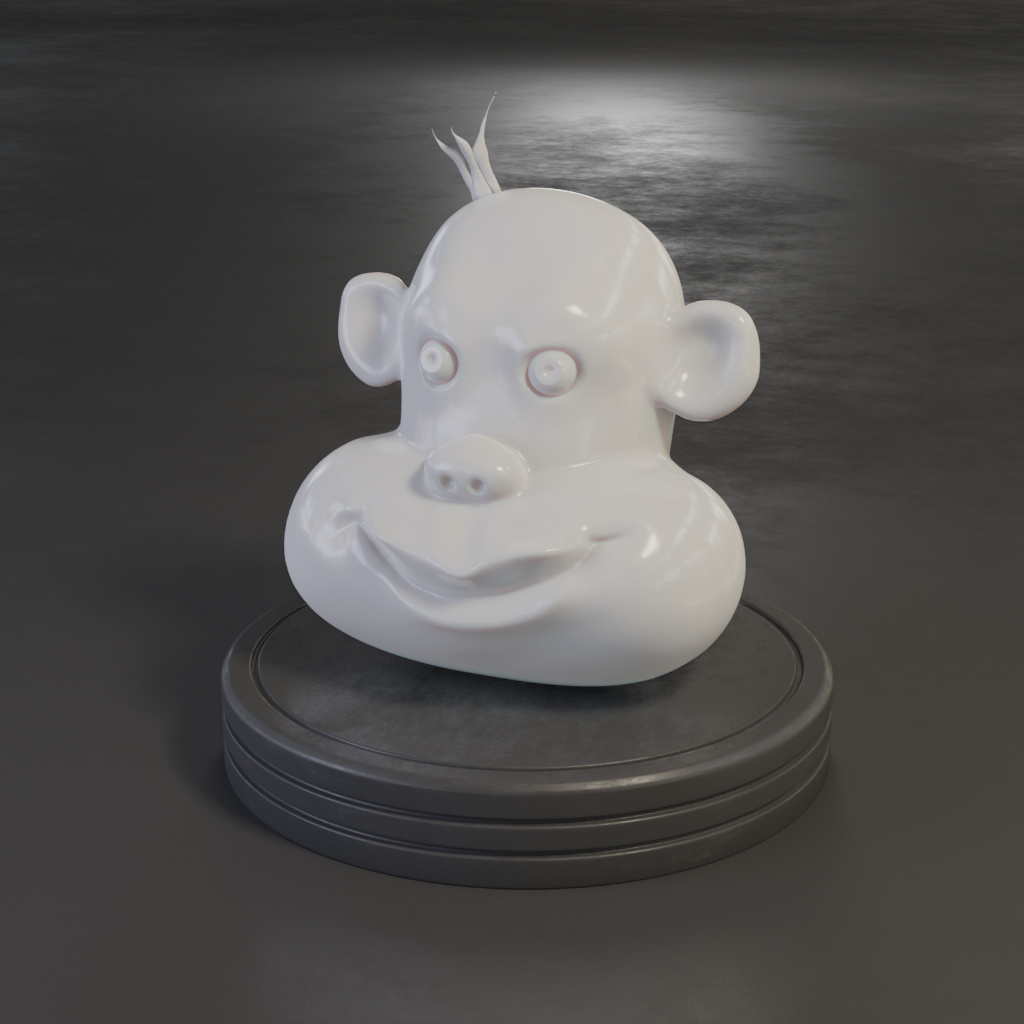
Made a little angry comic head, but I’m not really happy with his teeth. Think I need to study teeth a bit more…
1 Like
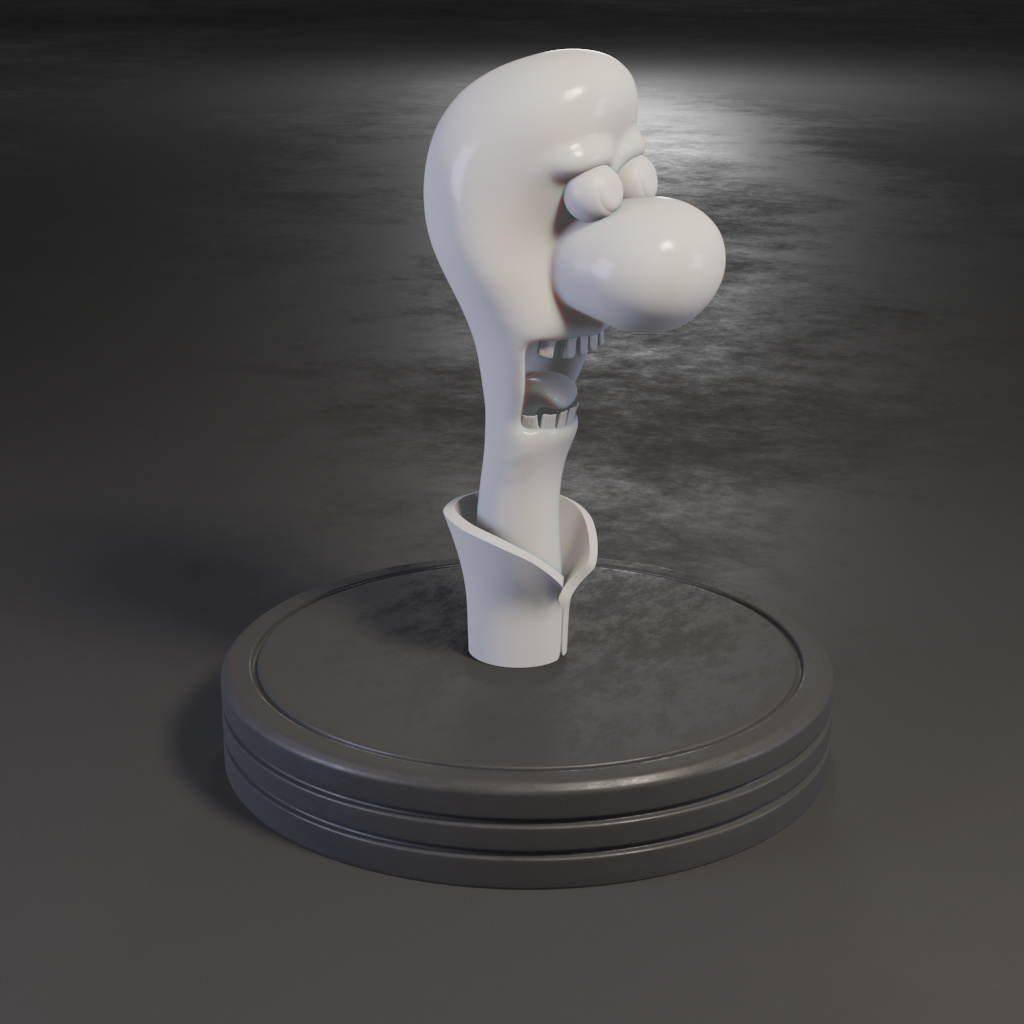
Tried just a single tooth today… still not really happy about the result…
1 Like
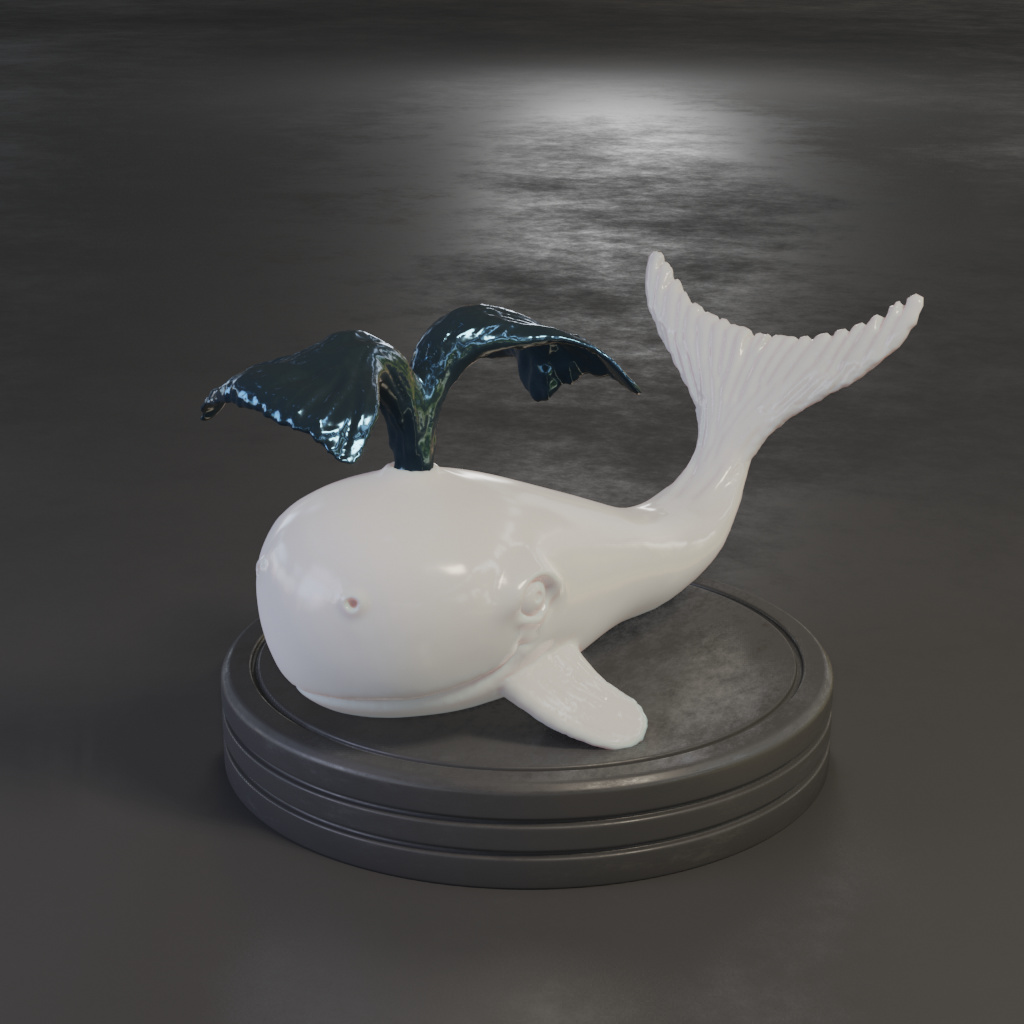
Was reading a book about the loneliest whale of the world. This one is not the one from the book, but an arbitrary other whale.
1 Like
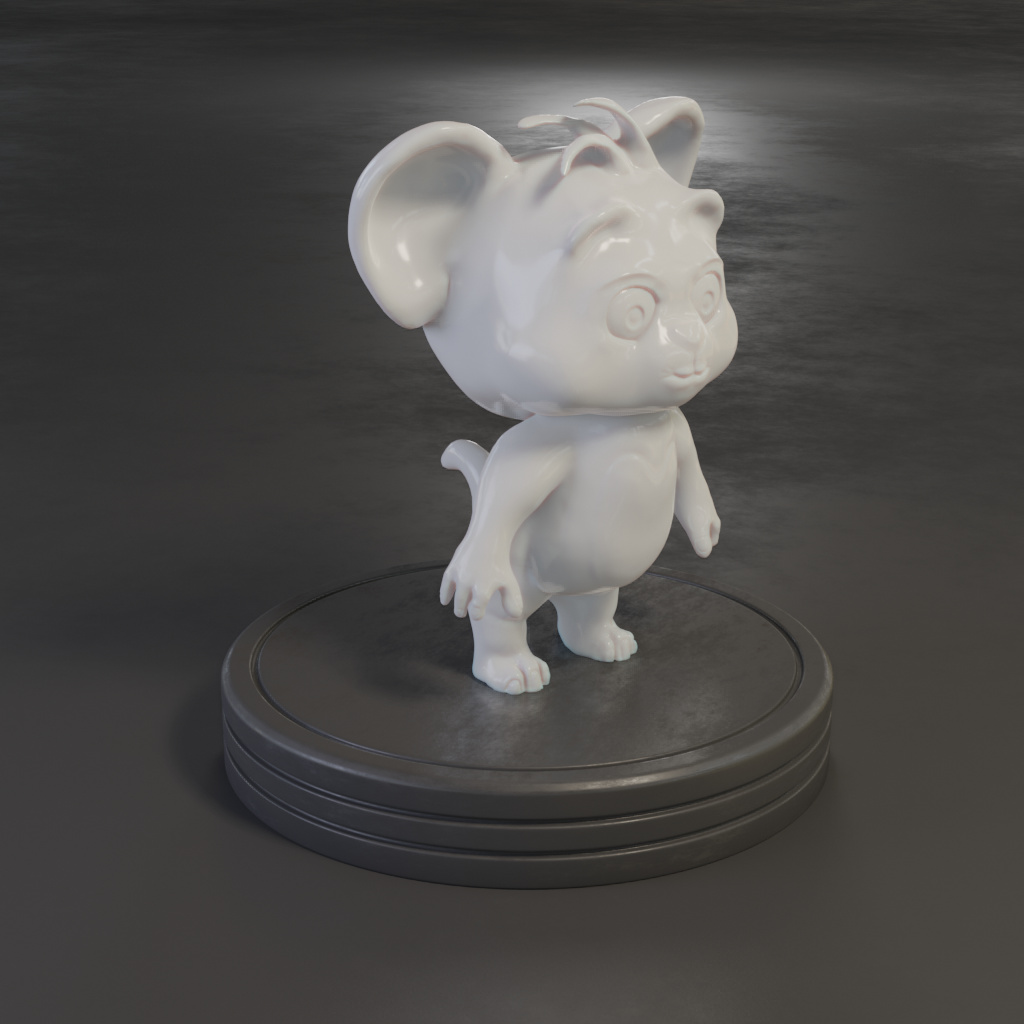
This took me a bit longer this time (and having just 1-2 hours per day of free time is also an issue…). I was taking a famous mouse as inspiration, but wasn’t going for complete likeliness. In case someone has some some remarks, please comment
1 Like
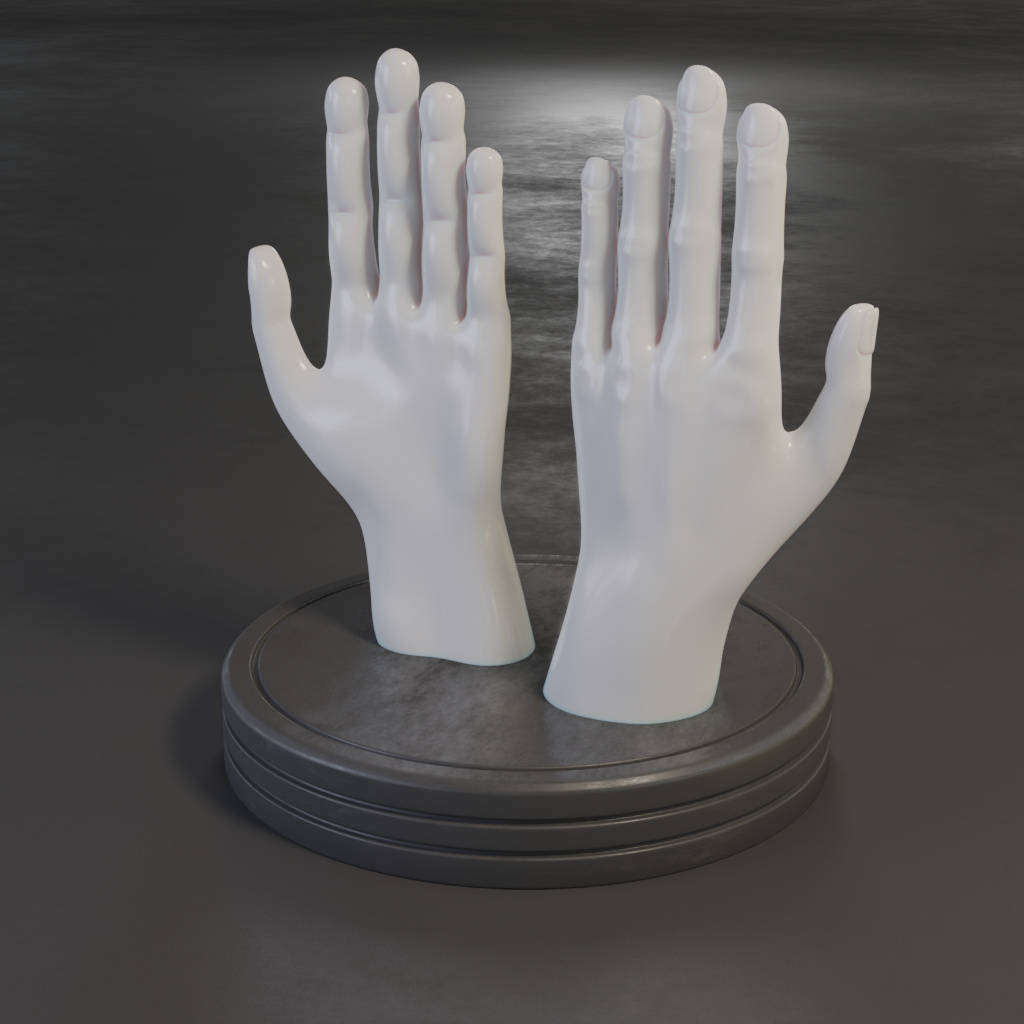
Started modeling a hand to finish a character, I started years ago. This is the base-mesh. Sculpting details will start after I modeled an arm and connected it to the existing torso.
Here’s the wire-frame for the topology:
3 Likes
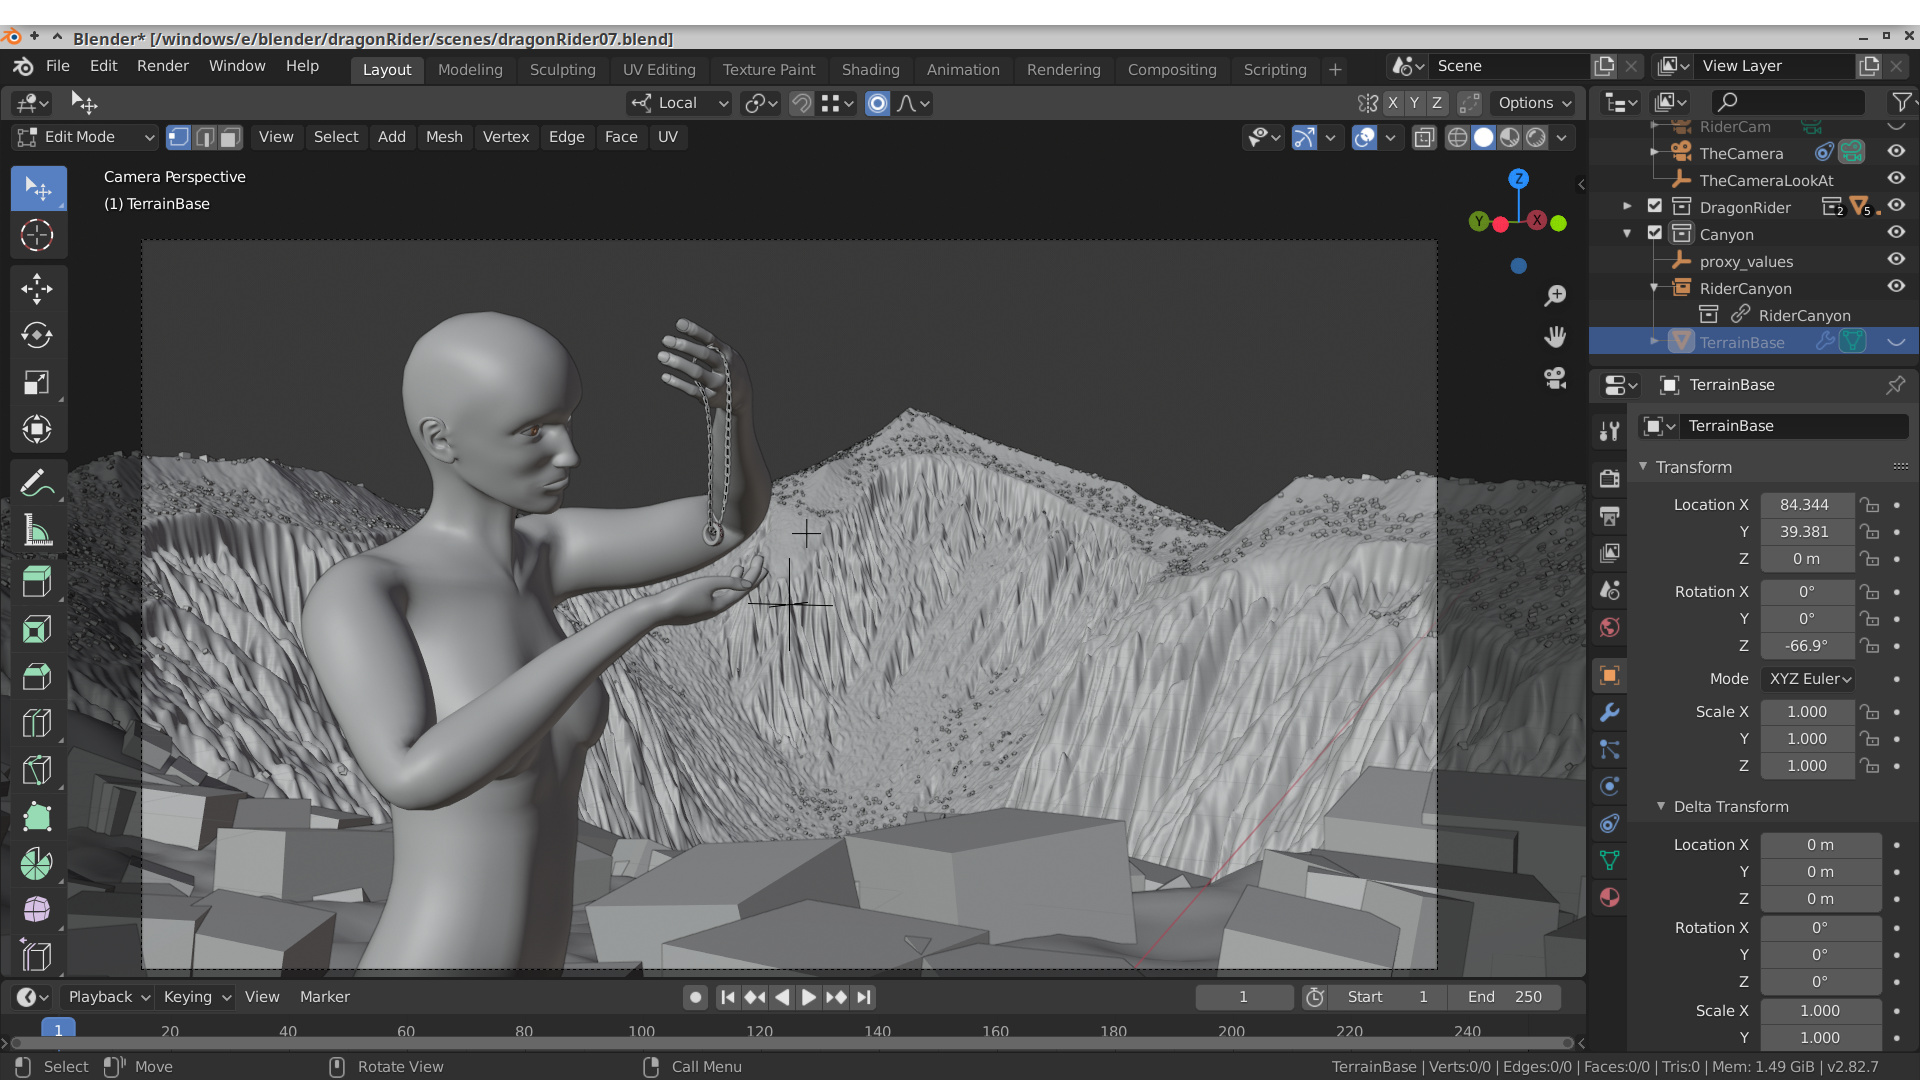
This time a huge update. I’ve attached the hand to a torso I had modeled long time ago. The character should stand at the edge of a canyon. So I needed to research into how to get good terrain into blender.
Started with blocking out the scene and modeling a low poly version of the canyon:
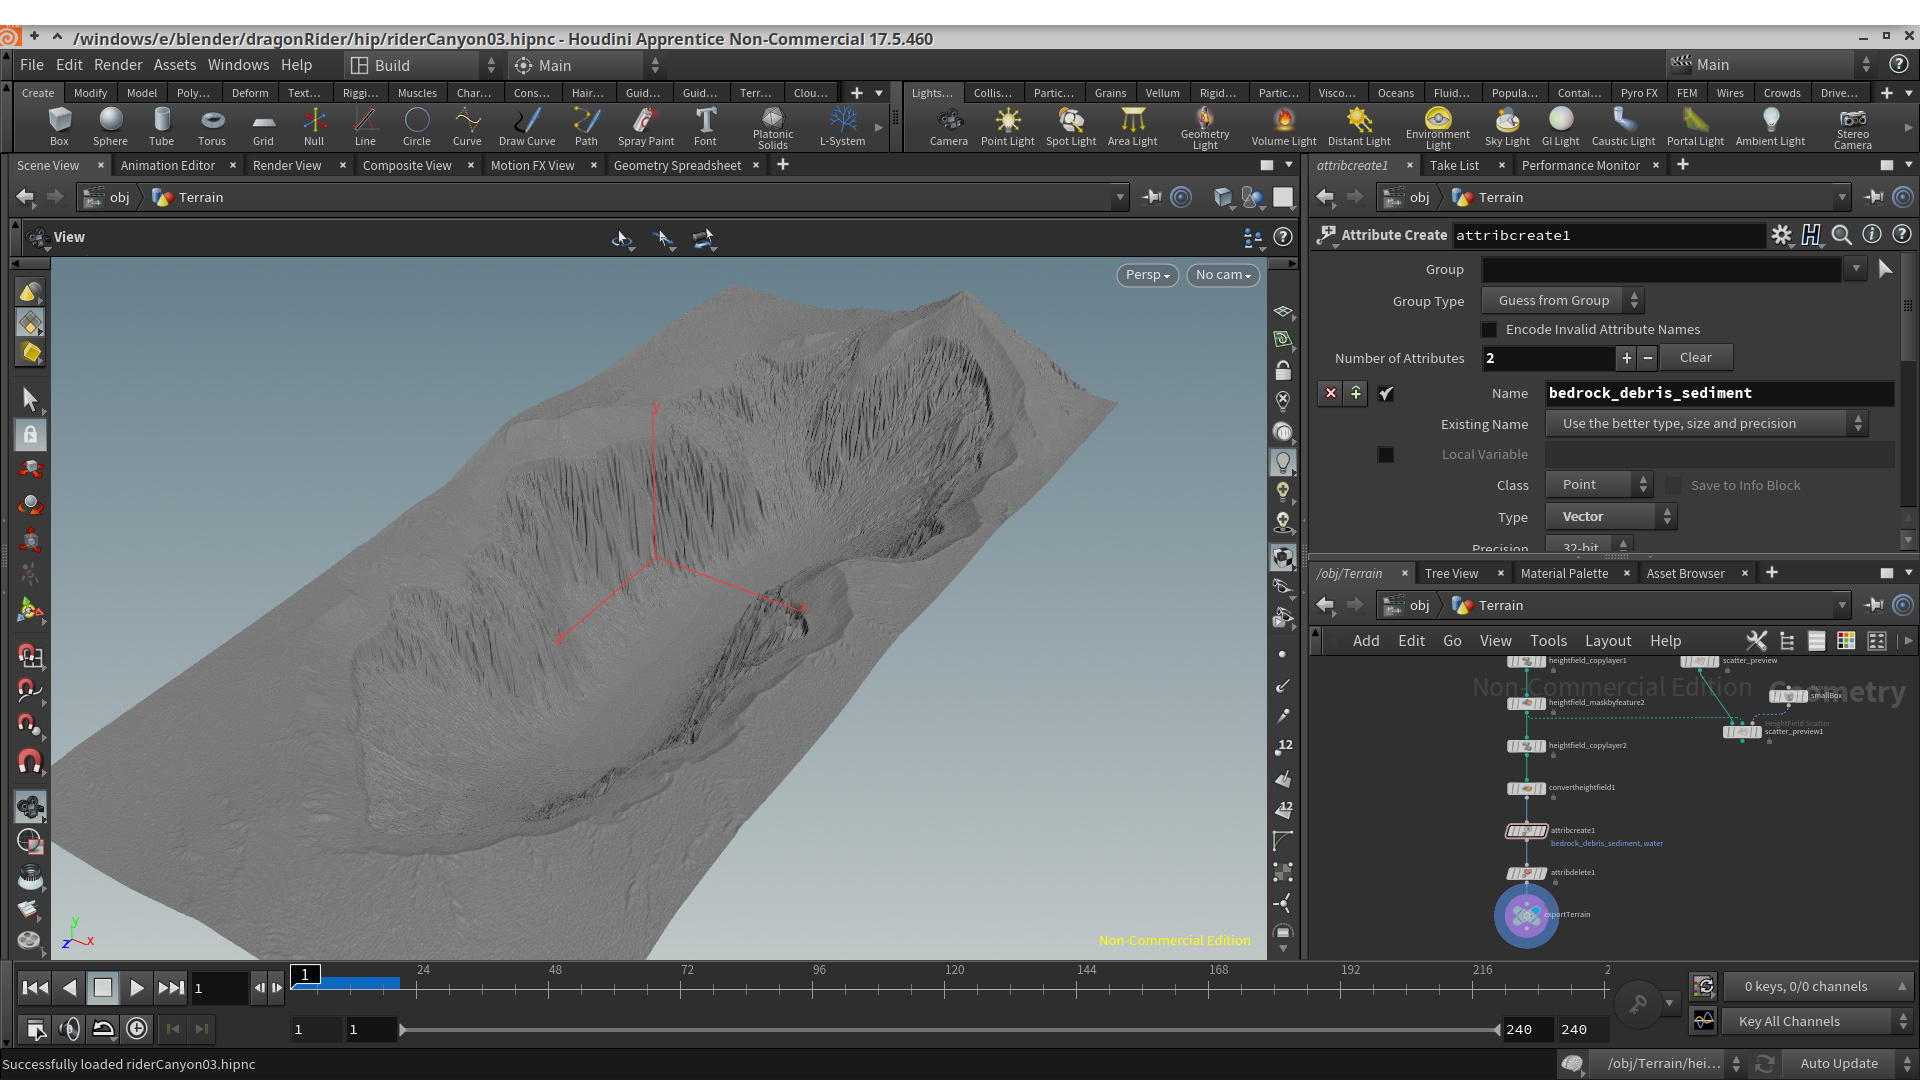
Brought the low poly terrain into Houdini:
Utilized Houdini’s procedural tools to shape the terrain:
Houdini allows for creation of masks and other useful maps to scatter and shade objects. I wanted those to be usable in Blender. So I hacked the ply importer to not only import a single set of vertex colors, but also custom vertex colors. Additionally single channel vertex attributes of the ply will be imported as vertex groups, so I can use them for scattering objects like rocks. Here’s a link to the GitHub repository with the modified ply importer:
https://github.com/FrankFirsching/blender-addons
Here’s the terrain in Blender with some vertex colors and vertex groups:
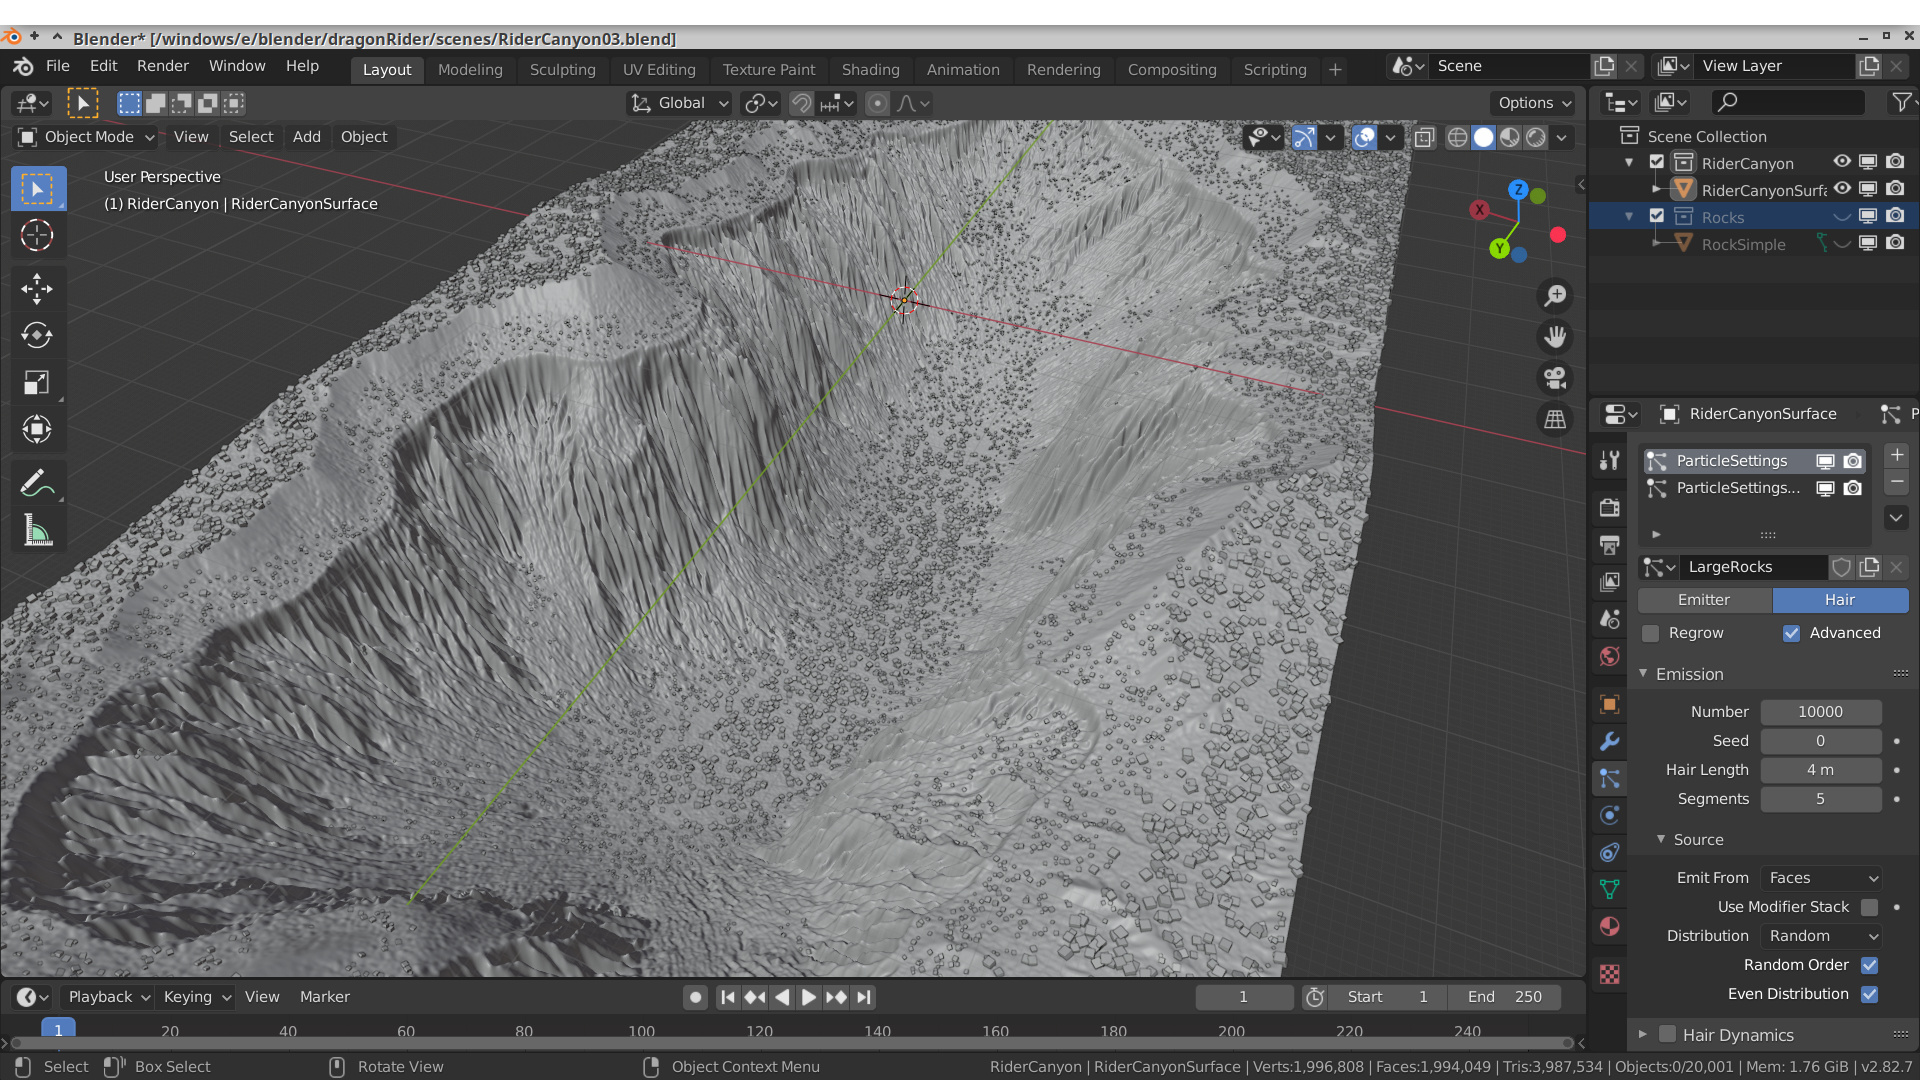
Utilizing the vertex groups to scatter cubes as stand-ins for rocks in specific areas:
And testing the terrain in the block-out:
3 Likes
Today I’ve spent most of the time on non-visual stuff (proxy mechanism for the terrain and scene reorganization using linked scenes).
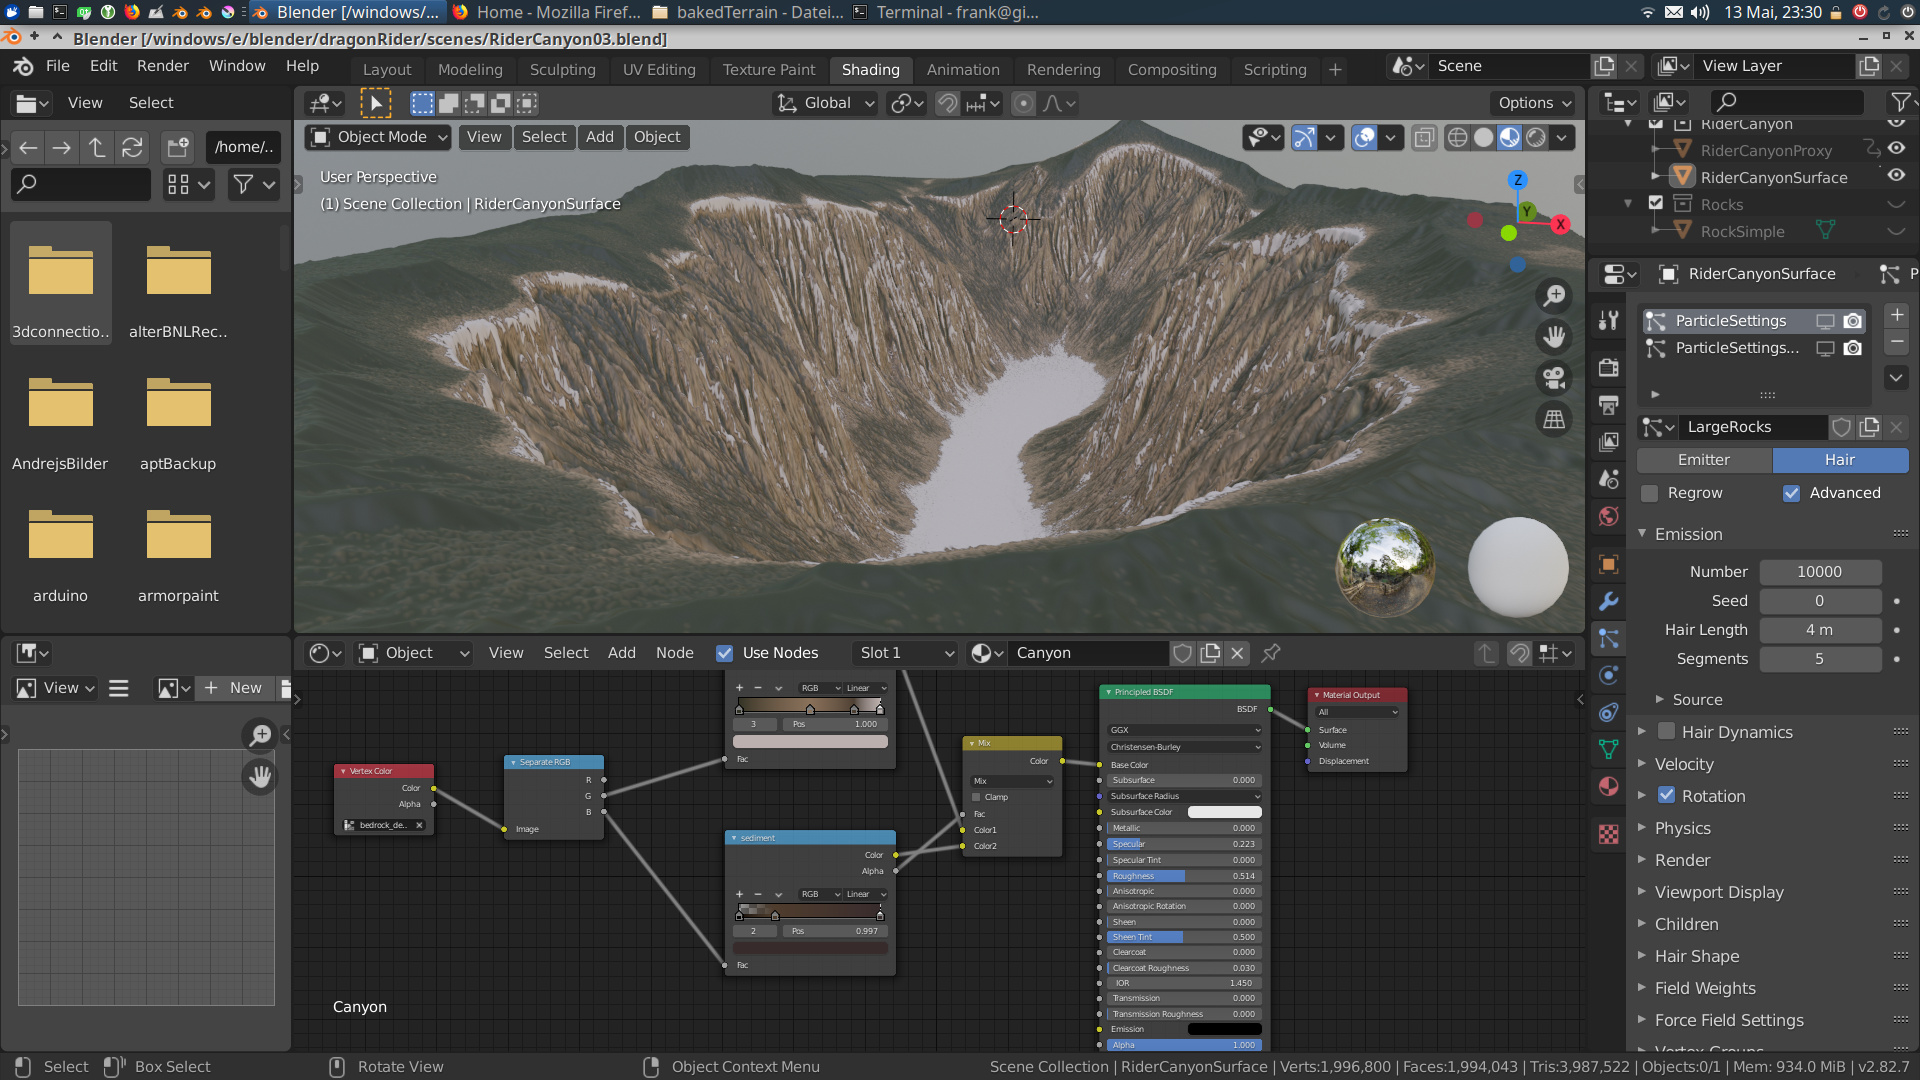
Also applied some color ramps driven by the imported channels for debris and sediment. No textures applied yet, just 2 layered color ramps on the base color.
1 Like
Tried today what could be the best approach to get some stones onto the canyon. Was quickly taking some images of 2 stones lying around when I was outside and processed through Meshroom. Result could certainly be improved, but this was the default Meshroom pipeline and afterwards quickly cutting away the floor.
4 Likes
Been scanning some more objects. I also retopologized them and learned about delighting in a photogrammetry workflow. Now I have one more stone, a twig, a tree and the shell of a snake. I’ve setup the shaders of the assets to apply variation to each individual instance and scattered them onto a grid for testing purposes. I’m not so happy with the scattering algorithm of blender (objects intersect each other while there’s still plenty of space). Need to think about whether I should scatter them in Houdini (where I’ve built the terrain), but then I have the problem to get the data correctly into blender…
2 Likes
After a long break, I was continuing on my rock collection. Didn’t want to scan further and tried to create procedural rocks directly within blender. This is what I came up with:
Every one of those stones is just an elongated cube, that got treated by a bunch of modifiers and has a procedural material. For the ones of you who want to play around, here’s the scene file (just replace the world’s HDRI, which is not embedded within the blend file…). Do whatever you like with it. Include it in your scenes, improve it (and maybe share it again
) or anything else you like to do.
proceduralStoneShared.blend (705.6 KB)
3 Likes
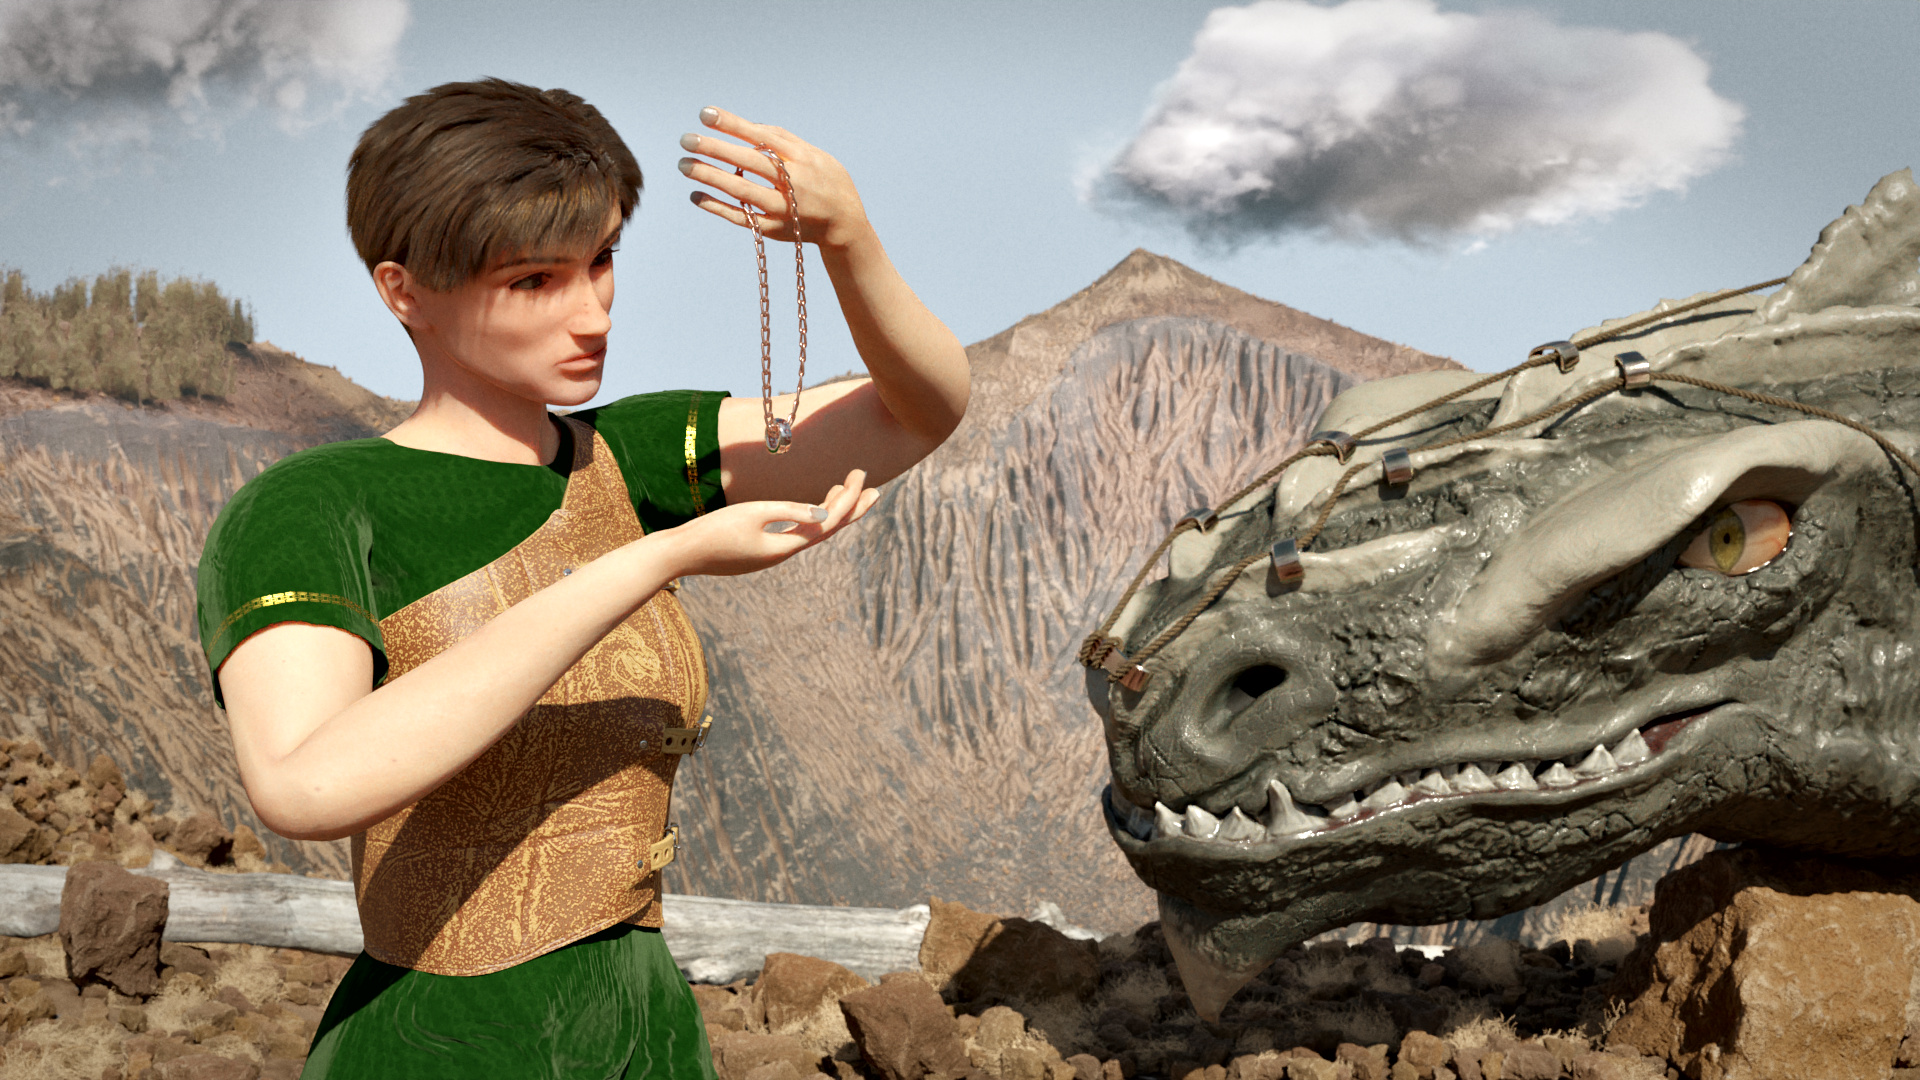
Been sculpting again the last few days. Result is a dragon. No image textures except the hdri for lighting. Just used a quick vertex color map to blend between 4 different procedural materials: skin, gum, teeth and bones. Still needs quite some polishing and I need to learn more about shading and the correct values for a realistic appearance.
1 Like
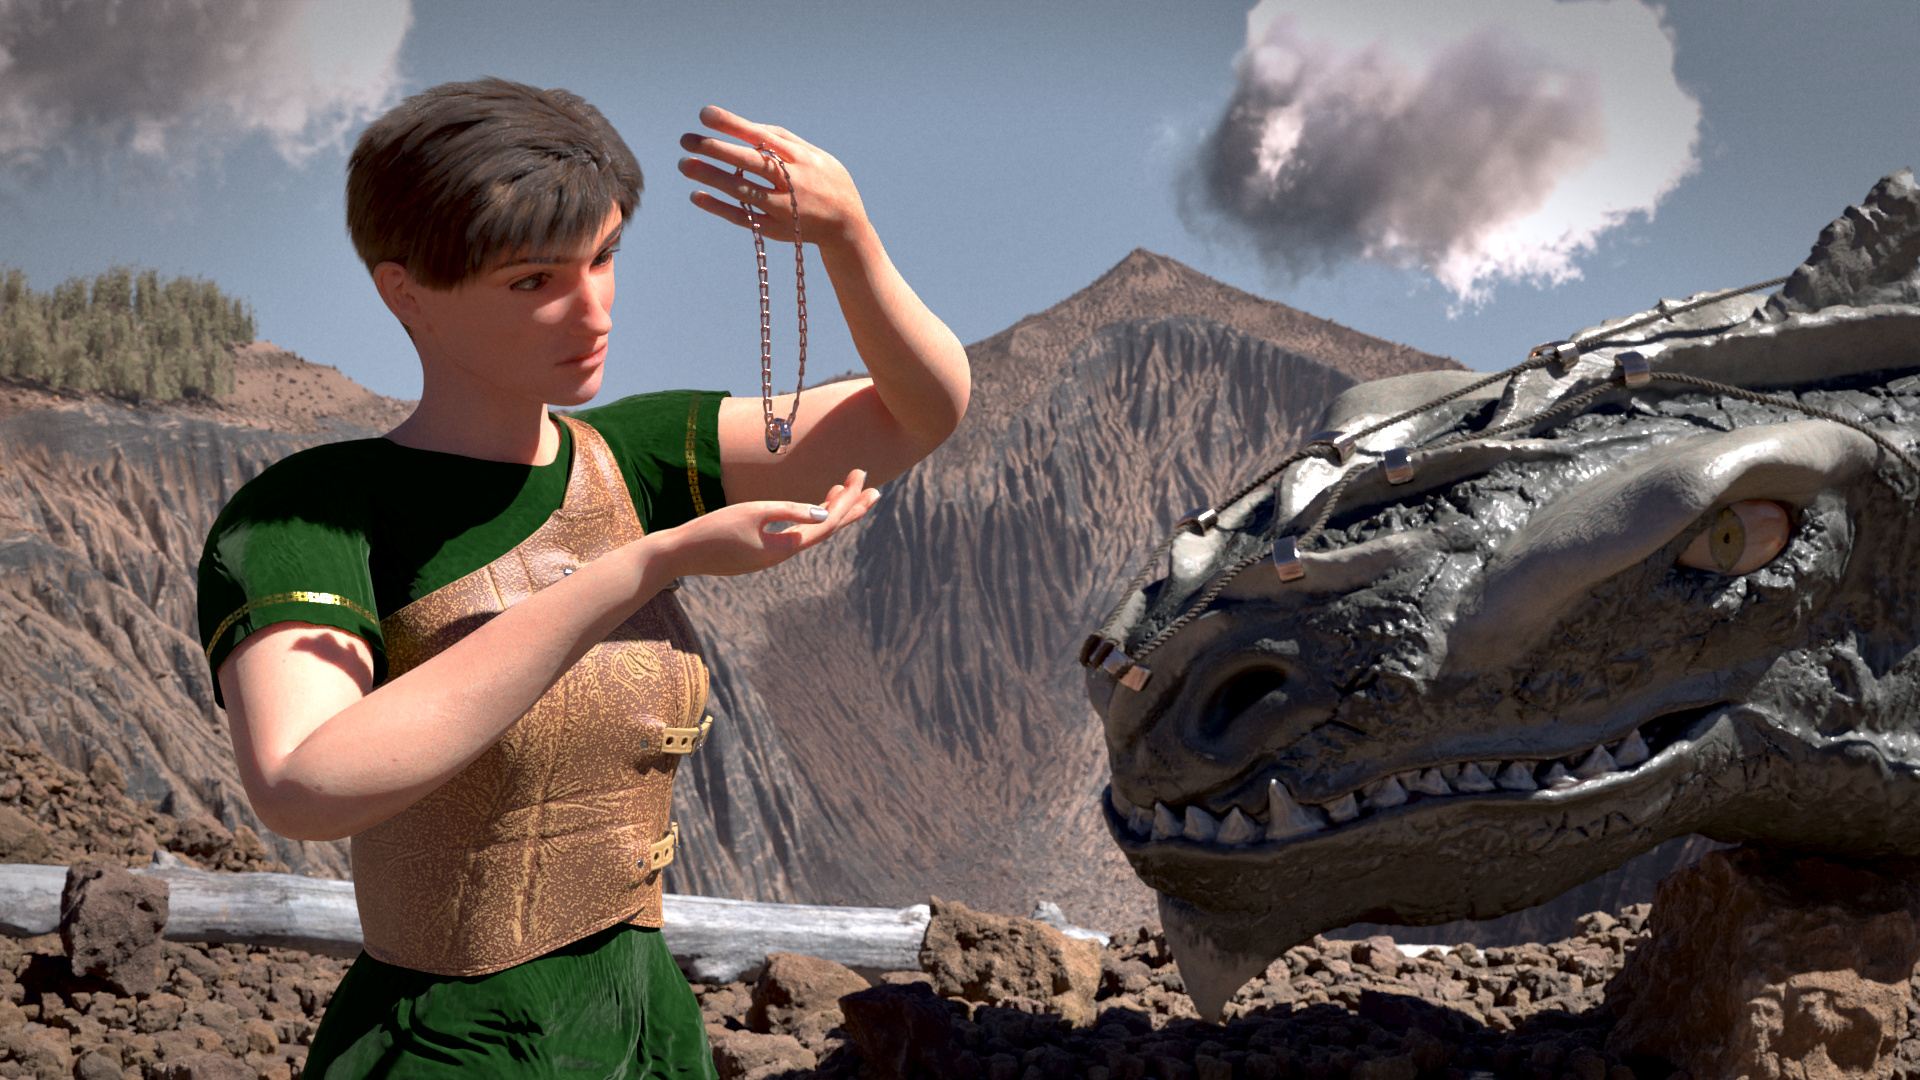
I recently noticed, that I didn’t update this sketchbook for a long time. Somehow several of those individual assets I posted above ended up together in a single project. During the time I didn’t post, I was looking into plenty of stuff I didn’t touch earlier in blender: hair, cloth sculpting, skin shading, volumetrics, etc. I will try to continuously improve this project I started. Maybe I should start a WIP thread for it, instead of dumping all here into the sketchbook… Anyhow, feedback is welcome. Currently I didn’t work on the lighting yet. It’s just a single HDRI, so this will be one of the next things to tackle besides filling the scene with further details.
Trying out some things… Made clouds a bit more flat, added some dead plants between the stones and changed the HDRI. White-balance now seems a bit off, but I’m too lazy to correct now… also I’m not sure whether I like that  (might go for an old retro polaroid style??):
Worked today on a nodevember topic. Here’s my cookie (screenshot with node network):
Rendering:
And here’s the blend file for it:
01_cookie_shared.blend (1.2 MB)
3 Likes
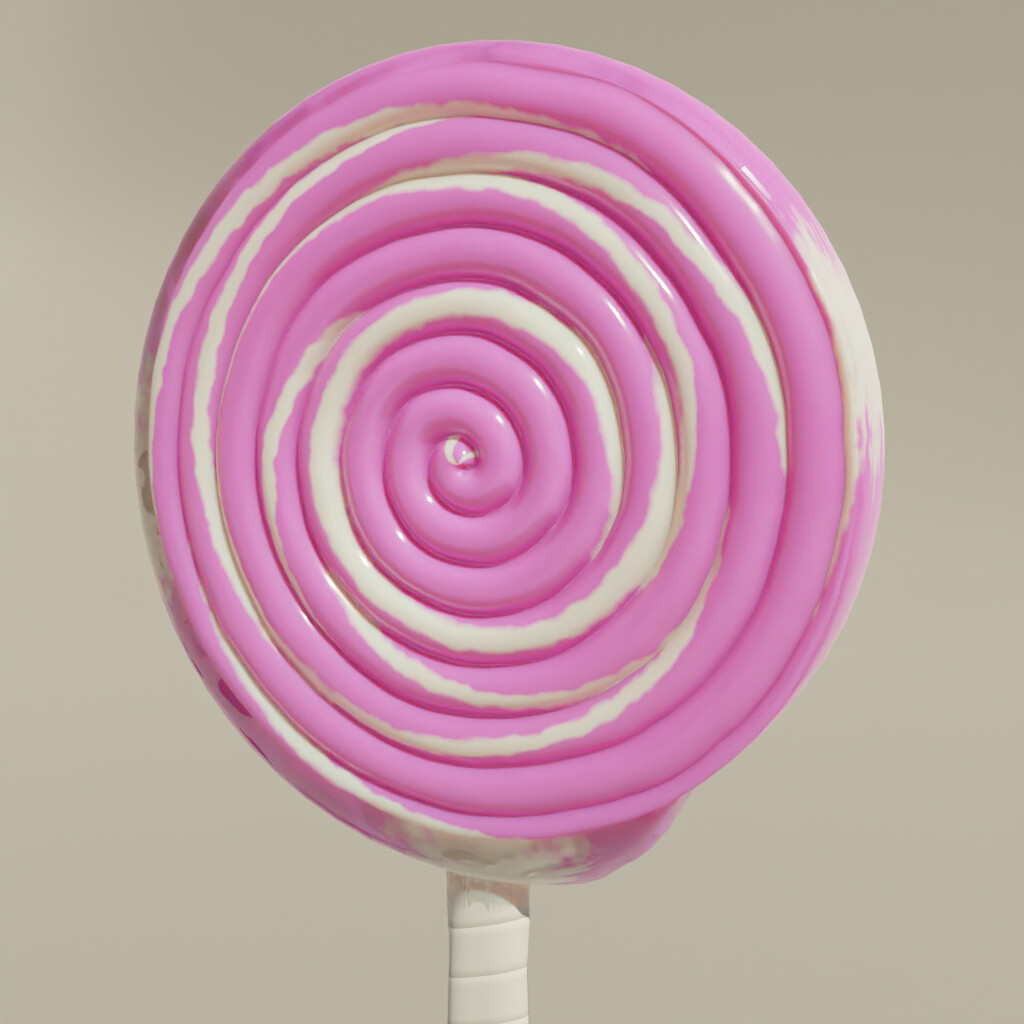
Here’s day 2 of nodevember: candy
…the rendered version:
and the blend file:
02_candy_shared.blend (1.0 MB)
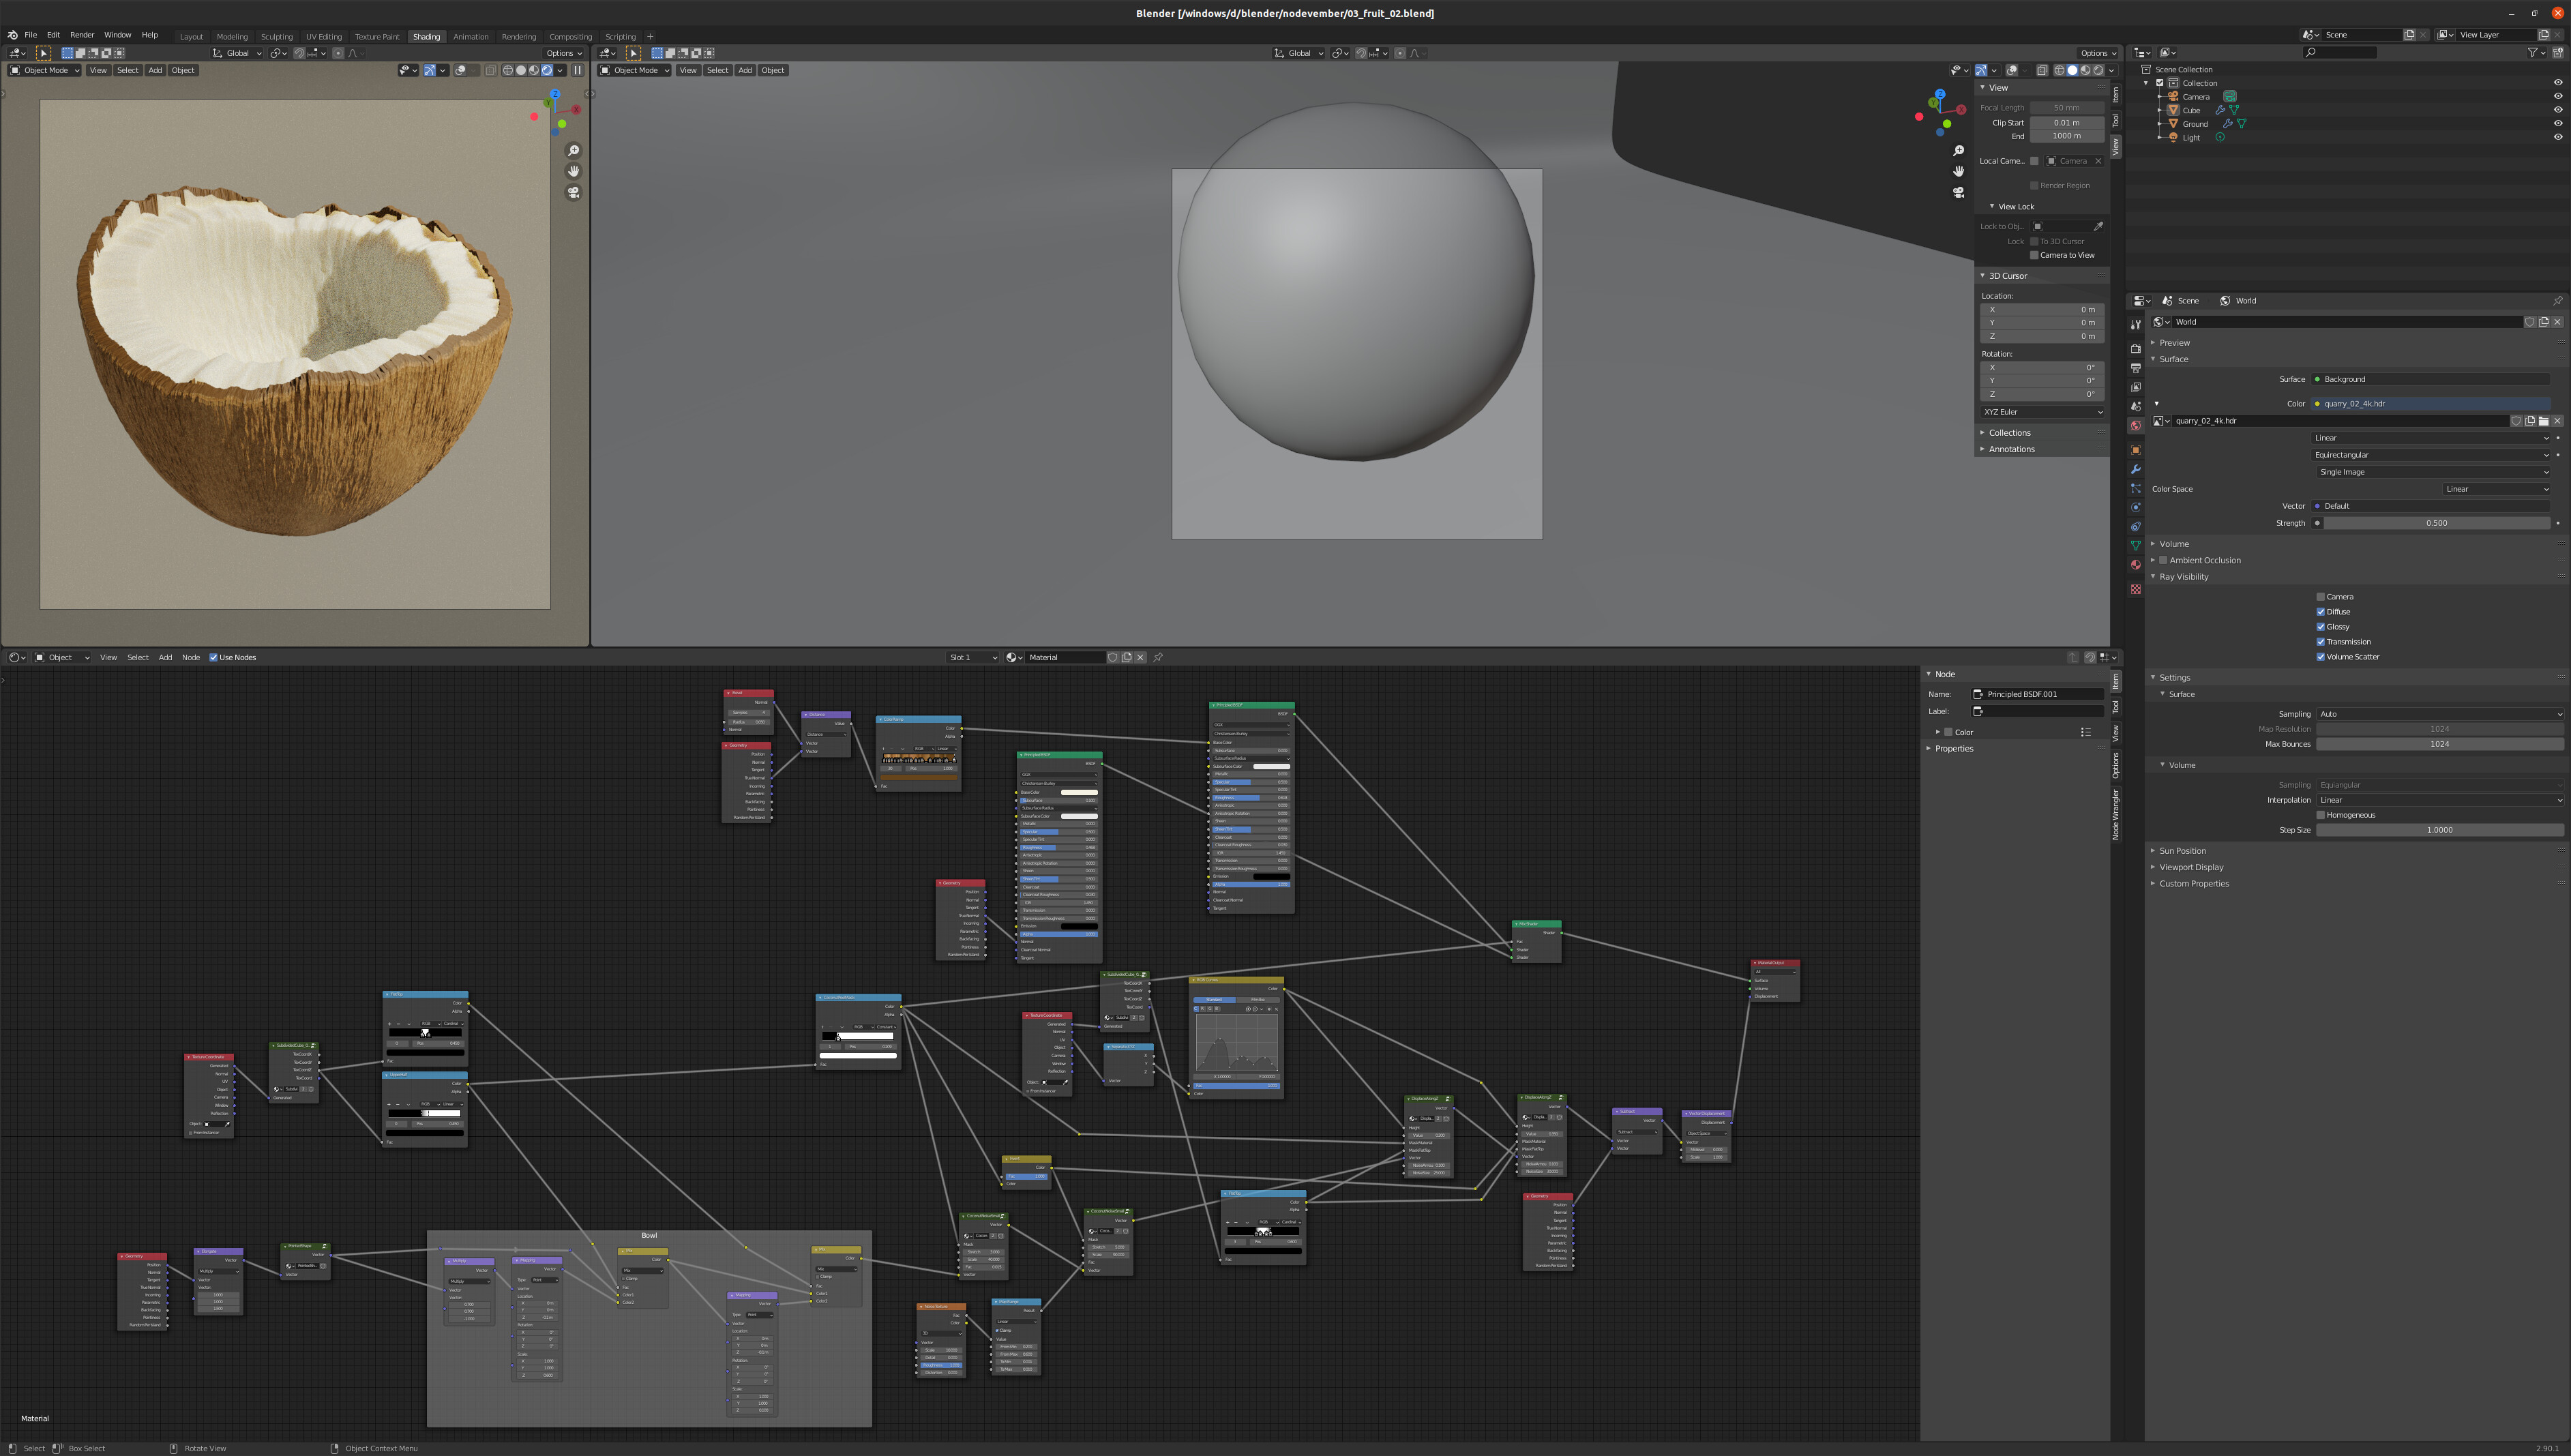
Today’s nodevember topic is fruit. I chose a coconut made out of a subdivided cube.
and the rendered version:
plus as usual the blend file:
03_fruit_shared.blend (1.1 MB)
1 Like
Took a break yesterday from Nodevember, so here’s with a day delay the topic grain:
and the rendered version:
plus the blend file:
04_grain_shared.blend (1.5 MB)