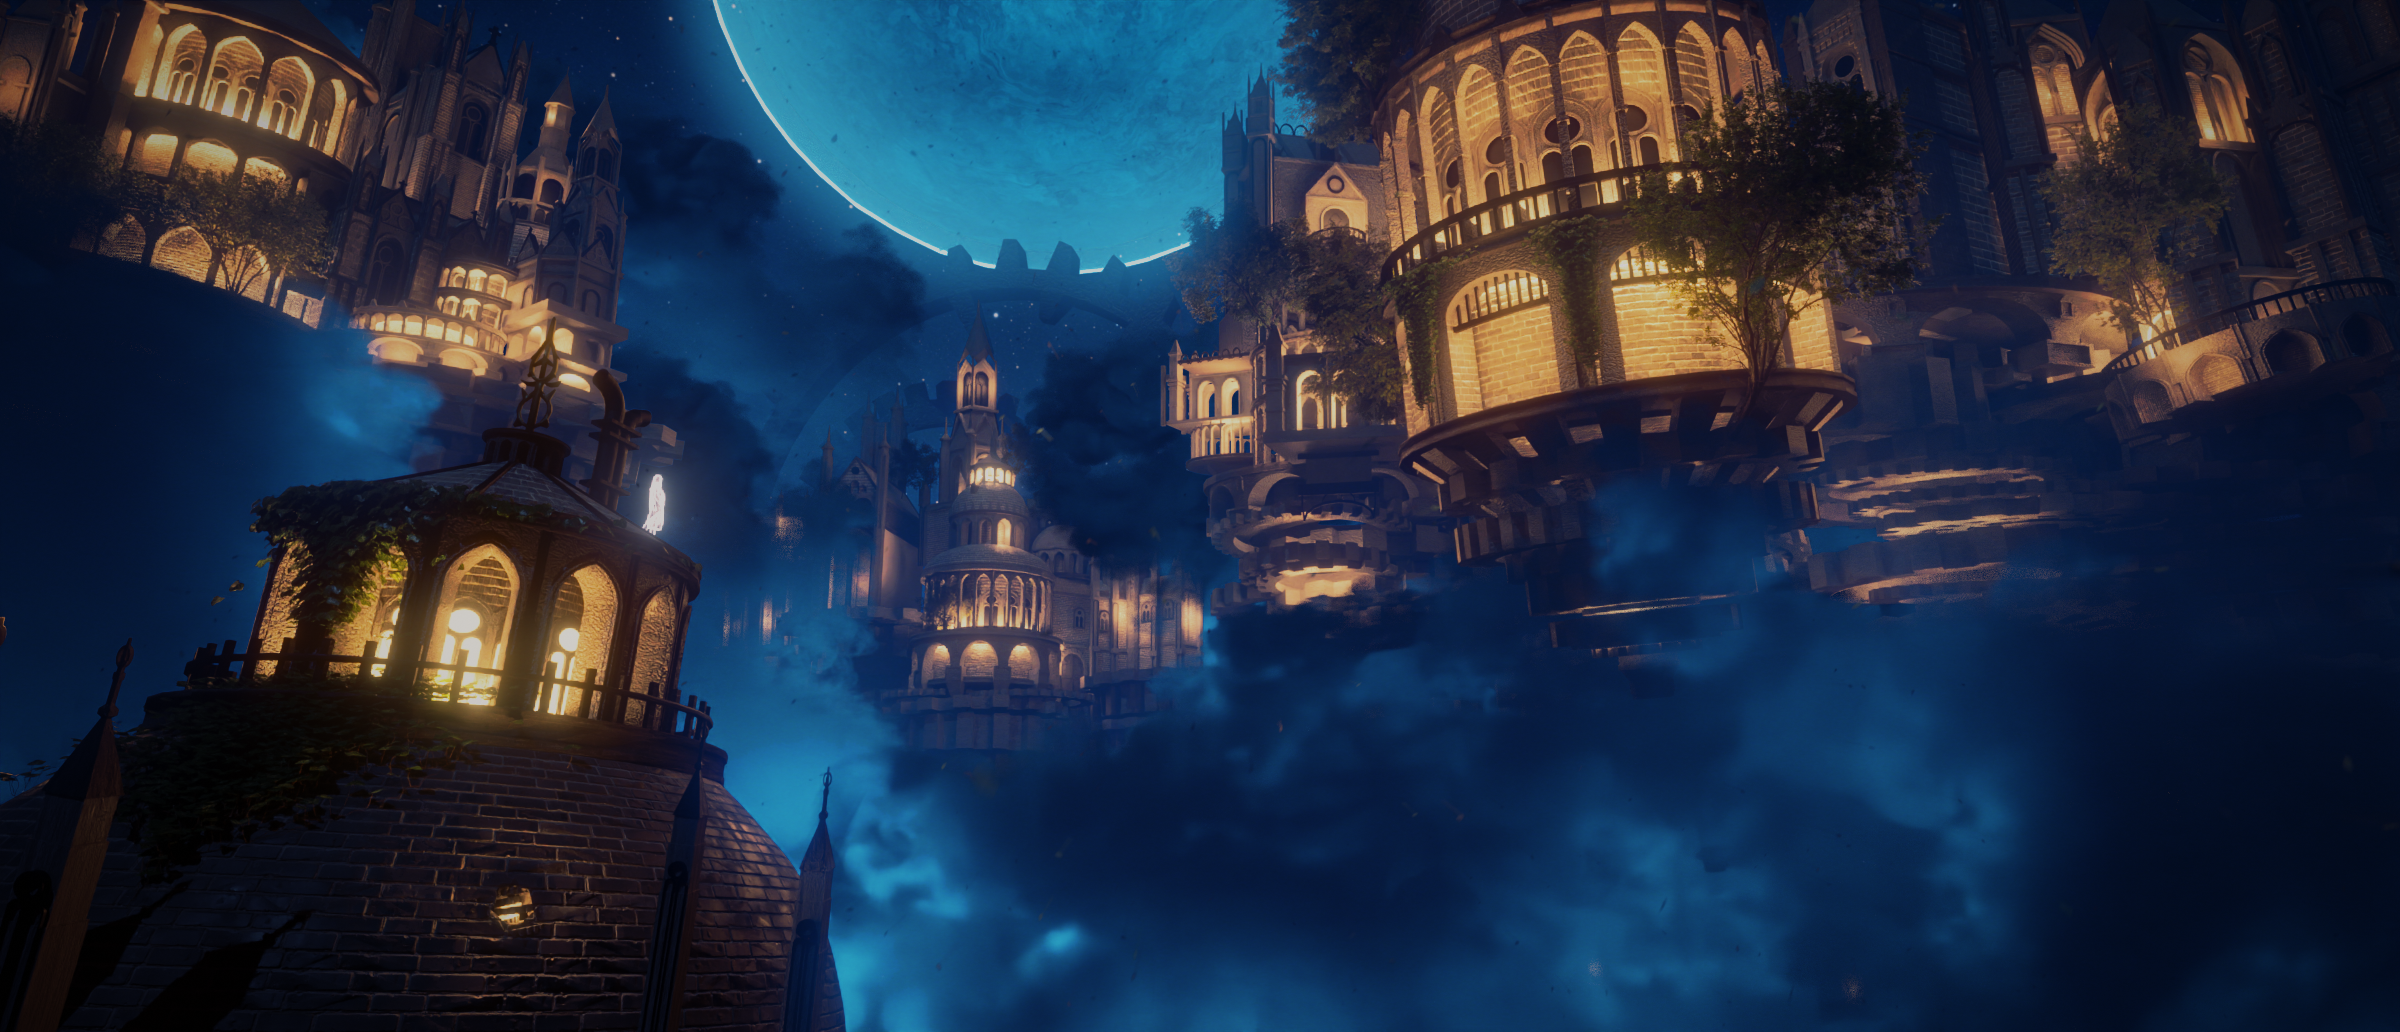
Final Results
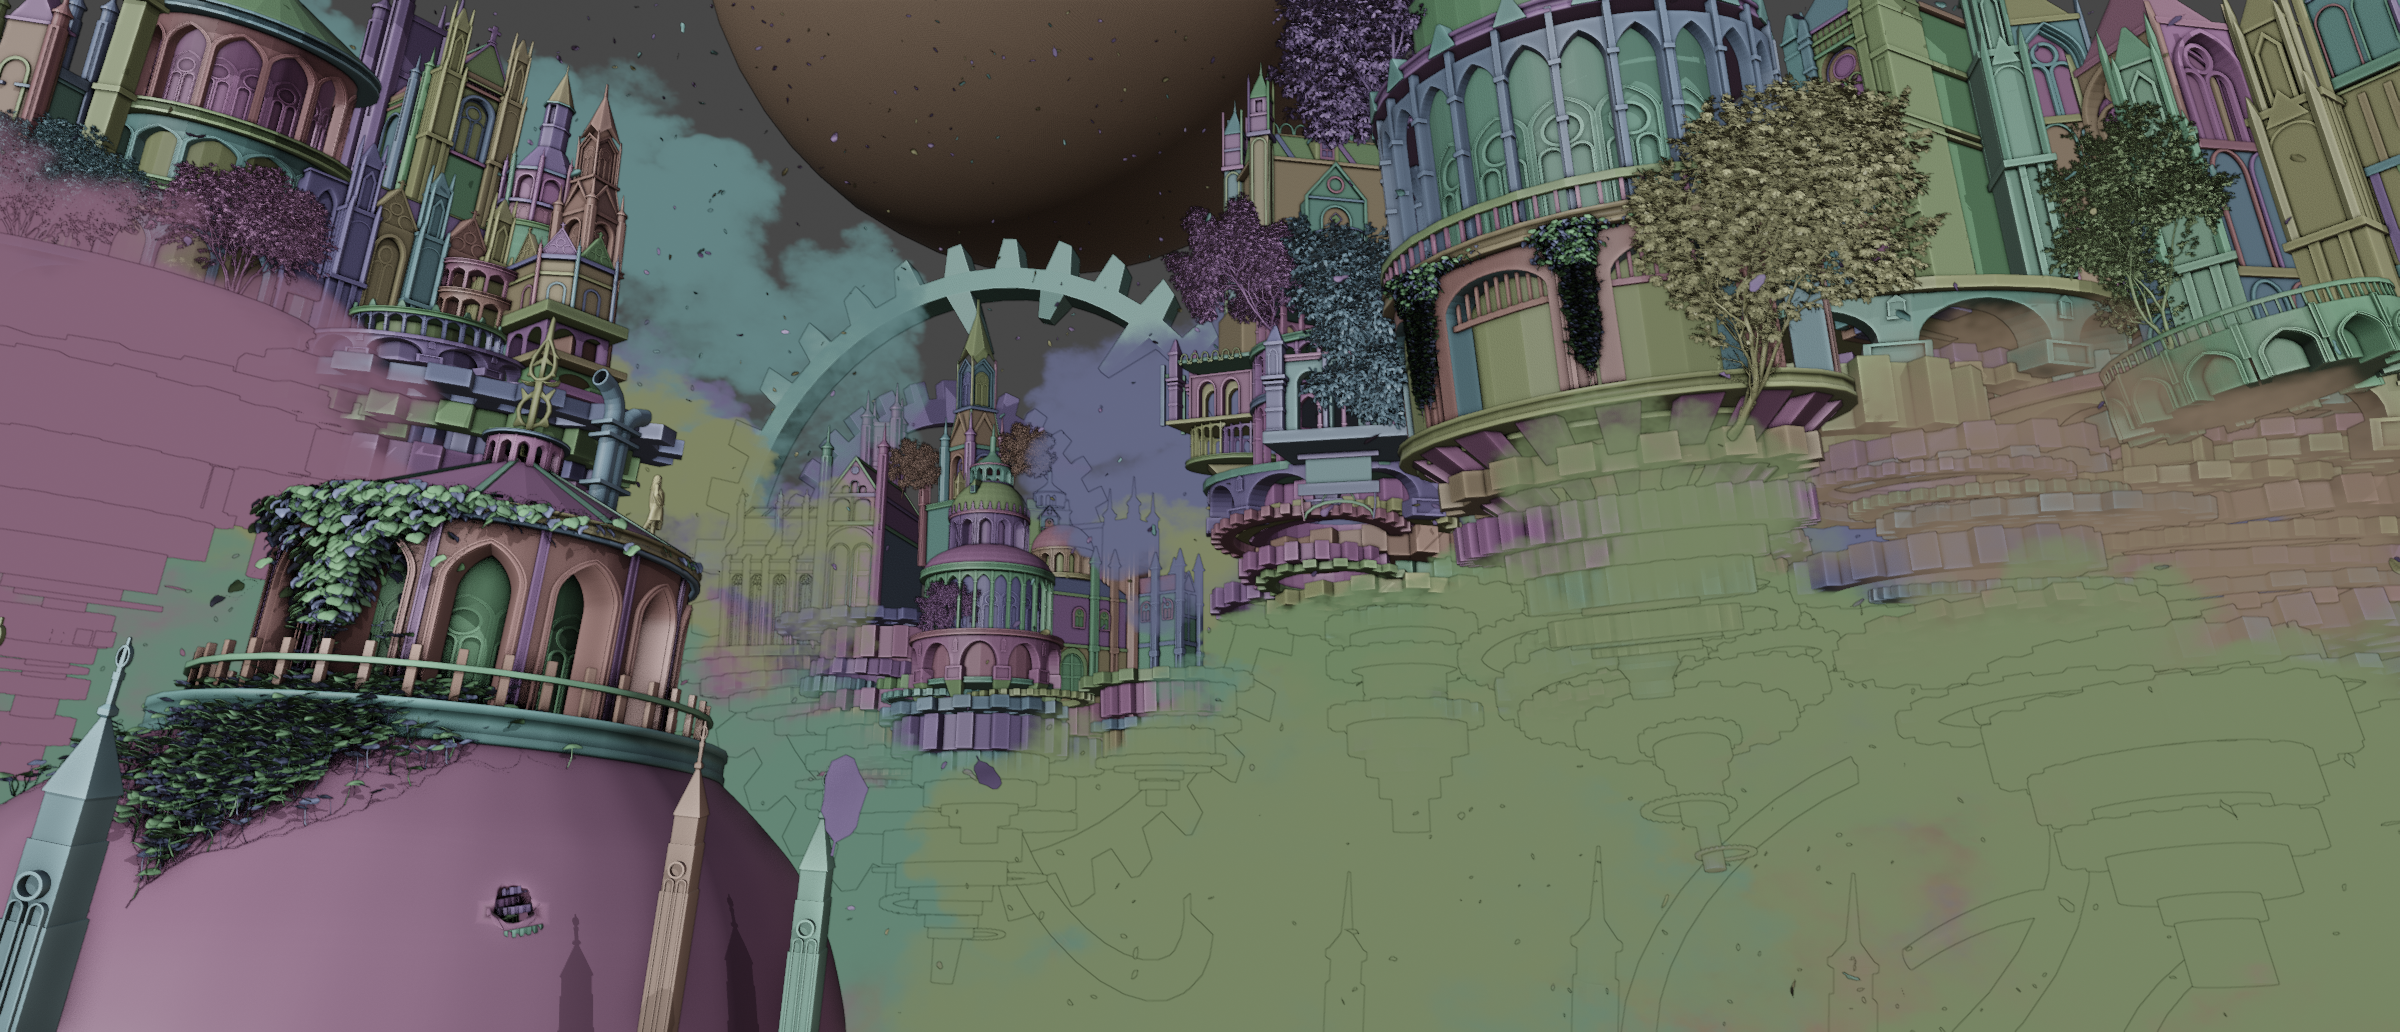
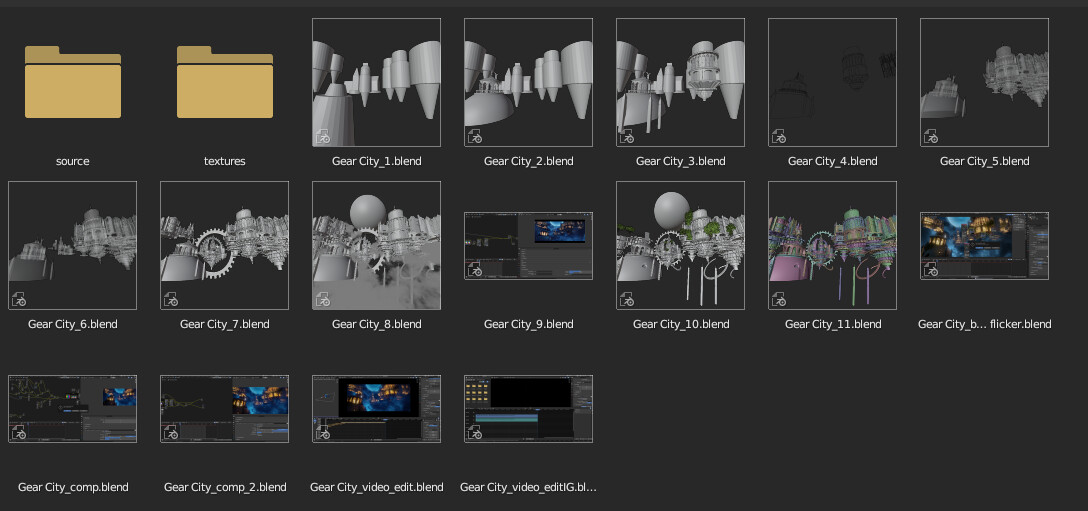
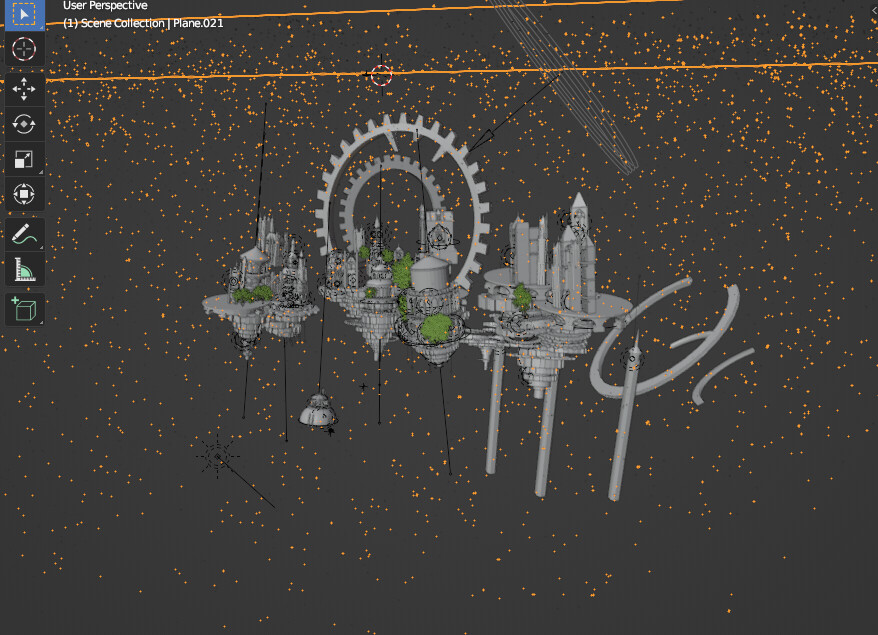
Workbench
Animation Breakdown

Hey guys
I think this is the biggest 3D project I’ve done so far
I made this work by referencing 2D concept art from artists on twitter
This is a concept art made by an artist called 電鬼
I added my style to it and made it 3D
Here is 2D Concept
https://twitter.com/denki09/status/896378747498110980
But the first time I saw this picture was not on twitter
It was from a music channel on youtube
 - 3つの物語 [3 Stories] - III. 天の庭 [Hanging Garden] (Album: Language)")
I was very excited when I saw this piece and heard the melody of the music
I always remembered it until recently, three years later, when I finally had the ability to try to make it.
But the funny thing is, at the time I saw this work I was still a person who knew nothing about 3D lol
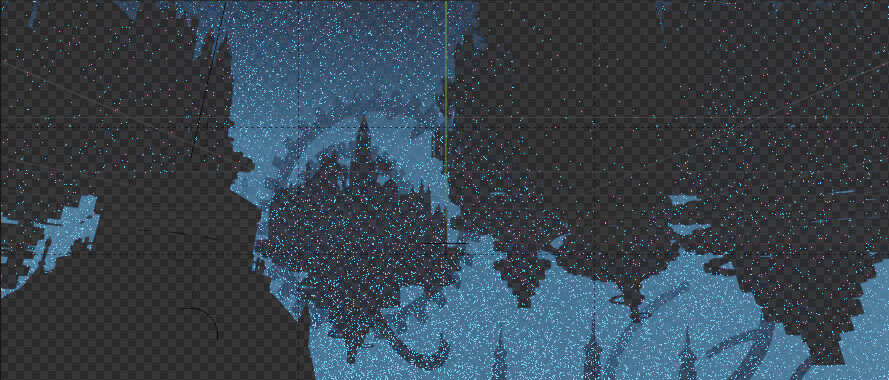
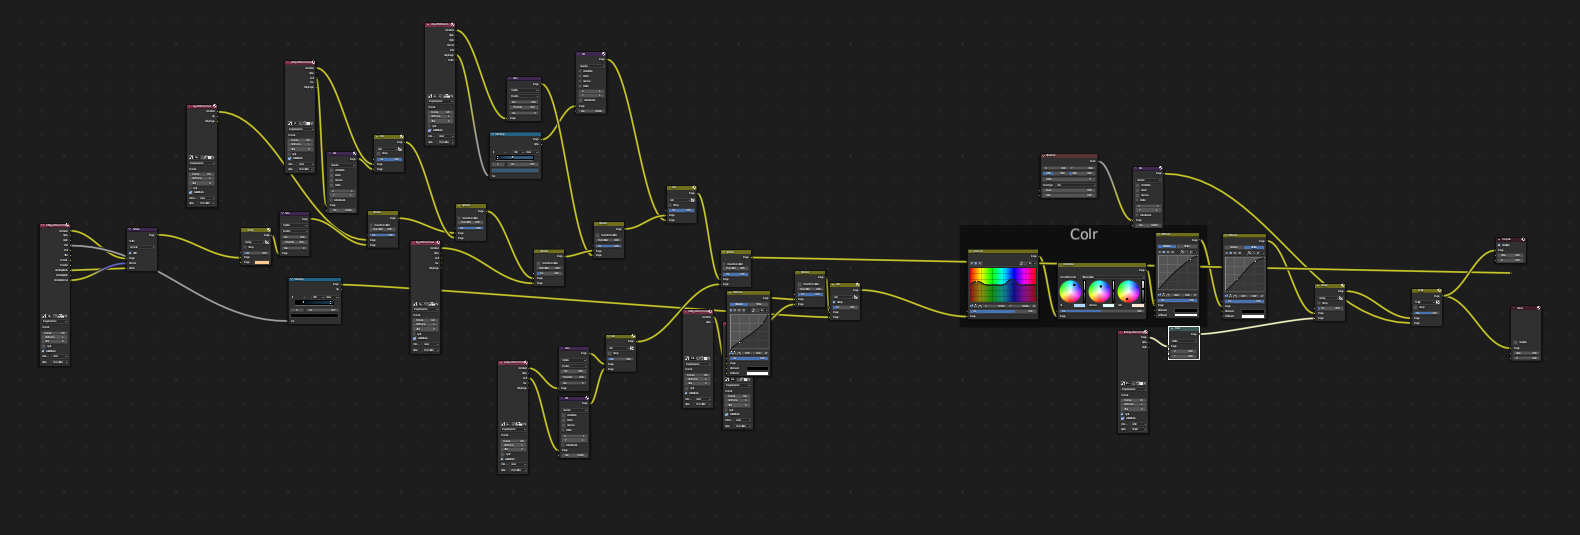
Production Process
Basically the modeling process, it is the same process as my previous work “Church”, but this time there are more details more complex.
The real difference lies in the Render settings and compositing
Because of the large scale of this scene so I can not do all the rendering in one breath
If I render all the content in one go this will cause me to have problems in the future which will be difficult to handle
So I divided it into several layers
Main buildings and tree
Planet

VDB

Background
Fog
People

Falling Leaves
And I separate the blue and orange light source
Blue light for the clouds
Orange light for buildings
The reason for the separation is that the blue light is too strong
The effect of lighting on the building is not very good
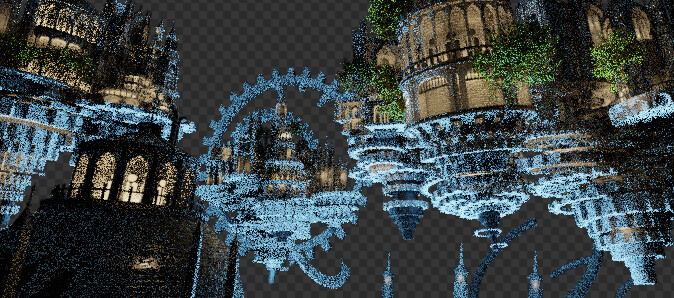
My God, that’s scary enough, let’s ignore that.
After the rendering was done I started to try compositing
Dividing into several parts really saves me a lot of time in compoisting
I can decide by myself which parts to add Glare effect and which ones not
Instead of adding an effect everything will change with it
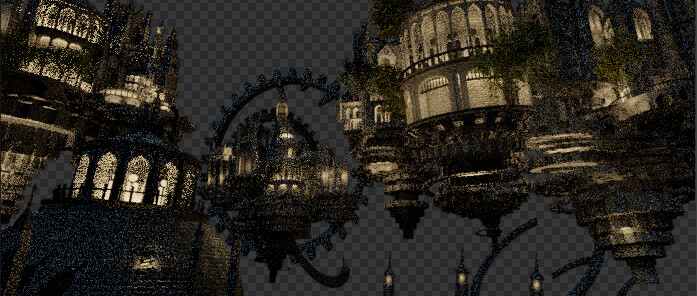
It was all going well until I noticed an annoying flicker in my output video.
To solve this I found this tutorial
")
He makes the flicker look less obvious by shifting the video by 1frame and reducing the transparency.
I found that blender can also do the same effect so I did so
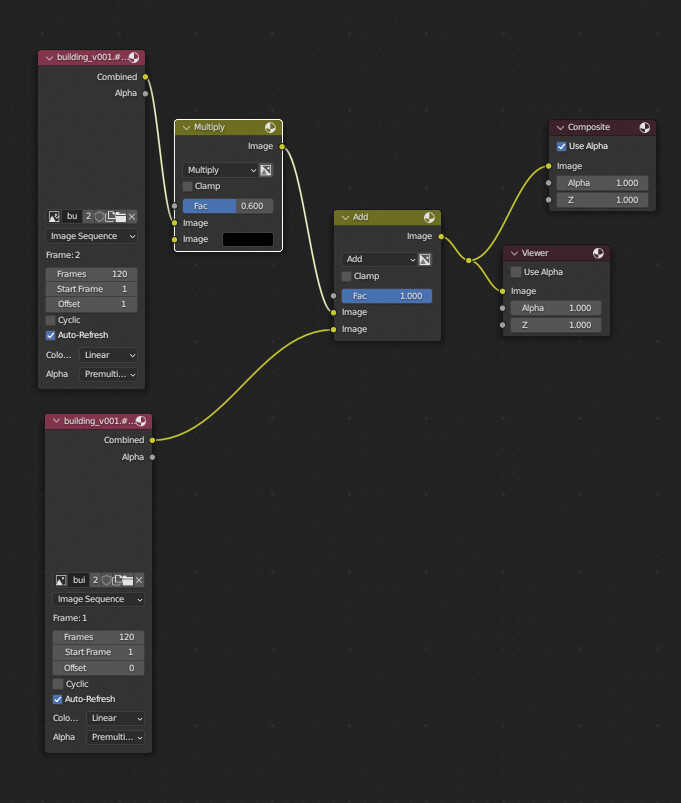
I used this setting to get the same effect of reducing flicker
I didn’t really feel that I had succeeded in completing this project until after the breakdown was finished.
Thank you for reading this
If you have any ideas or comments, please let me know!