I’m adding a glare effect to my character but of course it affects the eyes as well. I don’t want it to affect the eyes. Therefore, I made separate render layers for the body and the eyes. This way, it works fine when I apply glare effect to the body’s render layer only. However, in the render layers, when I put the body before the eyes in the compositor, the eyes are a little bit out of the eye sockets - basically they are a little bit in front of where they are supposed to be. I guess Blender is putting the eyes on top of the body. And when I put the eyes first, of course it’s behind the body and completely invisible.
How it’s supposed to be:
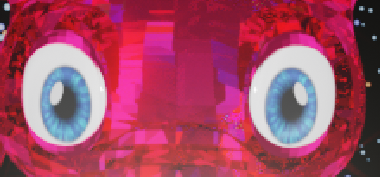
How it turns out when I use separate render layers for the body and the eyes
As you can see, the eyes (including the eyelids - they are together with the eyes. Tried eyes alone without the eyelids - still same isue) are popped a little bit forward, out of the eye sockets.
Copy just the polygons around the eyes into a new object with new material (maybe holdout) and use as mask ? (if animated this ahouls also work if you copy the object and delete all but the polygons around the eye…?)
I understand what you are saying but is this one of the right/legit ways to do it? I’ve tried ID Masking while keeping the eye and the body together in one render but couldn’t get it work until now. I should be able to apply Glare just to the body and not eyes (pass index and material index then adding the ID Mask in the compositor) while having them both in the same render layer but yeah doesn’t work.
I would actually keep the eyes as a separate render because that way the eyes would be least affected in the final render. I will give your suggestion a try now! Hope it works
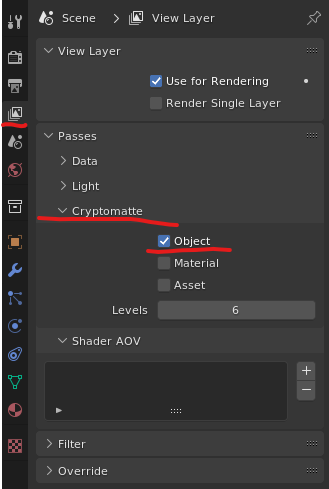
As @Calandro said, just activate Cryptomatte for the objects in the View layer properties tab
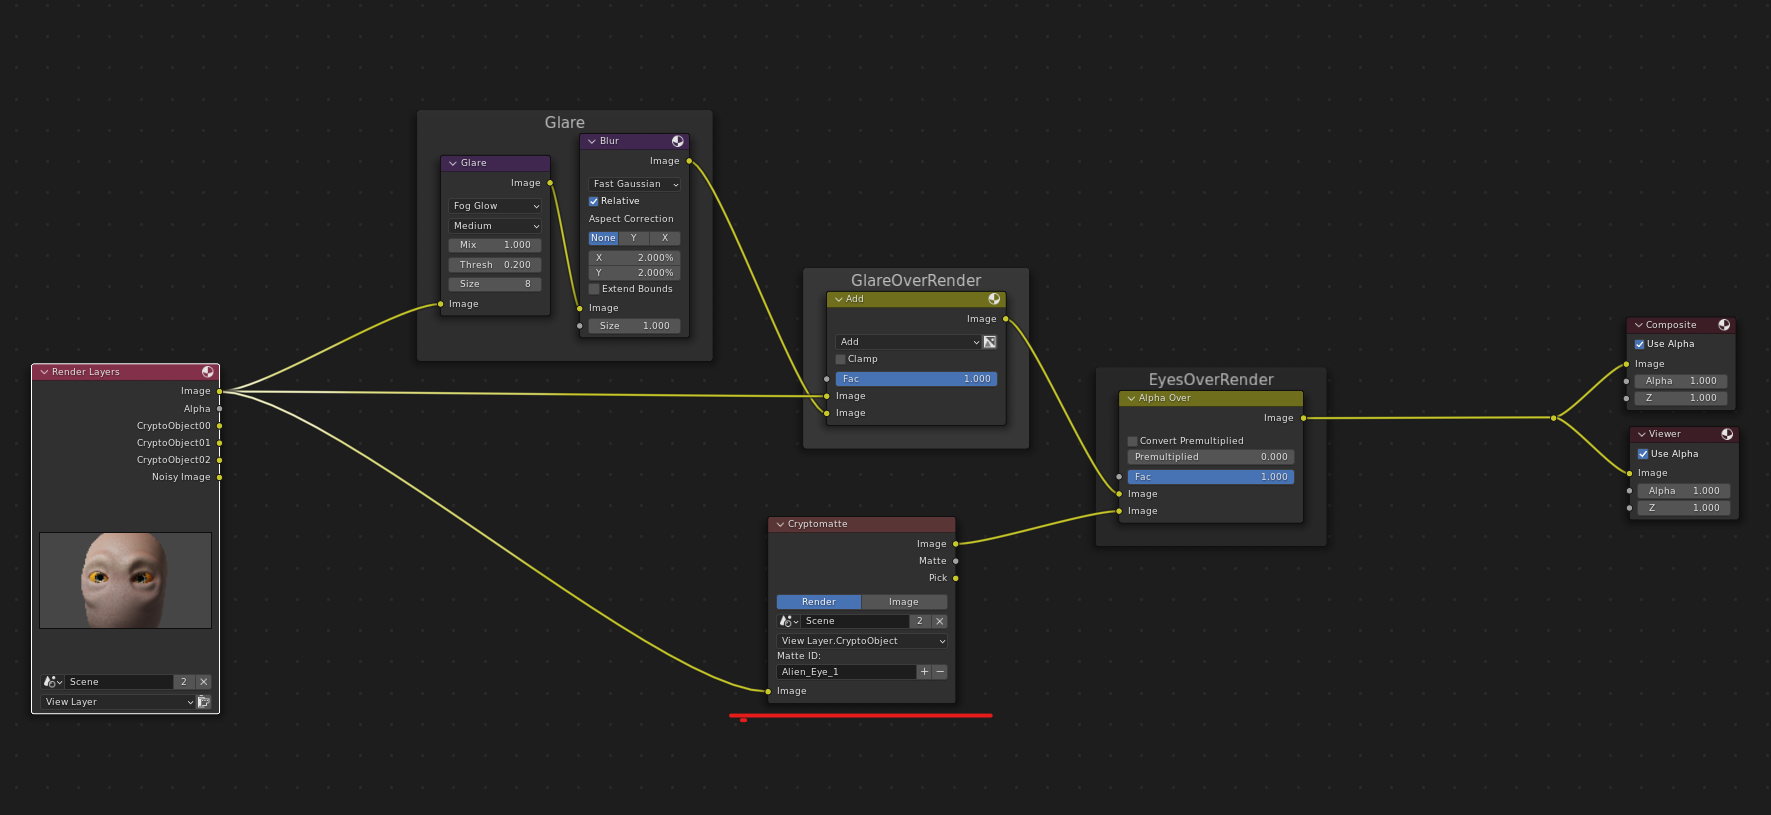
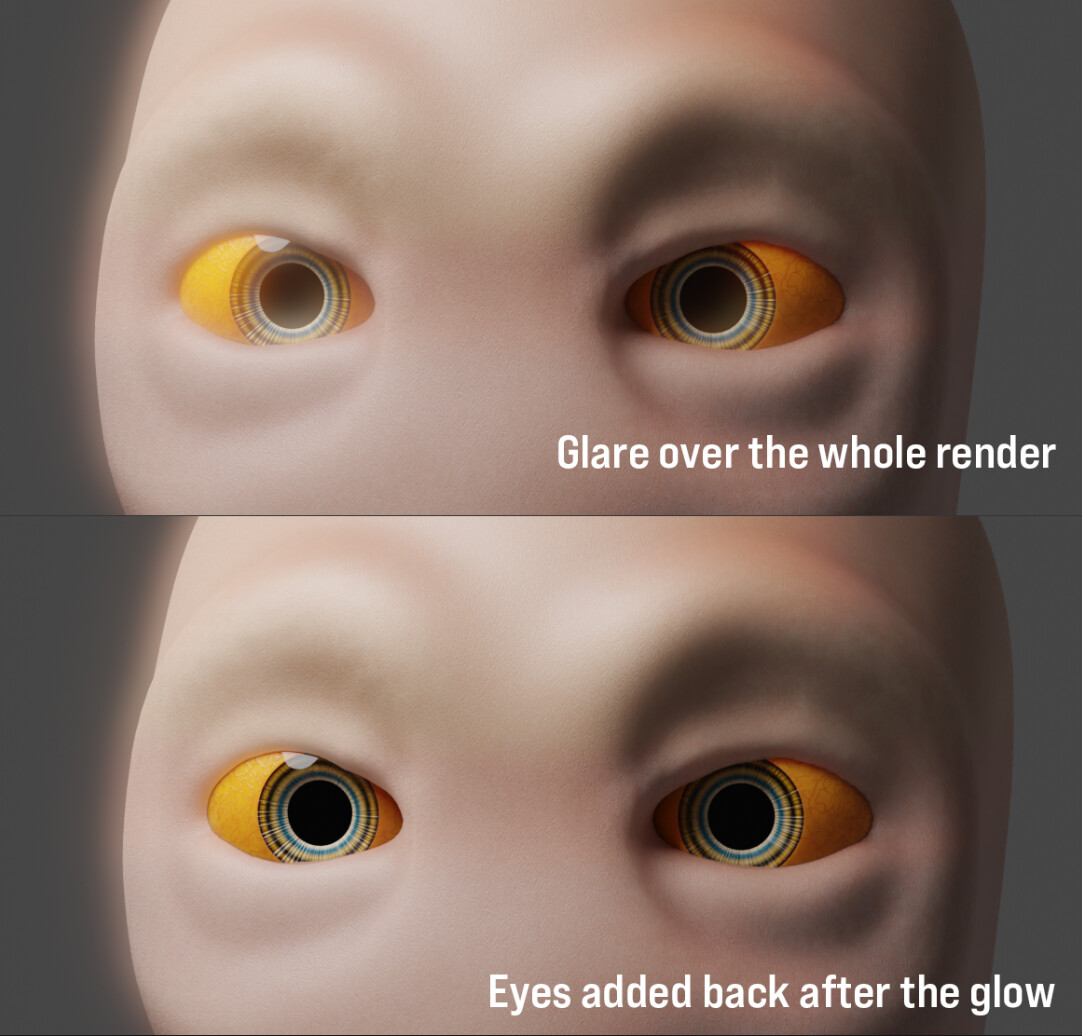
Then on the compositor you can use this node to separate the part you need to be affected (or isolated) by the effect. In this case I separated the eyes, to add them back after the glow filter