FearMan
…
First part!:
-
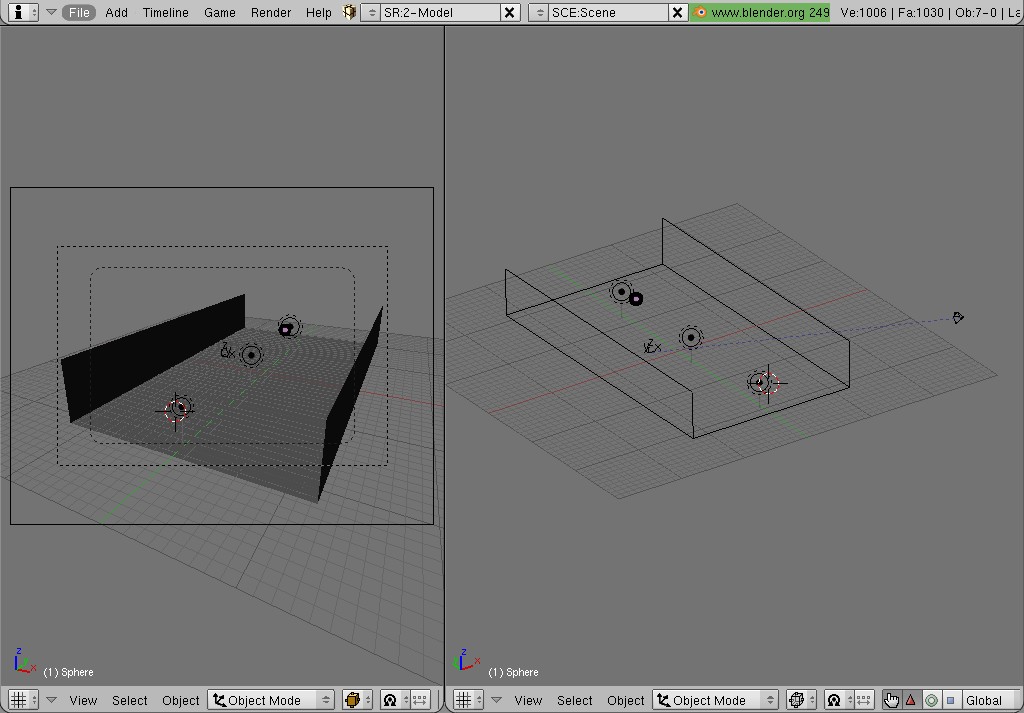
Add two objects to your scene
-> The first should/can be a plane or something else [this will become a/the
collision-object for the particles]
-> The second one will become the “ParticleObject” -
Place both objects where you want [also the camera and the light(s)]
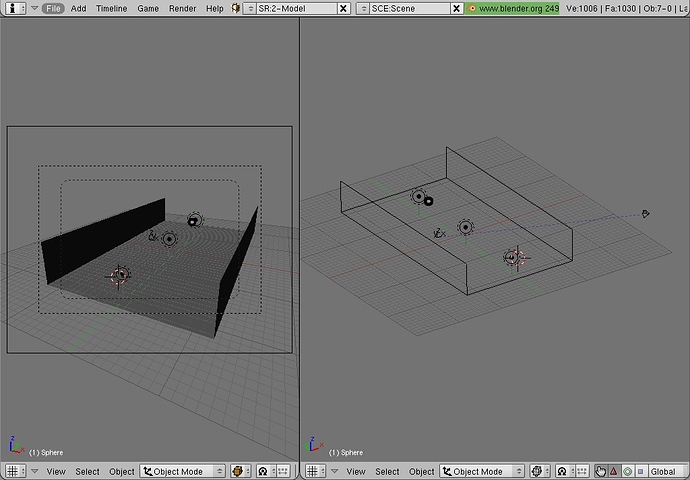
Than add a third object (Sphere) to your scene together with a lamp.
Than place the lamp in the middle of the sphere-object and parent it.
How to parent: [first select the lamp and than the sphere-mesh while you press “shift” (and than press “strg” + “P” to parent it)].
Than move this two objects (sphere and lamp) to another layer so that it does not stand needlessly in the middle of the scene.
The Settings:
for the (sphere and lamp):
- Select the sphere
- Press “F7” and go to “ObjectButtons”
- Object and Links: [Add a new Group]
- Than select the lamp and; Press “F7”; go to “ObjectButtons” and select the same
Group which you have assigned to the sphere object
Now switch to the other layer where the plane (collision-object) and the particle-object are!
- Select the Plane
- Press “F7” and go to “PhysicsButtons”
- Enable Collision under the button “Collision”
Now select the sphere-object
- Press “F7” and go to “ParticleButtons”
- Add a new ParticleSystem [Emitter]
- Now you can change the settings for the particles like the amount how you prefer it.
- Go to “Visualization” and change the setting “Point” to “Group”
- Under “GR:” [Group] enter the name of your group (the 2 objects on the other layer)
and set “Dupli Group”
Particle-Light-Settings:
Select the lamp (on the other layer)
- Press “F5” and go to “LampButtons”
- Under “Lamp” set “Inverse Linear” and enable “Sphere”
- Under “Dist” you can set the Distance for the Light
INFO: [for the sphere-object (particle-object)
Now the only thing what you have to do is to make settings to get good looking particles.
You can also use Composite-Nodes to get a good picture!
Example-Picture: