Gravity and Overlay in Tool Options Panel (Sculpt Mode)

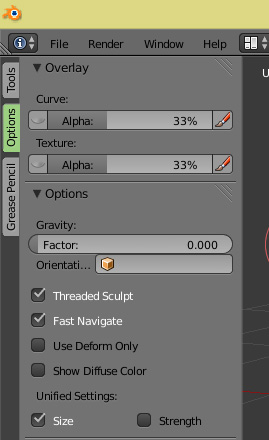
Hiya. Can someone give me a description of what the gravity and Overlay settings in the Sculpt mode tool options panel does exactly? I looked in the blender manual but there’s no listing for what it does. I played around with it a little but I can’t really tell how to make use of the options.


The Gravity factor is how strong the effect of gravity has on the stroke. Useful fro sculpting things like cloth
The Orientation option allows you to select an object to use as the direction of gravity (read its tooltip) instead of along the world Z axis