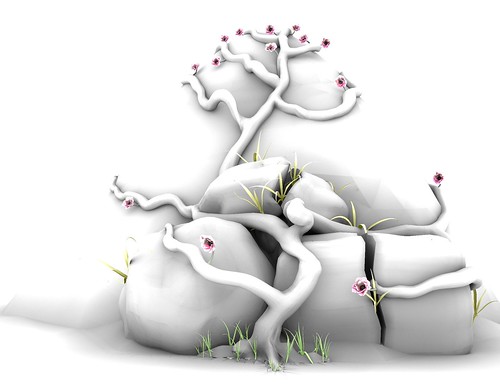
OK, you should have the passes loaded into the GIMP or the like in the above order (or reverse depending on how you look at it, because diffusion goes on bottom layer, SSS on Top).
First, just have Diffusion and AO layer enabled.
AO layer:
-Set Blend Mode to multiply
-Apply a leyer mask “greyscale copy of layer”
Now invert the layer mask. The layer mask thing was my idea and may not be neccesary, but it lessons theeffect of multiply on the brighter portion of your image (multiply always darkens the image)
-Duplicate AO layer to darken or mess with the opacity slider to lighten to taste 
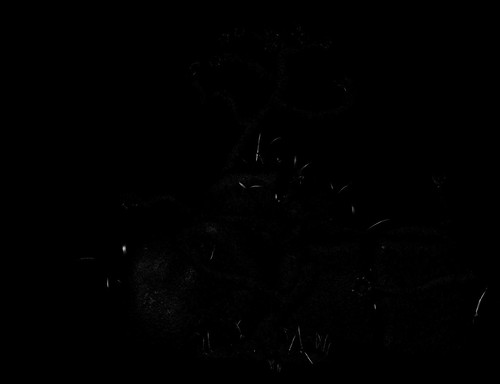
Shadow Layer:
-Set to multiply
-you can do the layer mask thing again but I didn’t
-Use the opacity slider to Lighten, you can duplicate to darken but it is already rather dark isn’t it?
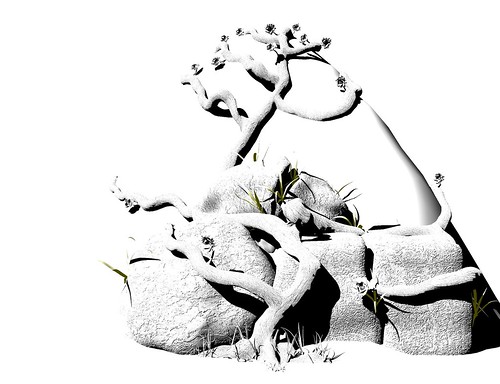
Specularity Layer:
-Set to Screen (or add I guess)
-Duplicate to brighten, opacity slider to darken.
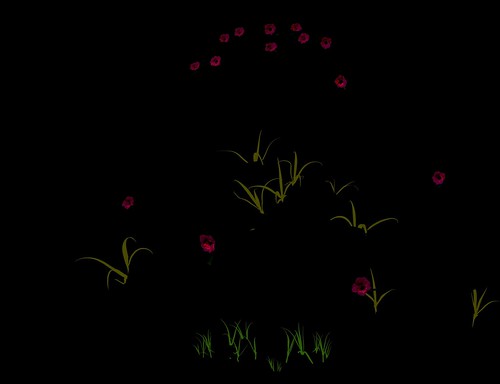
SSS Layer:
usually they include the SSS in the beauty pass only, but I found that after Applying the AO and Shadow layer, a good portion of the SSS is gone. So…
-Set to screen
-Use slider to darken
What we are doing here is trying to make it so portions of the image, such as the under side of the upper grass, is not completely black…
OK, when that is all done to taste, save the file as XCF before doing anything else.
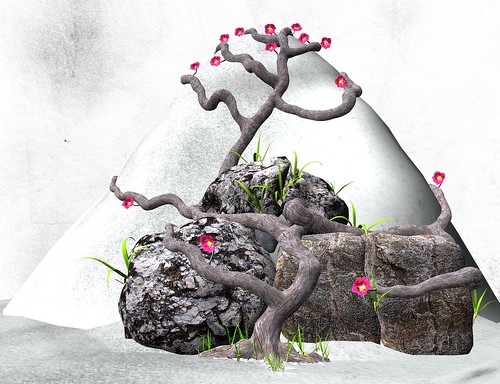
(EDIT: THE FOLLOWING IS VERY OPTIONAL. LOOK AT THE IMAGE BELOW. ITS KINDA UGLY
Flatten image (combine all layers) and now we will work more on contrast and stuff.
First duplicate Layer (you should only have one)
You can always duplicate again or use slider to adjust to tast with the following: The following is aplied to upper layer’s blend mode:
-Screen to lighten or
-Multiply to darken or
-Overlay to do both (my favorite)
If some element such as SSS has been extenguished or doesn’t look as it should then reload the apropriate layer and reaply its effect over the top.
Look good? ok one last really cool trick to bring out a focal point.
-Add a transparent layer
-choose the gradient bucket fill tool with colors on black and white and make sure it is set to radial.
-bucket fill from your main focal point out
it should now be white from your main point blended outward to black, if not invert the layer
-set layer to multiply and adjust to desired effect
Now to darken edges:
-add a transparent layer again
-with rectangular select tool draw a rectangular selection around whole image, from corner to corner (there is a reason we don’t use the select all command here)
-invert selection
-feather selection to 300 pixles or so (depends on image reselution)
-This time bucket fill (not the gradient bucket) with just black
-set to multiply and adjust to taste.
You should have something ugly like this:
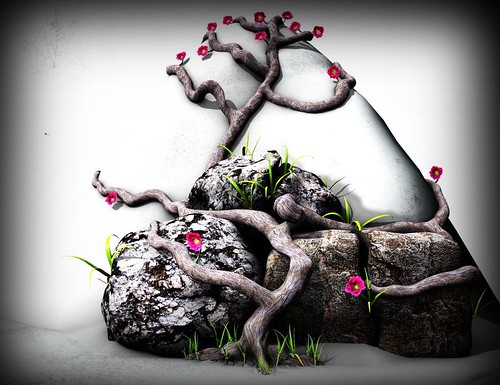
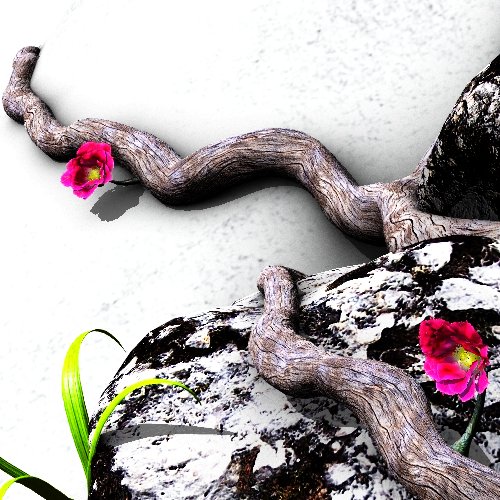
haha. My focal point is the lower left flower.
Sorry for such an exaustive (exausting explanation.
If you have questions, go ahead and ask, I won’t be around much longer (couple days).
Enjoy