Can I give you a suggestion?
Applying Grunge It in several meshes, one by one, it’s a little time consuming. I believe it’s due your high quality textures. It would be nice to have an option to not using these textures and use a procedural approach. Of course, it would be more difficult for you to create these shaders, but maybe it can be a good option. What do you think?
You don’t have to apply it one by one manually, just select everything and do it once.
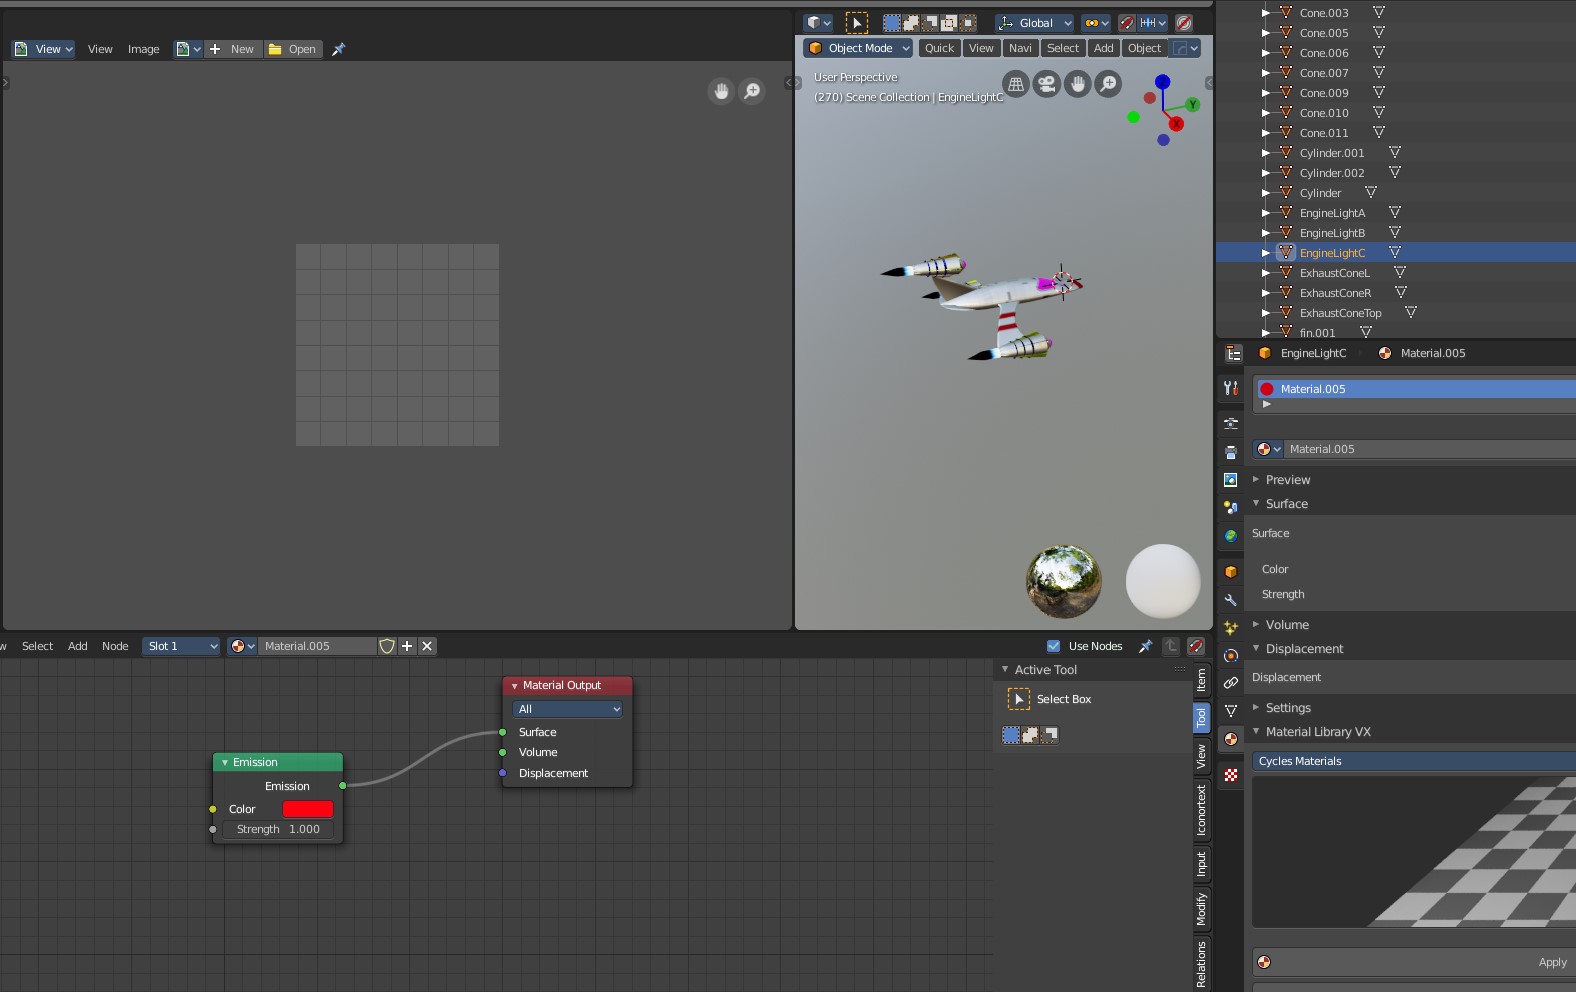
It’s possible to be fully procedural already, you can replace the generated texture with “Baker v1.7x” (Add node > Group > Baker v1.7x) and connect it like this :

But it is painfully slow (we’re talking about 50x slower, or maybe even a lot more in some cases) and it doesn’t work with EEVEE at all. There is no way to avoid these issues without “caching” it as a baked texture like Grungit does
Nice! I will give it a try. Looking foward to the upgrades! 
1 Like
update 1.7.3 is up on BlenderMarket and on Gumroad :
Fixed bugs:
- The PBR Bake feature was broken in 1.7.1
New features and improvements:
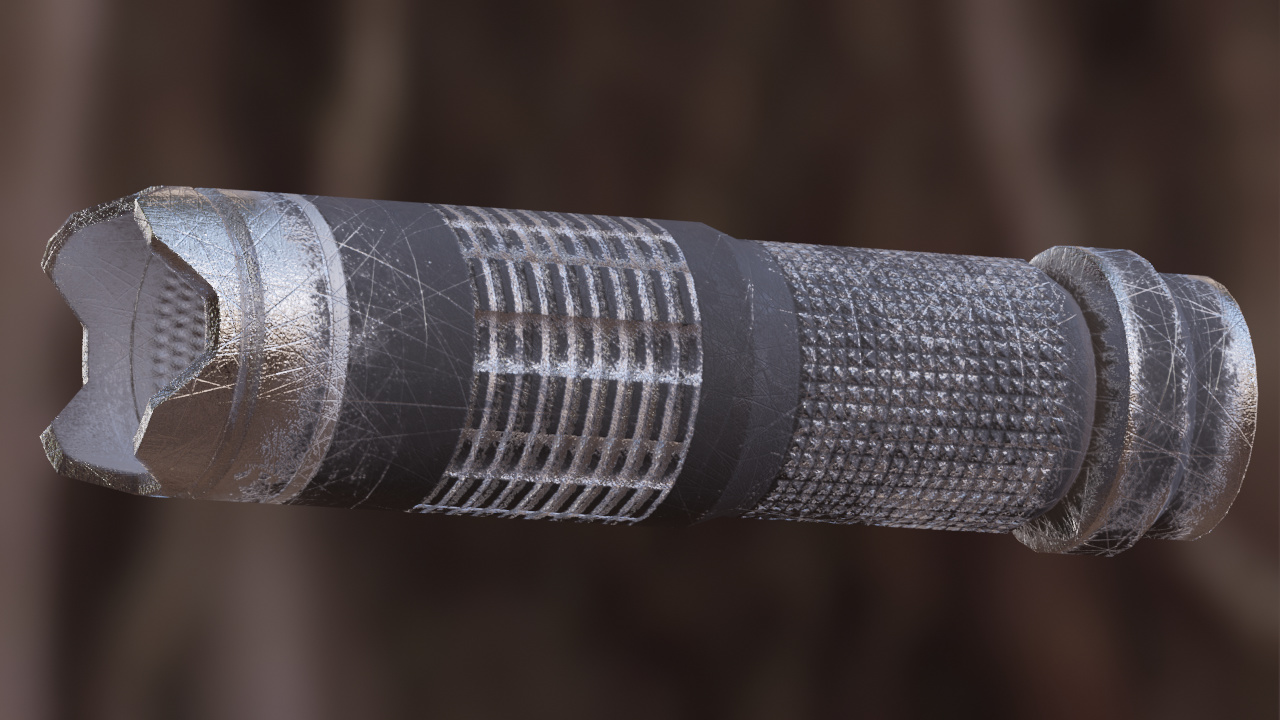
- Edge wear is now more pronounced and transitions between the top and bottom material are sharper
- Normal maps are now taken in consideration when applying Grungit. Edge wear is now also applied in detaails created by the normal map textures, in addition to geometric details.
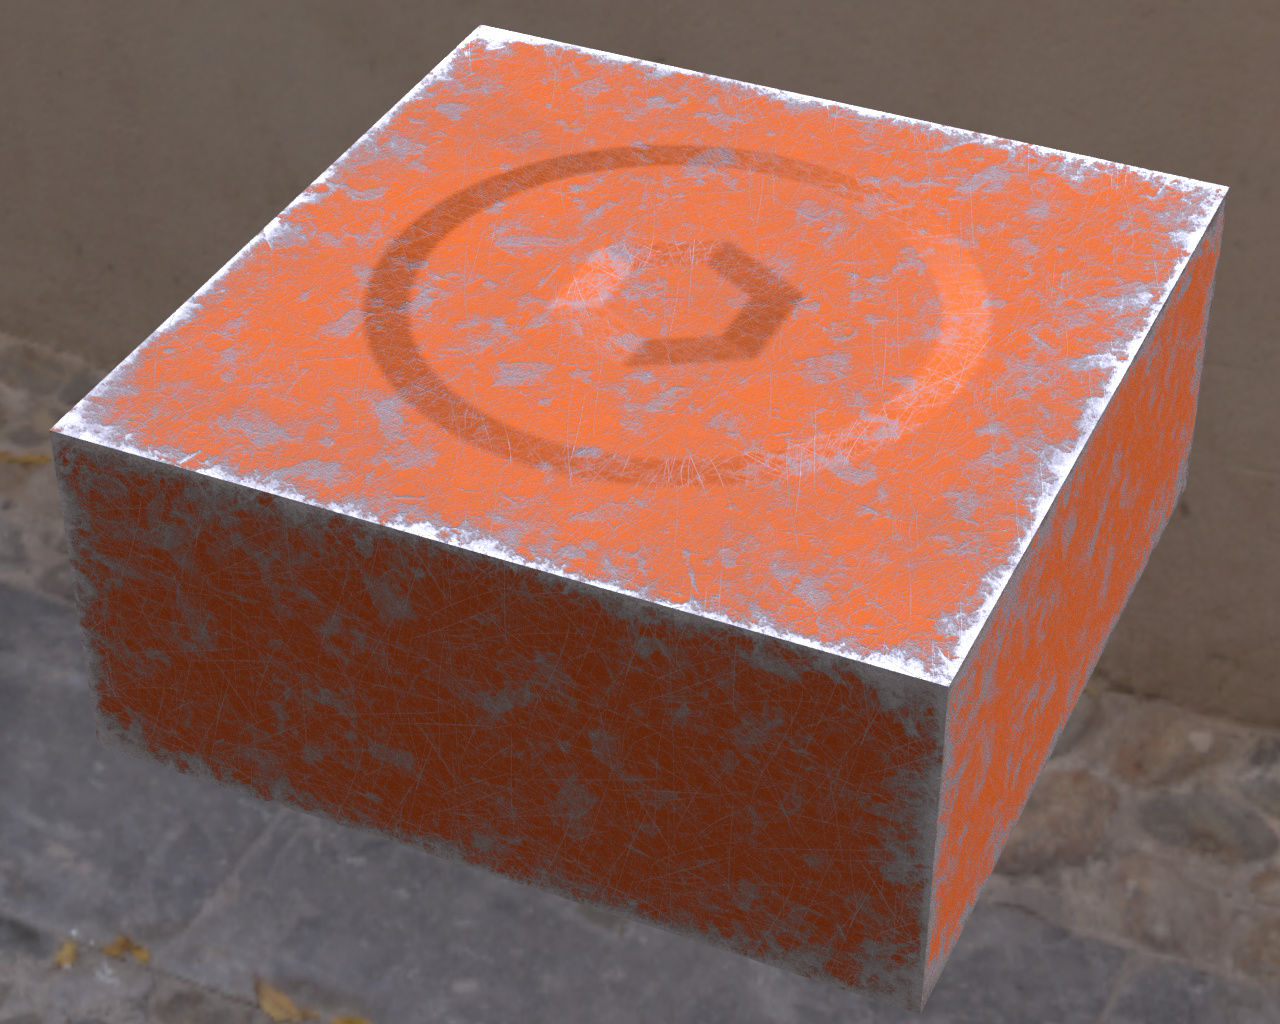
Example 1
Grungit v1.7.1
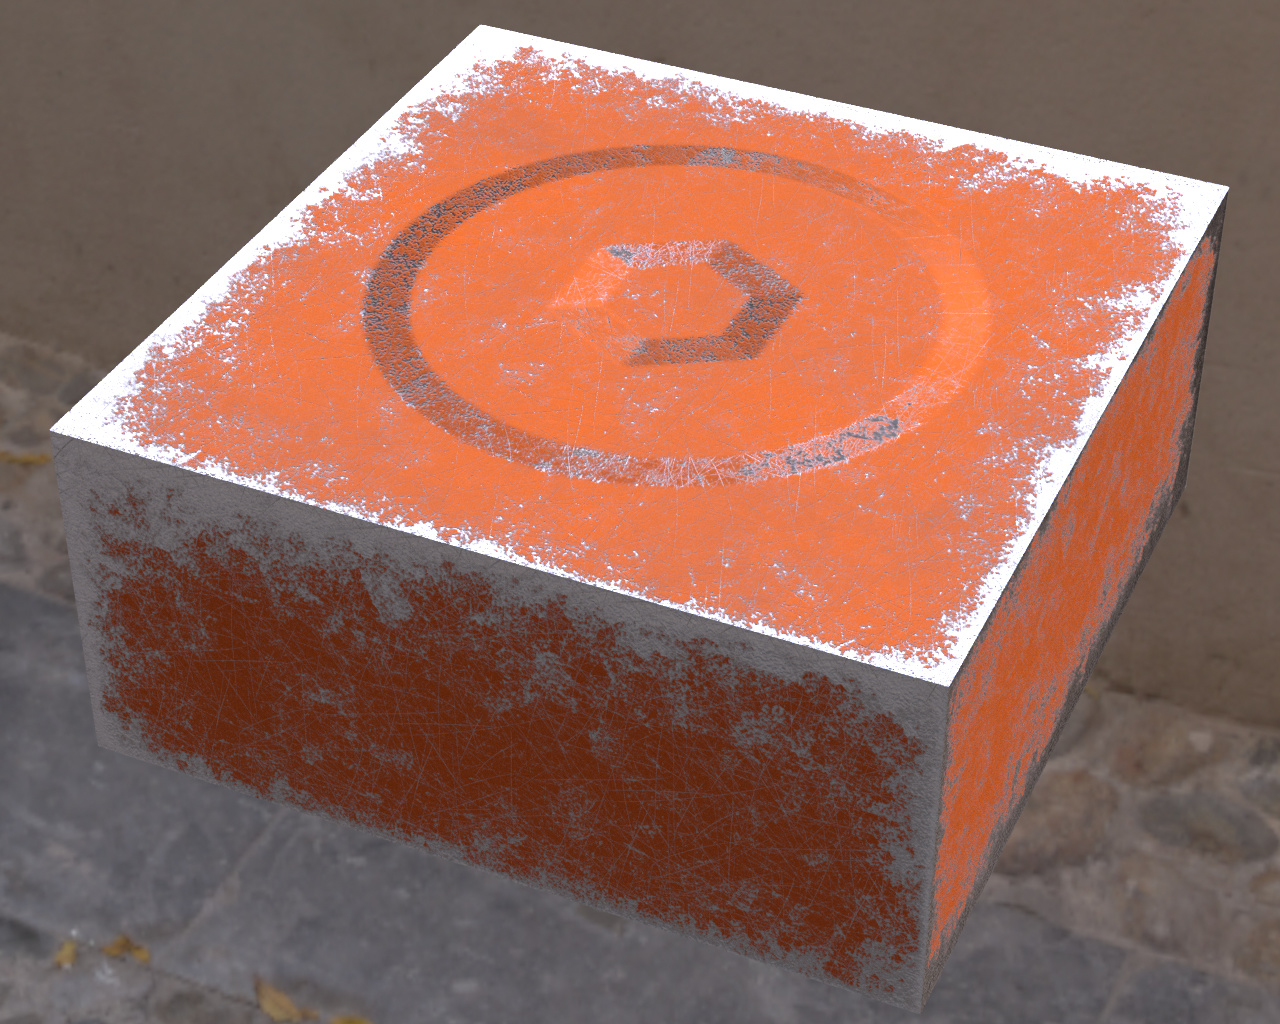
Grungit v1.7.3
Example 2

Grungit v1.7.1

Grungit v1.7.3
(the wear effect is exaggerated for demonstration)
7 Likes
Bought it and experimented with it a little bit. It is giving strange results in many cases. It would be good to have a step by step video tutorial of how to apply it on a model.
Can you show some examples where it’s giving the strange results?
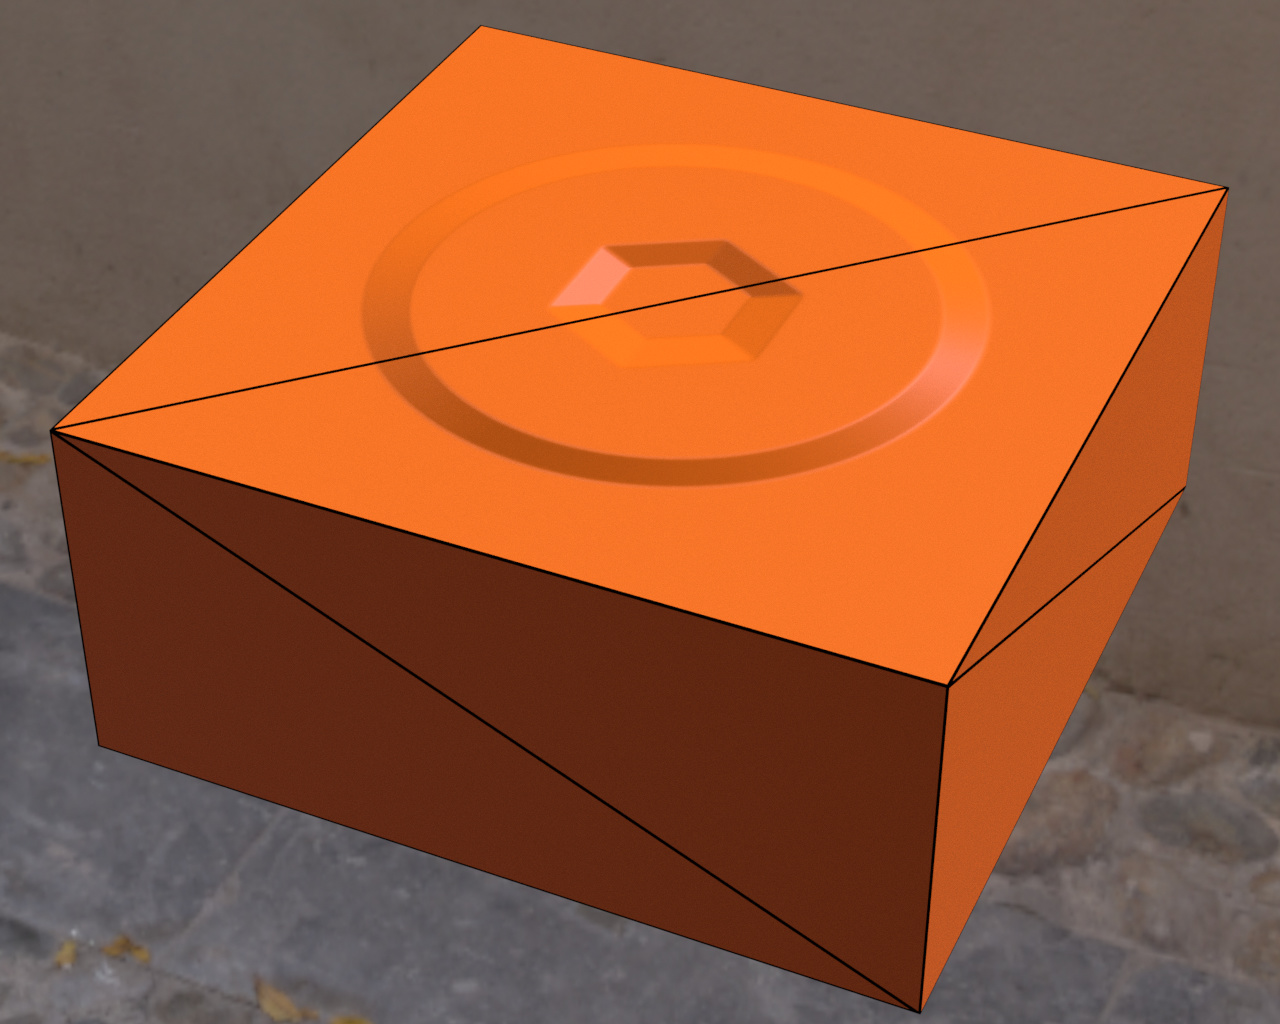
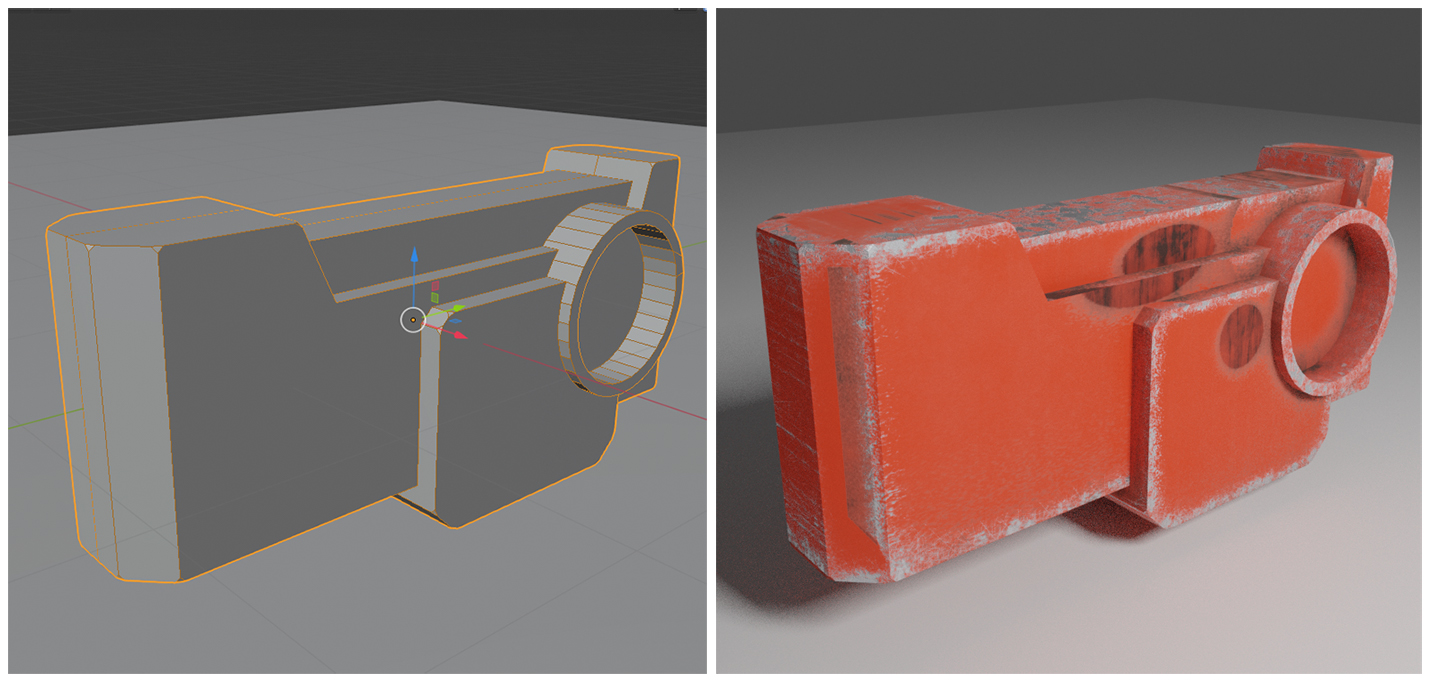
Here is a very simple scene. The result is very strange, both as to the edge detection and the remaining surface. The dirty circle like shapes on the side of the object… how did they appear? As it seems they are traces from some independent objects I had in the scene previously. Despite my deleting them, still the traces remained. However, even if I had kept them there should be not such a result. So, what may be going on?
Can you share the file so I can have a better look at it?
The possible problems : hidden objects that become visible when rendering, destructive modifiers such as booleans which are not applied, and bad/overlapping UV’s
I tried being careful on the points you said and now it went ok. It was not any hidden objects. Most probably it was the destructive boolean modifiers. Also, as it seems for having good results all the models need to be uv mapped. Thanks!
Good to hear!
You can check “(Re)create UV maps” if you don’t want to do manual UV mapping every time
1 Like
I already did it and it worked fine! 
I still am experimenting with the add-on. Will share my observations wherever I find some problem or some side of it that can be improved.
1 Like
Hi there! ![]()
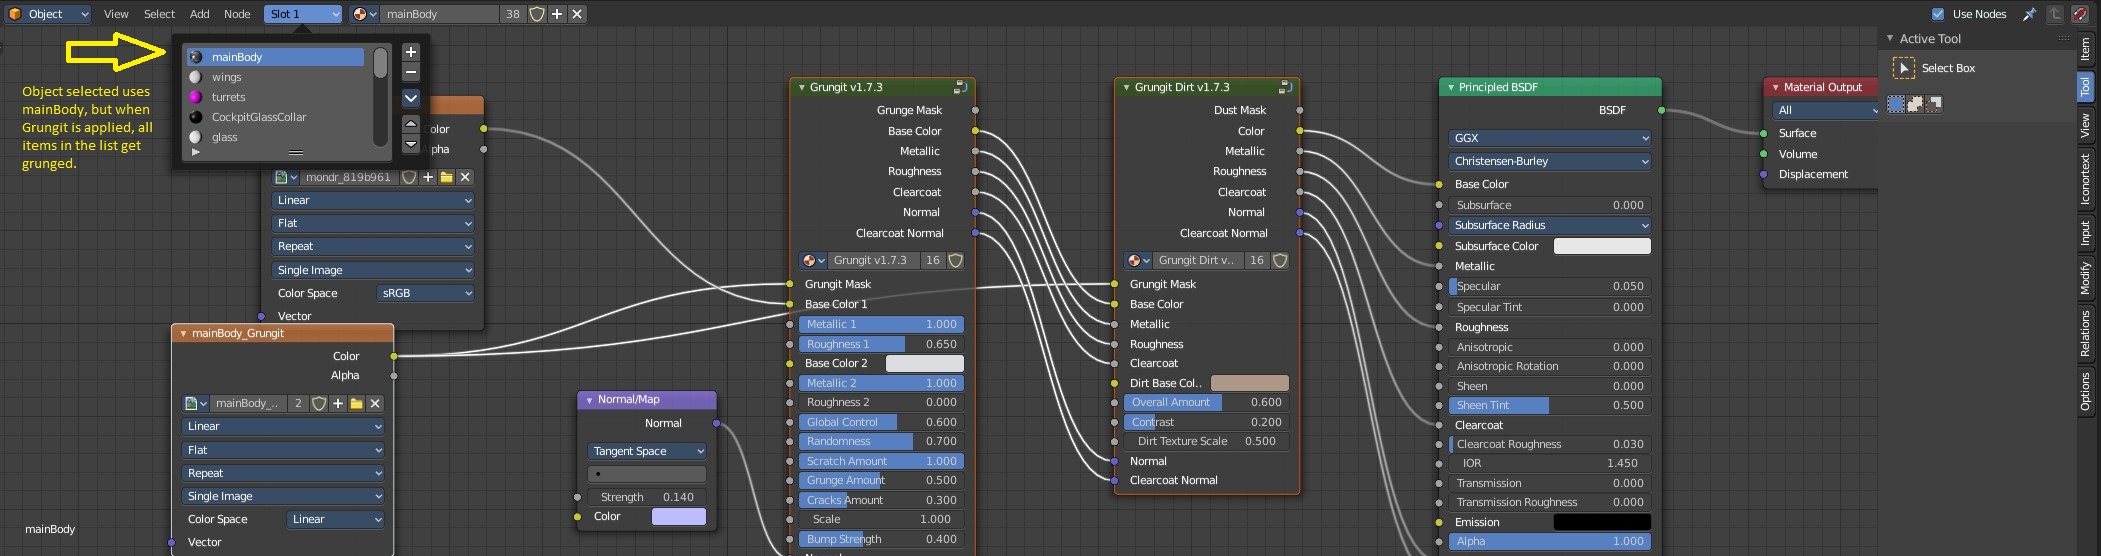
I have a model made up of different obj’s. Each object is assigned a material slot. When I apply grungit, it applies the grunge to all material slots instead of the specific material slot assign to the object I am applying grungit to. Is there a way to limit grungit so that it only applies the grunge to the material slot assigned to the object?
I could add it as an option in future updates
Well, until you put that option in, is there an alternative workaround? The only workaround I’ve found is pulling each obj out of a collection, applying grungit to that obj and then placing the obj back into the collection.
No, not really. You have to delete the materials and set them again every time, unfortunately.
I will make something quick for you. So, you want it to only affect the first material on each object, is that correct?
Well, to be clear, each object is assigned a specific material in the list. Ideally, grungit would apply itself to that material (in the list) that is assigned to the object.
Thank you so much for your help on this abdoubouam! The addon is extremely helpful!
So some of your objects have materials slots but they are not all applied to it, is that correct?
Hi abdoubouam,
-
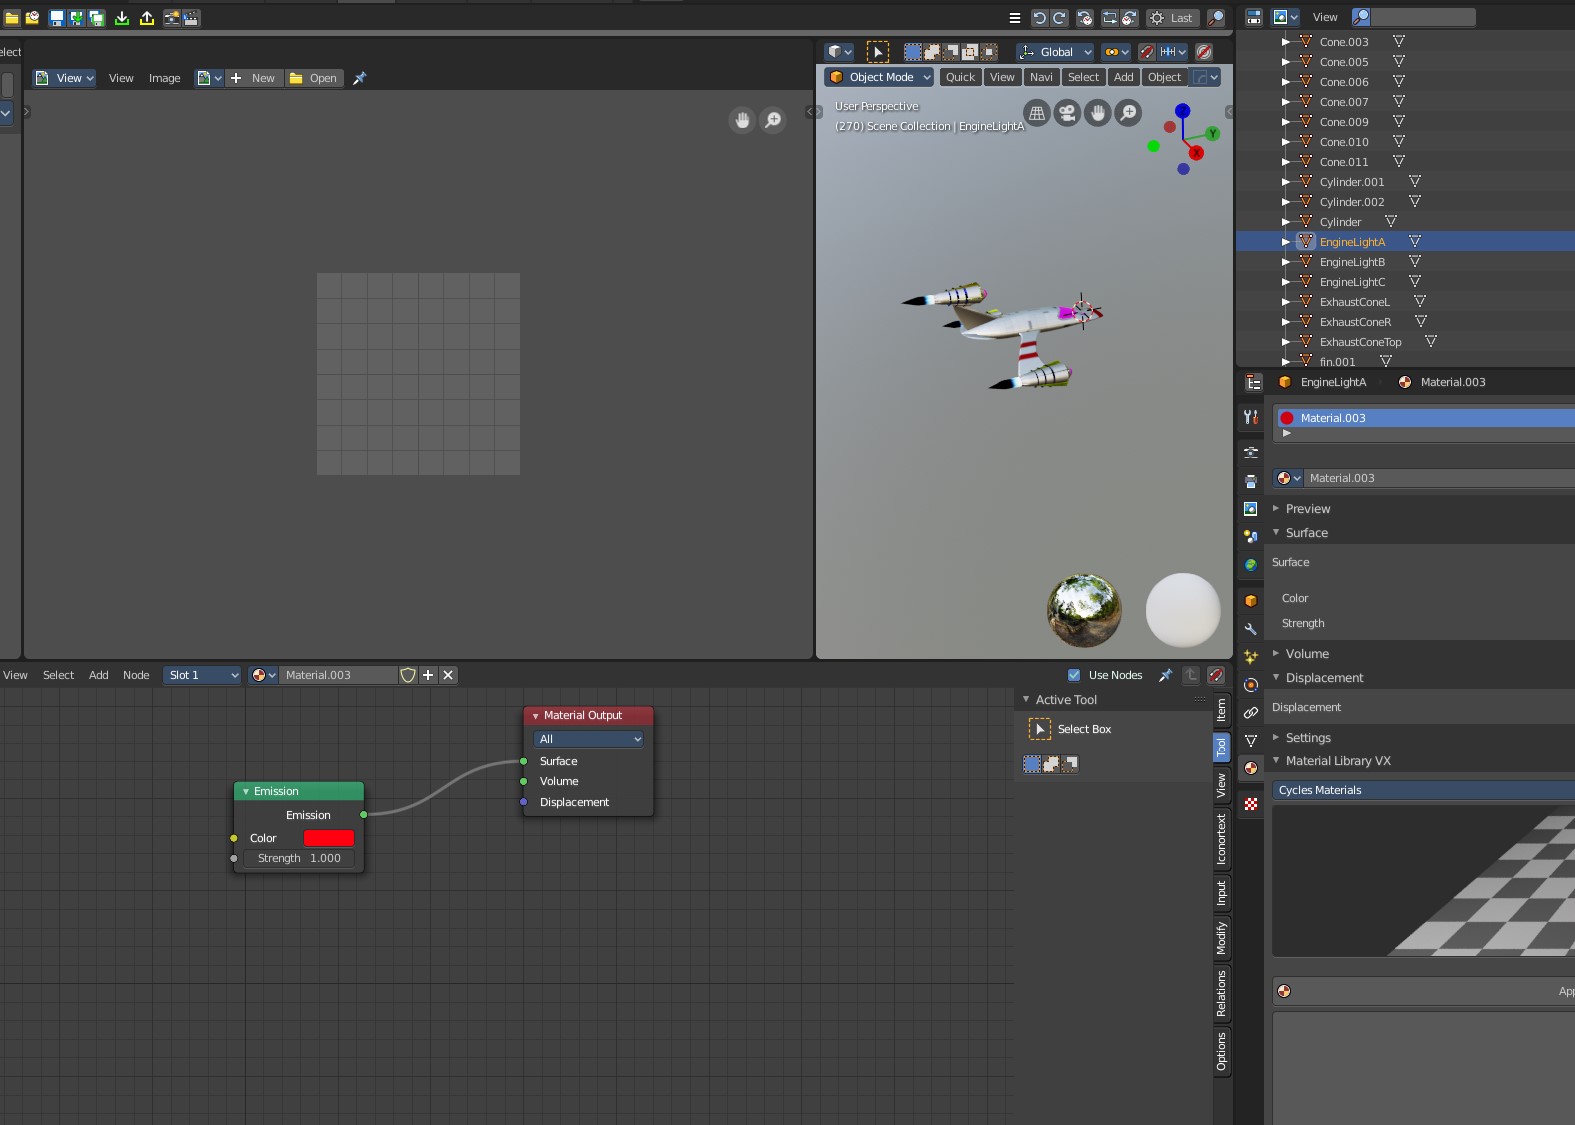
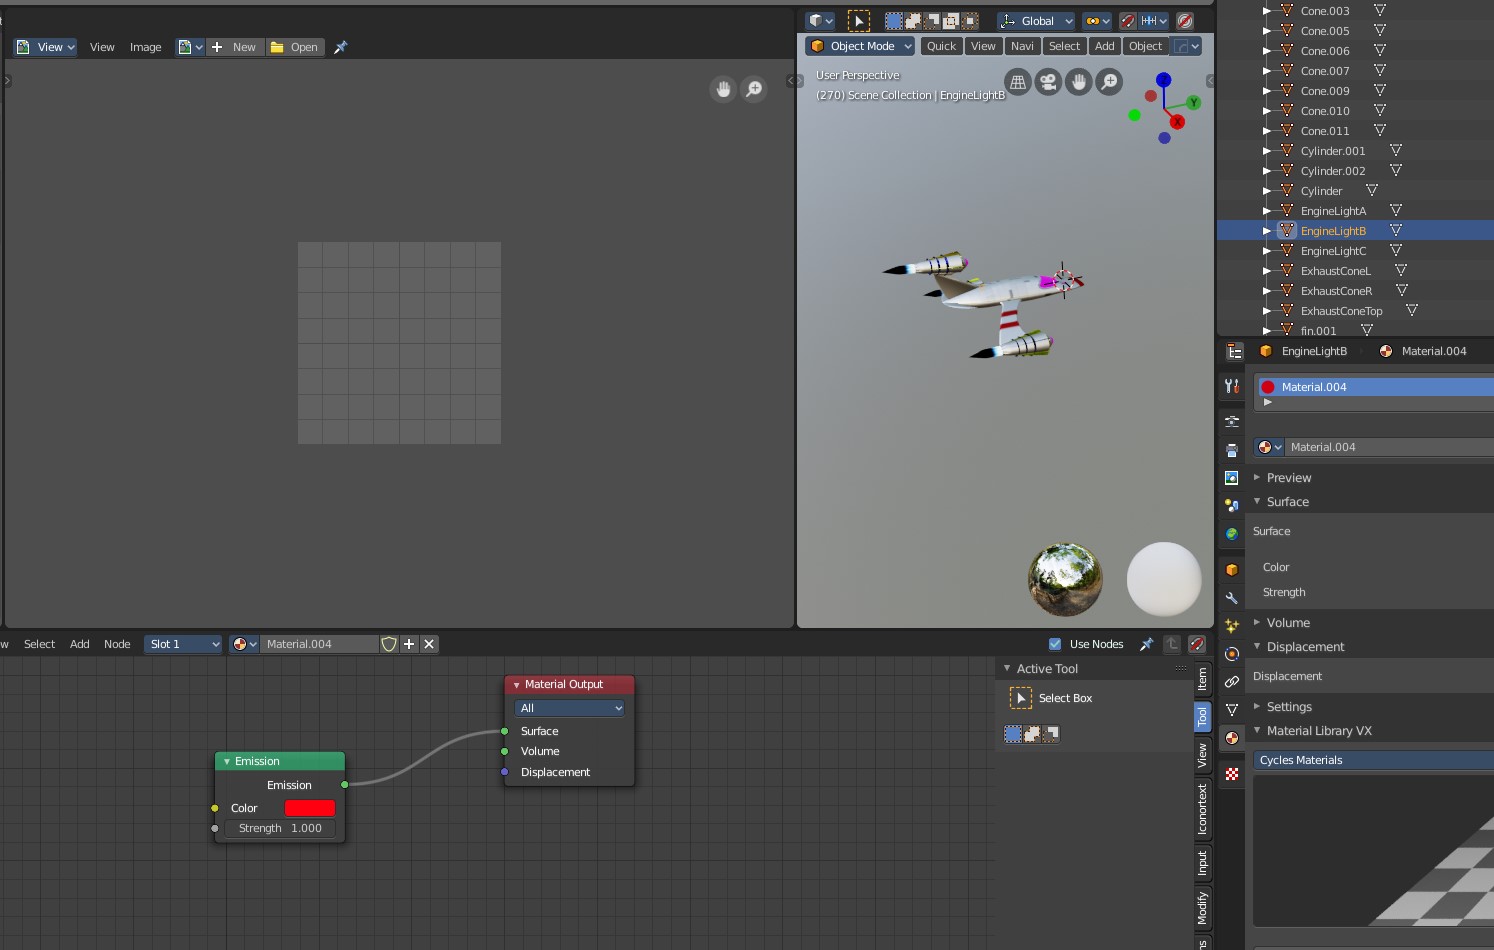
Each object is assigned a single slot containing multiple materials.
-
For each object that is assigned a slot, 1 of those materials in the list will be assigned to it
-
When Grungit is applied, it applies itself to the entire list of materials in a slot, instead of the one material within the list that is assigned to the object.
Here are examples of the setup (I chose objects with the simplest materials as to not clutter my explanation):
I made Grungit check if at least one polygon is using a material, otherwise it ignores the material.
In my simple test, the cube has two materials, but only “1” is applied to the cube. Grungit ignores “2” and only applies the effect to "1"

You can download 1.7.6 on BlenderMarket and Gumroad
It’s still experimental, let me know if you encounter any issues with it.
1 Like
Thanks! I’ll check it out tonight and provide some feedback.
2 Likes