Hello guys!
I followed some Sci-fi HUD tutorials a few days ago, and I finally began to use Blender 2.8…
This is a render test I did with the unbelievable Eevee. I used 2.79 for generating the female character with Manuel Bastioni Lab, a Cycles Material Vault plastic shader on it, Marvelous Designer for the clothes…
Thank you and Merry Christmas everybody ![]()

3 Likes
Well, since no one has replied to my post, I now feel bad for other postings that find the same thing on them.
So, I personally think you did a really good job and I really like the way you managed to make it look like there is a field there, kinda like one of them Star Wars 3D displays.
Great job!
Great depth affect too!
Post more and also if you can, maybe elaborate a bit on how you get there?
thanx…md 
1 Like
It’s looking nice
1 Like
Thank you very much for your feedback, I’ll prepare for you a little “breakdown” once I’ll be back at home, to show you how I make this one 
and once again, thank you very much 
Thanks a lot!!
Hello! Happy new year!!
Sorry for my very late answer, I met a lot of problems with my computer ![]()
But here I show you a little bit how I made this pictures above…
First of all, I used Blender 2.79 to generate the girl base mesh with Manuel Bastioni and make two poses: one for this shot I rendered in 2.80 with eevee (I applied the pose and appended the mesh)
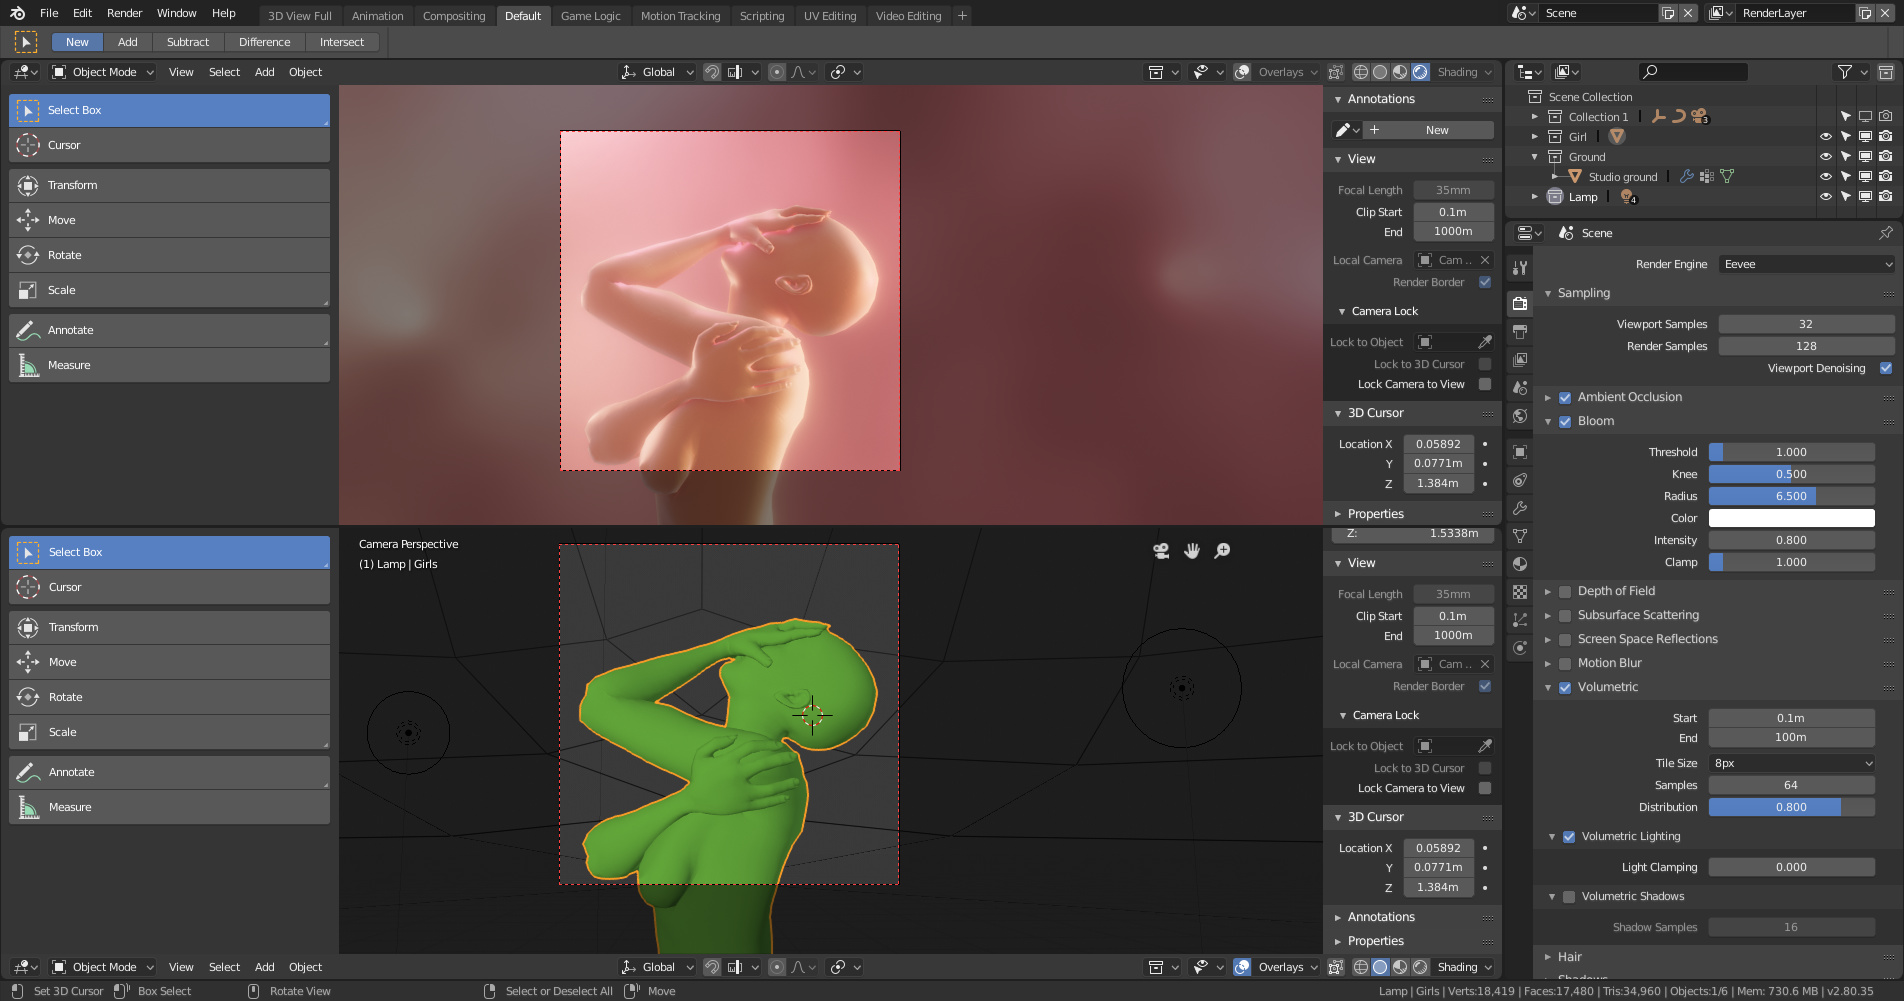
and now, I show you the Scene and all the objects, you can see at the left my settings. I used a pricinpled volume that I connect to volume World output in the world shader editor. So the volumetric on the render tab can work.
I also import this second posed mesh in Marvelous designer to the make the clothing, and import it back to Blender.

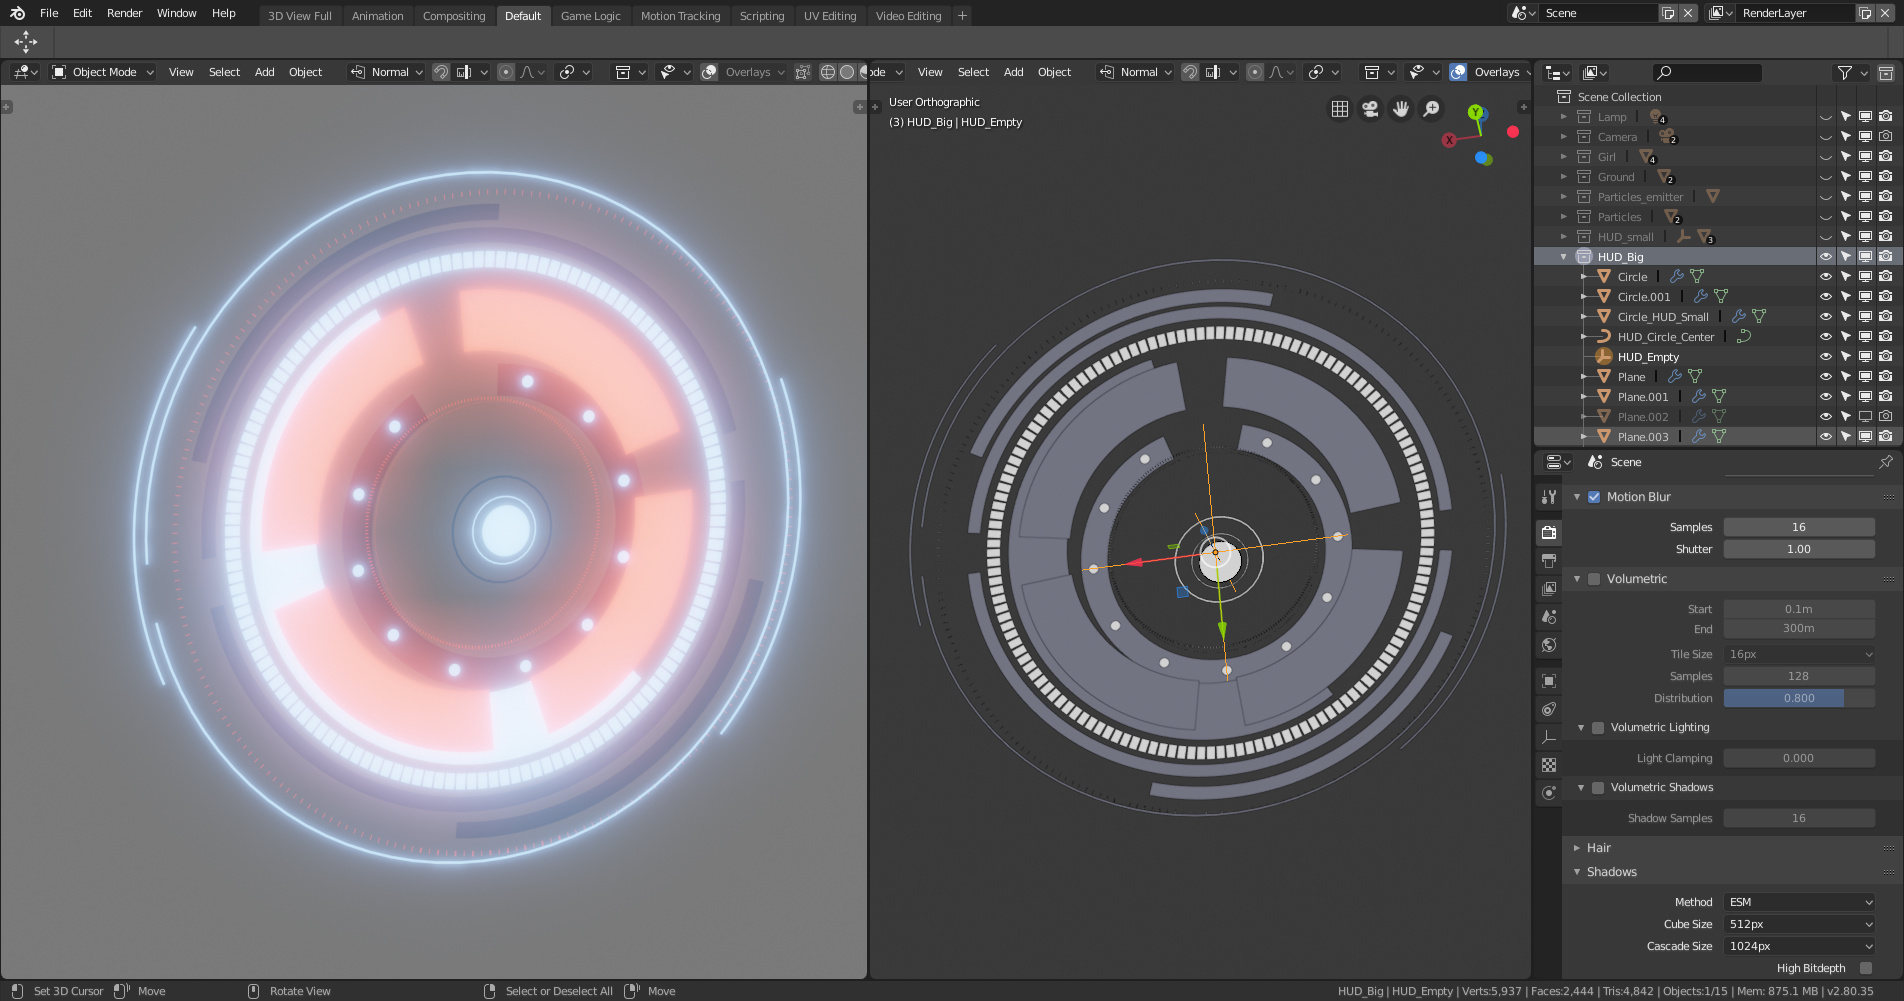
Now I made the sci-fi elements by following this awesome tutorials: https://www.youtube.com/watch?v=owid9yrq97s
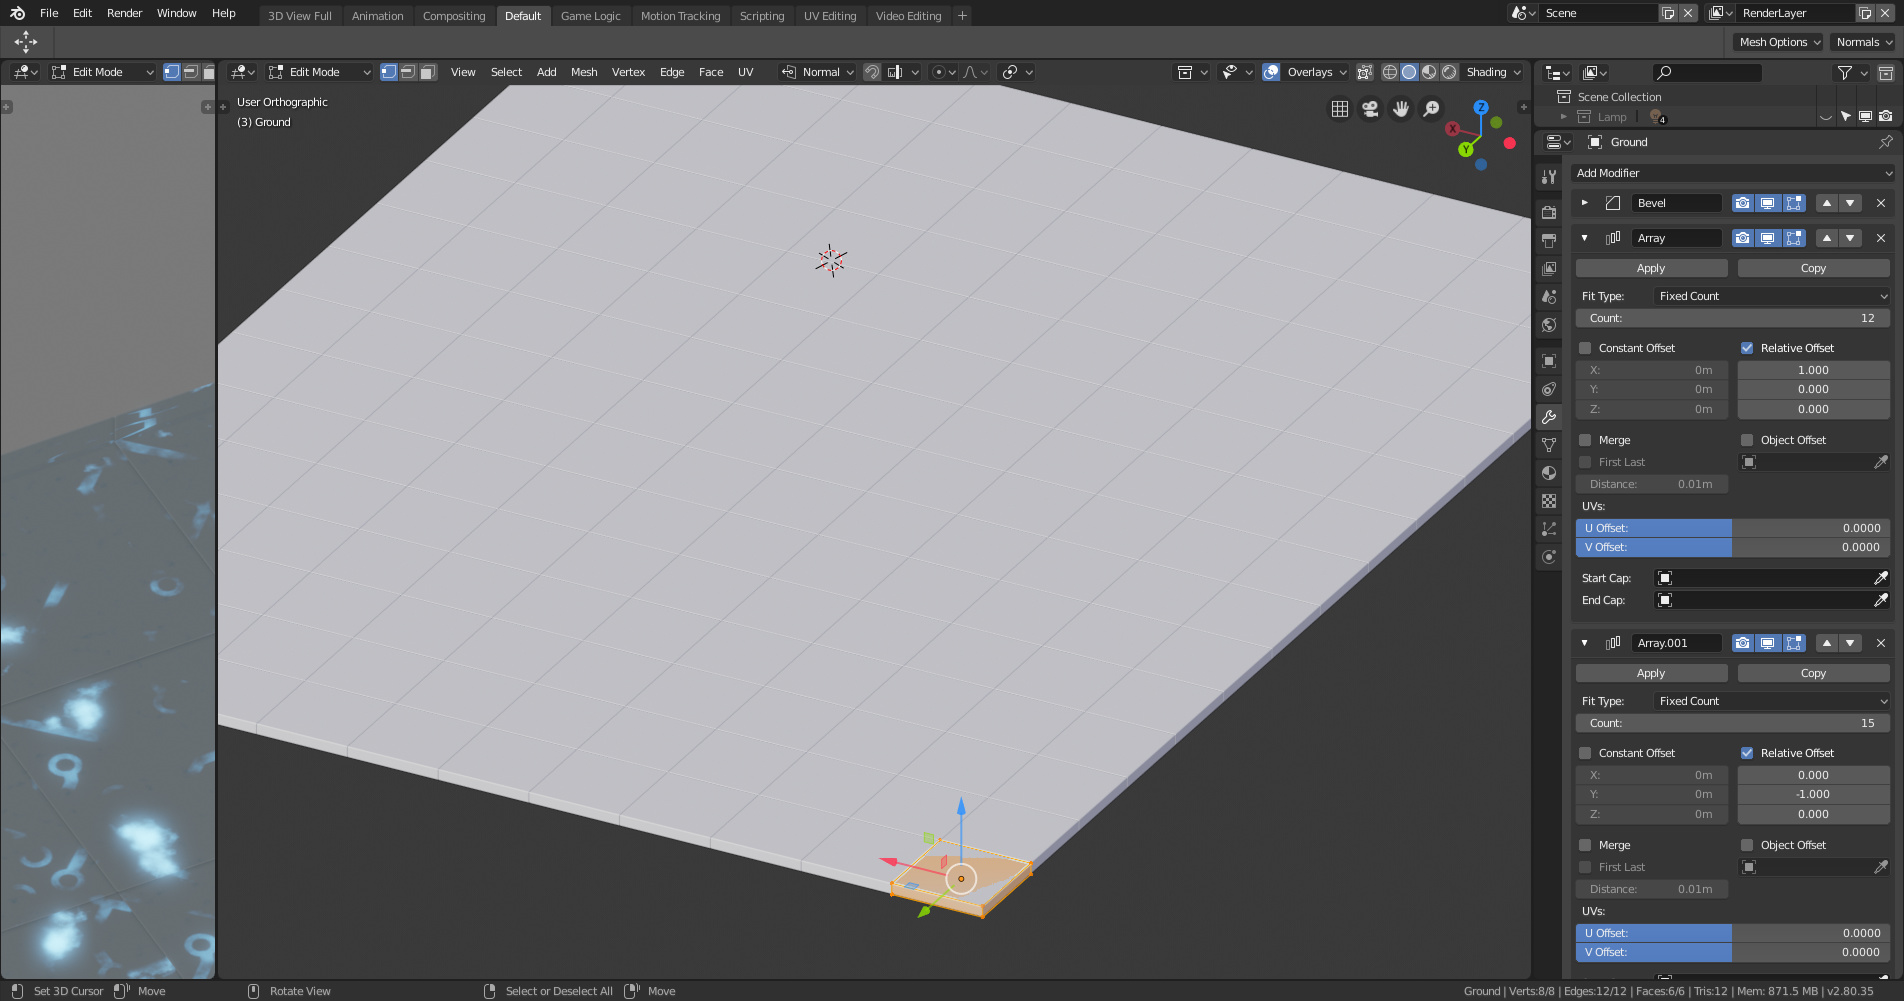
The “ground” and the ceiling are made like this (I used two array modifiers)

That’s it! Hope it helps ![]()