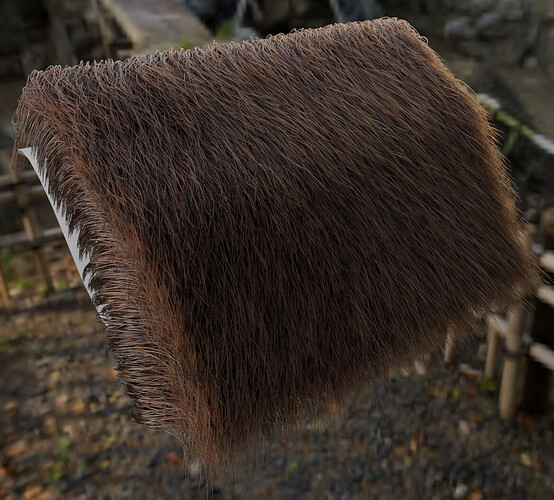
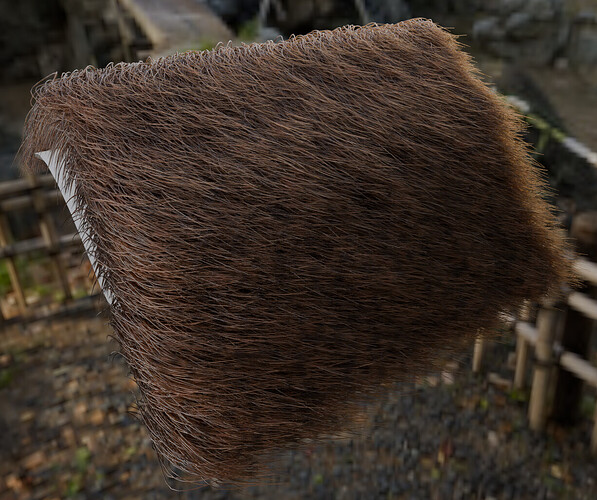
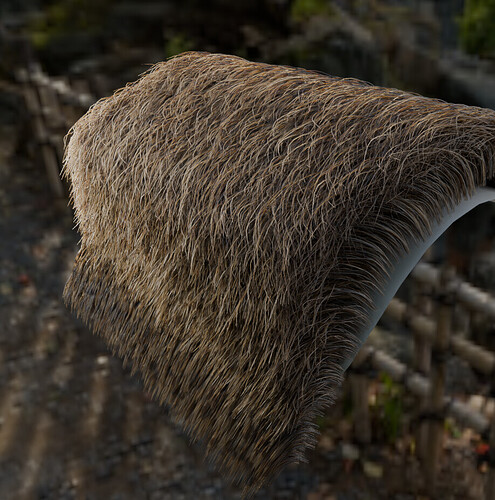
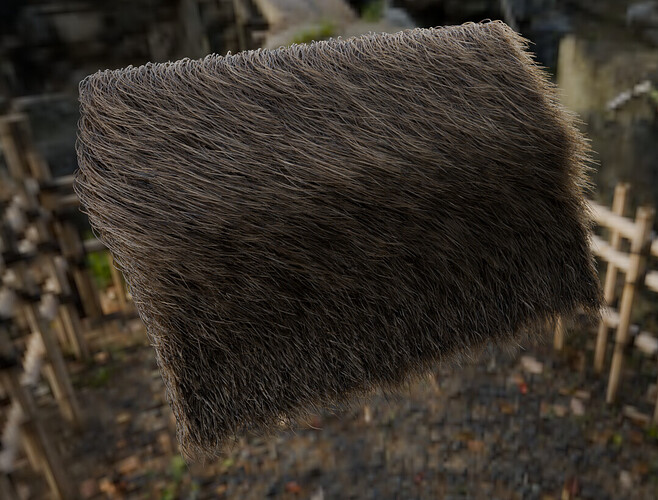
@ikakupa I’ve seen there is now 1.1.3 available… ![]()
Is there a git/changelog anywhere?
@thetony20, yes, this is a mystery for me, I need to get familiar with some basic principles of collision detection, but the Braid modifier should be fixed first.
@hu_makina, thanks for sharing the video here. What exactly did you use for your wind setup?
Yes, I am just testing this wind and wind vortex effect in Geometry Nodes. Its not part of the addon yet.
One can find change logs on the Medusa Nodes’ Gumroad product page, down at the bottom, but you haven’t missed anything major, if you did not update. v1.1.3 is kind of a temporal regression in Braid modifier department.
I’ve just updated to 1.1.3 and restarted Blender. Returning to an old project that I was using to test Medusa. I’ve deleted all of the old Medusa objects and collection from the outliner and I’m starting fresh. First groom I tried to add I got this error. I’m on Blender 4.2 Thanks.
Here’s the material list from the file with the root normal mat mentioned.
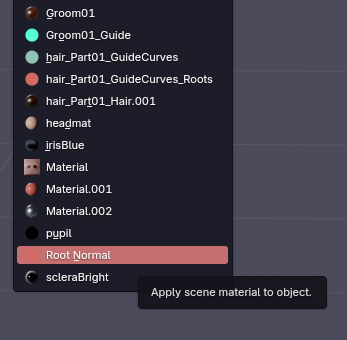
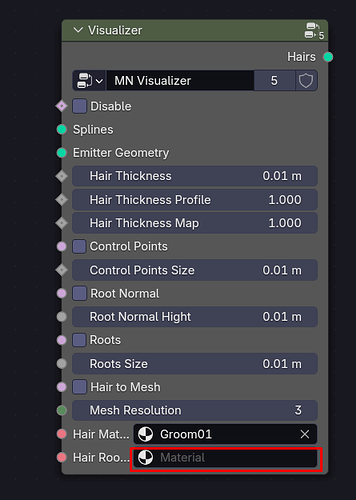
Root Normal mat isn’t added to the node. Adding it myself results in the same error.
Sorry, I haven’t used Geo Nodes at all. Do changes need to be compiled?
It looks like the old nodegroups are still in your scene because the Root Normal material in the Visualizer should not be exposed to the user anymore. You can probably delete the old node groups manually.
But there also could be some old scene properties which might cause some issues, if you continue working in that older scene. The addon underwent substation refactoring, and the backwards compatibility flue out of the window. It is basically entirely new and different system now.
No, the changes don’t need to be compiled.
Great, thanks. That worked. Now to relearn the tool. ![]()
If so much has changed, do you have a link to updated docs?
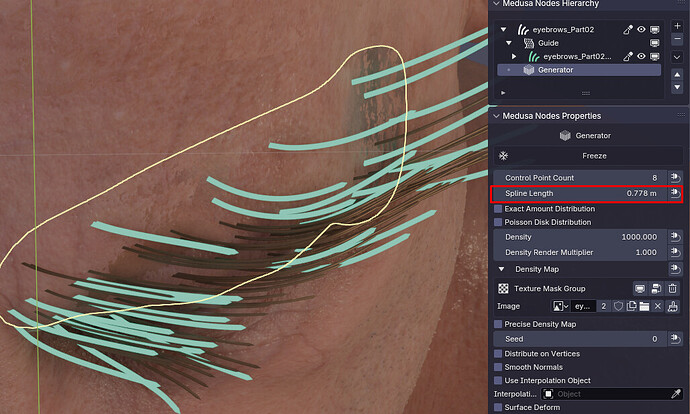
I remember you saying that in the new version there is the global length parameter in the generator, but once I add guides I adjusting this setting has no effect? I would expect this param to be available at any stage so we can globally and non-destructively set the length at any point in the process.
Once the guide layer is stacked on top the length of the guides overrides the generator strength? Sorry, I’m just trying to get back up to speed.
Did you ever find a solution to this? It’s happening for me now too. Close/reopen scene and only the guides are showing.
I’m getting all sorts of errors now, trying to create new grooms on different pieces of geo creates them on pieces that are not selected, and trying to delete them from the Medusa panels throws errors.
I’m just going to start from scratch with a brand new scene in case there’s lots of junk left in the scene from the old version.
Sorry to hear you are having issues…I did not find a solution for this yet, so do let me know if you manage to sort it out
I’ve just migrated the character assets into a brand new scene and cleared out all the junk from the linked libraries data blocks. Hopefully that sorts it. I’ll know in a while when I rebuild some hair and resave. ![]()
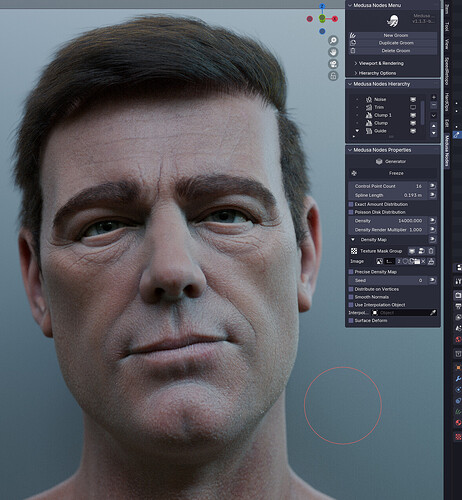
Everything seems to be working well now. I haven’t saved and reopened this file since I started earlier so hopefully it should be fine.
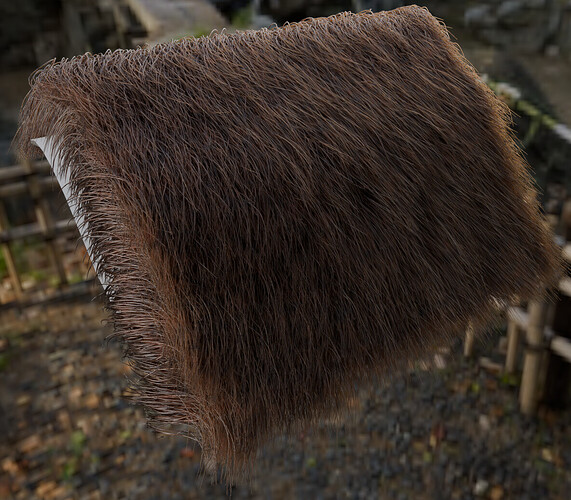
I have to do a lot more experimenting with the layered clump modifiers and figure out the patchiness I tend to get, plus see what other maps we can use to control noise and chaos around areas like the ends of the sideburns and end of the neck hair, but Medusa is a great toolset. So hassle-free.
I still think that the weakest link of hair in Blender is the hair shader. It’s nowhere near as good as the Arnold hair shader.
Glad to hear. Yes for my next project I would like to create some complex hair setup , and learn to control it a bit more, and I agree, also the SSS shader feels so much better in arnold …
looking good man, great stuff, thanks for sharing the render!
Yes, I feel the same. This is what happened the last time I was going to use Blender for skin/hair, I ended up bringing the project to Maya/Arnold because the skin/hair shaders in Arnold are just so much better.
That was before the new Blender Principled shader 2.0, though, which is apparently built from OpenPBR by Autodesk/Substance teams, which is based on the Arnold Standard Surface material.
It’s pretty simple, I used the system showed here and it seems to work quite well: https://www.youtube.com/watch?v=VSwC5MHv5oI
Basically the guides are duplicated, converted to mesh and used as proxies, to which a cloth sim is applied
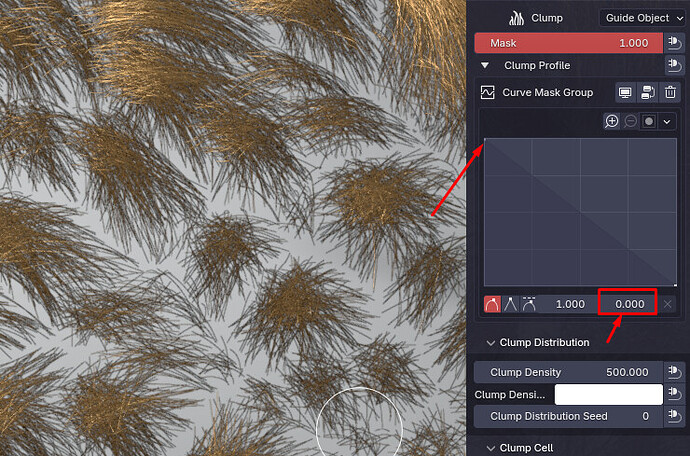
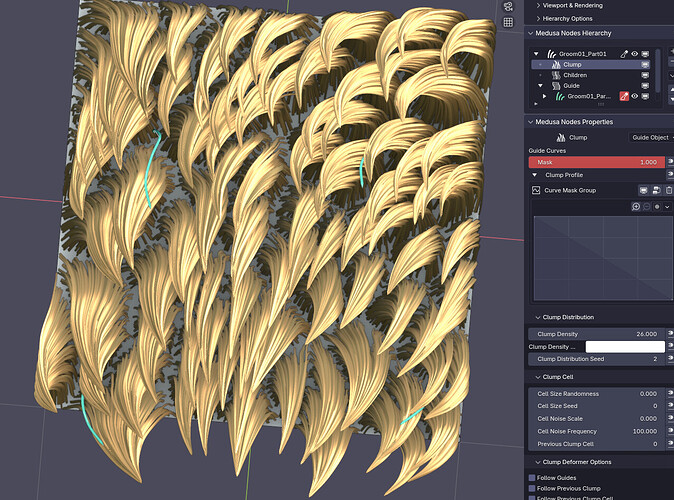
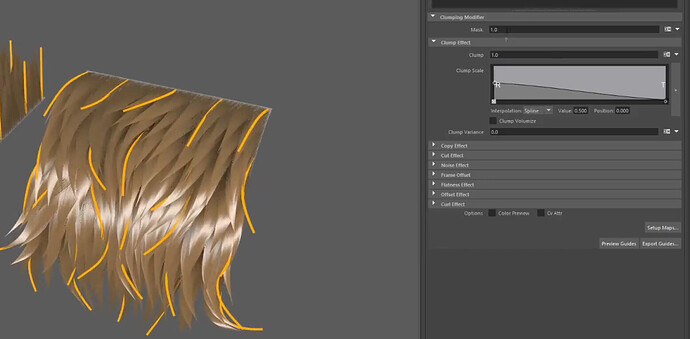
The default clump falloff curve in Xgen is set at 50%, so this allows an overcrank of the base borders for clumping, whereas in Medusa it’s set to 100% and I find that the clumping always makes the hair look patchy because it leaves a grid pattern of baldness wherever the clump borders are. Or maybe I’m just missing a setting?
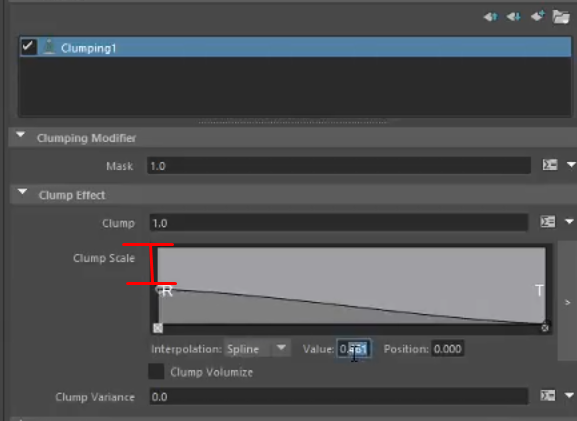
Would it be possible to set the default to 50% or allow a negative value?
These border bald spots can be dilled in with clump noise, but it’s more of a workaround than a solution
Spending some time experimenting with different combos of modifiers.
Trying to get a blended haircut effect between top and side
Thanks for sharing the video, good to know that.
Hello Danny @Musashidan,
The docs are lacking: There is no A to Z guide, which would present the entire workflow yet, however you might have seen this release notes page. It doesn’t describe everything that was changed, only some of the core things.
Yes, basically the Guide modifier with it’s own Generator overrides the initial length. Maybe the initial Spline Length parameter should be greyed out so it’s less confusing?
Could you maybe post a screenshot of the patchy areas? It sounds like something, that should be taken care of.
On the topic of Clump modifier and its profile
It is possible to remap the Y range from 1 to 2 on the Curve widget, this should give similar result. But we can make the default 0.5 starting point as standard as well, to make it more convenient.
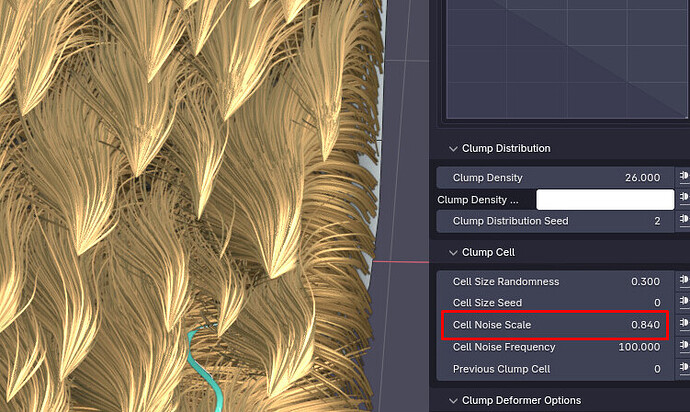
Bold Patches and Cell Noise
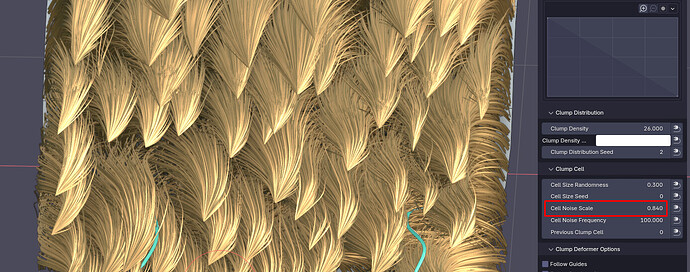
So you would like to cover these bold patches by thickening the clumps, instead of using the Cell Noise parameter, or I am missing something?
Cell Noise can indeed blend the borders between the “clump cells”. By default clump’s base shape (or as it is called in addon: a “cell”) is geometric and angular, but together with the Cell Noise Frequency, the Cell Noise parameter helps to achieve more organic transition between the clumps.
Thanks. I figured this out and wrote it in my post above. This was also what I meant about the patchiness/bald cell borders, but it is all fine now. I’ve been experimenting with all of the settings in the modifiers these last few hours. ![]()
Thanks. I just needed a bit of time to familiarise myself with the tool again, but It’s going fine now. It’s so similar to Xgen (in concept), but a lot more user-friendly, and you’re not worrying all the time about your scene being corrupted because of the horrible way that Xgen is built into Maya. ![]()

