OK, Heavens to Betsy! It is the trees that are causing the problem, when I move those to another layer that is not rendered, the smoke works fine. I am definitely, utterly and completely confused as to why, but I guess the trees have to go! They have no unapplied rotations, scales, or any other possible connection with the smoke, they are animated, but then so is a hell of a lot of other stuff in here. :mad:
But I still don’t know why the trees f*** it all up :eek:
Cheers, Clock.
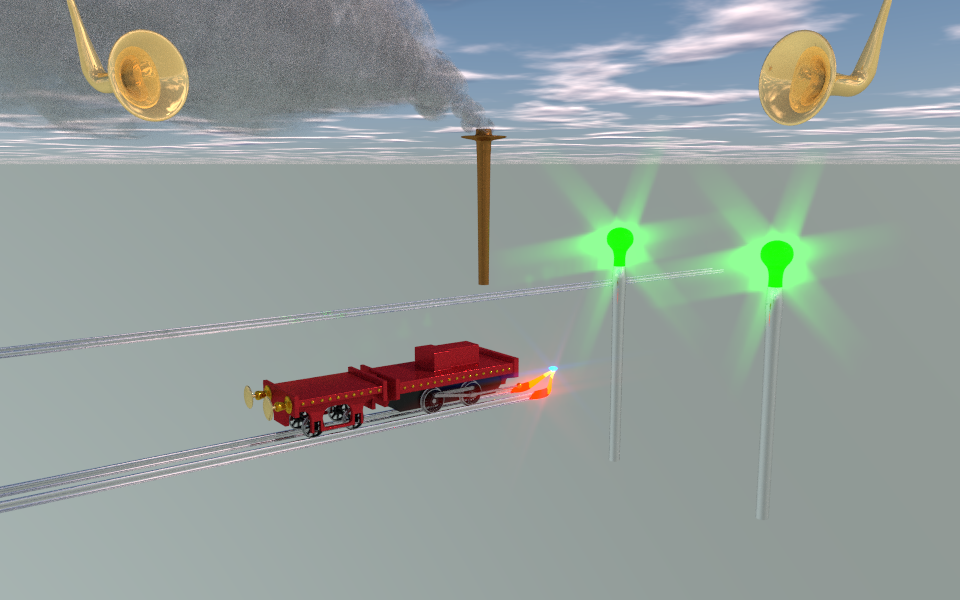
PS. the blur is a combination of motion blur and DOF, the camera is rotating around hector just now and he is travelling quite fast at this point in the animation. :spin:
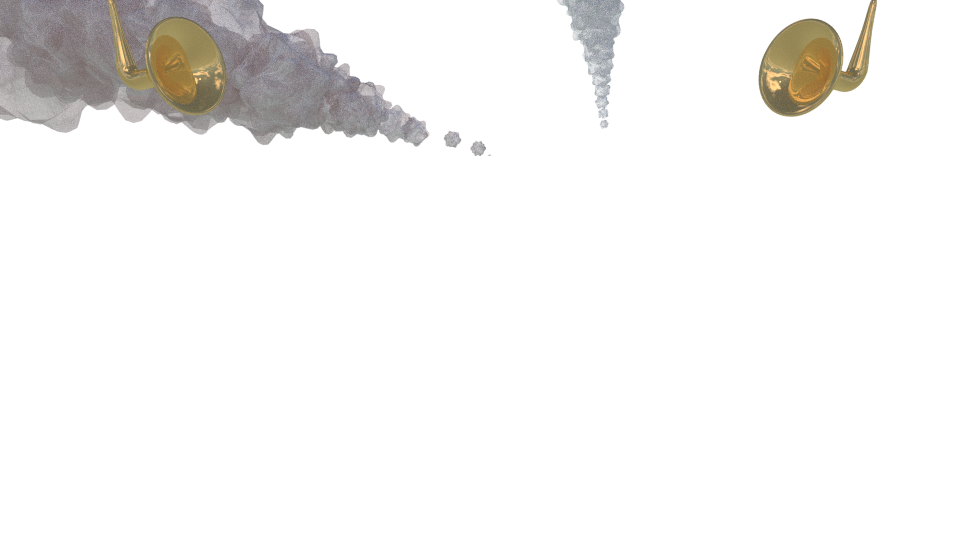
So I finally worked out what went wrong, the trees, that’s what went wrong! So I deleted the trees and thought about what I could bake some sound to in the smoke department and came up with this:
I decided to add a shapekey to the mesh that forms the parties in the smoke, that expands out some of the faces in time with the music, so picture 1 above is with the driver very low and picture 2 below is with the driver at max:
I also added some emission to the smoke to give it a reddish glow, again the emission values is sound baked so it pulses from no emission to about 0.7 max.
Hi Clock, have you figured out what what interfering with the particles. You said it have been the trees, but what was it in particular? I have no clue how the trees could have influenced the particles. Maybe a memory issue?
“I don’t know” is the simple answer. When I add some trees using the “Saplings” Add-on, the particles go haywire, when I turn off the render layer for the trees it works again, it doesn’t seem to matter if they are animated or not. I will try again today, but that has happened consistently. The only clue might be that they are effected by the same “Wind” force field as the smoke, but I just don’t know.
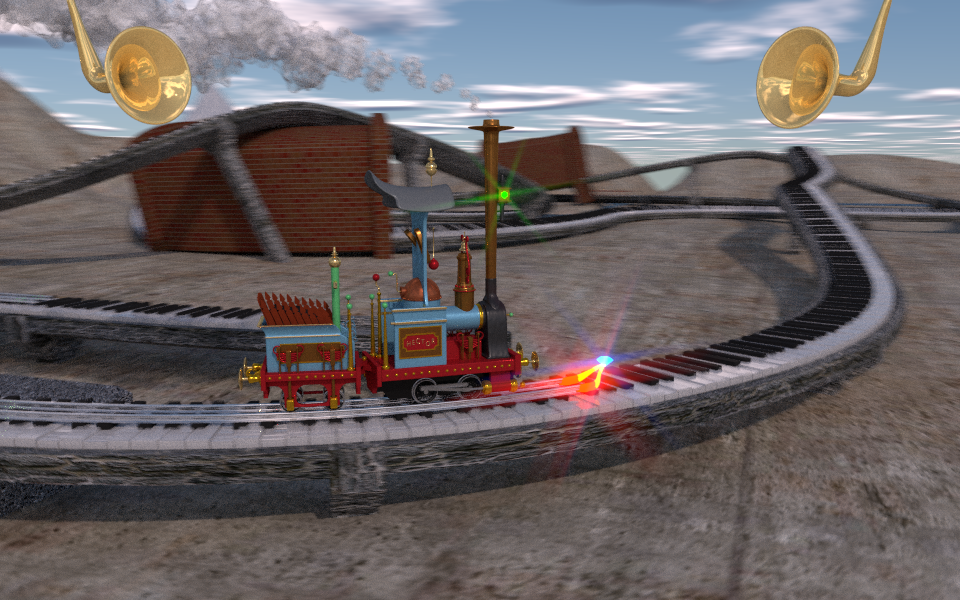
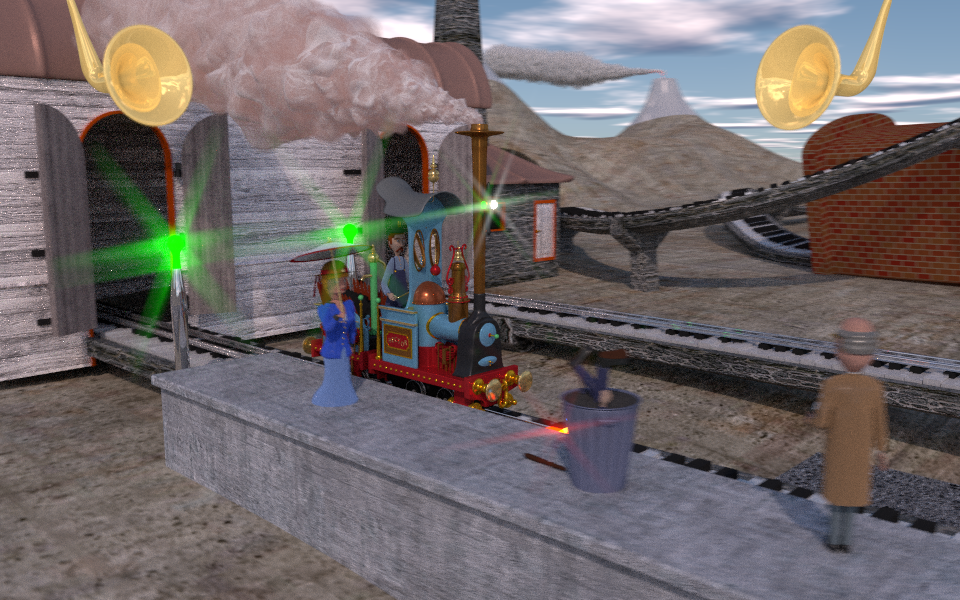
Here is a new video with “glare” and smoke, the smoke got screwed up by the trees, I have since removed the trees to cure the problem!
I think the glare is too high, so I have increased the gamma value in the Compositor to reduce this a little. So this video is out of date with developments, but I posted it anyway! Comments always appreciated as usual. :yes:
Cheers, Clock.
PS I don’t know why the quality is so poor on here, as it is an HD video!
Hi Clock I just looked through your thread, theres a lot of work here. and I must say I really feel your pain about render times using cycles. It is the main reason that I am continuing to use BI for my animations. One thing I noticed in your first video is that you are using one camera that essentially follows the train throughout the whole video. If you want to make the video more of a music based thing, try using multiple camera positions, and cut from one to the other using your soundtrack as a cue. This enables you to be able to avoid the parts of the shot that don’t work so well. and also show your model in its best and most dynamic light. This is not as difficult as it sounds, as you can simply add the cameras to your scene and cut between them. As an example, I did a video a couple of years back for a guy who was designing a roller coaster car with a virtual reality element, so its quite similar in some ways to what you have just done. But I gave myself a rule that I should never stay on one shot for more than ten seconds. This makes for dynamic video, and keeps people interested. Have a look and tell if it is any help, or whether I am just disappearing up my own backside.
Thanks for that Carel, however, the only people I know capable of disappearing up their own backsides are politicians - e.g. Jeremy Corbyn, Keith Vaz, I rest my case M’Lud. I fear for our friends across the pond also…
I did think myself that the camera just following the train and pivoting around it was not going to be the best option, so when I made Philip, the plane, I added two Child Of’s and two Track To’s to the camera and move it at various points in the animation form being attached to Hector to being attached to Philip and at one point the camera is still attached to Hector but focuses on Philip.
Next I tried adding a second camera, but obviously did something wrong, because when I set the second camera to be the “Camera” object, it promptly rendered from the first camera, so I am looking at how to switch active camera during the scene. It also occurred to me to render out chunks at a time from the different cameras then put them together in the Video Sequence Editor, which I have just played with some more. I rendered the last video with the no audio codec selected, so it was silent, but rather than throw things and get mad, I just tried putting the video and sound together in VSE in a blank project and rendered the animation, which nicely combined them together and only took about 30 seconds. I guess I could do the same thing if I rendered png images for the animation and then combined all of them to make a video? I must investigate this option as it would save so much heartache when my power company decide to cut the electricity for longer than my UPS lasts when I am rendering.
So any tips on switching active cameras would be appreciated, plus any clues as to why when I told Blender to use the second camera it insisted on using the first one… grrrrrr
I use your second option i.e that of doing seperate bits of video, saved to their own folders, and then assembled on a timeline. In my case I use Sony Platinum (due to familiarity), but the VSE would do just as well. It gives the biggest degree of flexibility in terms of editing, compositing, (including green screen). and colour grading, as your computer isn’t working on rendering 3d at the same time.
I think this tends to be standard practise in film studios to use this method. The main downside is that it requires some forward planning, i.e. storyboarding. Also you need a large drive for storing the vast amount of files generated. And to pay attention to your folder structure (something I’m not always very good at), otherwise things can get lost quite easily. As far as changing cameras during a scene I’m sure it can be done, but in this case I will be timid and stick to what I know!
OK So I sorted that - selecting which camera to use by keying CTRL+SHIFT+OPTION+BLAH-BLAH+numpad 0 does not change the active camera since it is set in the Scene Panel - what a Dunce, changing it there does work…
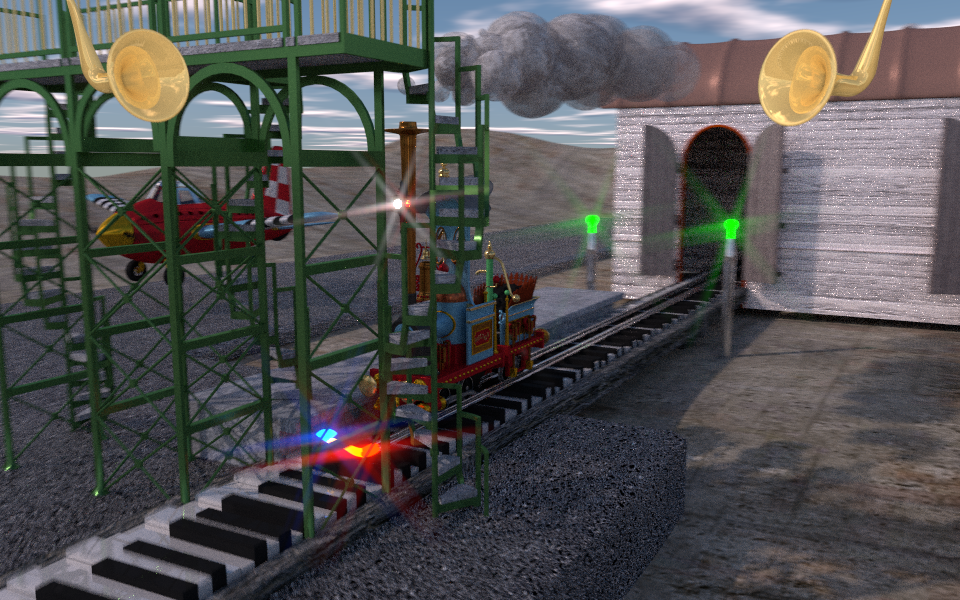
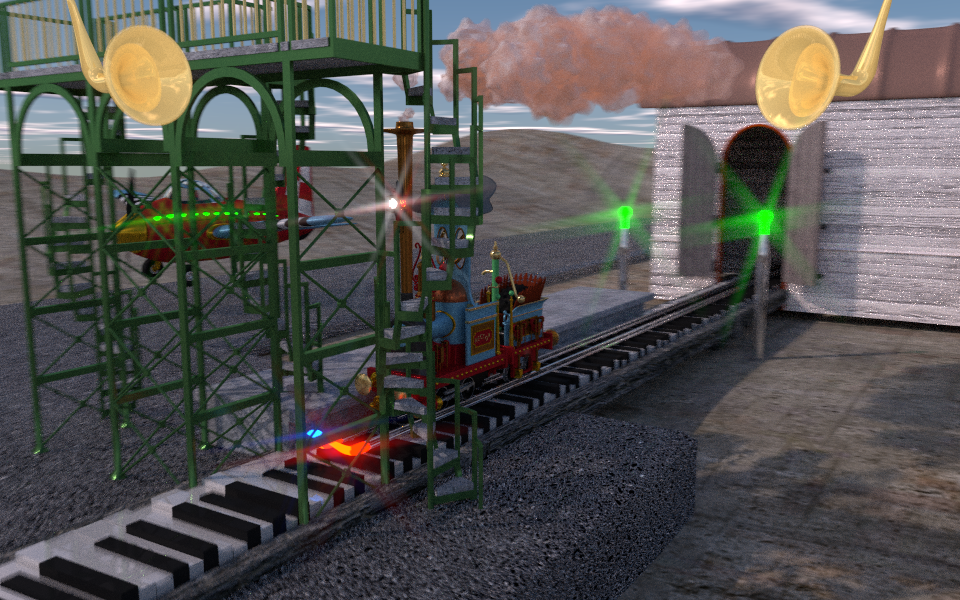
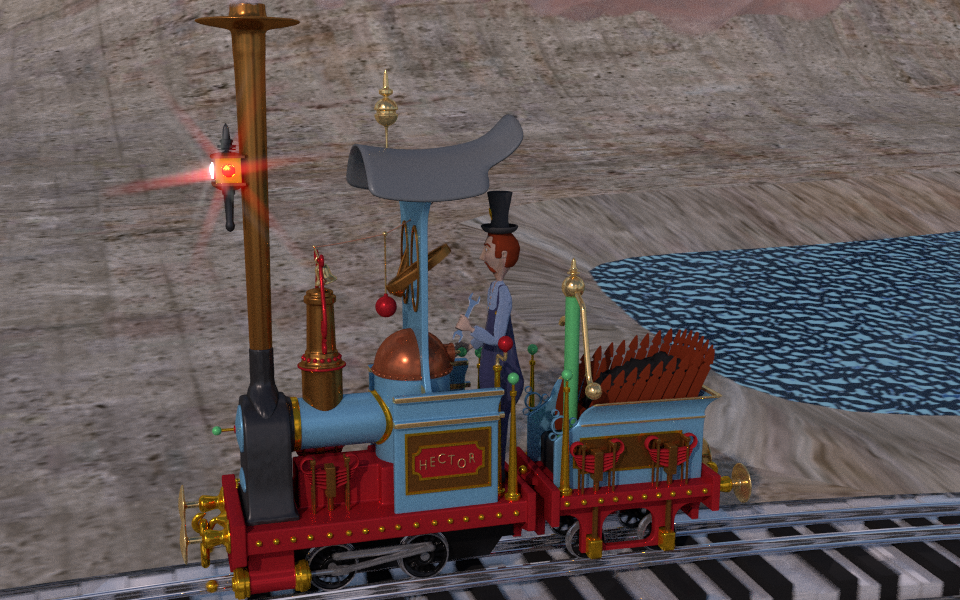
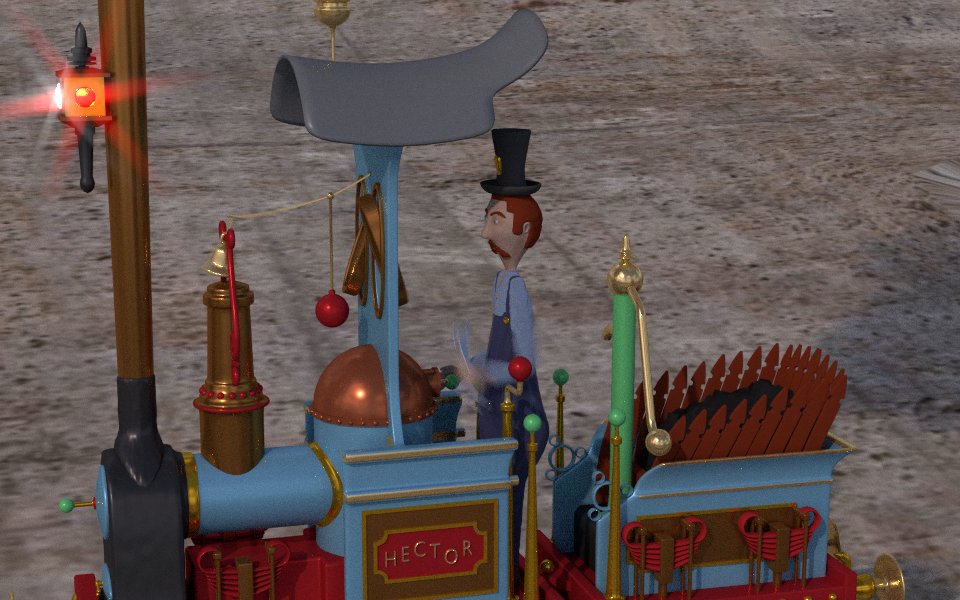
Here is a view from the new “Engineer-cam” which focuses all the time on the Grumpy Engineer brandishing his spanner to the bass beat, and the bell swings in time with the music, so I shall render some sections of this to put in the overall end product. I am going to render little sections then put them all together as Carel suggested.
I think I will watch some “pop” videos to see how this switching cameras is done in a real world music video, then try some of that kind of effect myself, which means creating a storyboard first - sigh - so much to learn for such an old brain. :eyebrowlift2:
I haven’t a clue sir, perhaps I could try baking the trees animation and see if that still messes the smoke particle systems. The trees are not that important, but I might try just adding them and not animating them and see if that works.
I have never done any baking so it’s a new bit to learn for me. Perhaps I should try with a small model and see how it all works.
Cheers, Clock.
EDIT:
Here’s a closeup from the Engineer-cam, I didn’t move the camera, just changed its focal length. The cam is “bone-parented” to Hector’s root bone.
I think you should increase the limits on the sound being used to control the piano keys. This way the keys will only move when there is a high frequency so that they don’t always appear to be moving. Sorry if I sound confusing, I don’t know all the terminology.
Thanks for that, I am not sure whether I want to do that as the piano keys are more in tempo with the music whereas the train isn’t. I will do some experiments and see how it goes. To get the an object to respond to only a set frequency or frequency range, you set this when you bake the sound to the F-curve, an an example; middle C is 261.626Hz, so you would set this as the high and low frequencies to get the curve to respond only to the middle C frequency.
I have decided to render out each frame for the Hector-cam as a separate .png image, uncompressed, then do the other cameras for each frame range where I want to cut to them in the same way. Then I will put all the images into a new empty Blender project and arrange the strips height-wise, so it cuts from one strip in the VSE to the next depending on which strip is higher up the list - I have just found out that that is how it works! I also found out that if you load all the images at once they go into one strip that you can then split into individual frames - useful - so eventually maybe I cut out the unwanted images. This may not be a good idea as if I have all the strips still in place for all the cameras, I can edit the sequence as I choose without having to re-render or reload anything. I think my server will be busy for the next few weeks! I am away for the next week, so I will see how it gets on, I have set it to render all 4,900 frames from the Hector-cam…
This camera does move from Hector to Philip during the animation, I also have cams on the Engineer and just behind the cockpit of Philip, I may add more for some short sequences. One I have all my images I will get to the editing phase to cut between cameras. The uncompressed .png files are about 14Mb each.
I have also found out something else that is screwing the smoke - not only the trees as I thought, although they may be contributing, but as I use an object for the particles, I have found that if the object is not on a visible layer in the 3D view when I run or render the animation, the smoke gets screwed up. To cure this and to make sure it is not seen by the camera (making it invisible to the camera has the same negative result BTW) I have moved the smoke particle objects below the terrain mesh so they cannot be seen. I hope this tip may help others…
Thanks Mel! - maybe in a week or so I can show some update videos, I am going to leave all three machines of mine rendering various sections while I sun myself in France.
Thank you for figuring that out. I’ve had similar problems with the smoke simulator and couldn’t find the answer. I’ll see if your solution fixes them.
If I render the full view with the smoke it takes about 30 mins per frame. If I render the smoke on its own, with a transparent background it takes less than a minute per frame and if I render the scene without the smoke it takes 3 mins per frame. So rendering them separately it takes about 4 mins per frame and then I use the compositor to add the smoke to the scene render it is much faster - any explanations at all? The smoke looks good when composited onto the scene, the only drawback is there is no shadow from the smoke on the ground. Rendering the smoke and the ground together, then compositing the rest of the scene takes about 5 minutes per frame in total. :spin: