I had posted a similar request in stack-exchange too.
My Question is about creating a 3D printable negative mold. The object is irregular, concave mesh/object.
A solidified mesh (it is not clean, I agree. Tips welcome on that too) needs to be cast using another material for which a mold is to be made which is 2 part and 3D printable.
My reading lead me to many avenues/tutorials but nothing comes close to be able to achieve what I need.
I am having troubles to have matching concave surface in one mold and convex surface in another mold and both when put together we will have a space between then matching the object attached.
For objects with two convex or flat surfaces the ideas work good, but when one surface is convex with matching concave surface.
These molds need to be 3D printable.
New users cannot upload images so I am sharing the link to the files uploaded in stack-exchange.
The outline image file for the mold: (The red and blue are two parts of the mold and the while space is an empty space matching perfectly the object above) https://ibb.co/yp5LjGJ
Aside from understanding how to use the tools in Blender, you would also have to understand some basic mold design concepts.
Assuming the object was modified so there were no undercuts along the edges, creating the separation surface would require extracting the parting line edges (the perimeter of the upper surface of the object). From that perimeter, a surface that radiates away in X and Y directions must be created.
The jagged edges of your object will complicate the process, particularly since any overlapping or intersecting triangles will make the mold pieces unprintable.
@chrisd Thanks for your time to answer this question.
I agree the particular file I gave is not perfect in it’s edges and I am guilty as charged
You mentioned it right …
creating the separation surface would require extracting the parting line edges (the perimeter of the upper surface of the object). From that perimeter, a surface that radiates away in X and Y directions must be created.
Can you please elaborate with the file I provided and if you modified the edges, I’d like some pointers there too.
@3DTweaker
Polyboy’s example shows how this would be done in a CAD application.
I suspect some of the tools used in the example may not be available in Blender, although I’m a newbie. Perhaps there is an add-on or other tool I’m not aware that would radiate the surface away from the parting line. It could be done with loft by creating the additional curve. Probably reuse a copy of the parting line curve and modify it.
@polyboy
Great example. The problem I am facing is that the mesh is not simple one and is difficult to retopologize (with my skills) into a simple poly-mesh like you have created.
I will provide the stl image. I am open to using multiple softwares if needed but preferably opensource and free to use.
@polyboy Can you show with this mesh how to create that mold ? And what software did you use to achieve your steps ? I am unable to identify it. Sorry.
What I tried ?
Used shrinkwrap with selected vertices of a subdivided face of a cubes using project.
Problem:
The edges are jagged very bad. I do not mind the jagged eges if the two ends fit properly after 3D printing which I am afraid may have some issues.
Used cloth modifier to “drape” on the object using a subdivided plane mesh.
Problem: Edges were not good enough.
I managed to create a solid mesh closer to the dimensions I want. This has been created using multiple methods and refined / sculpted. I know some experts might find easier way to achieve this. I am open to suggestions/refinements.
The STL of the mesh I refined (for which I am trying to make a mold is attached) modified_solid_plate.stl (157.1 KB)
Another idea i had was using smooth body or fluid dynamics to “wrap” or “pour” on each side of the object to make an impression like done traditionally in real life and later apply it from the specific frame which fits closely? I am not skilled enough to do it.
I am not sure if I am using a bolt-cutter to cut paper when I should just use a simple knife! If there is a simple way to achieve what I am trying to achieve, please let me know too.
The plate is also very thin (when analyzed in meshmixer). I need a plate of more thickness (around 4-6 mm).
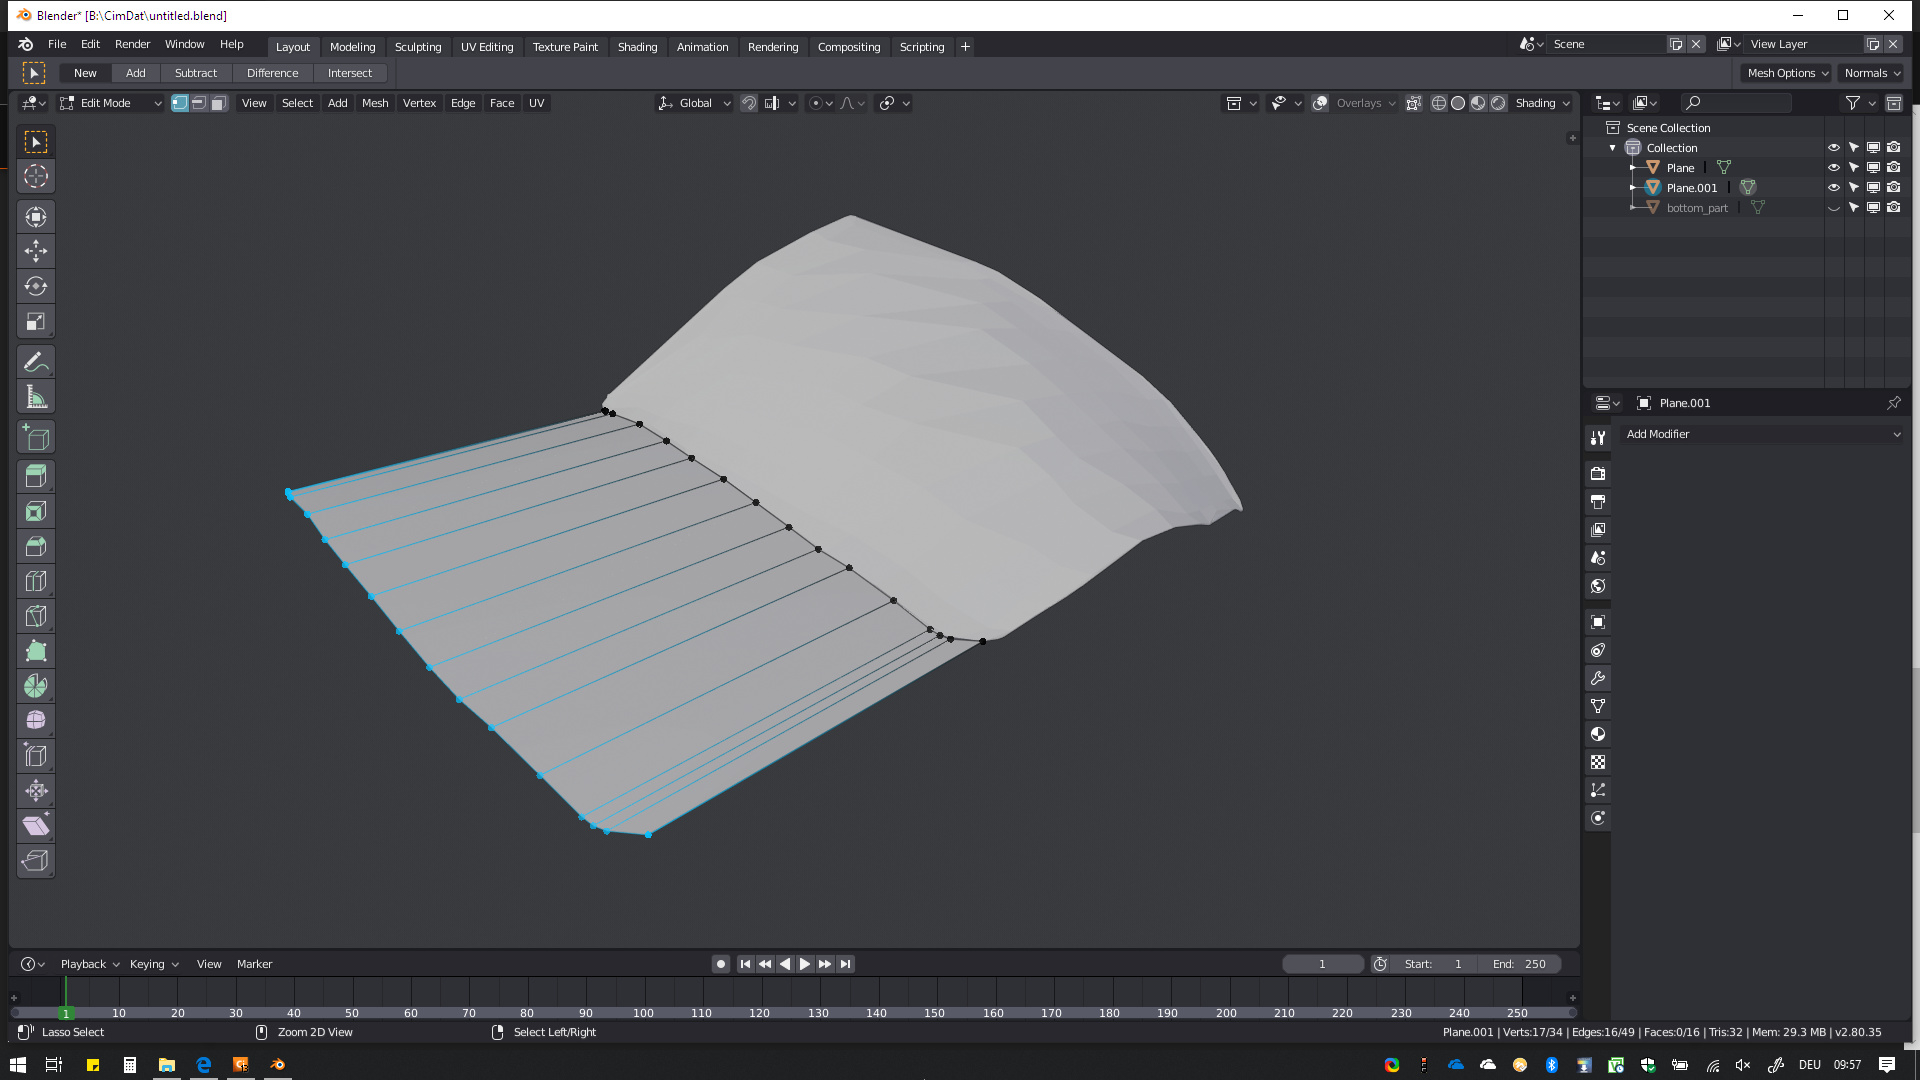
…and then the same from the Bottom view. A few pieces are Floating around but These can be separated and joined with both halfes separately.
From the Edge/parting line you can extrude faces. untitled.blend (214.7 KB)
@3DTweaker
I have tried the way with a shrinkwarped plain again and i think this would be the best way in blender.
Yes, but the workflow is similar. Looking for Opening direction of the mold and separate the part at the splitline (where the tangent has the same direction as the opening direction of the mold)
Your example-picture showed the principle very good.