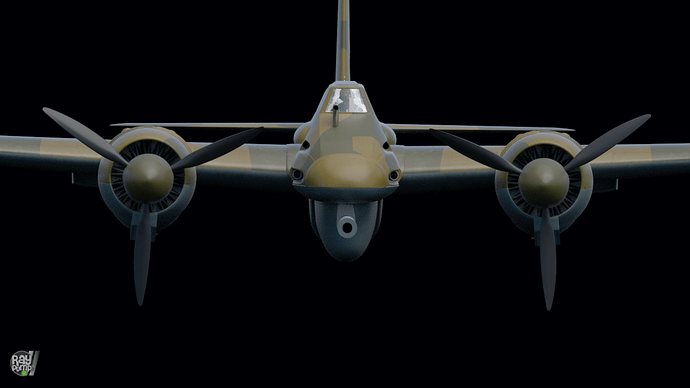
Henschel Hs 129 "Tank Cracker"

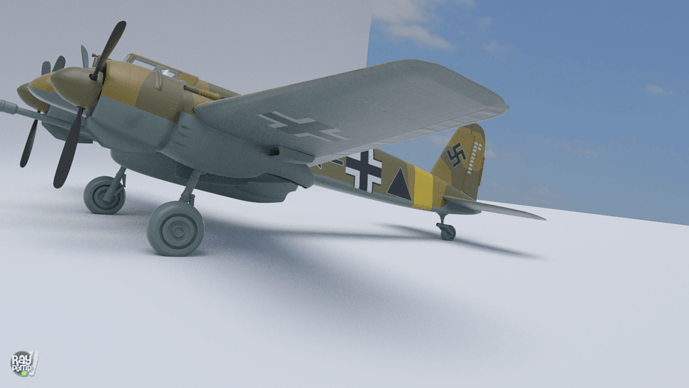
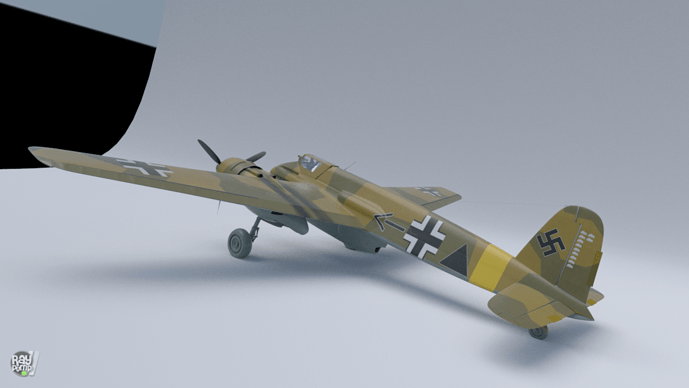
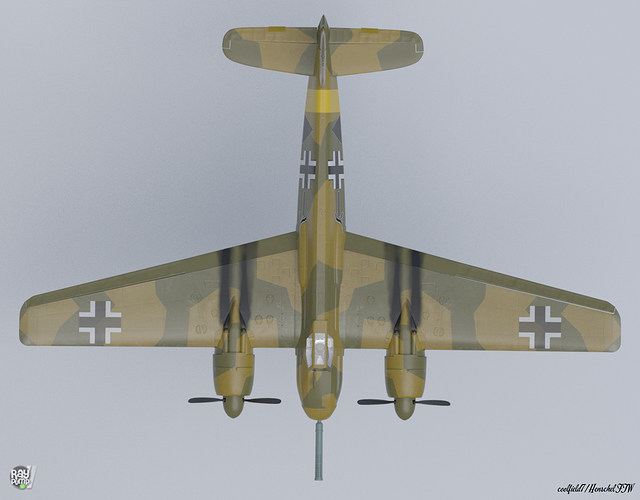
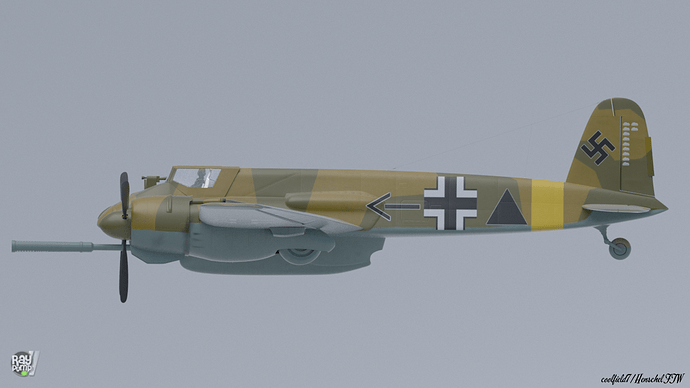
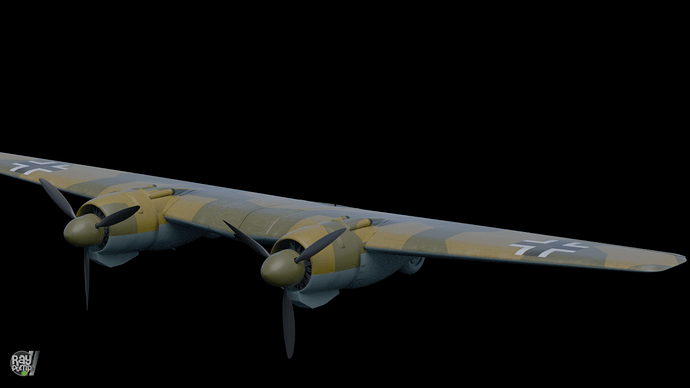
I have to agree with Tommy, the camo on the wings of your plane is mirrored, this would not happen on a real plane (to the best of my knowledge), as separate stencils where used for each wing when the camo was spayed on. Also the camo would spread from one corner of the plane, say tail plane left tip, to the other diagonal, say right wing tip, coming seamlessly across the fuselage. This was to stop any mis-match of camo aiding sight of the plane, sadly you have some mismatches between fuselage and wing going on here. Having said all that I think this is a very well made model.

On the matter of the exhaust stains, the airflow over a wing is laminar from the leading edge to the thickest point of the wing (generally and this applies to level flight, the transition zone moves forward during roll or pitch), thereafter it becomes turbulent. The perennial problem with wing design is to get the laminar flow as far back as possible to reduce drag, but this compromises other aspects of the wing’s performance, like propensity to sudden, rather than gradual, stall for example. So you exhaust trail should be fairly uniform and only spread slightly up to the maximum wing depth point, then it should be more dispersed, with a more ragged, swirly edge, and fade also. You can see the laminar and turbulent flows on the early part of this video, if you study the strings before the stall occurs. Bear in mind that this is a modern, ultra-efficient glider wing, so the effects on a WWII plane will be more pronounced.

Hope this helps a brilliant plane get even better!

Cheers, Clock.
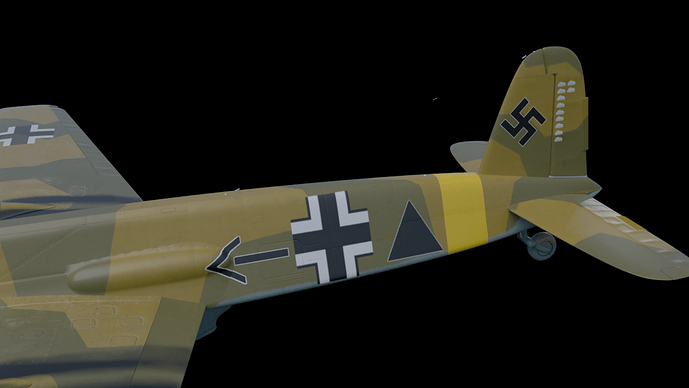
Thanks! That’s a really good idea. Right now I was just painting on white spots, instead I should put an aluminum texture underneath everything and scratch up the color to reveal metal.

It’s cool man, I’ll try this, if it still doesn’t work I’ll let you know.

Thanks man and thanks for the tips!

Very nice explanation of the exhaust stains, it’ll help me.

Oh yes, the camo needs to be realigned. Going to do that in a little while. I’m thinking of either doing the more rigid splinter camo or the more smooth, sprayed on type so I keep switching back and forth.

I got pissed off with the scratches so I though I’d make something more fun.


Looking cool man!!! Don’t give up with the scratches…they are worth the effort.

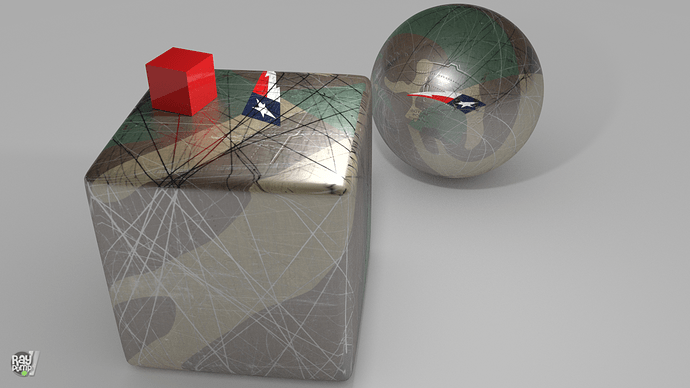
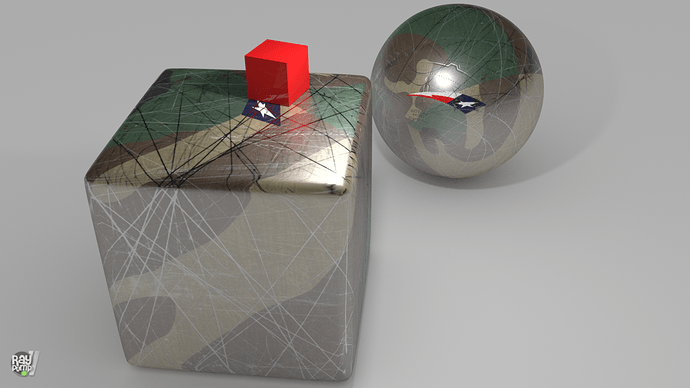
Here’s a little peak into what I’ve been working, few thing to iron out but almost done


So far the plan is to have just one node group that controls everything from Gloss/Matt diffuse paint to the amount of scratches and underlying metal shown and depth of the bumps…I’m close to 90% done.

If you notice you can see the red cube reflected on the underlying metal more than you get on the actual paint (in this case the camo) through the scratches

Edit The amount of scratches shown on the render are a exaggerated so I could see the results and work on the nodes better…they can be dialled down to just a few or to none if needed.

OHHHH MAAAAN!!! just noticed you got your 5 stars…Congratulations!!! :cool:

Awesome effects man! Oh, thanks man!

I tried erasing the camo while having an aluminum color underneath but the effect was exactly like before. I have a few more ideas right now so I’ll try those and hope those work.


Got a few more renders out:

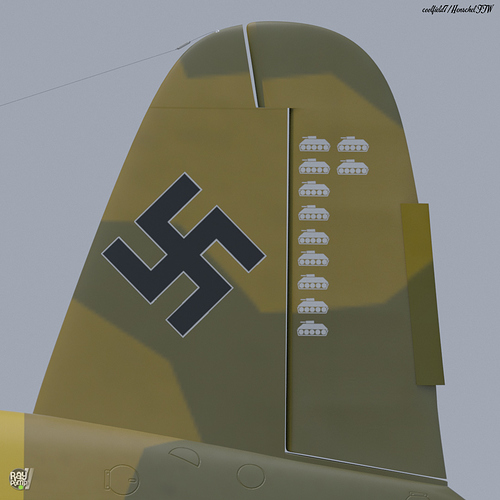
Made the kill marks from scratch myself.


Attachments


Kill marks go pretty well with the design and feel of the plane, I reckon there’s still some room for improvement on the smoke/dirt marks.

BTW I’ve never seen white tyres on a plane before :wink: I suggest work on them for a while to have a bit of a rest from the top side of the plane, so when you come back to it you will see some issues that you didn’t noticed before or it will distract your brain from going round in circles trying to figure out the smoke/dirt marks and other minor details. I think it happens to all of us.

Great renders as usual.

hehe, thanks. I just love them–they look just so cool. Here’s some marks on the real plane:


That’s a really good idea, work on something else and when I come back to that previous thing my mind will be fresh. Thanks man!

Just noticed this:

Your prop blades do not look quite the same as the prop blades on the old photo above, they look a little too much like “paddles” rather than prop blades, it’s only a slight thing but it screams to me a bit on your latest renders. It might be worth just slimming the outer reaches of the blade down a little. I would also tone the exhaust stains down a little, if the engines where burning that much black oil they would be well and truly stuffed very quickly.

I really like this plane, so please excuse me being a little picky about minor things.

Cheers, Clock.

Always appreciate the tips and feedback :slight_smile: Will look into it.


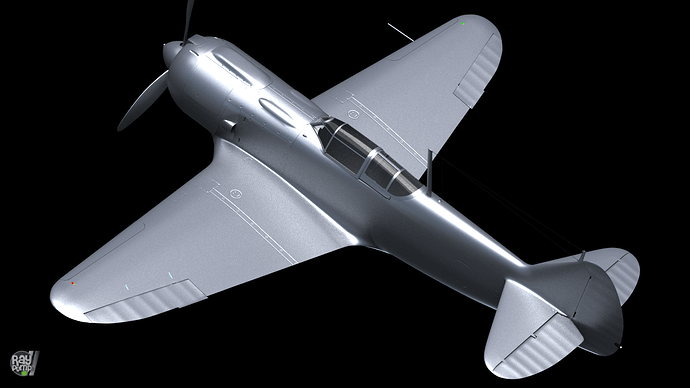
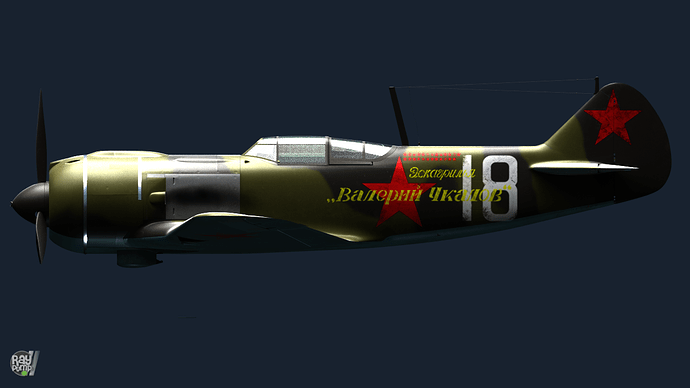
The Henschel has got to have an adversary, right? Well, may I present the Soviet La-5! Made by Witold Jaworski, big thanks goes to him for letting me use it in my project.

The textures weren’t working in Cycles so I’ve started making the textures anew.

It’s a very well modeling plane and it is detailed. Rigged landing gear and flaps, complete cockpit, plus an engine. This thing is packed!

Main things are UV unwrapped and the bump map is almost done.

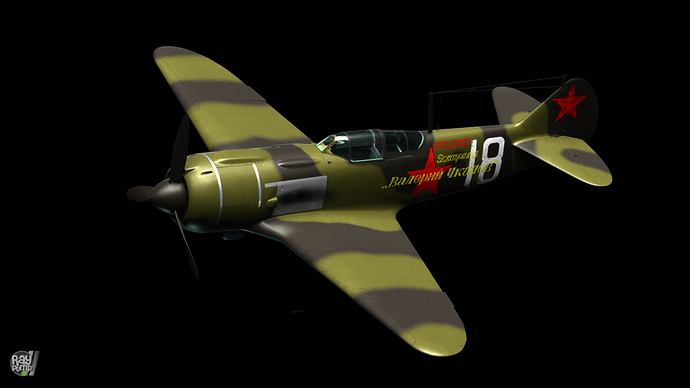
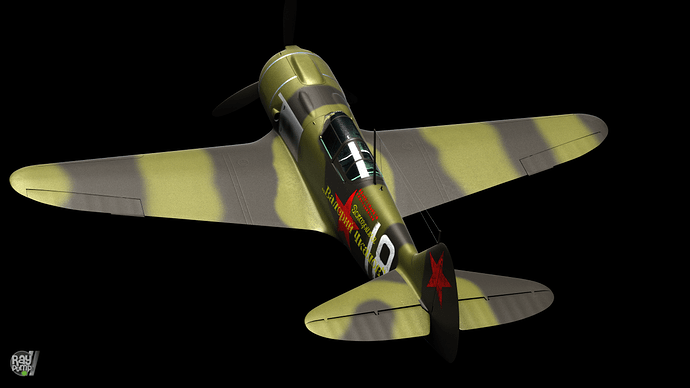
This thing is going to rock the Soviet camos. I plan to do 2 right now and then more later on. The two I have in mind are the type Witold originally put on his plane and this: http://i.imgur.com/P6DSVZj.jpg


Here come the Soviets!!!

This texture is pretty much done, just need to do more tweaking and experiment with a scratches idea. All exterior textures have been remade, the inscription in Russian and the number 18 I reused, I scratched the number up. There’s some really weird refraction effect going on with the cockpit glass… everything is very distorted, you know what happens when you put a straw in a glass of water and how it bends? That’s what’s happening weird…

And thank you clockmender, I checked the propellers and hell my plane was on its way to becoming a boat. They were literally paddles, I think they look better now.

I’ve started thinking about the idea Tommy said sometime back about scratches, about how you need to have an aluminum surface underneath. I’ve found a node setup for aircraft paint and I’ve thinking of putting the aluminum surface very bottom and then scratching up camo like Tommy said. I could have done this with the gloss paint node but I guess it just didn’t hit me.


keep going freind i like it !!

Props look very good now my friend, sorry to be picky…

I see you found Jeff’s plane material thread - I really like the work he has done here, have you seen his F3F on MM - really good model.

Link to F3F is here: http://www.military-meshes.com/forum/showthread.php?7182-Grumman-F3F-1-quot-Flying-Barrel-quot

Cheers, Clock.

@Coolfield7

OK, in response to your kind PM, I attach some files and an explanation of how I achieved rippled and distorted panels.

  1. Create a “cloud” texture in the blend file. The values for Size, Depth, Brightness and contrast are all important and can all be set to alter the overall effect.

  2. Add a Displacement modifier to the mesh and use the texture you have just created in step 1. The important factors here are the Midlevel and Strength. You can also use a vertex group here so that the displacement modifier is only applied to some sections of the airframe. I have used this on my Canberra, but not on this example.

  3. UV Map the airframe and export the uv’s as a png file.

  4. Open a new project in Gimp and load the uv map image as a layer. On top of this add two more layers, the first should be filled white and the second filled mid grey.

  5. Add two more layers, one for the gradients and one for the holes.

  6. Select areas off the uv map using the “magic” selector and fill these on the gradients layer with a white to grey gradient. Draw very thin black lines where the panel edges are to be.

  7. Draw areas on the holes layer in black where you want the holes to be in your airframe, e.g. between the rudder and fin, windows, undercarriage bays, etc. etc.

  8. Apply a Gaussian blur with a very low value (2 or 3) to the gradients layer to slightly blur the edges, so you don’t get ragged panel line.

Export two images, one with the white layer and the black holes as your holes image. The second should be the gradients, panel lines and the mid grey background. Black areas on this image will result in the surface being sunk in, white areas will be proud, greys in between depending on their greyness.

  1. Use these images in the “Displacement Control” node that I have made in the example blend file.

All of the values in the example blend file’s “Displacement Control” can be altered to effect the overall rippling of the panel as added to the base mesh ripple caused by the displacement modifier.

I hope this all makes sense! If you want the Gimp project I used, PM me with your email address, and I will mail it to you, I cant post it here.

Here is the Blend file: rippled-skin.blend (923 KB) I have packed the two images into the blend file, if they don’t show - let me know. :smiley:

Here is a picture of the simple mesh I added in its rendered state. The mesh is just a quick “throw-together” so you can see the effect, not a prime example of my modelling skills!


I have overdone everything in this render, so you can really see it, you will need to back things off a bit on your model. You may need to alter thing on your model, depending on its overall size in Blender units.

The images don’t cover all the mesh - just enough for you to see whats what.

Add white dotted lines using Inkscape to represent the rivets, You can apply a Laplace Edge filter to these to get more realistic rivets.

Cheers, Clock.

EDIT

I must add my thanks to all those, you know who you are, who helped me get to this level of knowledge to be able to help others.

Awesome! Thanks! Dis gonna be epic…hopefully.

Looking forward to seeing those renders with some distorted panels…BTW are you working in some sort of cloaking device for the Hs 129?? or it just flew sideways through the Bermuda Triangle??? LOL

Seriously good job and epicness!!!

Hahaha. RayPump clocks out if they’re are too many vertices or something. Couldn’t do the whole plane.

Thanks man!


Well, I’m going to have to find a work around with the distorted aircraft skin, every time I put a displacement modifier on an object Blender crashes. I’ll keep digging.


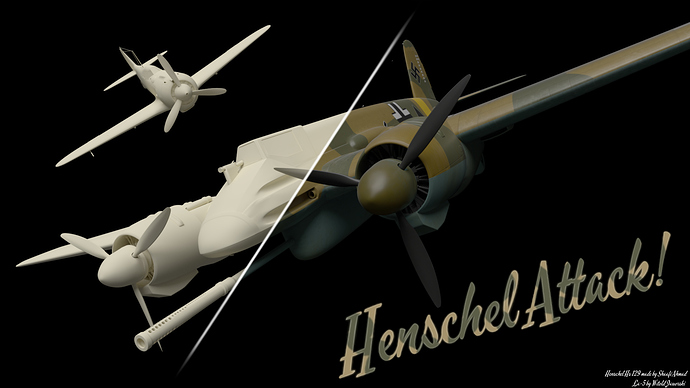
Henschel on an attack run!

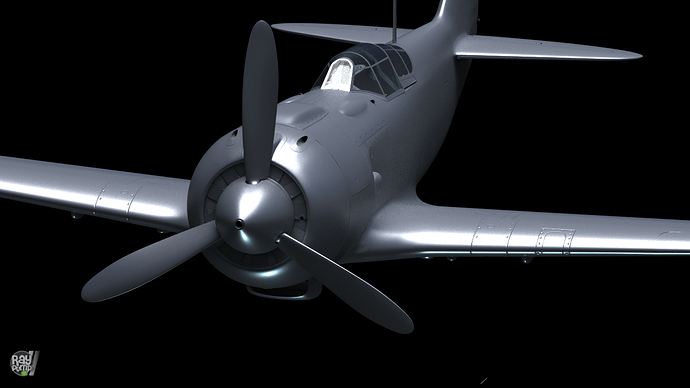
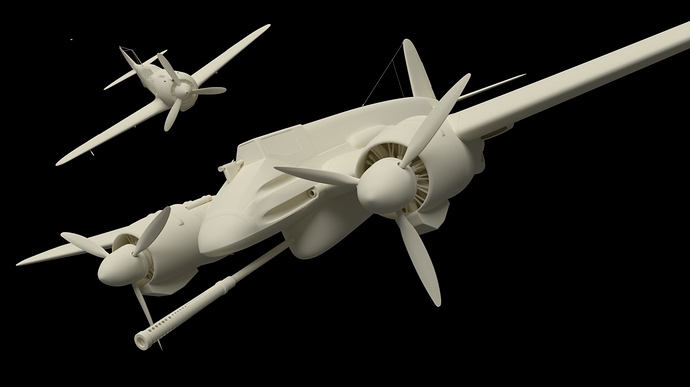
Made a little 1980x1080 wallpaper with the Henschel and La-5. Half clay render and half with textures each were done with 3000 samples.


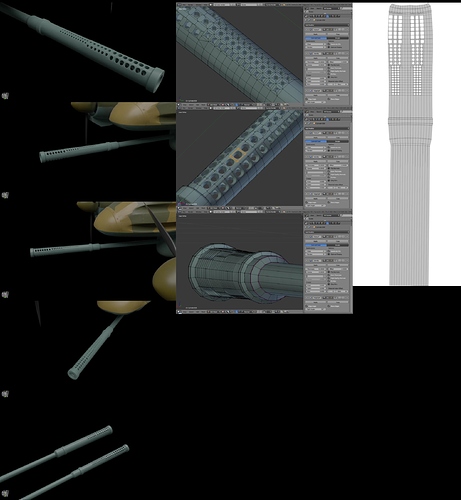
Completely redid the gun barrel. Old one couldn’t be subdivided at all and it wasn’t smooth. New one is pretty smooth, just a tad edgy along the holes. Tried to keep it as clean as possible.

Last render in left column is a comparison of the old barrel (top) and the new one.


Attachments