How can I create a 'Mug Life' style face model from a photo, then animate in blender?

I’m trying to recreate the same style animation as the ‘Mug Life’ app on iPhone. That app creates some sort of 3D animated face from a 2D photo. Ideally I want to rig a model to use in Blender which replicates the same approach, then apply a face-capture performance to the rigged face.

This video shows the app in action. https://youtu.be/qUK5rv9hZn8?t=45

Any help or suggestions how to mimic this process in Blender will be much appreciated!

Thanks

1 Like

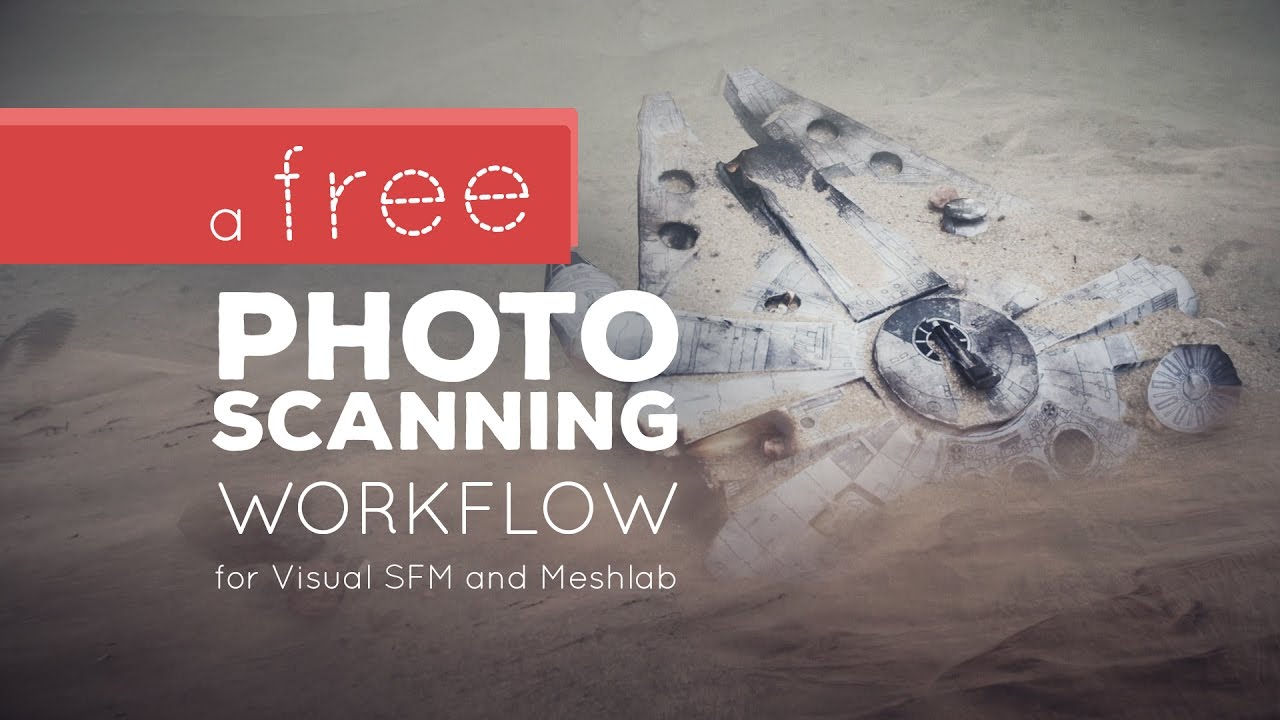
Getting the 3d model from a photo is something called photogrammetry. Blender doesn’t support this, but there are a few free apps you can use to do then, then import the mesh in blender. You might want to take a look at this tutorial by gleb alexander:

There is also a program called meshroom that can do this:

After that, you’ll have to figure out how to rig the mesh to get it to animate well. I haven’t tried this workflow before, but my guess is that after you import the raw mesh, you’ll probably need to make a copy and remesh that copy in order to get better topology. You might even need to manually retopologize this (sticking new faces to the old mesh one by one) because edgeflow will affect how the model looks when it’s deformed and animated.
1 Like

Thank you very much for your help Zanzio! Faith in humanity restored.

I’ll try your suggestions and post back my progress.

Cheers

Ed

I’m someone who also loves to collect funny gifs, and make my own every now and then.

That is an amazing phone app, it would be great to have something like that as a desktop program!

I’ve collected so many “people lmages”, in the hope that I would one day, “lift them off” their backgrounds and animate them using Moho, or preferably Blender.

Just yesterday I was modeling over an image plane the picture of a beetle on the leaf of a plant to practice UV project from view to “lift” the image off the picture onto the mesh for animating. (Unfortunately the scale of the UVs were off in scale, ruining the, what I hoped, simplicity of what I wanted to accomplish…

I’m def interested in this also, let us know how you make out!

-Will

This should be really easy to do using blender and most free photo editing apps (gimp or krita for example).

First, separate the foreground image from the background in gimp and export out a png with a transparent background (gimp has a tool dedicated to this):

Next import that image into blender as an image plane (shift + a > image > images as planes). You’ll probably want to select emit or shadeless in the bottom left of the import window so that the image doesn’t need to be lit by the lamps in the scene.

If you are using eevee, you’ll need to set the blend mode for the material of the plane to alpha blend:

Now, subdivide the image a bunch of times in edit mode (don’t use the subdivision surface modifier).

Switch back to object mode and click the green object data button in the property editor. You should see a section in the property editor for shapekeys. Press the plus icon a couple of times to add a basis and key 1 shapekey:
shapekeys

Set the value for key 1 to 1, then switch to sculpt mode. If you use the nudge brush on the plane while key 1 is selected it should just make those changes to key 1. You’ll be able to drag the value slider for key one to have the image morph between the way it normally looks and your sculpted changes, and you can right-click on the value to insert keyframes and animate these changes.

Here is an example I made with a cc0 licensed image of a dog I found. I exported out a frame sequence, then opened that sequence as layers of one image in gimp, then exported it out as a single animated gif:
dog
Here’s the gimp document and blend file I used:
dog.xcf (928.8 KB)
dog.blend (2.0 MB)

This is a simple example, but since that is an object in a 3d scene I could move it around just like everything else you create inside blender. If the animation you want doesn’t need to be any more complex than this example, then you should try using the animation feature that is built into gimp’s warp transform tool (aka “liquefy”):

Edit: Sorry if I explained a lot of stuff you already knew. I sort of missed some of the stuff you said in your reply. You probably know most of this stuff already since you said you make your own gifs and know how to model.

1 Like

Thanks so much Zanzio for your tutorial and time helping us.

I’ve used GIMP briefly in the past, but never liked it - I have Affinity Photo and Designer, though GIMP having a dedicated tool for “lifting” off backgrounds does sound like a time saver!

No issues for me lifting images, it’s the Blender result, as you’ve shown, that I’m working to become comfortable with accomplishing.

In my attempt with the beetle, I didn’t even bother to lift the subject; I just created polygons in front of the beetle in the image plane, and then projected the image onto the UVs.

I was expecting the UV polys to be in the same place (over the beetle) in the UV image, but it was larger and off position; I had to scale down, and move the islands back over the beetle in the UV image which worked, but again, I was expecting a quick image transfer using this method??

Not sure if it was the scale of the image plane or the aspect of the UV image, etc., that caused the UV islands to be in the wrong position on the UV image.

I’ll try the method you’ve outline with lifting the subject out of the image (which admittedly will limit how much the UVs can move off the subject!)

Again, thanks for helping us!

-Will

Yea, its sounds like you unwrapped it using project from view instead of project from view (bounds). That version of project from view makes sure that the edges of the UV islands match the edges of the image. The way you were trying could work, but you will want to make sure the mesh you draw over the subject in the image plane has a lot of small polygons inside it instead of being a bunch of large triangles that are stretched across the surface. You need a lot of polygons in order to get a liquefy style effect when doing this in blender. The method I described should be the simplest way to set this up though.

Hi, yes, in another tut about projection mapping a street scene, it was shown how the image doesn’t look right unless there are enough polygons in the mesh - I’ll keep that in mind!

Maybe I’ll start from a plane that I subdivide a few times instead of “targeted” polygons to cover the subject like I’ve done now. Then when finished throw 2 or more subdivs onto it and then uvmap.

Thanks for the View Bounds - def didn’t try that one!

As always, thanks, I really appreciate your time and help!

-Will