…Now you are back to my first post…
select the object…enter edit mode…Un-wrap the object…in the Lower LEFT POP-UP
set Margin to .01

In the UV space …Top Bar, add New Texture Image… I used 1024, Black Background, Use Alpha ( Name it something)
make sure all is selected in edit Mode…Use MESH>Separate>by Material
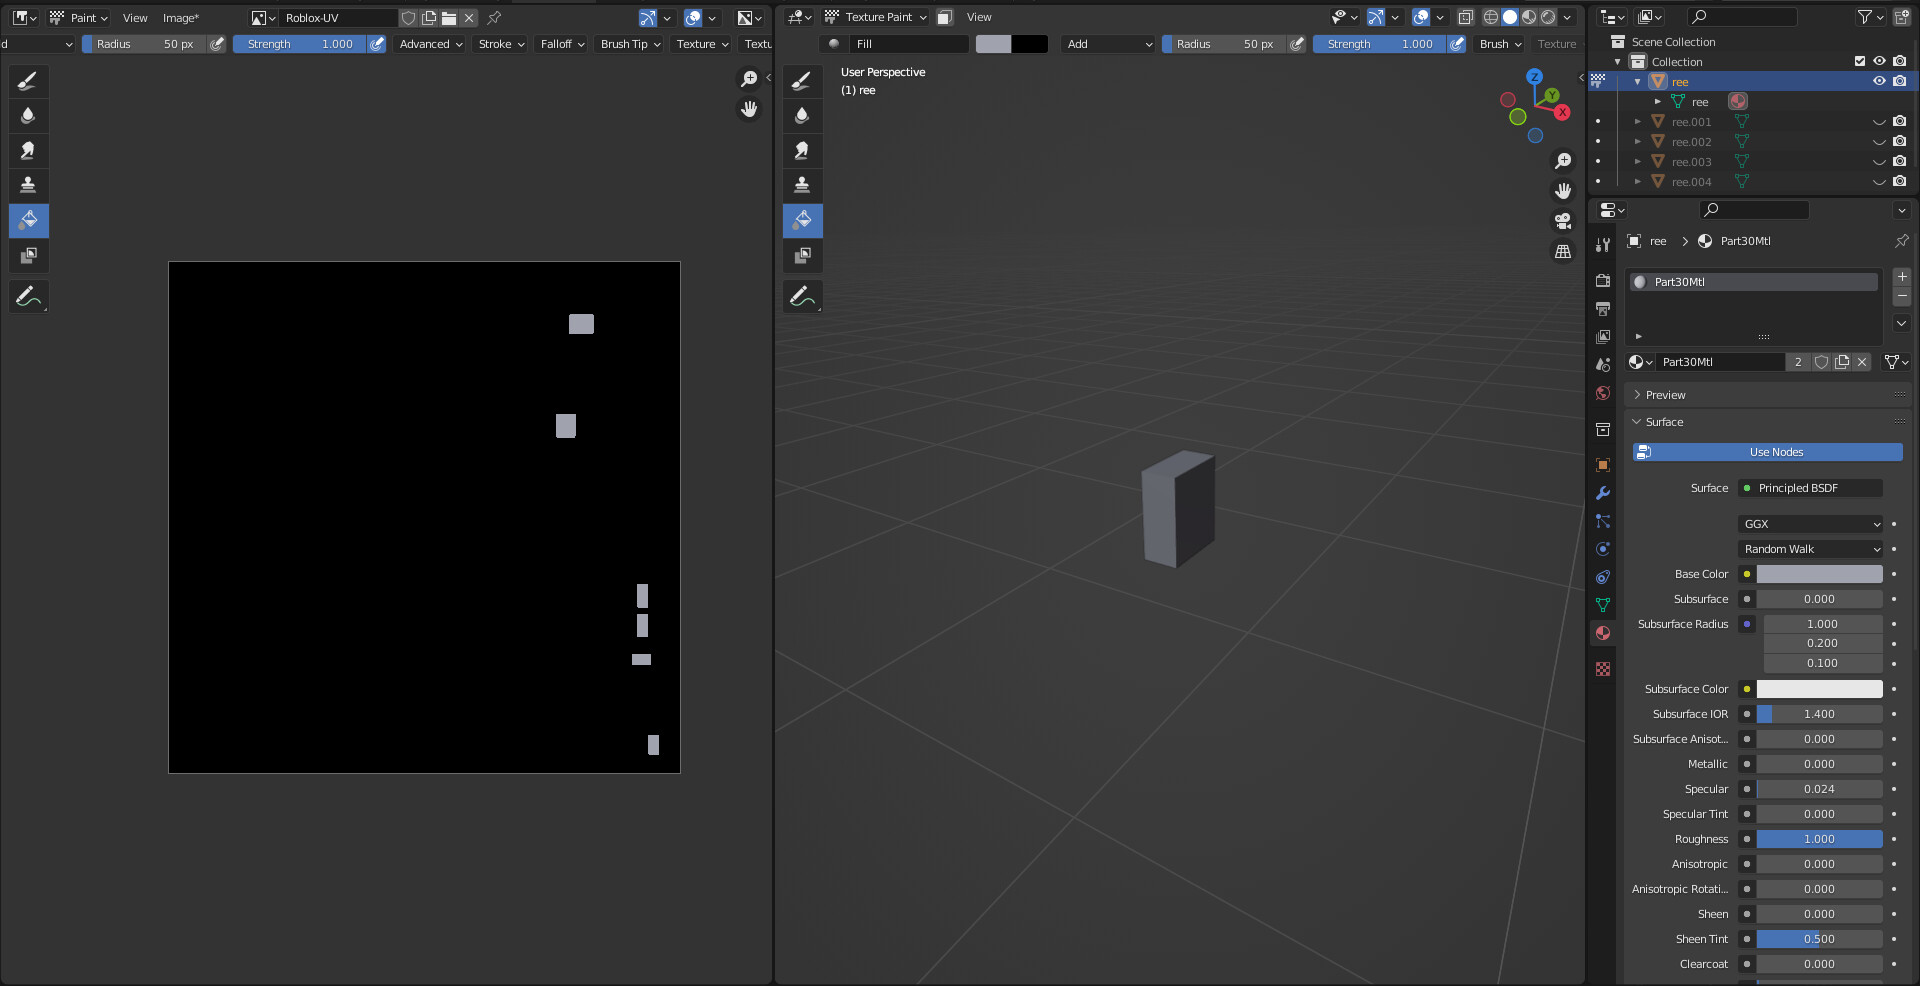
Enter Object Mode and switch to the Texture Paint workspace ( top bar Texture Paint)
On the R side…top Tab…Switch the Mode to Single Image…In the new boxes that appear select the New Texture you just created from the UV space ( whatever you named it)
( NOTE: You might not see the Roblox in the Paint Window as it is so small…so switch to Object mode in the Paint window and hit either the Home Key or the Period on the Num-Pad…then switch back to Paint Mode)
**You are going to repeat the following for every part of this...so read through it carefully. And follow along step by step for the first part...then do the rest**
You will be using the Outliner and the Material Properties repeatedly...

1. In the outliner click the EYE icon for every item but the first one...
2. In the Texture Paint R-Window set the Blend Mode to ADD ( default should say, Mix) Use the Fill Tool... For the color click in the Color Box ( white ) and use the eye-dropper to get the color from the Base Color in the Material Properties ( right Side Beach Ball Icon)
3. Hover over the Part...and Hit Left Mouse Button...
4. Turn OFF the eye Icon ( you will have an empty View)...Switch temporarily to Object mode and in outliner turn on the eye for the second object...and select it...then switch back to Paint Mode > Repete steps 1-3

Now repeat the steps for all the rest of the parts... when done...
**SAVE THE IMAGE FILE !!!**
Switch to Object Mode…turn on all the eye icons…select the first mesh in the outliner and shift select all the rest… Hit Ctrl + J to Join everything back together…
Switch to Material Preview ( Viewport Shading ( 4 balls on top bar Right side…)
In the Material Properties…Hit the Minus button on every material…
Add a New Material…and add a texture Image connected to the Base Color of the Principled Shader…set it as the Image file you just saved…
Admire the work, you just did!
But just remember all of this could have been done in less than a few minutes by using the Bake option!
Happy Blending!