How can I replace a rigged mesh?

Greetings blender community,

I am modelling for 3D print, so i have really high poly counts. I used a remesh to pose my model, my question now is, how can I replace the posed, reduced model, with my high poly mesh in the easiest possible way? I tried multiple ways but nothing seems to work so maybe someone here can help me. I am fairly new to things like this, so maybe I tried the wrong ways and overlook the most simple solution. The models are exactly the same, one just has a applied remesh modifier on it to reduce the poly count for easy moving without performance problems. They also share the same location when the rigged model is in rest position. I already tried using the same copied armature with the high poly mesh and to just copy the pose, but I always get a failed heat weight error, even after trying to clean up the model and/or to decimate it. I tried so many combinations but nothing seemed to work.
I already spent three days only trying to figure out what to do and I am slowly getting tired of it since nothing wants to work. :confused:

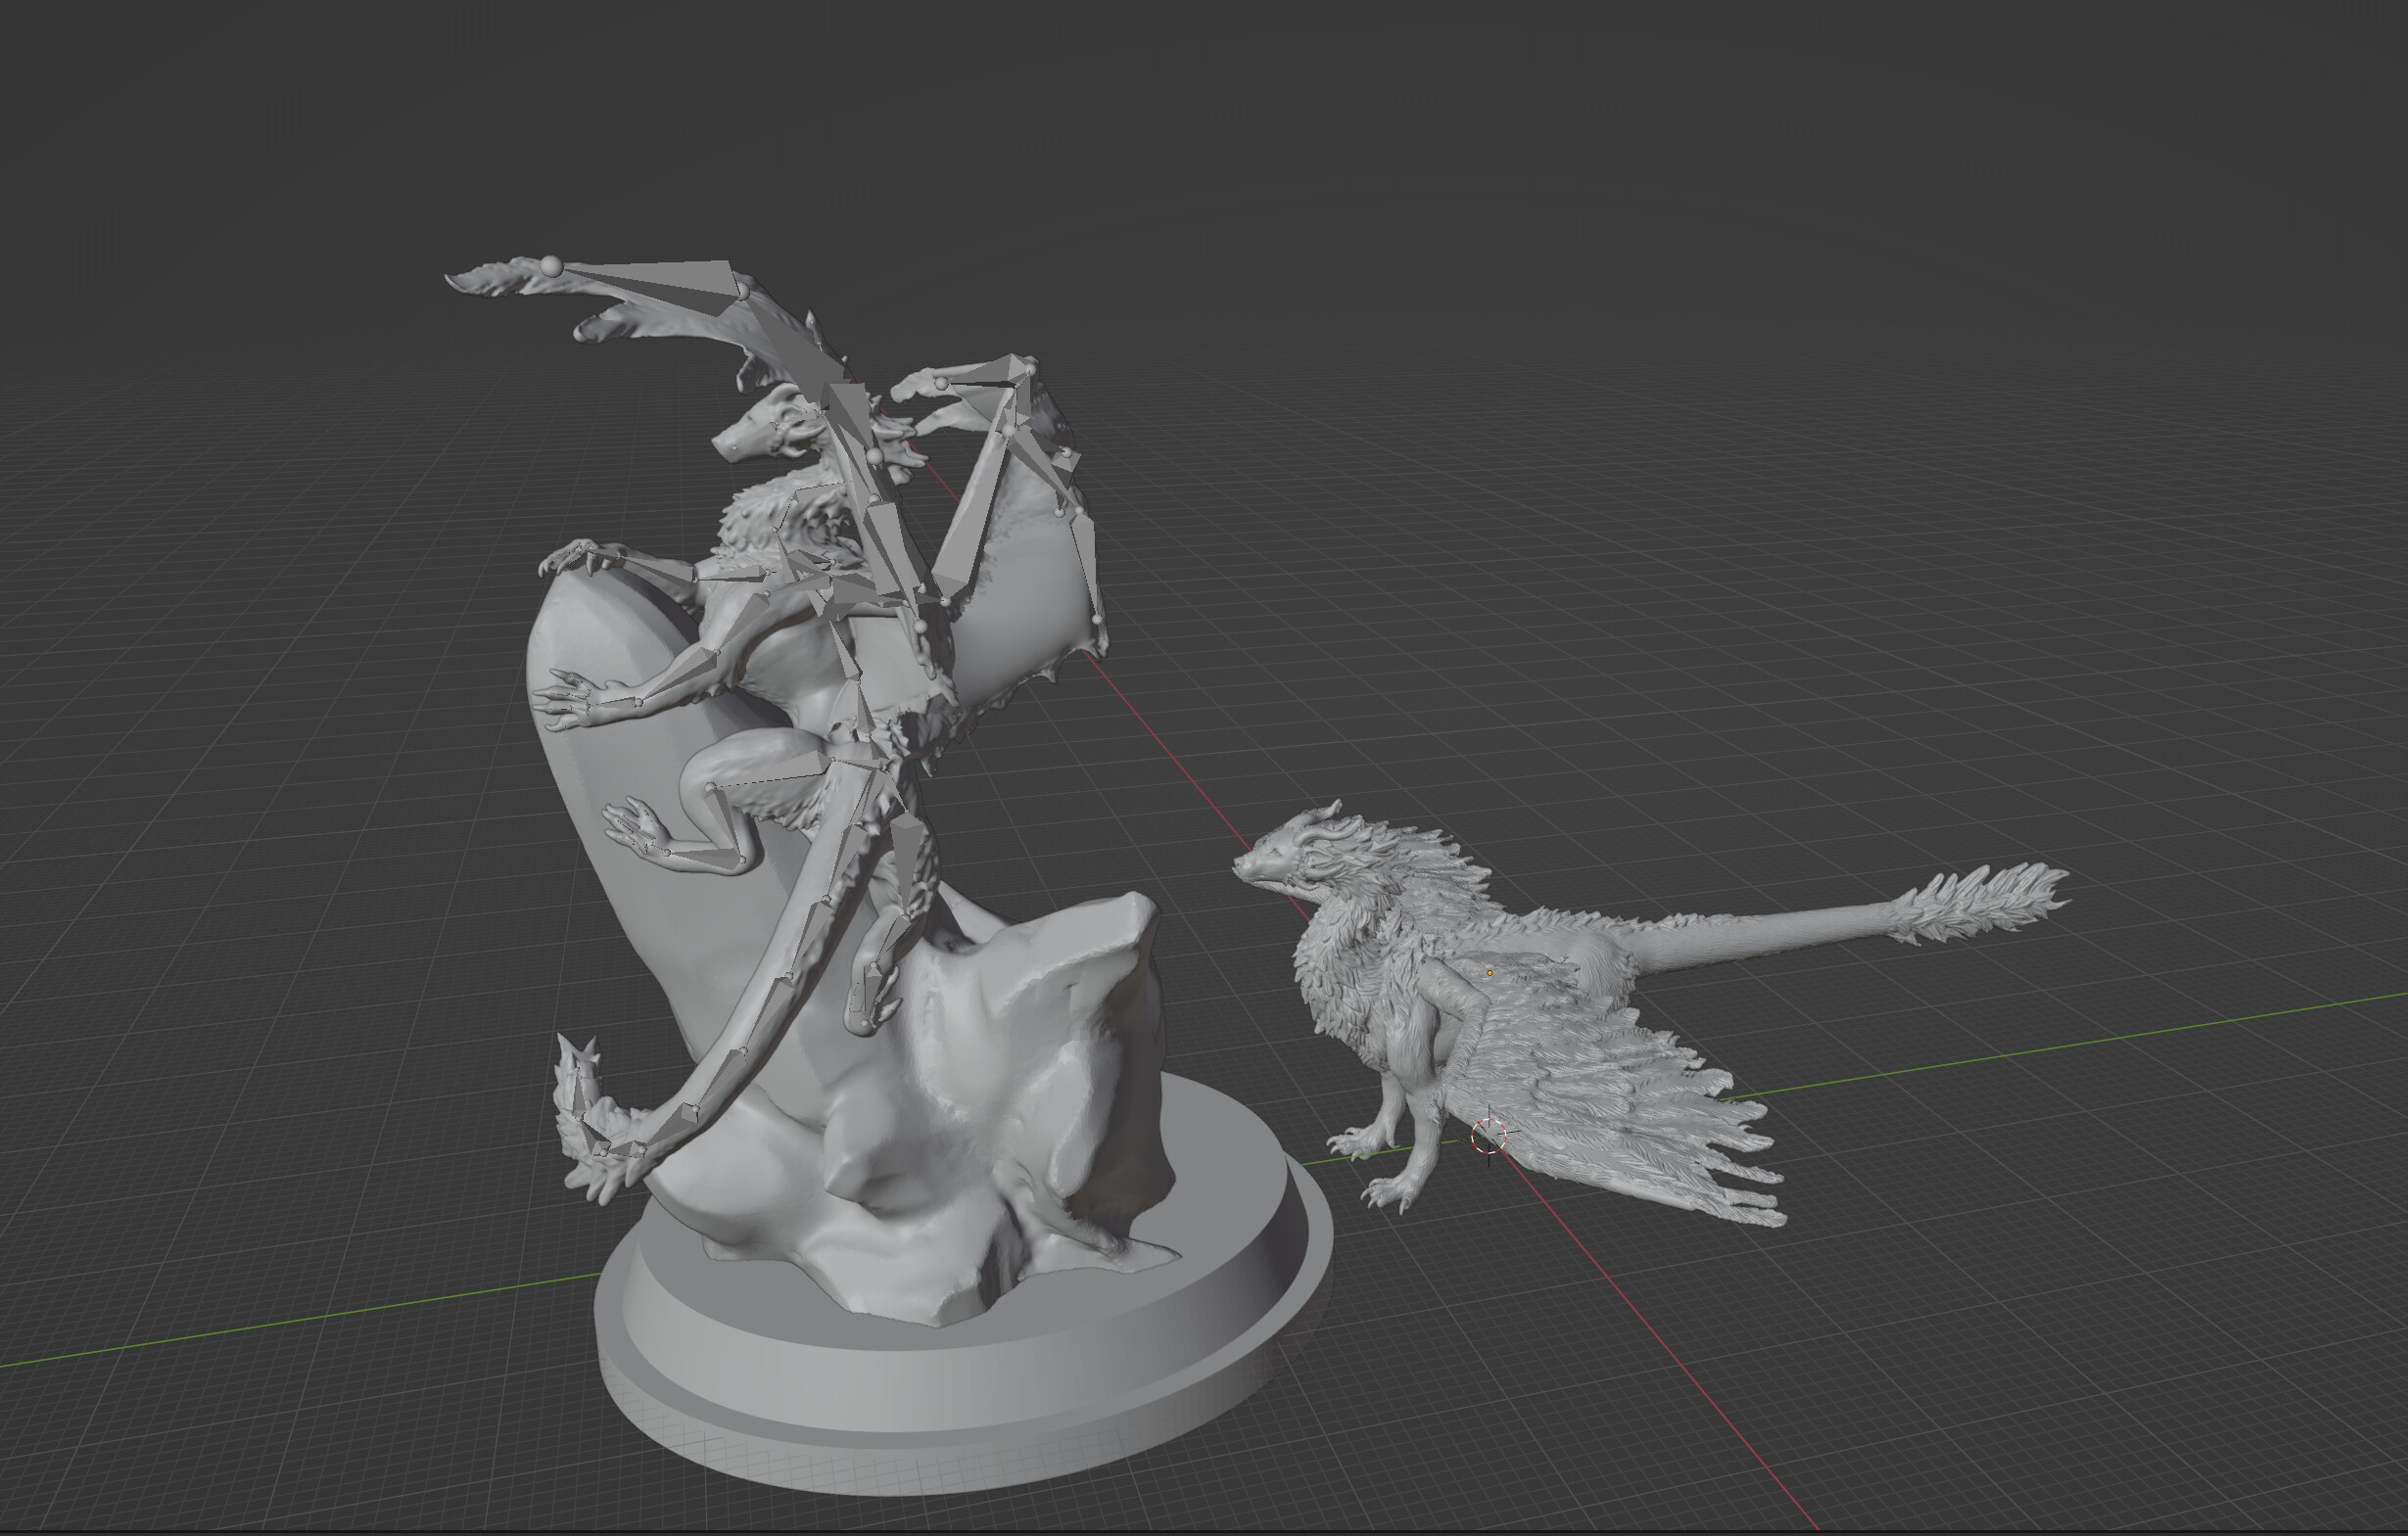
You can try a couple of things. There aren’t any guarantees, because the remesh is always going to be different from the high poly. But you can try things out and see if they’re good enough for you.

The first thing to try is to copy weights from the remesh to the high poly. I’d do this with a data transfer modifier, set to copy vertex data, vertex groups, on the basis of nearest face interpolated, with the remesh in rest position. Don’t forget to hit “generate data layers”. Consider applying the modiifer. There are a lot of ways that people screw this up, so it’s wise to spend some time reading the manual and understanding what you’re doing; I’m usually happy to help, but for failures in implementation, I usually need a file, and files with high polys are big, and I sometimes need more detailed information about the process is being used than can be provided by people who are still not sure what they’re doing. This is an alternate way to get weights on your high poly, after which you’d still need to parent with armature deform, but just straight armature deform, not armature deform with automatic weights.

Another thing you can try is just scaling your armature and mesh up, and applying scale, then autoweighting your high poly. I suspect that autoweight failure on high vert density meshes is related to precision issues with Blender’s autoweights (that shouldn’t exist, but they do, and we work with what we have), and doing this at a larger world scale may help you beat the autoweights failure. After you’ve got the scale to get autoweights working, you can restore scale any way that you want, but if you have trouble, ask.

A third option here is to skip the armature and use a surface deform or mesh deform. A surface deform is a little easier to use: you put both meshes in the original shape, then you give the high poly a surface deform modifier targeting the low poly and hit the bind button. The bind button is not guaranteed to work, but putting a triangulate modifier on the high and low, before the surface deform in the case of the high, preferably on “fixed” triangulate mode, improves your odds considerably. After that, you pose the low poly, and see if it’s what you want. A mesh deform is slightly better (definitely easier to bind), but it depends on the low poly completely enclosing the high poly. There are things you can do to make that happen, but this is already a longer post than you’d like to read…

But, like I said, there’s no guarantee that any of those will be good enough for you. There is some data lost on any low poly. For a 3D print, it might be worthwhile to use those techniques, apply any modifiers on the high poly, then make additional tweaks in sculpt.

2 Likes

First of all, thank you so much for that quick answer and the possible solutions, the post wasn’t too long, in fact I was really thankful for the time you took to explain these things properly! I tried the scaling first since it seemed the simplest to me and it actually worked, kind of. My weights are just super weird and I am wondering where this is coming from and if I can fix it easier than trying the other solutions, I think if the weights would work, It would give me the most detail out of all this, since I can just use my intended model. I tried it with multiple scalings, and the bigger I had it, less unwanted deformations happend, but overall it looked like this with all scalings. I also tried to transfer the weights from the remeshed model, but it didn’t seem to to anything, maybe I need to read more in-dephts how the data transfer exactly works to understand it.

1 Like

Hi; so, this is more of the same, that @bandages already presented; but showing the process in a video tutorial.

so, in this segment (“Weight Painting High-Poly Meshes With Cage Meshes”) of this tutorial, there is the use of Data Transfer Modifier (relating to Weight Paint Vertex Data) to transfer between 2 equivalent mesh Objects, in which the low-poly sample (called “Cage Mesh” in the tutorial) is the original reservoir, reference Object for holding the Weight Paint data that will then be transferred to the new mesh Object (that is the high-poly mesh Object; just like in your case).

I’ve never used this method personally, as I don’t even usually work with high-poly meshs. But I believe this is a useful method to know anyways.

1 Like

I’m not sure what happened there. I might have some better answers with a file, but a high poly is a big file.

I would recommend trying some other techniques, because autoweights on something with a lot of surface detail never seem very good anyways-- the surface detail create differences in weights that the detail probably shouldn’t.

The best thing to do, IMO, is to try everything. These are things that are a little tough to figure out your first, maybe your second time, but easy after that, so you can treat it as an educational investment. However, there can be particulars for people that make it so that stops being such a good idea.