I’m trying to rotate the mapping of my hdri environment image, but my usual technique of “click the object in the outliner to bring up the related node structure” doesn’t work when it comes to world nodes.
How do you bring those up in the node editor? (>w<)
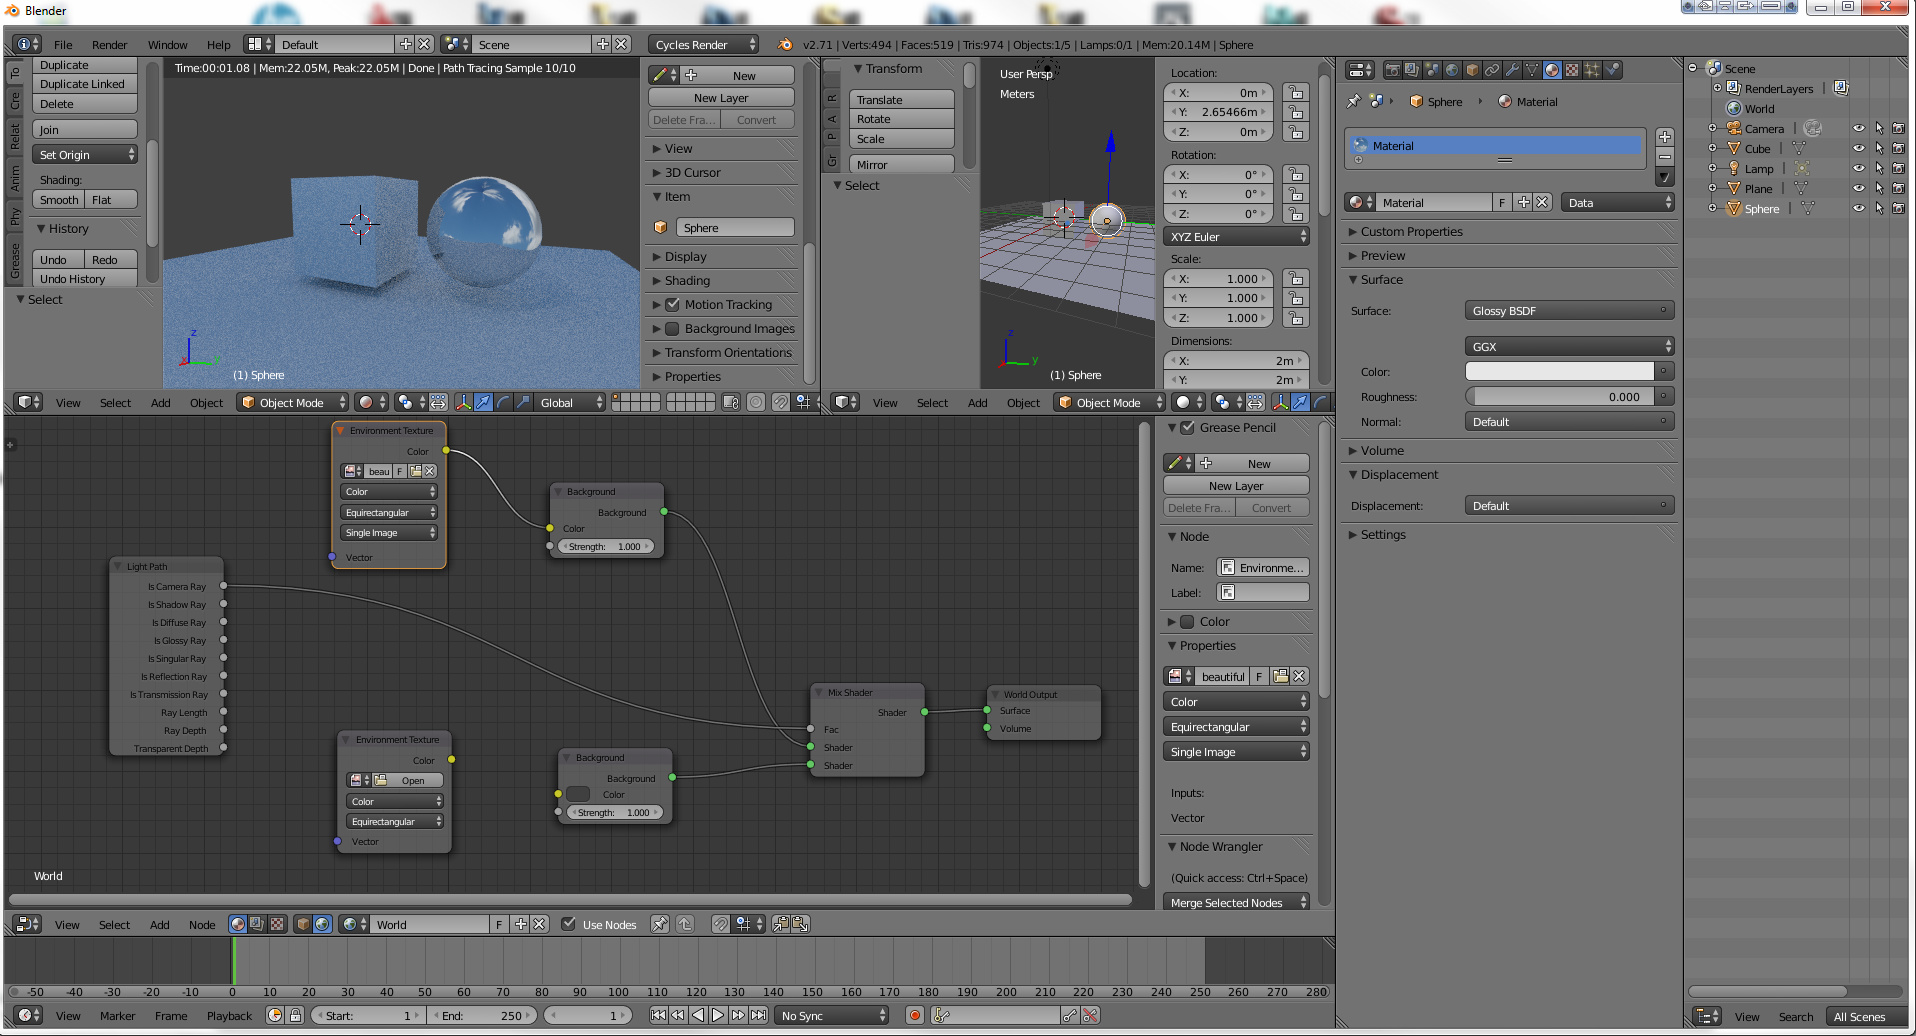
It allows the environment map to control not only the colour but also the strength of the lighting (which can be tweaked using the gamma and brightness controls as required). I find this setup gives stronger shadows and caustics and I find that the colour of the scene is dictated more by the lights in the HDR map than by the surrounding environment.
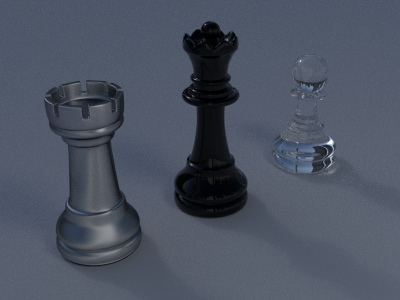
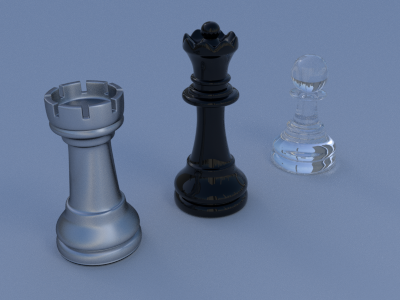
The following images show the difference between using the node setup above to plug the environment map into both the colour and strength slots (top image) - and plugging the environment map into the colour slot only (bottom image). In both examples - multiple importance sampling is turned on.
I do Texture -> BW -> Gamma -> Add (original), which I then recolorize with the original color. This leaves me control over the brightness without oversaturating the texture, and I have means to get shadows back on images which doesn’t go low enough in their exposures. With normal elements in i.e. -3 to +10 EV range, it matters greatly for sun shadows if the sun was exposed to 10 EV (it’s still HDRI) or to 20 EV or more. If you can’t obtain exposure range in the image, it becomes guesswork wrt setting up the parameters (every image needs its own settings), and it’s impossible to automate good settings. There is no one solution fits all situations I’m afraid.
Btw, the gamma node is what brings shadows back, since it can lift very high EVs to extremely high EVs (as the sun would be). A difference in 10 EV produce a much more noticeable shadow than a difference in only 5 EVs.