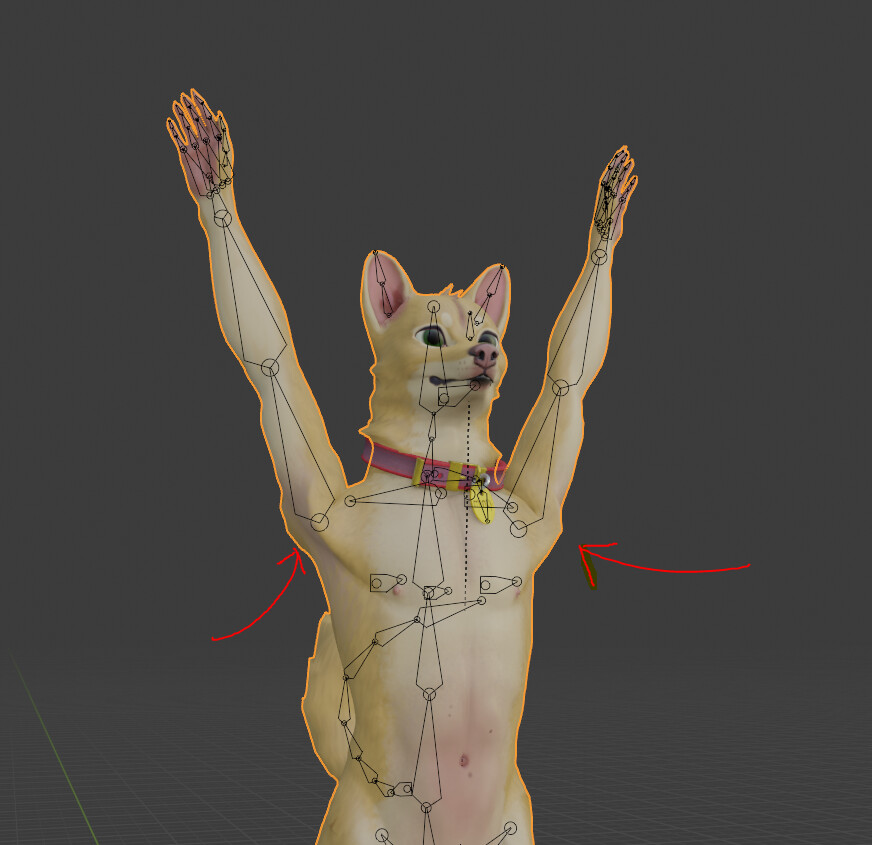
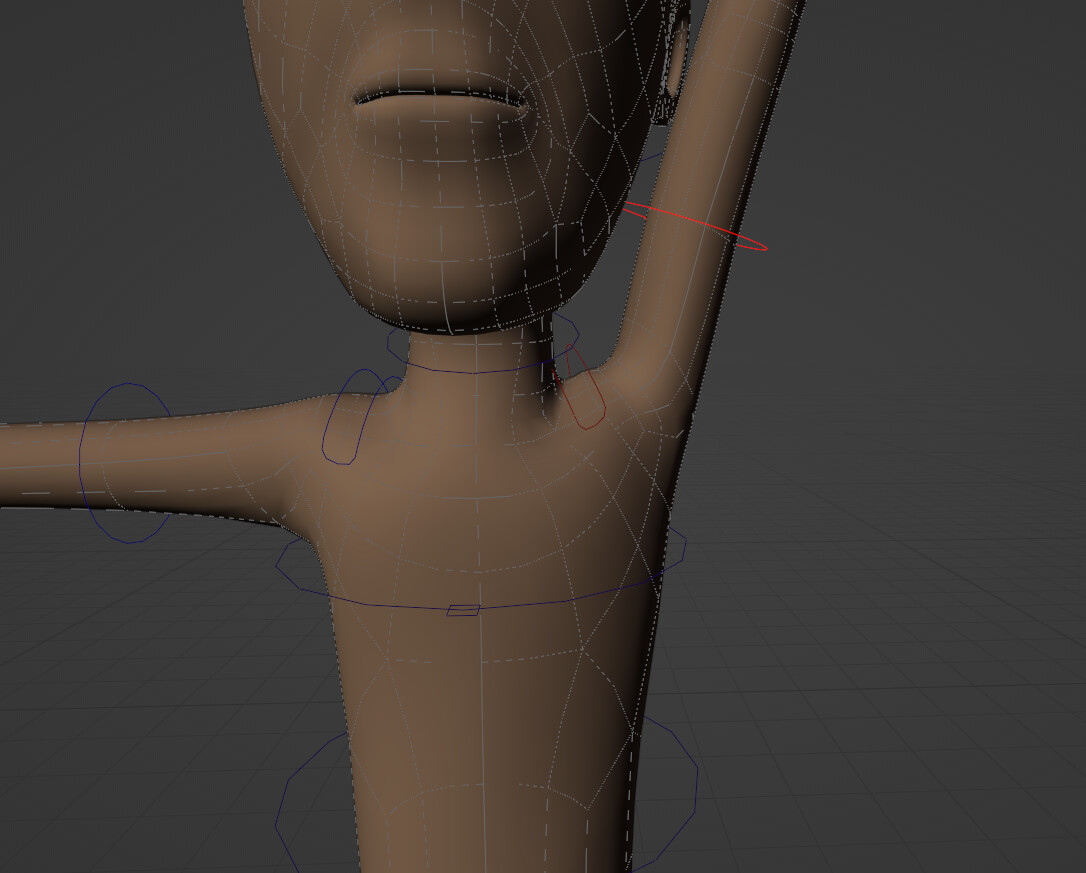
What on earth am I suppose to do about that? This is going to be a VR avatar, so when I move, how do I keep it from looking atrocious? If I were to modify the mesh in these poses, it would destroy the base pose look.
I’ve tried doing shape key drivers for the shoulders, the rotation thing always confuses me because its rotating ALL axis even when I’m just selecting one, so I just choose the axis that ends up giving me 1.000 on the shape key. BUT, the problem is, the beginning and end of the movement are fine, but inbetween my shoulder explodes in a mess of expanded geometry. I also don’t know if VRChat will utilize it, if it doesn’t that saves me the hassle, but still I need to fix the issue with the geometry while moving.
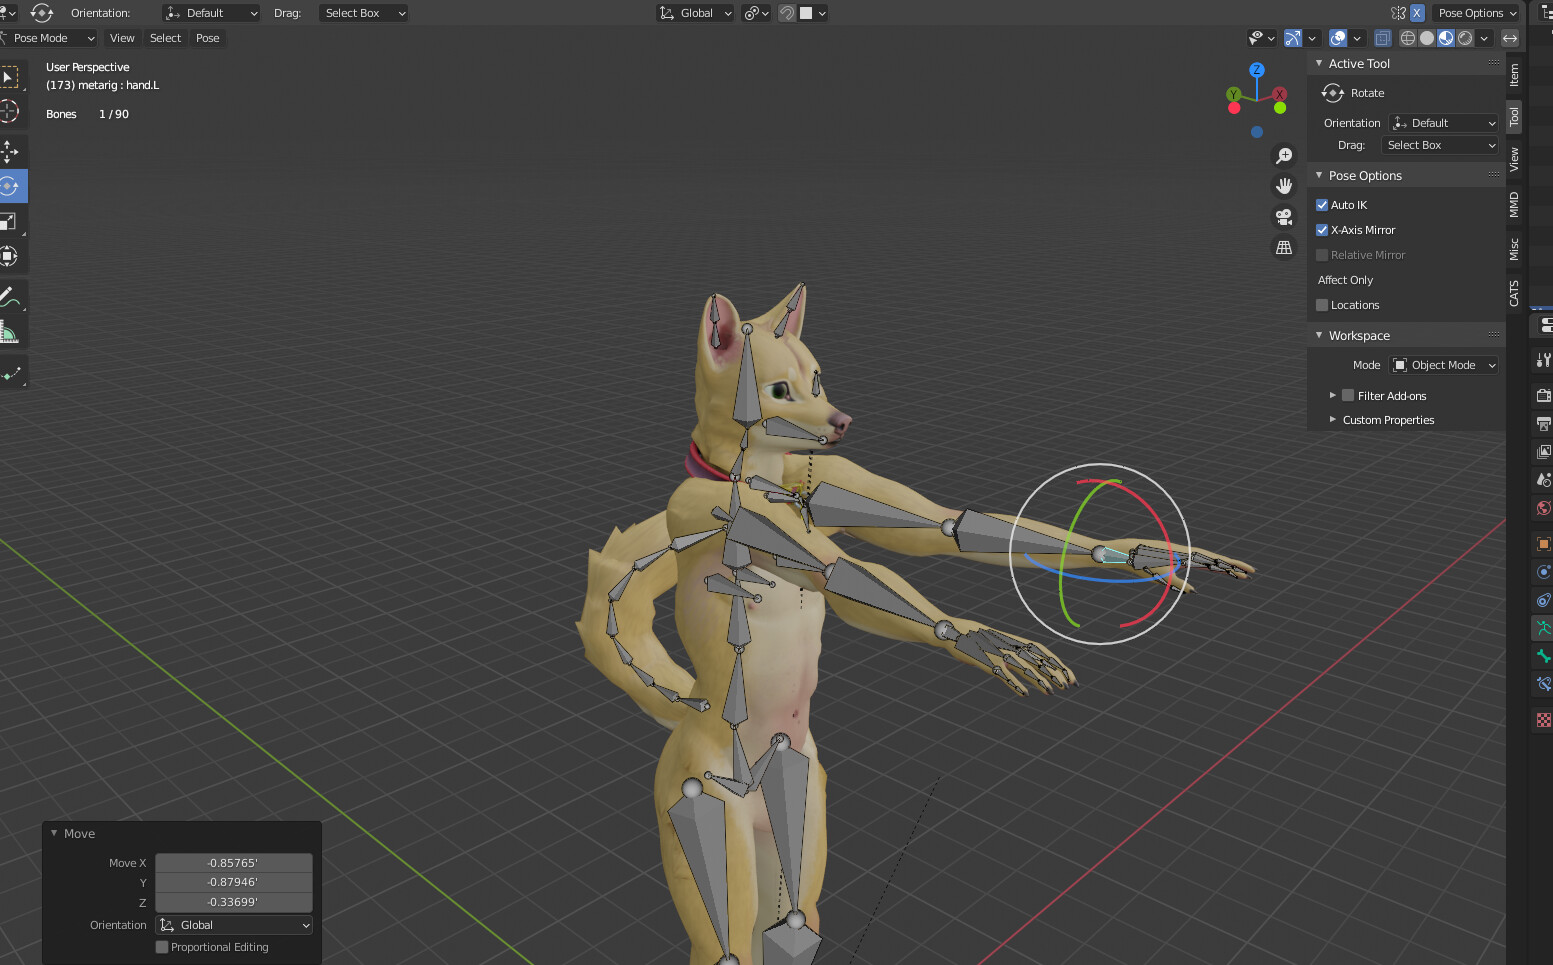
Also the rest pose is a T pose. So arms down is fine, but arms up results in that. Am I going to have to sacrifice the anatomy of the muscular structure to hide the horrible stretching?
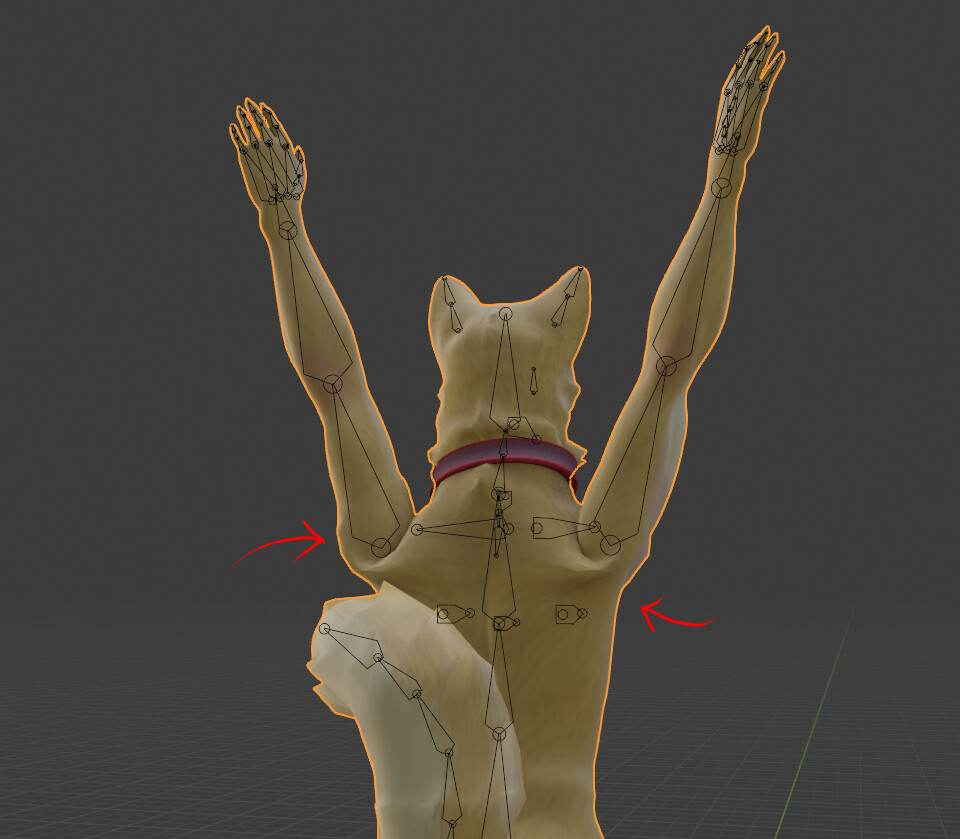
Yes, no matter how I paint the weights, its an abomination in another pose. Whats more, if I move the arms up in IK movement, its different then if I were to rotate it. Rotated looks a thousand times worse and I just have no idea whats supposed to be what before I try importing this thing into unity.
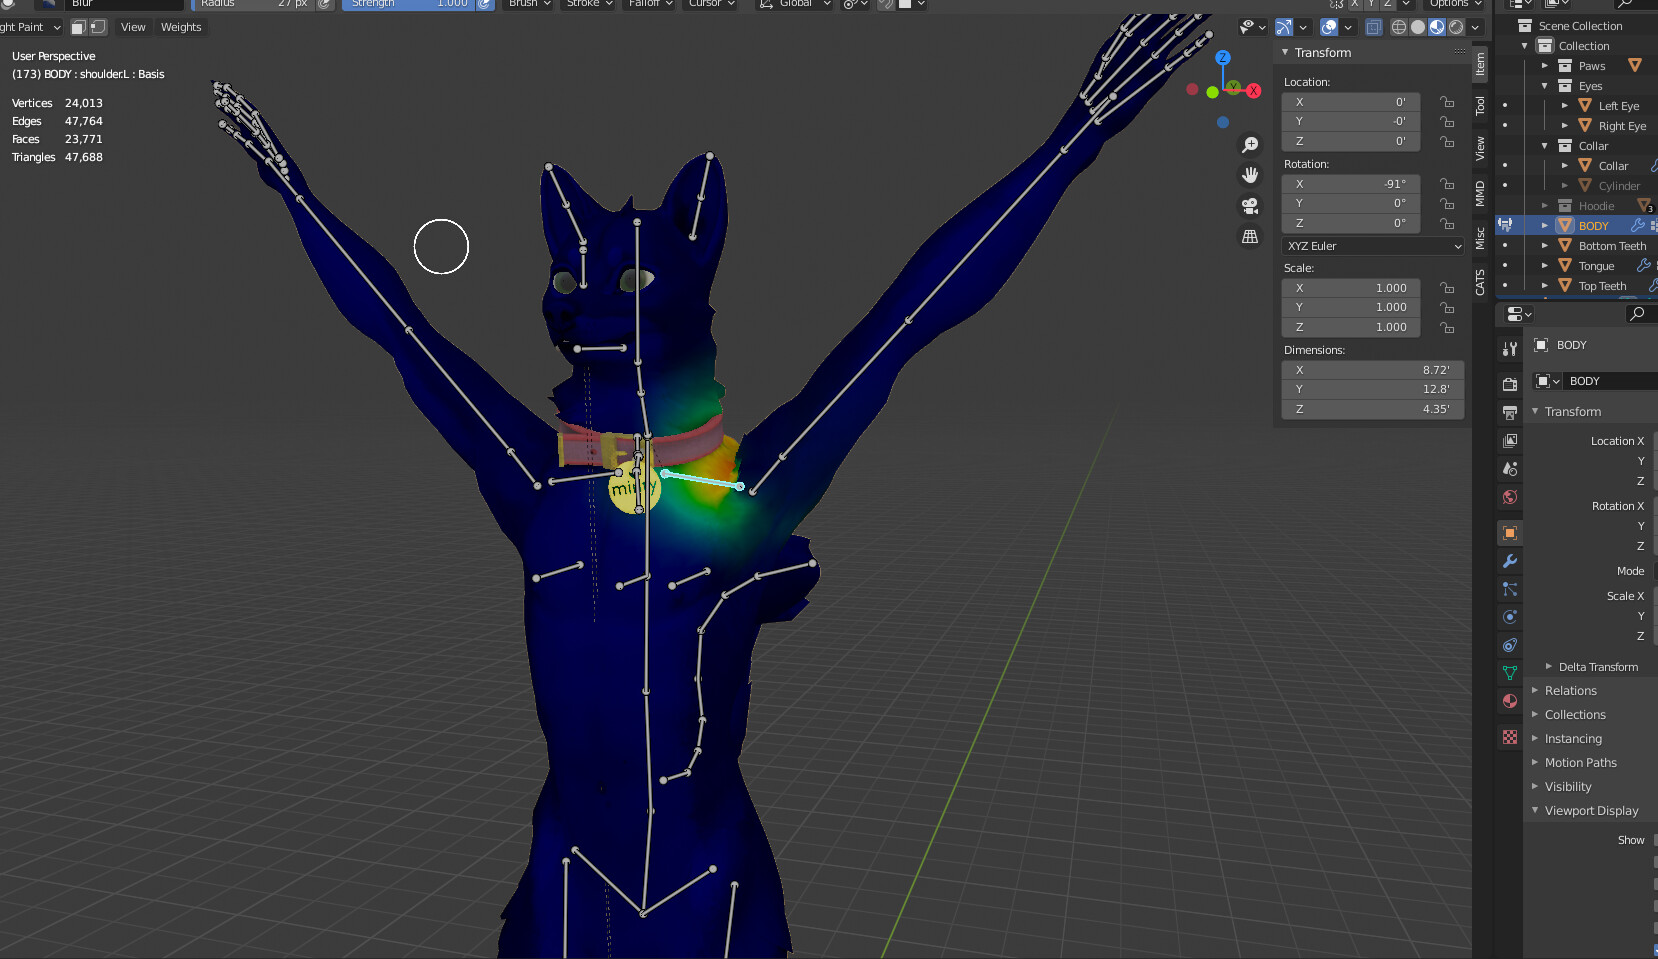
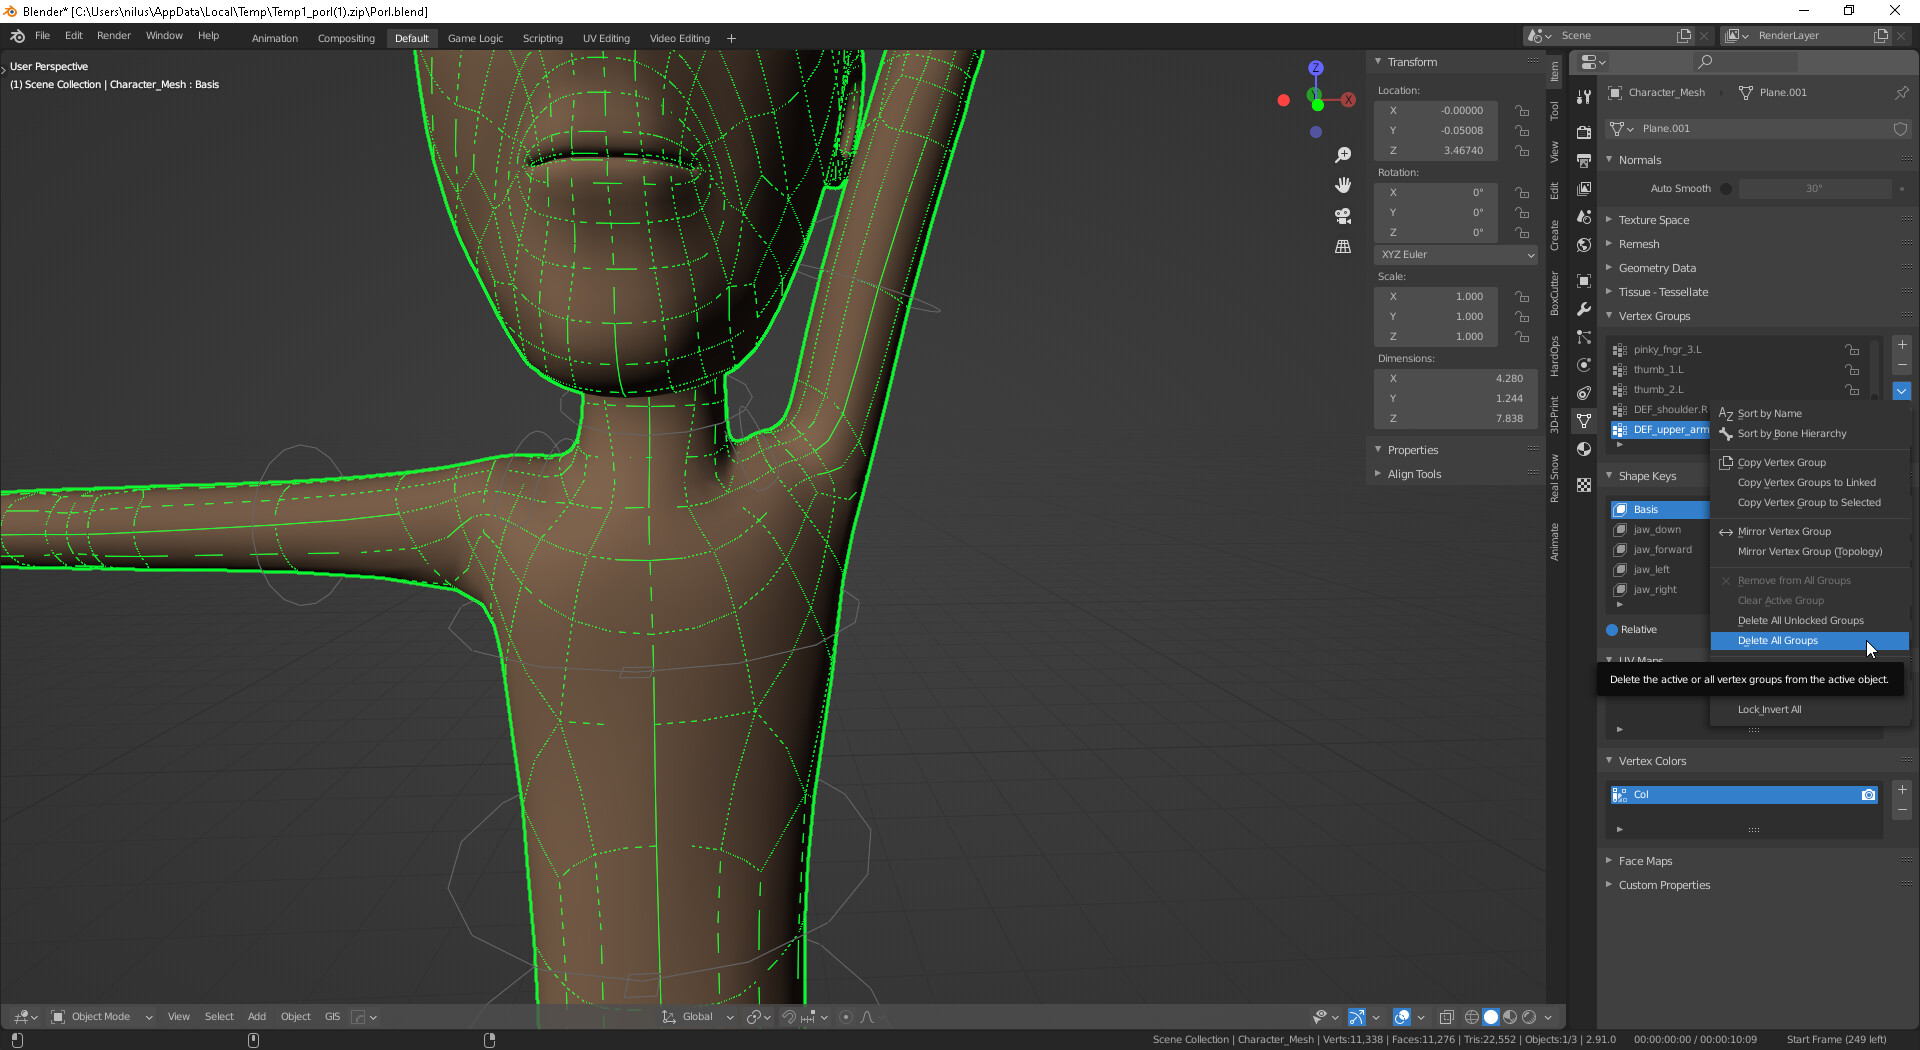
Right, I tried to do collar bone, but the one generated by the metarig doesn’t move at all, even with weight paints. So I tried subdividing the arm bone and using it like a collar bone, but all that does is make a really long arm with joints where it shouldn’t be. For example if I move the arm forward straight, the collar bone now points straight forward like the arm. I can’t find a way to make it so the collar bone moves a little with the arm, and the arm bone pivots around where the collar bone can’t bend too.
I’ve tried shape key drivers, but I don’t believe they import into VRChat and when I did try them, the inbetweens from arms down to arms up do a crazy deformed balloon thing.
I’ve looked up EVERYTHING having to do with shoulder, weight paint, collar bones, there is nothing and it seems collar bones on most peoples rigs are totally stationary. I’ve seen someones that was offset to the armbone and had some rotation, but there was no tutorial on how to do it.
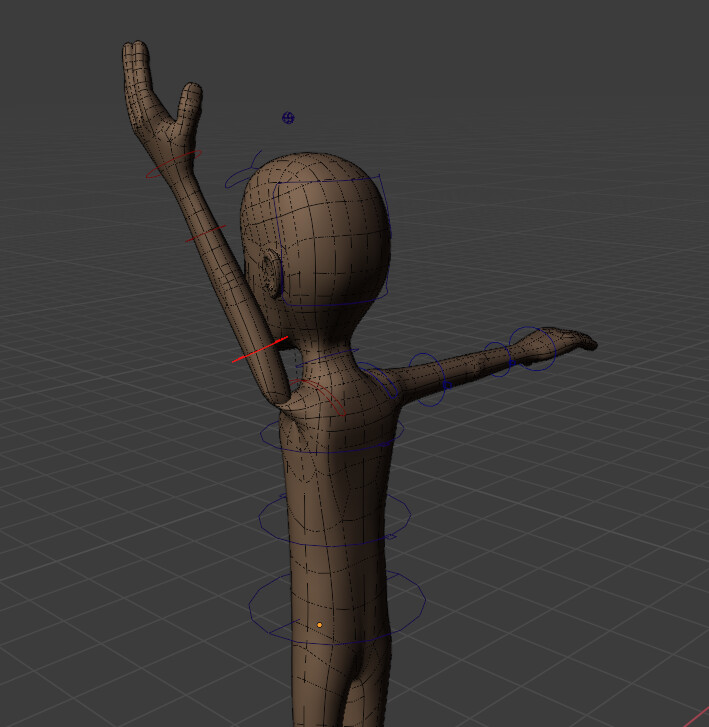
You’d need to weight paint the collar bone. Rigify rigs will do this all for you. Have you tried using Rigify? Or is that not compatible for what you need it for?
Yes, see here the collar bone from the metarig which is connected by an offset is weight painted but it doesn’t move at all. I’ve tried connecting this bone to the arm, but then it just acts as one long arm. I can’t make it so the collar bone only moves a little without restricting the rest of the arms movement.
I’ll download this and take a look. Though I’m not sure what to check for or how to apply it to mine. Let me have a look.
I’ve had a look. This shoulder does the same thing. Am I crazy or am I just interacting with the model completely wrong? I have inverse kinematics on and I grab the hand and then raise the arms up or I grab the upper arm bone and rotate it up.
You’re right. I was unfamiliar with the set up, I turned on kinematics and moved the arm, the collar bone does indeed move properly, but mine doesn’t. I don’t see anything in the settings that shows why this bone works that way. Keep in mind I’m extremely new and only just picked up blender a week ago. So hes got a collar bone, but its not offset, its connected to the upper arm, but doesn’t move as if its…a rope or a chain for example. How on earth do I create this bone?