I’m trying to replicate an image of the Apple Pencil (I assume it’s computer generated).
I’m happy with my Pencil model, the issue I’m having is how to achieve the lighting like the reference image. I’m using two area lights to replicate the reflections you can see on the metallic part of the Pencil, but I can’t achieve the contrast they have between the light and in shadow sides of the Pencil; my image is very uniform.
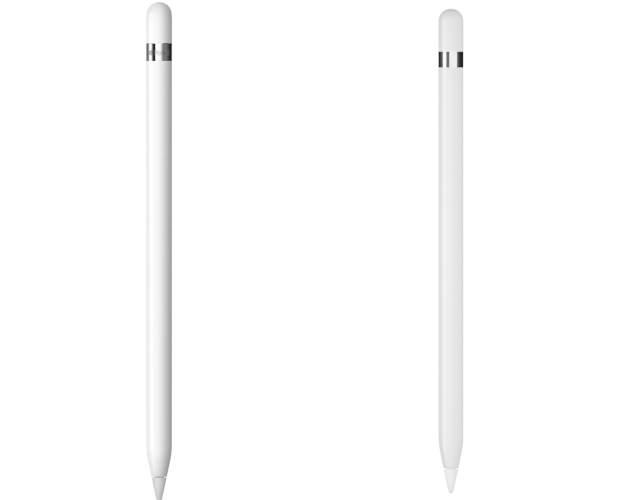
On the left is the image I am trying to diplicate, on the right is my current render result.
Any advice would be greatly appreciated! I still have a lot to learn, especially when it comes to lighting, but I think I’m close!
I’m pretty sure the render on the left has been done with a dark environment, the white background is visible only to the camera and does not affect lighting.
@Akikun Sorry I was unclear, I’m rendering with a transparent background as well, I just put my render on a white background after rendering, so you can more easily compare!
Bare in mind that many images you see that have been computer generated use tricks to look good. The reflections could be reflections from CG or they could be a simple image texture. They may also use an ansotropical value. Or even be Photoshoped in post pro.
To get the shadow on the right you would need a directional light pointing to your pen from the left and slightly to the front (try a sun lamp) with a dark background.
Edit they might have use a plane with two slits to shadow the light
Thank you for the response, you make a very good point about the image not necessarily being purely made in 3D!
I have played with the lighting as much as I can, and I don’t think you can get that combination of highlights and shadows without some kind of Photoshop retouching afterwards, perhaps I’ll try add a shadow using the compositor!