I have done my research on finding a way to add an outer glow to an object before going into the compositing phase in Eevee, but I hit a dead end and after some experimenting, i found a way to do it.
Worth noting :
- It works for both Eevee and Cycles.
- This method gives flexbility to change the outer glow intensity and color, even add more than one color.
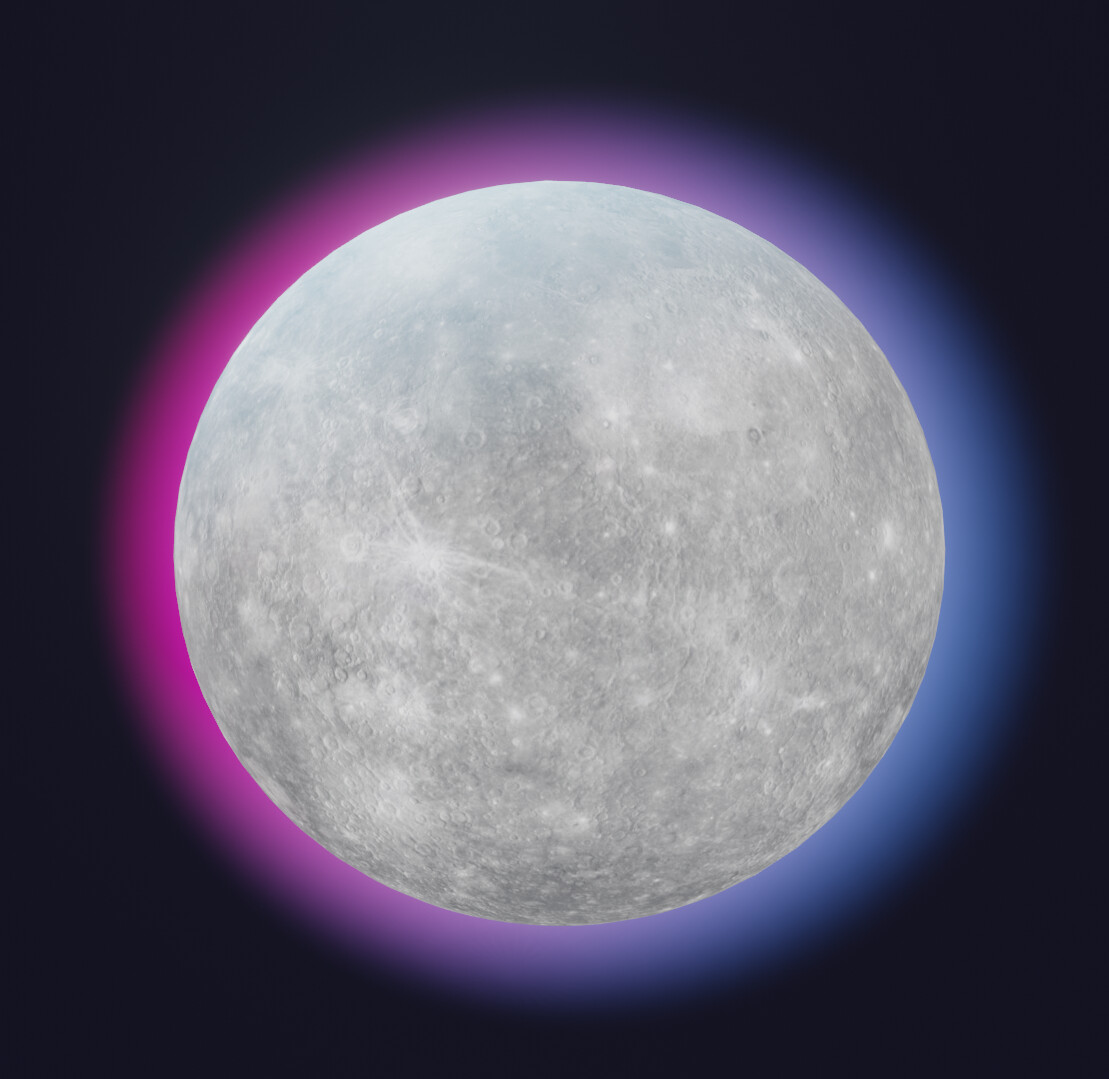
- I am not talking about an emission from the object, I am talking about an actual glow around the object like so:
There’s the video demonstration
")
and written version
So first let’s start by setting up the shader
- First make a “UV sphere”.
- “Shade smooth”.
- add a new material.
- pick whichever color you want for this material.
- then add a new material slot with another material.
- go into the “shading” tab.
- delete the “principled BSDF”.
- in the “material properties” turn on “Backface culling”.
- set the “shadow mode” to “none”.
- and “blend mode” to “alpha blend”.
*now add a “layer weight” node, an “emission” node ,a “transparency” node and lastly a “mix shader” node. - connect the “facing” value to the “fac” of the “mix shader”.
- then connect the “emission” and “transparency” node to the shader values on the “mix shader”.
- now add a “color ramp” which will be the colors of the outer glow.
- connect it to the “emission” shader.
- then add a “gradient texture” and change it to “quadratic” then while having it selected
- press “Ctrl+T” to add “Texture coordinate” and “mapping” nodes if you have
the “node wrangler” add on active
if not then just add them manually
Now Lets put the shader into use
-
go back to layout tab and add a “solidify” modifier to the sphere
-
set the “offset” to “1”
-
increase the “thickness”
-
“flip the normals” and make it “high quality”
-
then set the “material index” to “1”
-
Go back to the shading tab and set the colors you want for your glow on the “color ramp” node…you can use multiple colors if you want