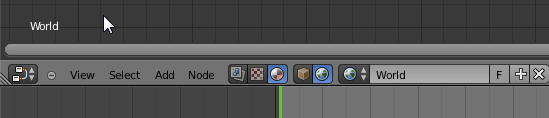
I’m guessing you’ve set your HDRi background using the World panel and selecting “Environment Texture”, but what you can do is actually have a node setup for your world material aswell, just like you can for your objects. If you open up the node editor and along the bottom make sure that the shaded sphere is selected(this is the material node editor) and then to the right, make sure that the little world picture is selected.
So now you can put in nodes as you would for objects. The node I’d use would probably be the “Hue Saturation Value” node, and that way you can turn down the saturation and get a more black and white image, but still with the varying light intensity. For instance something like this:
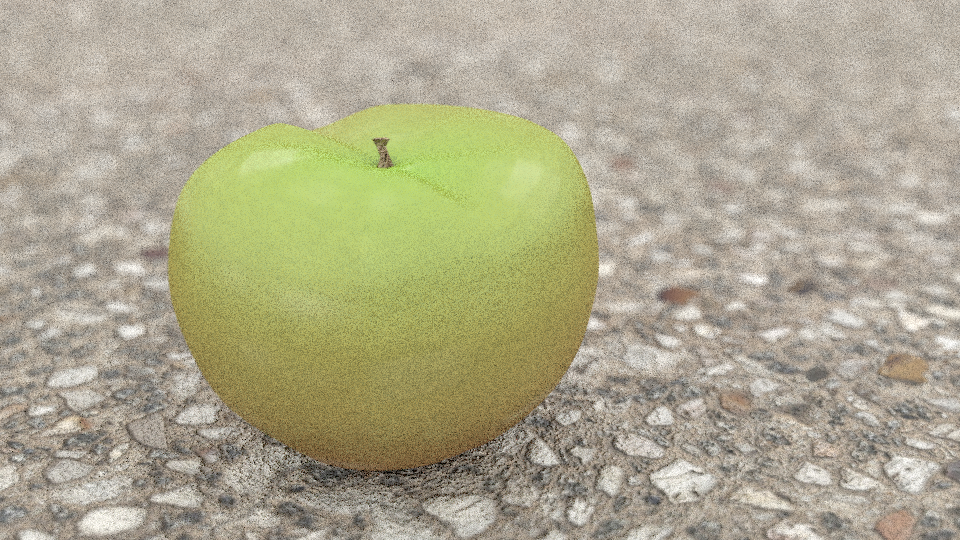
The problem with this simple setup is that if you actually had some of the background in view you’d see a really washed out and old image. If you wanted to see the original image(with all its colour), but have the less colourful image actually light the scene, then you can do a little trick with the nodes. But that’s a different thing, so if you wanted me to do a quick few images on how to do that just let me know.


 If you’ve got any more questions don’t hesitate to ask.
