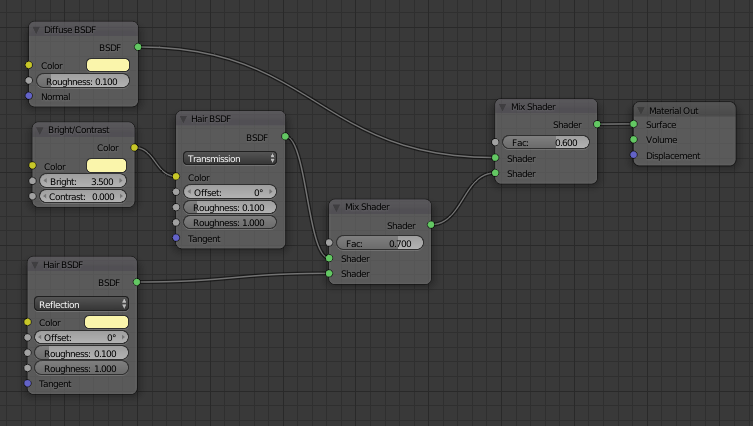
I want something similar to this, with nice blending with skin (and it’s not just material with normal map, you can see hair particles). I know that it was created in blender, so there’s should be a way
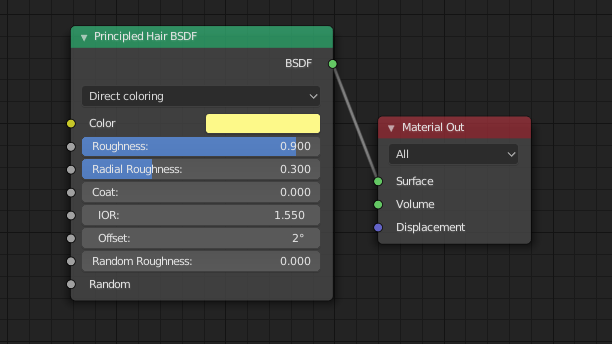
Well, I think it gives control over everything, though it’s not very easy to use/understand, also using children can cause some problems like light/dark hair clumps
Like with my bear render. I’ve been modifying this shader settings for hours, days. Finally got what I wanted. With that shader alone.
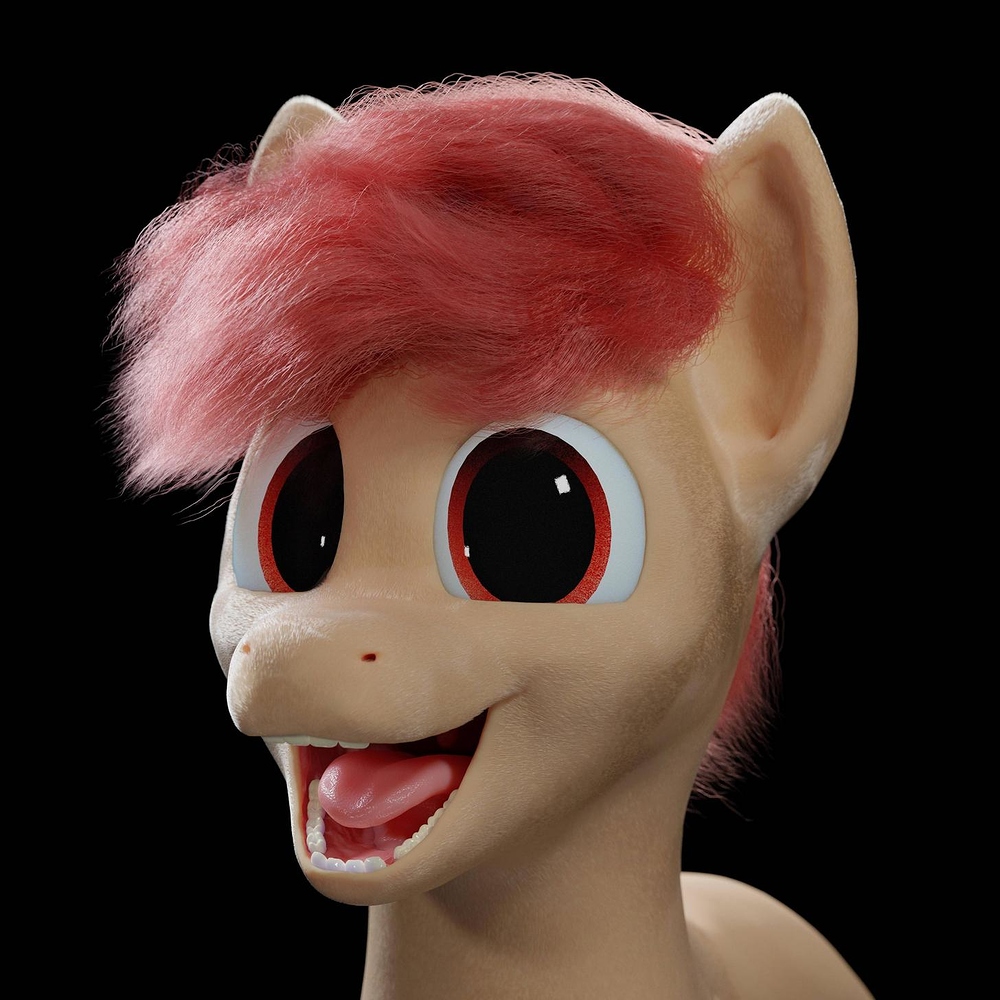
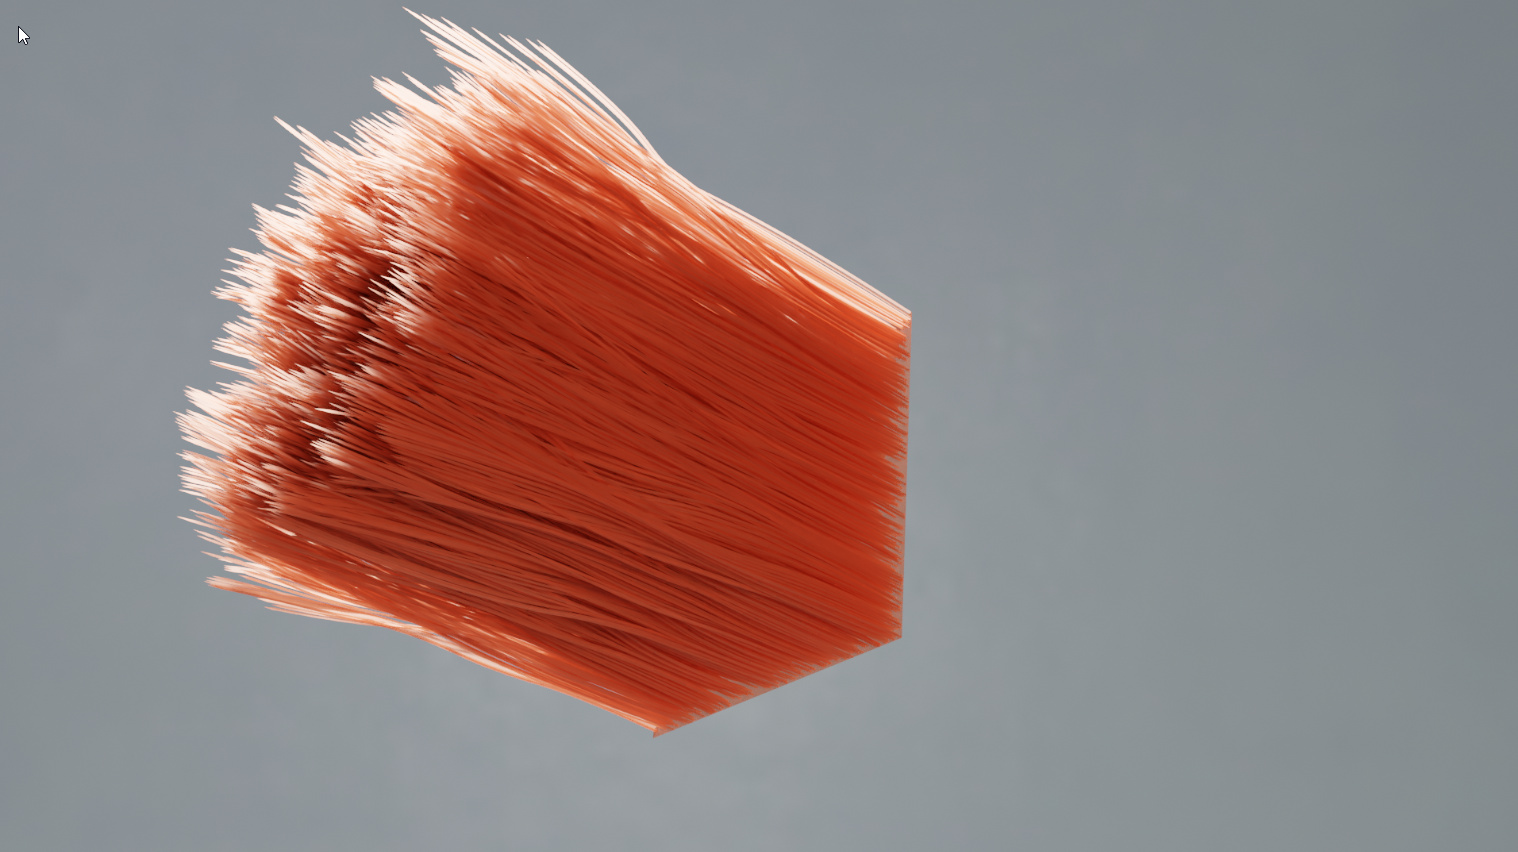
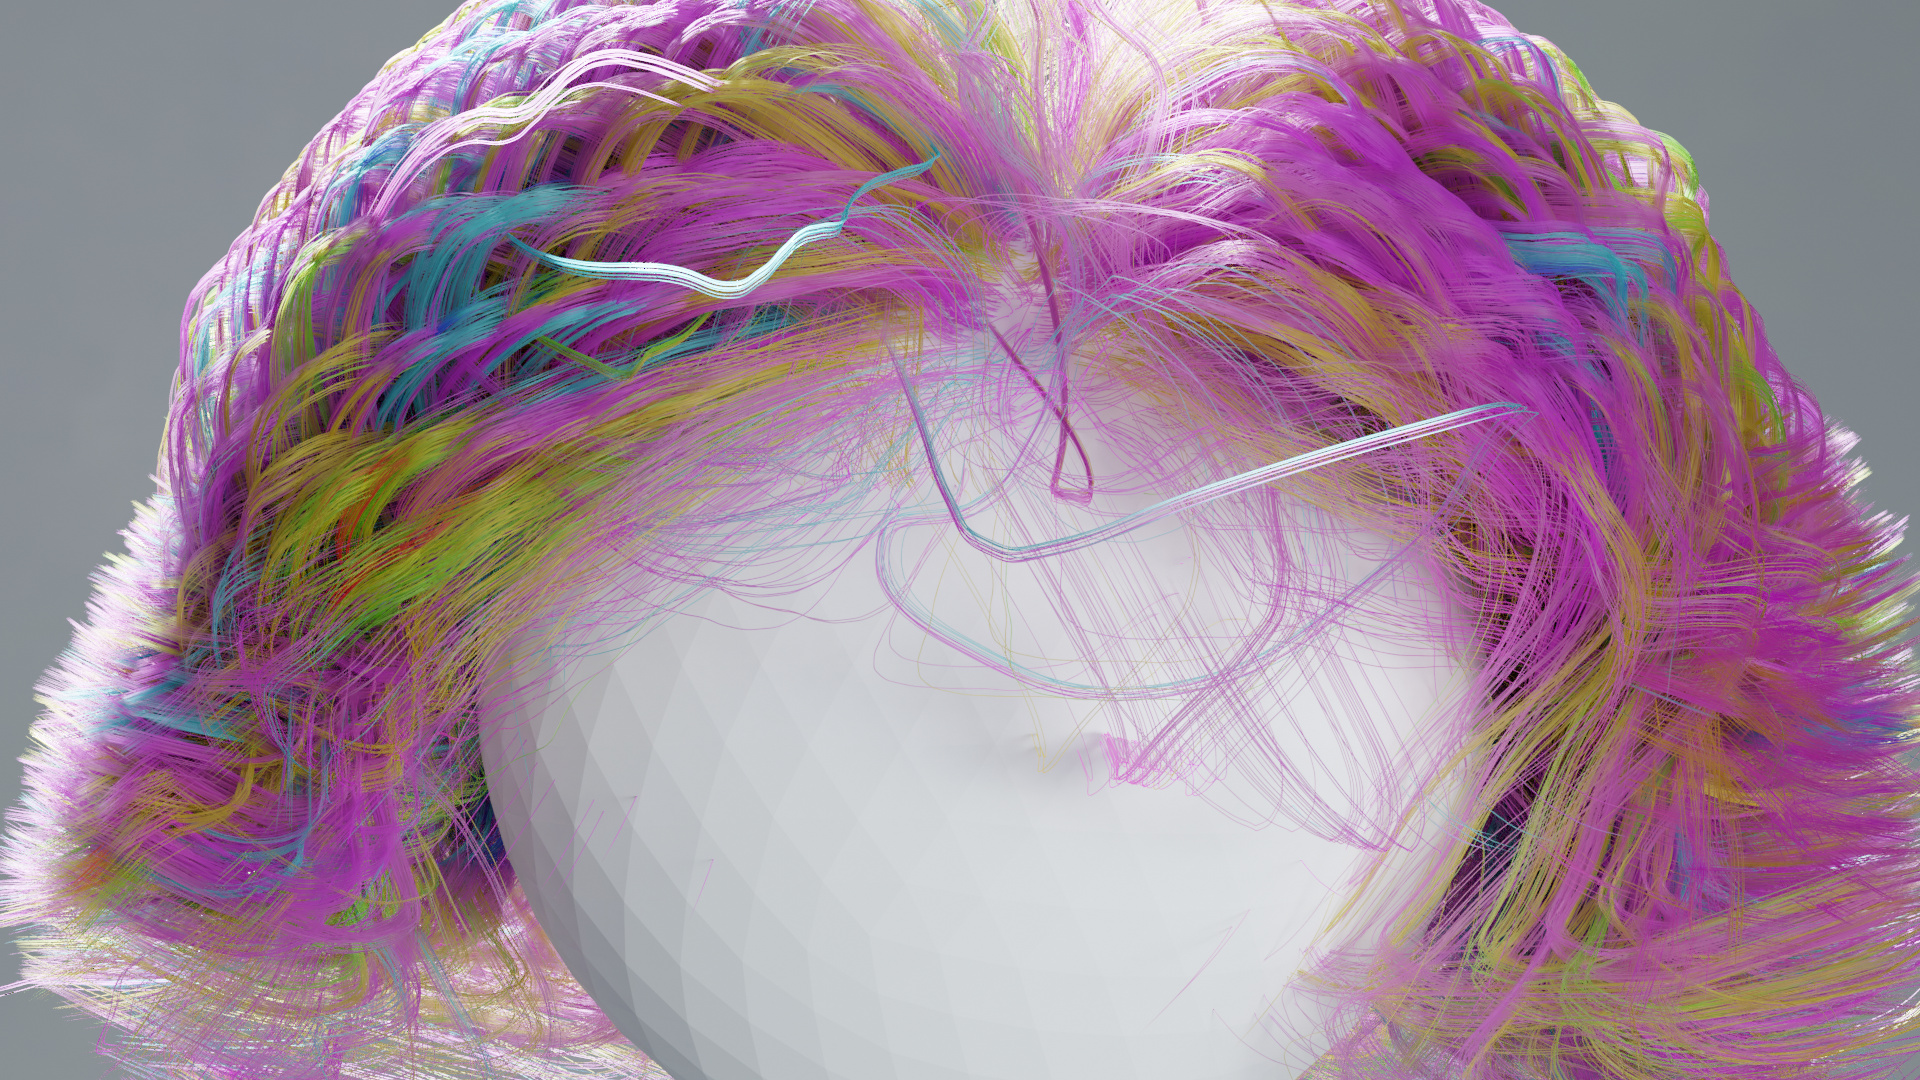
Also, I think color control is quite okay, pardon my combing skills, especially the fragment where it looks like sticks are pointing out of the sphere xP that was the first plane not turned off :P:
I kinda found workaround with this shader. Actual color is much brighter than desired color in node, so you need to pick darker colors. Also actual color sharply changes to saturated when node color is nearly in the end of pallette, that’s strange
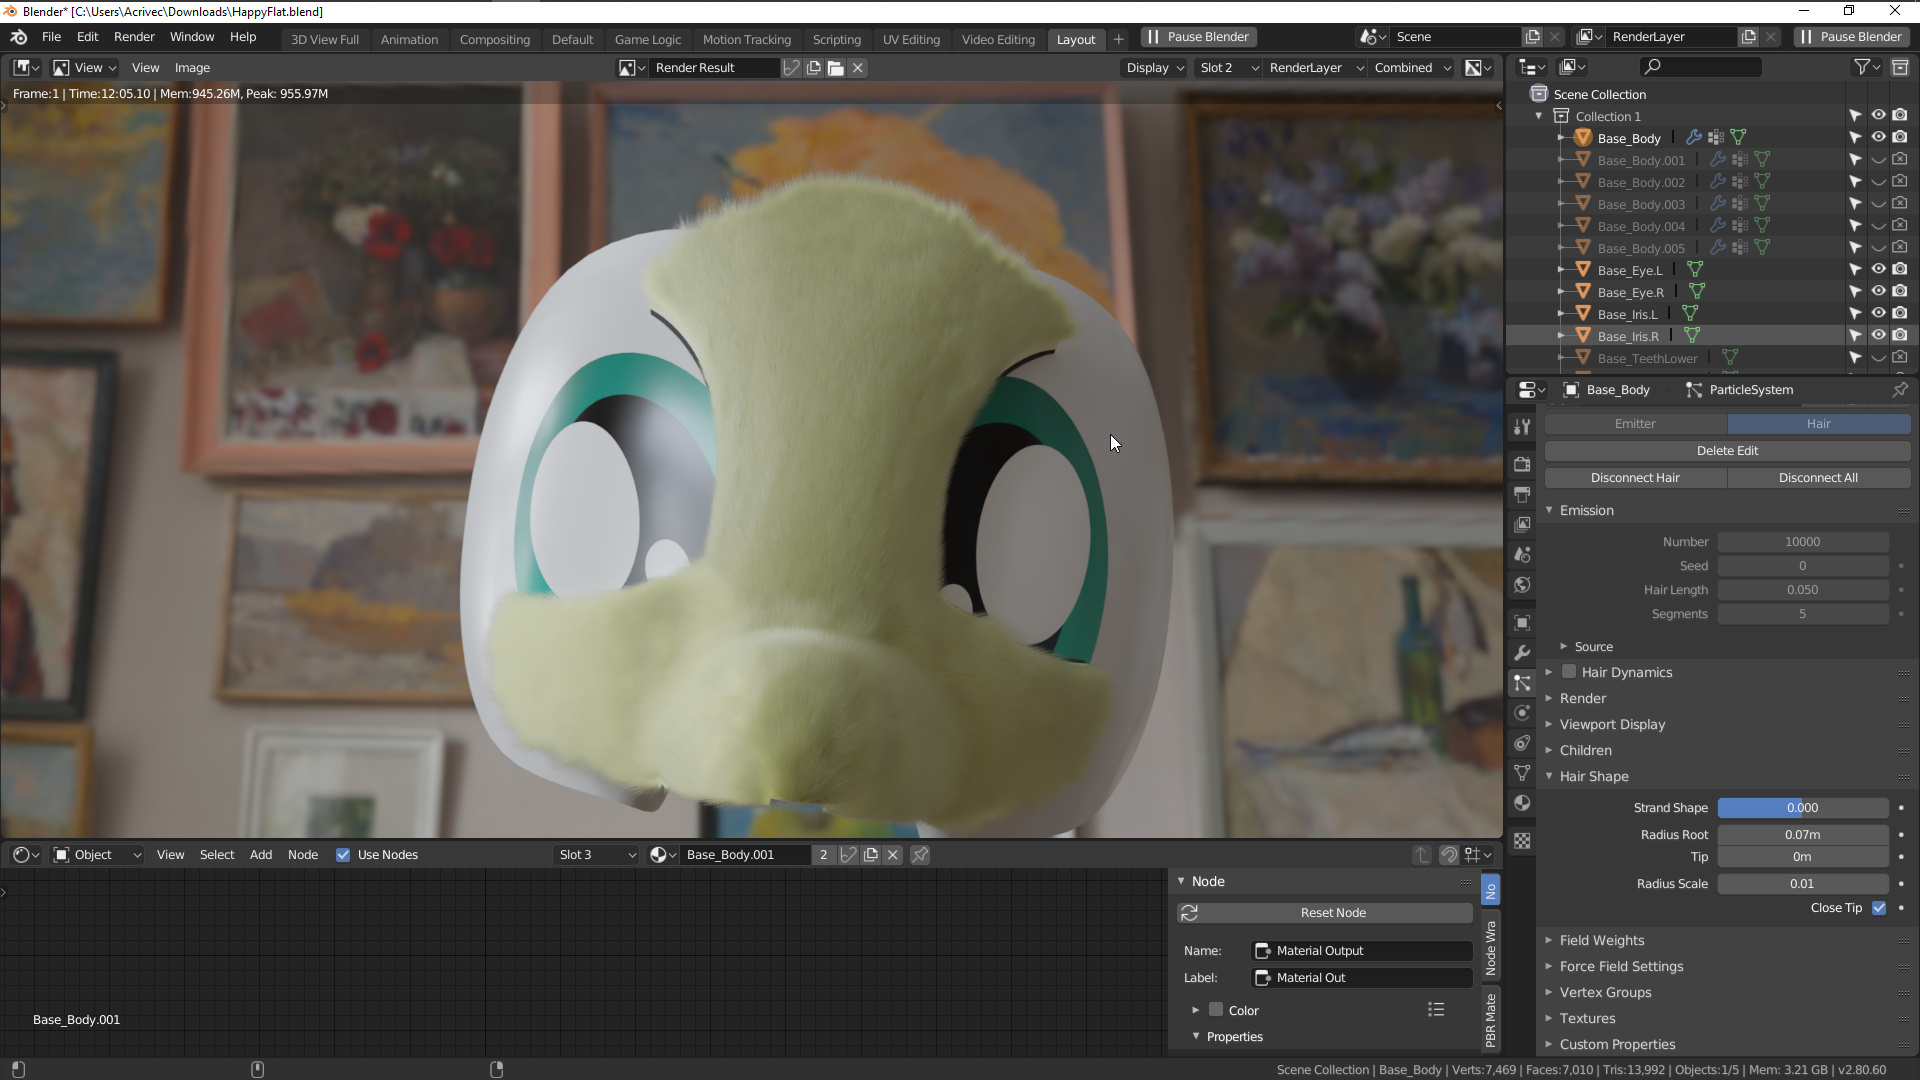
IMHO you need way more hair to cover her completely, and then play with the aspect, right now hair is visually fighting with the model surface, so it’s not pretty.
Of course it pumped up render times. I’ve changed sampling pattern from sobol to correlated multi-jitter, it increases render times a tiny bit but noise levels are much lower. Light Threshold to 0.1, filter glossy 0.1, clamp indirect 10.
I like to dig into stuff when something is not working like I expect it to, so I did for the build and render times here.
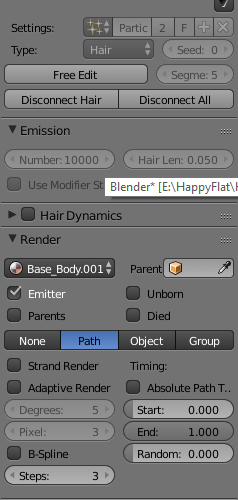
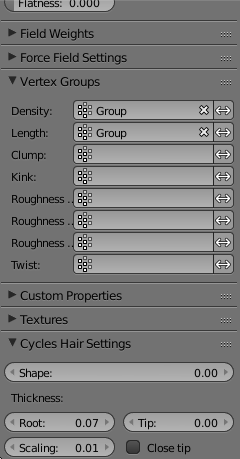
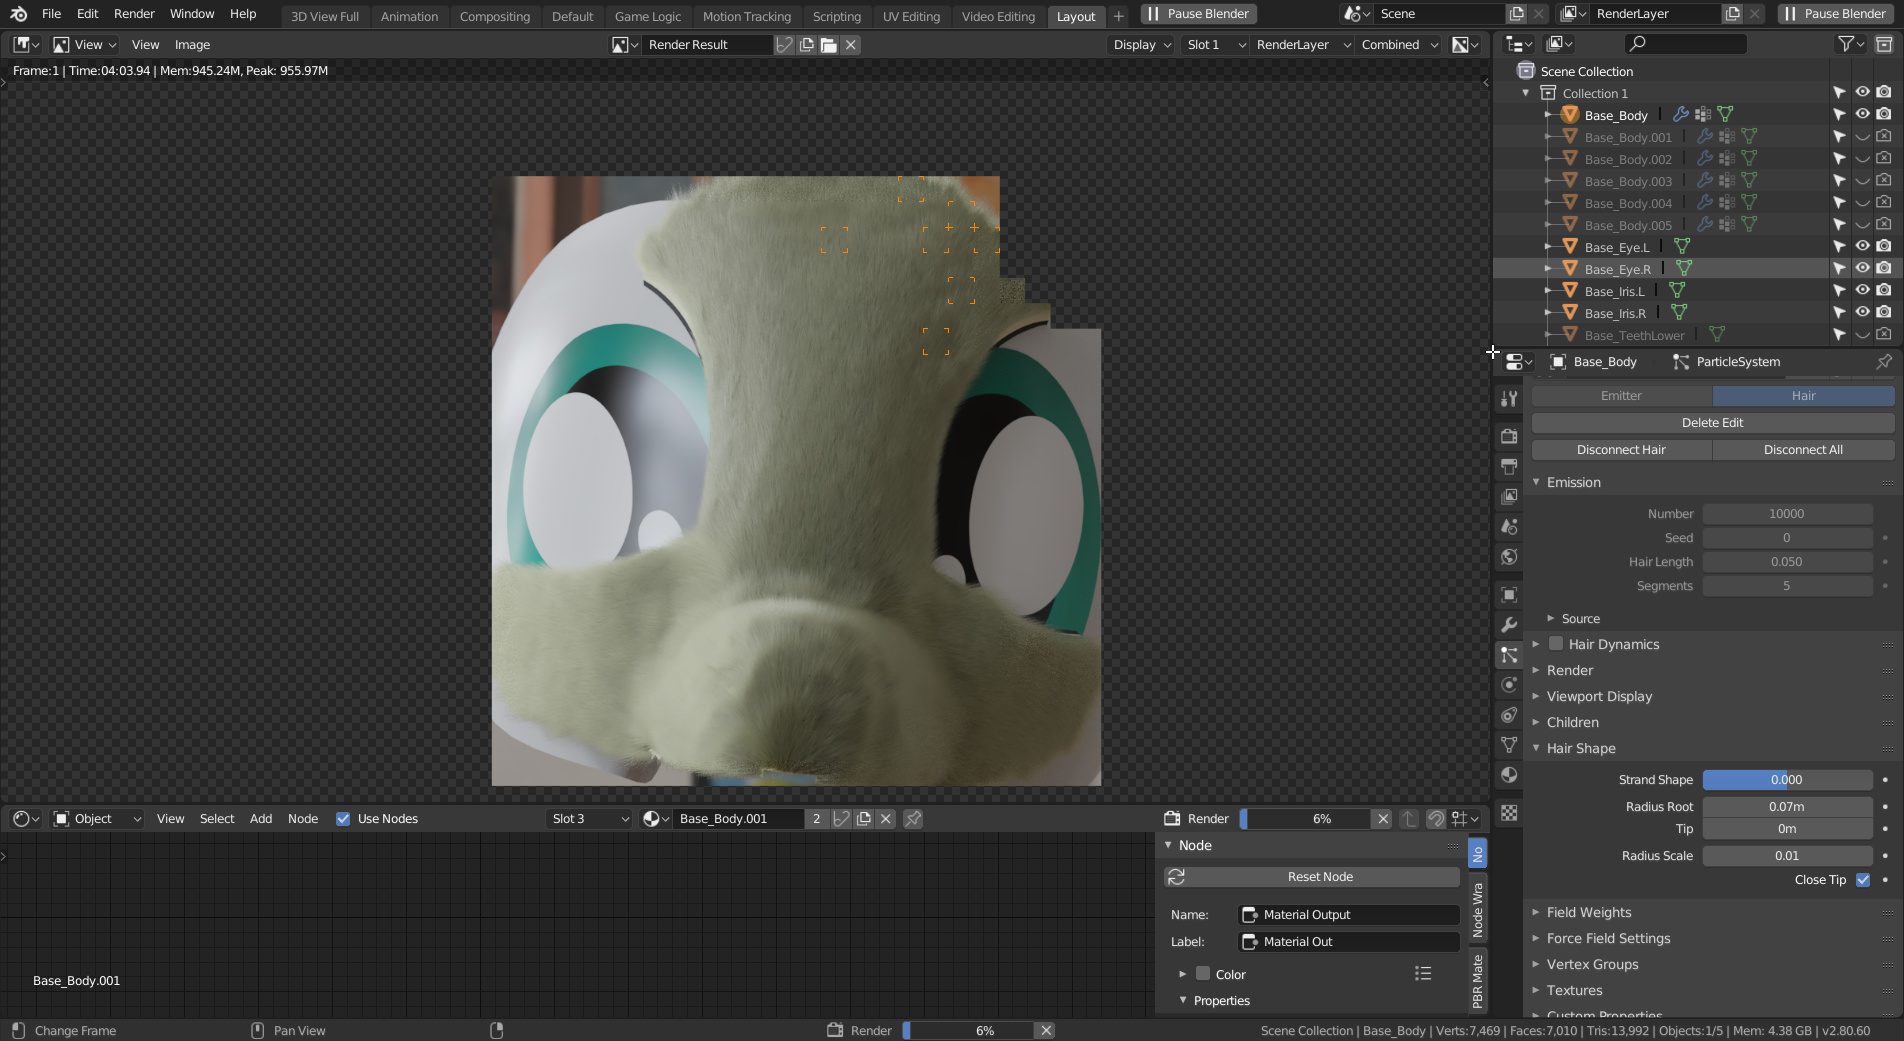
Body hair - it’s short and with no shape change. Change it’s render steps to 1 or even 0 to keep them straight. You have 10000 hair and 70 children each. That’s 700000 hair and with 5 steps it’s 2^5 subdivisions meaning 700000 x 32, and that’s just body hair.
Long hair - reduce render steps from 9 (such overkill! you do not use wave kink) to 5 (still overkill imho). If you want them to be smooth - use curves instead of paths.
Those two simple steps reduced ram usage from 26 gigabytes to 600 megabytes during scene building, and time from X minutes to seconds.
Here’s render with body steps 1, ponytail steps 4, bounces 5 and 8 for transparency and transmission, 512 samples. [paused, i go to sleep, but will post it tomorrow]
It’s not even about render time, PC can’t even build scene. I’m rendering on 6 years old laptop with quad-core AMD and 4 gb ram, without any GPU. I know that it’s hard to imagine worse machine for rendering scenes with hair, but here we are
Well, I mixed up it with something. I know there’s something about bounce, where you could put 0 and it would mean unlimited