Hi,
I watched Eytan Zana’s tutorial recently. There he uses Modo, and he achieves this great effect by adding a random contrasty (in value) texture which adds geometry in the rendered view, but in the viewport the model stays the same (quite low poly in his case).
So, here is the model with just a rusty texture:

And here is the model with a displacement texture added on top of it:

And he can control the extent of the disformed geometry really easily.
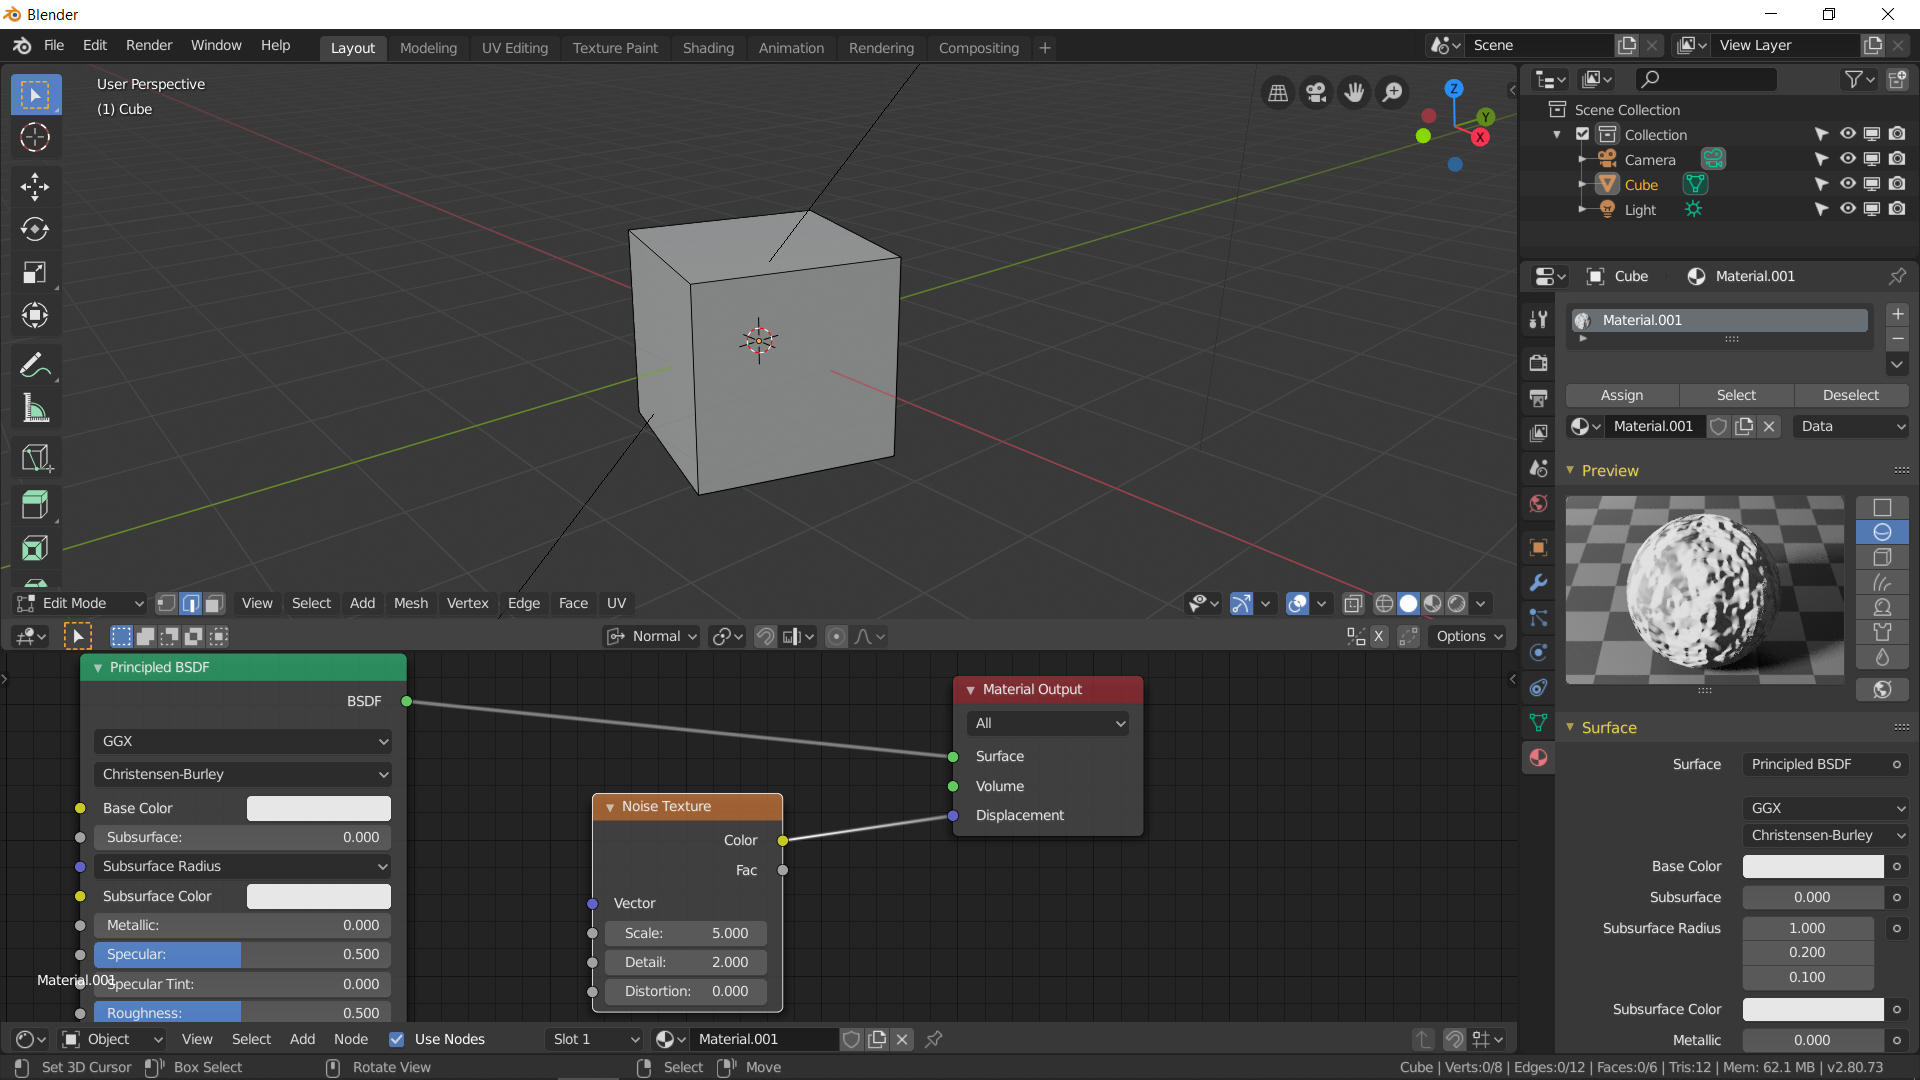
And my question is: how can I achieve the same effect in Blender? I tried the Displace modifier, but I can’t get it to work it like this, plus it seems to rely on the existing geometry of the model.
Cheers!