So here are the general steps I use when adding detail to things like this. I do it a bunch, and it works great for resin printing!
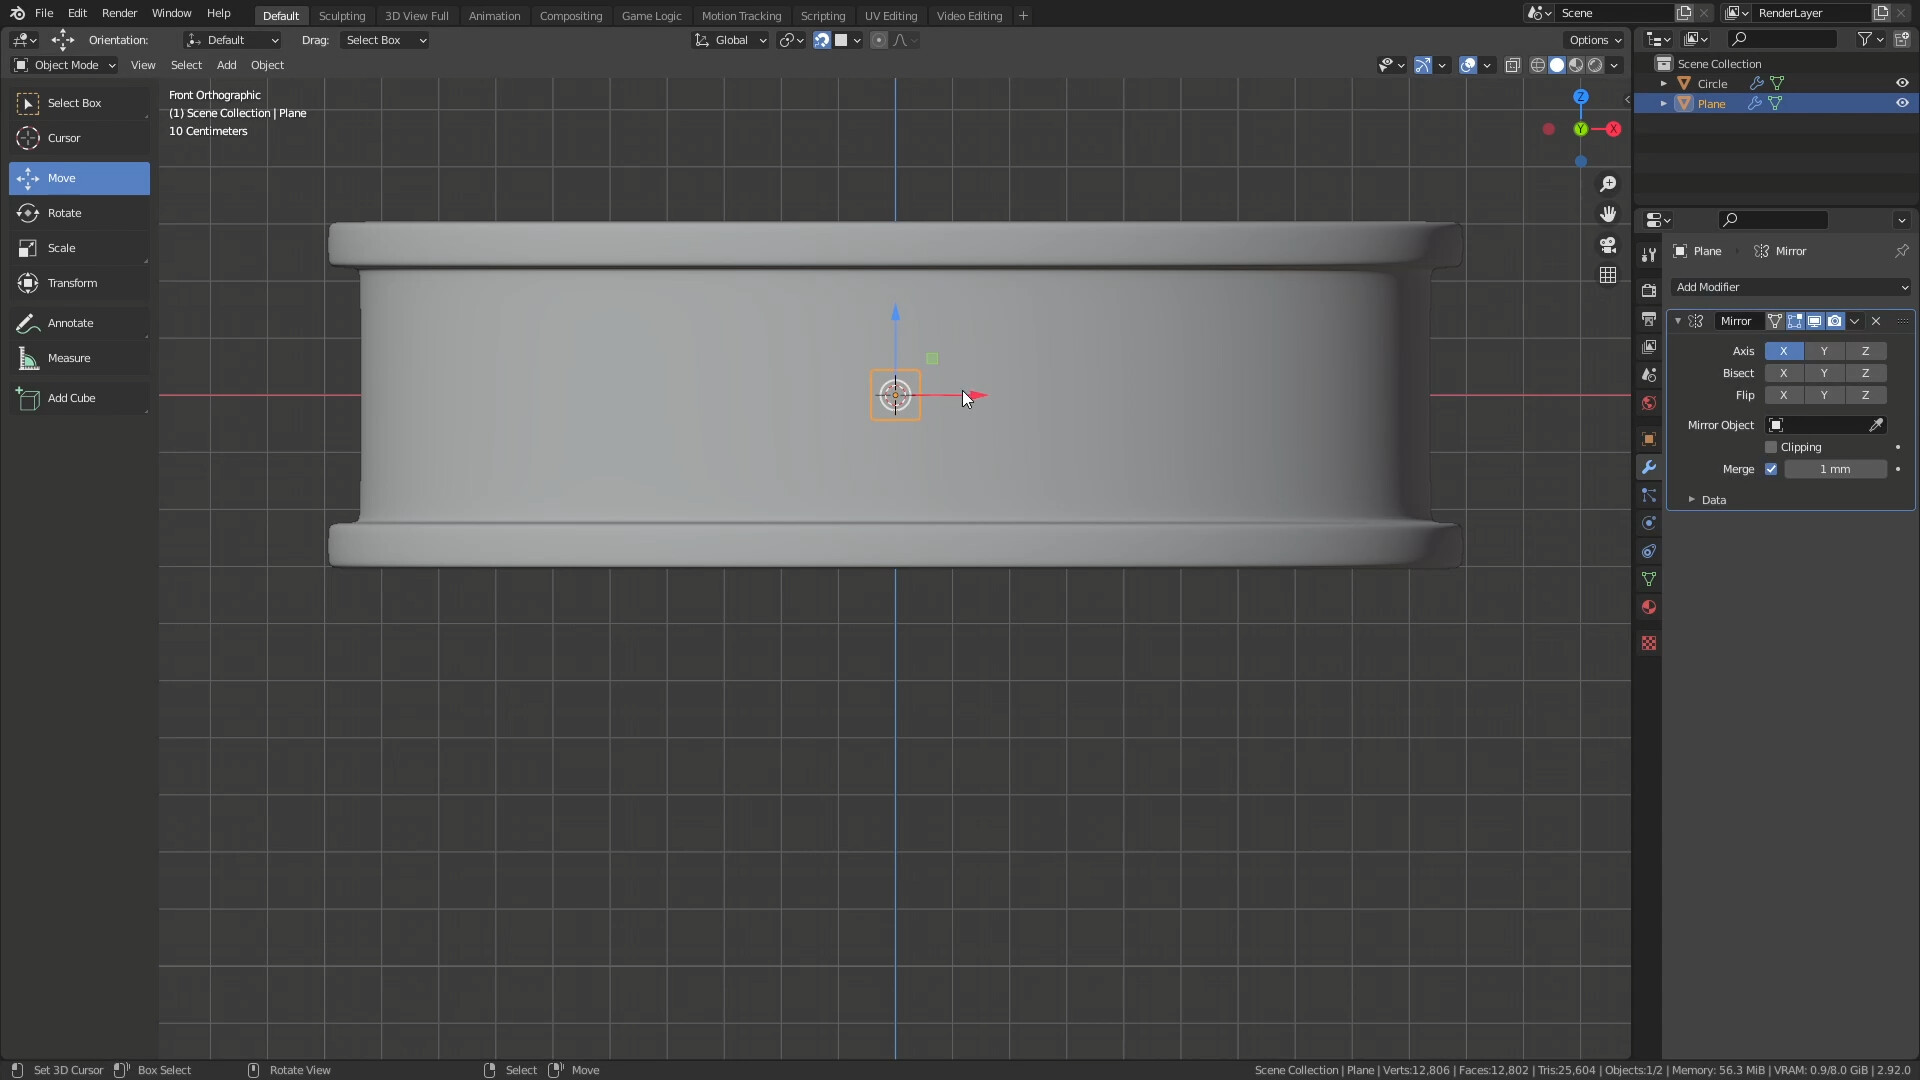
Start by adding a new plane, and enable snapping. Scale it and make sure you apply your rotation and scale.
Optional - Split the plane down the middle, and add a mirror modifier
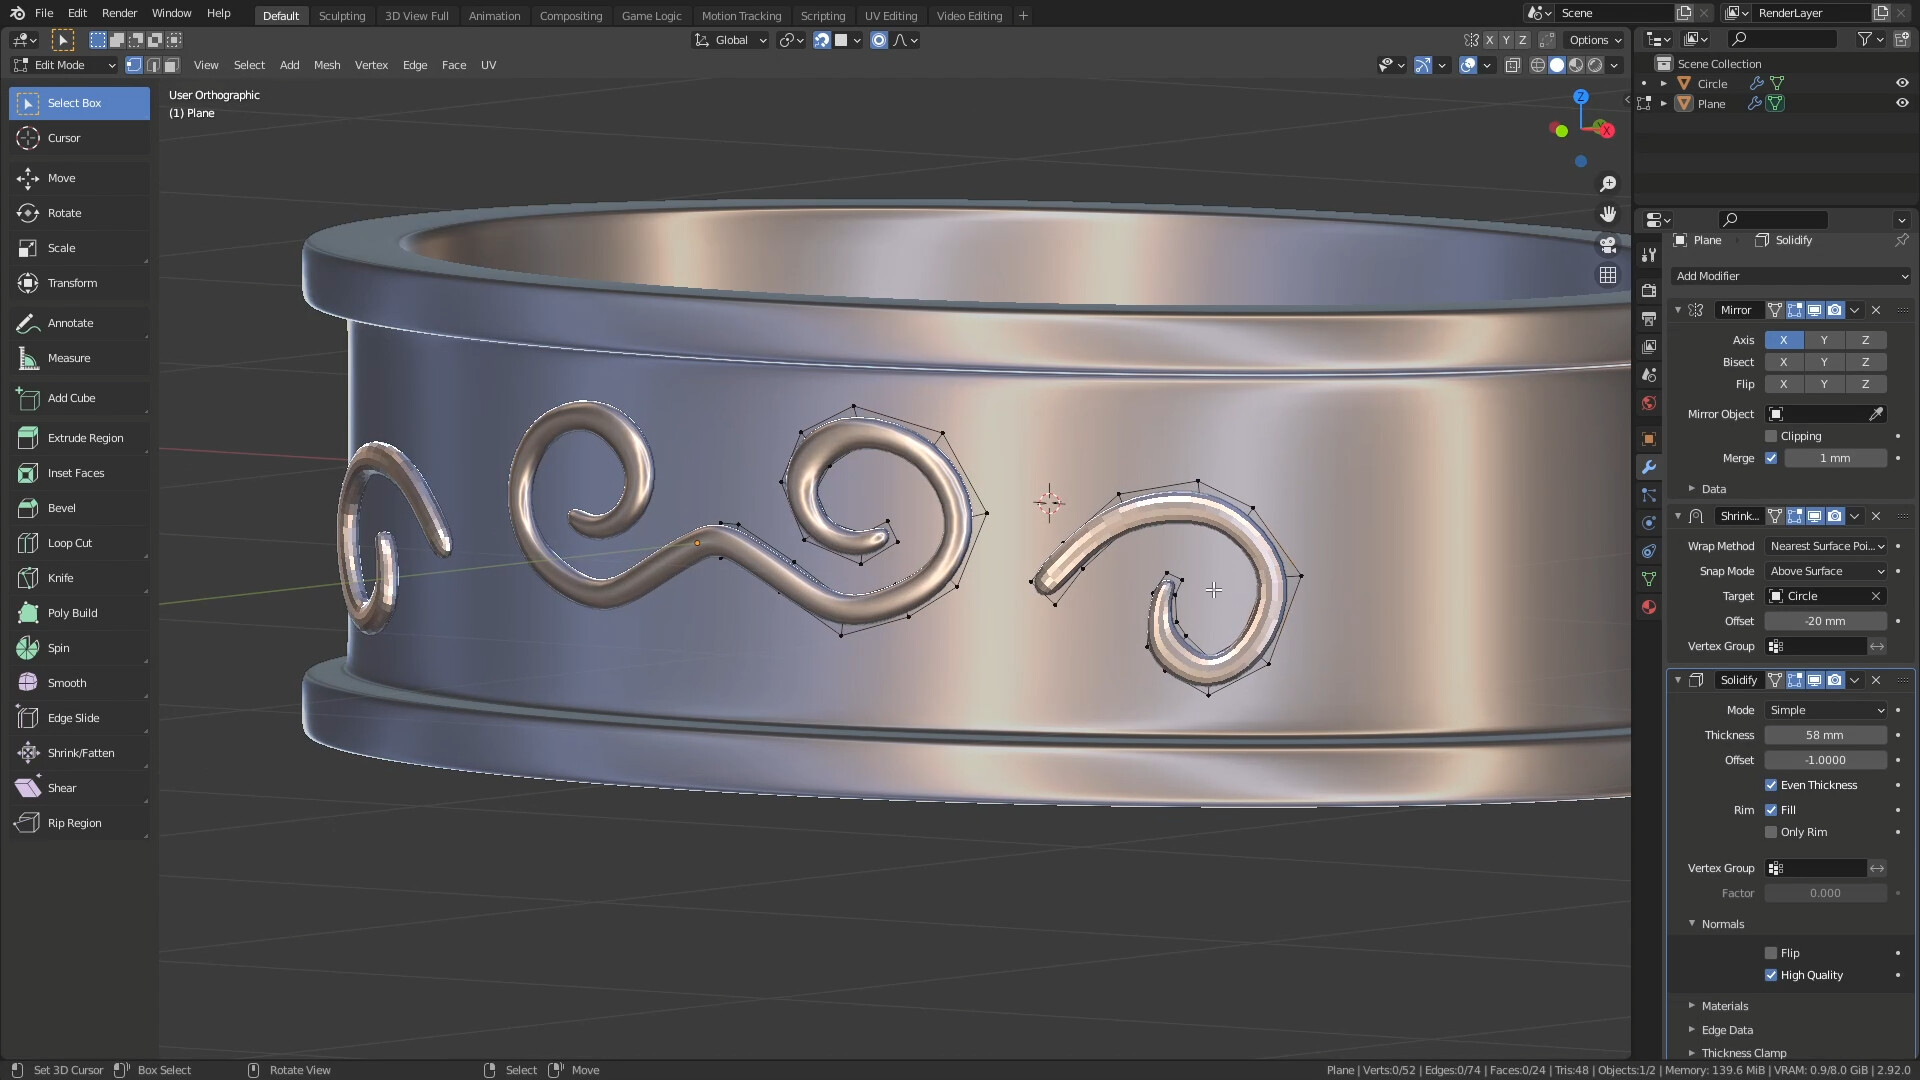
With snapping emabled, start modelling. Either use extrude (E) or, as I do, select two verticies, and CTRL Click, and it’ll do the same thing. It’s quicker
Then, once you have a shape (you can do this before too if you like), add a shrinkwrap modifier. This’ll make sure the mesh is tightly attached to your modifier. For a better effect, make sure your shrink wrap is BELOW your subsurf. Essentially, this will give the mesh more geometry for the shrinkwrap, though completely non destructive.
You can then add a solidify modifier, to add some thickness. Make sure you have your scale applied, so that you can give it real world scales. Also remember, things in 3D looks bigger than they will in the real world. 1mm in 3D looks really thick, though in reality, it’s not. So generally, make things thicker than you think they might need to be.
Also, make sure your solidify is ABOVE subsurf. It’s also a good idea to give the shrinkwrap a negitive offset value, and then add thickness. That way, in edit mode, your verticies are on the top of the mesh - if that makes sense.
I did want to upload a quick video, but it was too big, so hopefully this helps. I’ve done a bunch of modelling in Blender for resin printing, so if you need any more advice, I’d be happy to give it.