That is a good set of tutorials. Start with #2 Blender Basics. You will find that you already know much of the things in that series, but watch them closely anyway, since there will be a few things you haven’t picked up yet. When you do #1 and #3, post a Work in Progress thread with the projects they have you do.
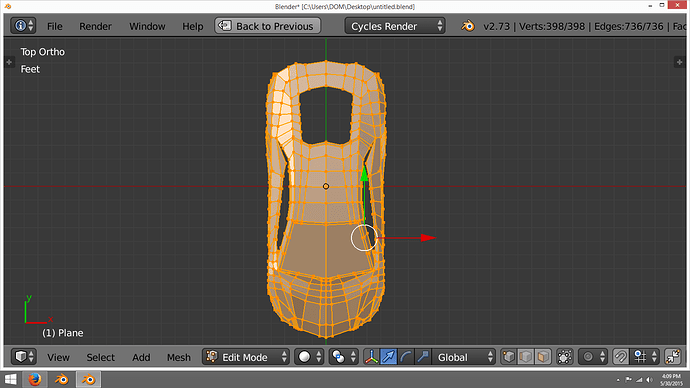
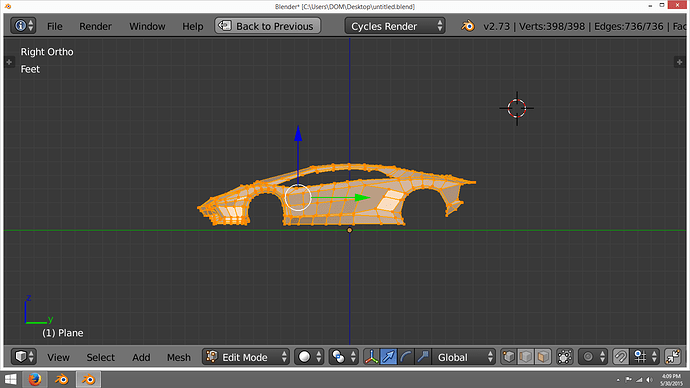
Car in the works, but… I cant go anywhere from here because I didn’t apply loop cuts for the smoothing. But I could finish the tires and stuff.
I wanted to show you guys my topology. see how some vertices cause dents or are not straight?
Attachments
You seem to be ignoring people in this thread and again you’ve posted screenshots of a car when at least two people have said to you to forget the car and other complicated models and go back to the coffee mug. You can’t progress with your car because there are nGons in your mesh and you’re not used to minimising them and sticking to a quad-only system. Also, loop-cuts are not meant for ‘smoothing,’ they’re there to help you add geomtery which you can then use for smoothing.
Go back to modelling a mug. Perfect that mug. If you don’t, you’re simply going to struggle. Don’t use any fancy ‘techniques’ such as curves, solidify modifiers or anything else. Stick to the rules that Orinoco has posted and then go from there.
- you are allowed to add any mesh primitive.
- you may extrude, grab, rotate, scale or delete, but no other modeling tools.
- you may use F to add edges or faces from selected vertices.
- you may use any viewport navigation aid (numeric keypad, middle mouse wheel, ctrl or shift or alt drag, etc.) to examine your mesh.
- you may use your mouse or the widget to position any selected vertices.
- you may use hide and unhide.
- you may use a subsurf modifier, level 1 or 2, and smooth shading, but no other modifiers.
- your finished mug must look like the example provided by photox.
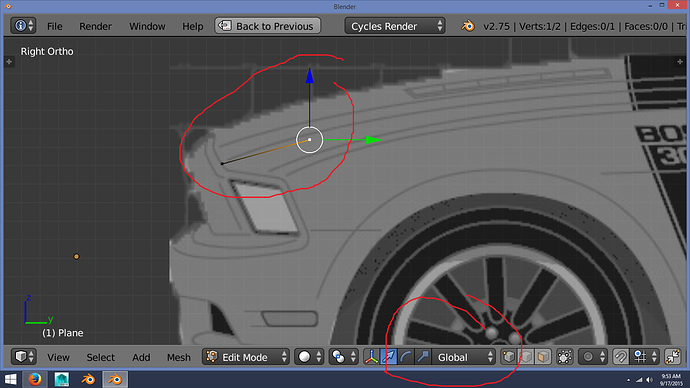
last night it came to me and i think I know why I am either having issues aligning vertices and or dents in my mesh.
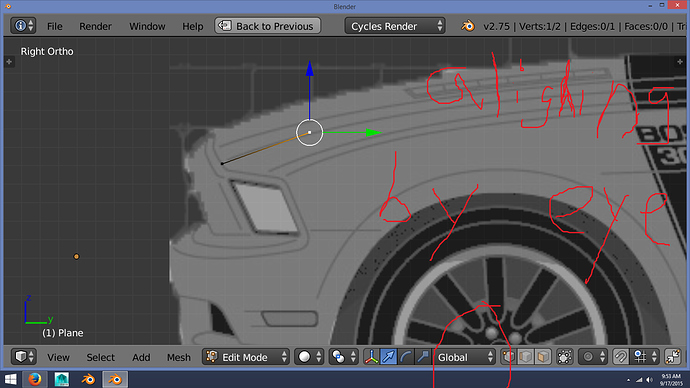
I noticed using the global axis in say top view to move the vertices will help place the mesh. but not give you that proper curve unless you add more loop cuts across the mesh to raise the middle part and then twink the top and bottom to get you proper curve .
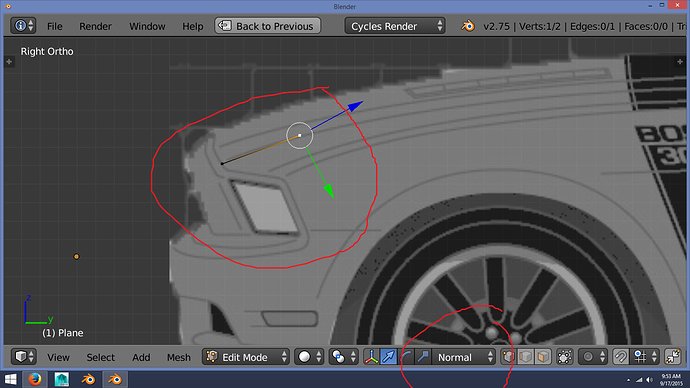
when I tried using the normal axis in front, side and rear view to pull up, down or side to side , this helped my edge flow by not having extreme change( will get to why this happen) or not proper aliment .
The vertices were either pushed in, out to high or to low , or… caused that pinch in the mesh when you don’t use the edge slide tool to move an edge .
also, I notice when using the normal axis this helped me to gradually slant or curve my edge flow.
before this discovery last night. I was either stuck on the global axis of X,Y and Z or …or I would have to use the G key to move my vertices by eye and in doing this , I guess put my vertices in
( dead space ) so I had dents in my mesh from vertices being either higher, lower , pushed in and or out from each other and, no gradually curving of the mesh to form the object.
I over looked this because I thought this transformation or widget info ( link below) was for custom rotation on rigging. i didn’t know this could help with edge flow. I never thought about it because in tutorials someone will extrude a mesh and not cover or explain how these different axis can help your edge flow. I know you can use only the global axis but, I find it harder for the reason I listed above.
