(Posted earlier in different section but I think I put it in the wrong place)
So I’ve been working on a Star Wars themed project recently and I filmed it against a green screen today. I keyed out everything and exported it as an image sequence.
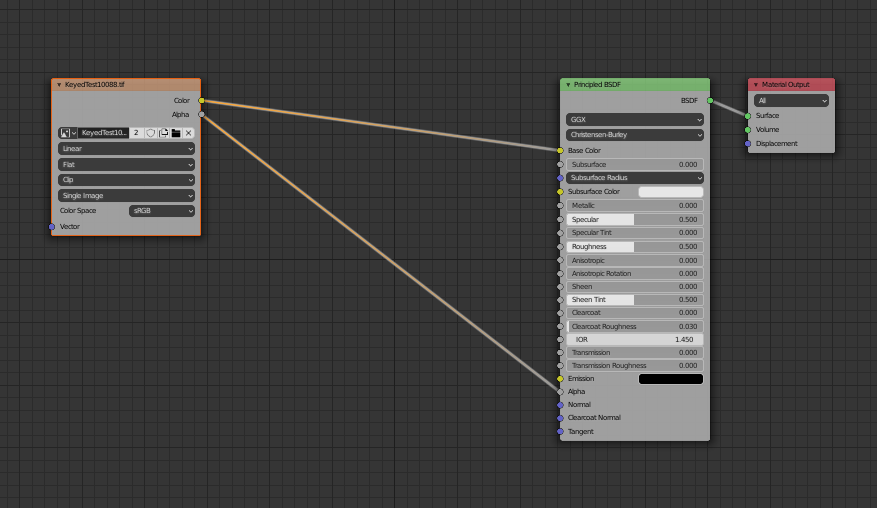
However, when I bring it into my scene as a plane, light behind it shows through.
I assume this has something to do with the alpha channel of the image, but I don’t know enough about this to know how to fix it. I’d like the background to still be transparent while making the actor opaque.
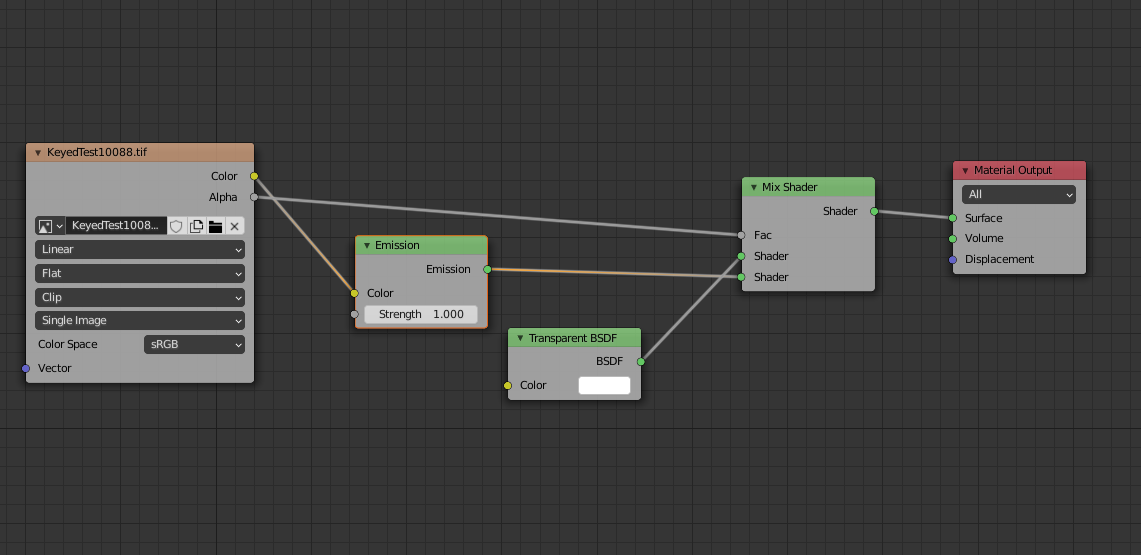
Sure! I’ll upload an image of the sequence to a dropbox if that would work? And the transparency shader appears to be there because otherwise the background around the actor is black and not see through.
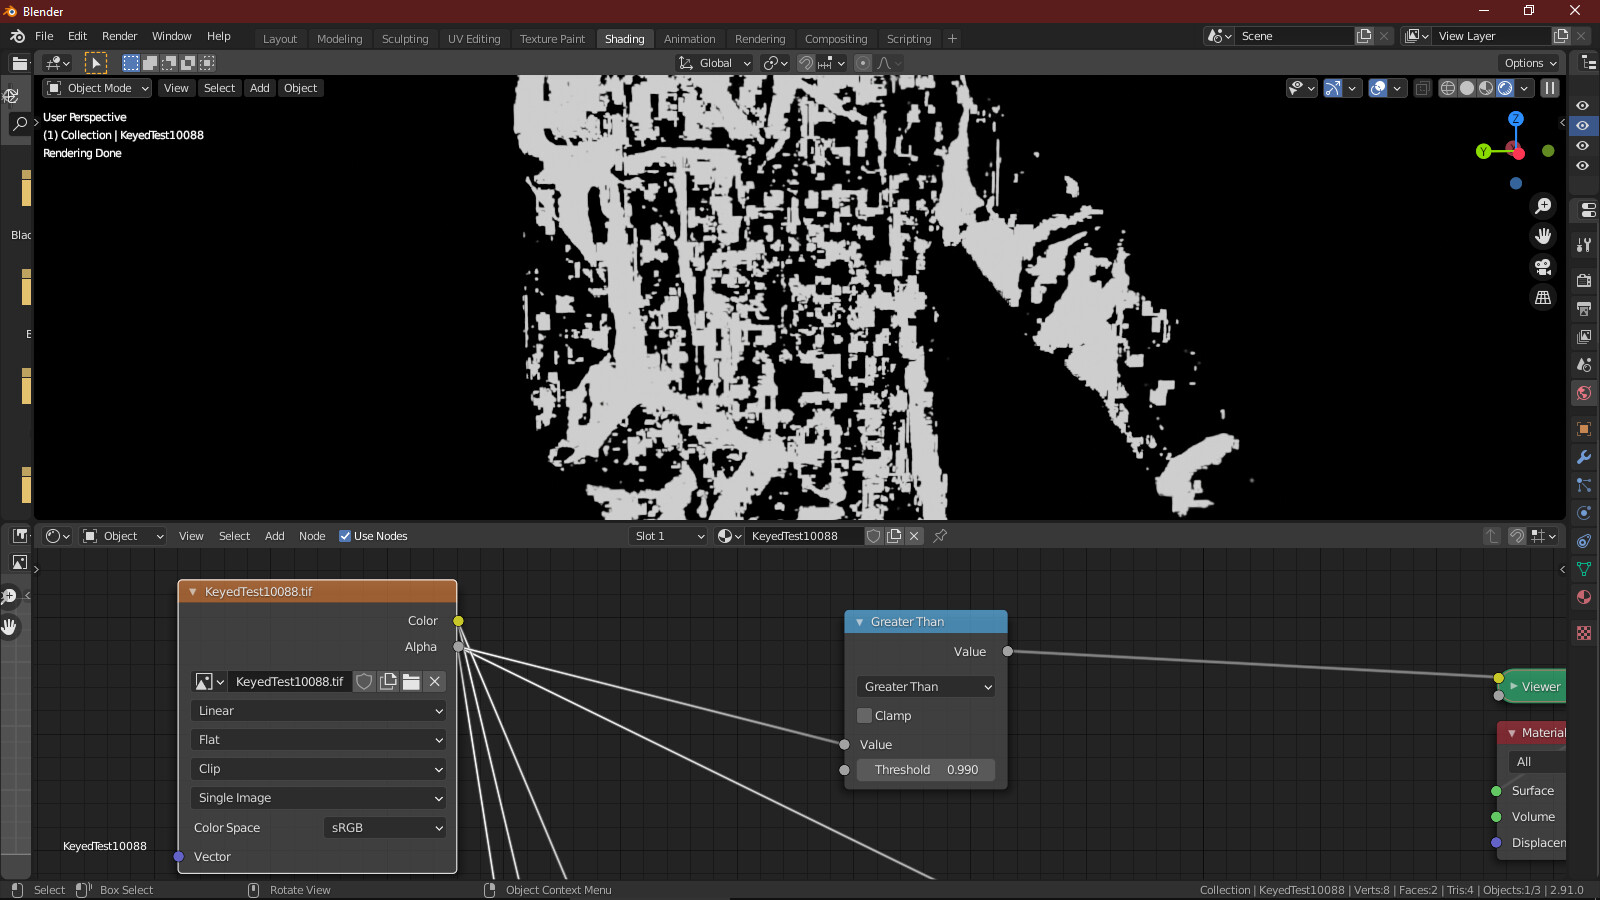
How would I go about keying to fill the alpha? Do you mean just rekeying the original video properly so it doesn’t have the damaged looking alpha? Thanks for the response.
It’s all good if you don’t know from the existing information, but do you have any idea what I might have done incorrectly while keying to lead to this? I was following this tutorial. https://youtu.be/RxD6H3ri8RI
Anyways thank you so much, you’ve been really helpful!
There are some old Natron keying tutorials on Youtube. Natron is pretty the same as Nuke so you can also use the official Nuke tutorials which are old but still work and have project file. The tutorials can be found on their website and the documentations. Learn - Nuke Tutorials (foundry.com)
But I would go for Fusion which is easier in most cases. Then you render it out to use in Blender. In Blender, the softwares has to render the composition seperately with the 3D scene, so working and exporting greenscreen footages from other softwares doesn’t make our workflow slower if we calculate.
I can’t really support you in depth because I haven’t do any compoisting for a while.
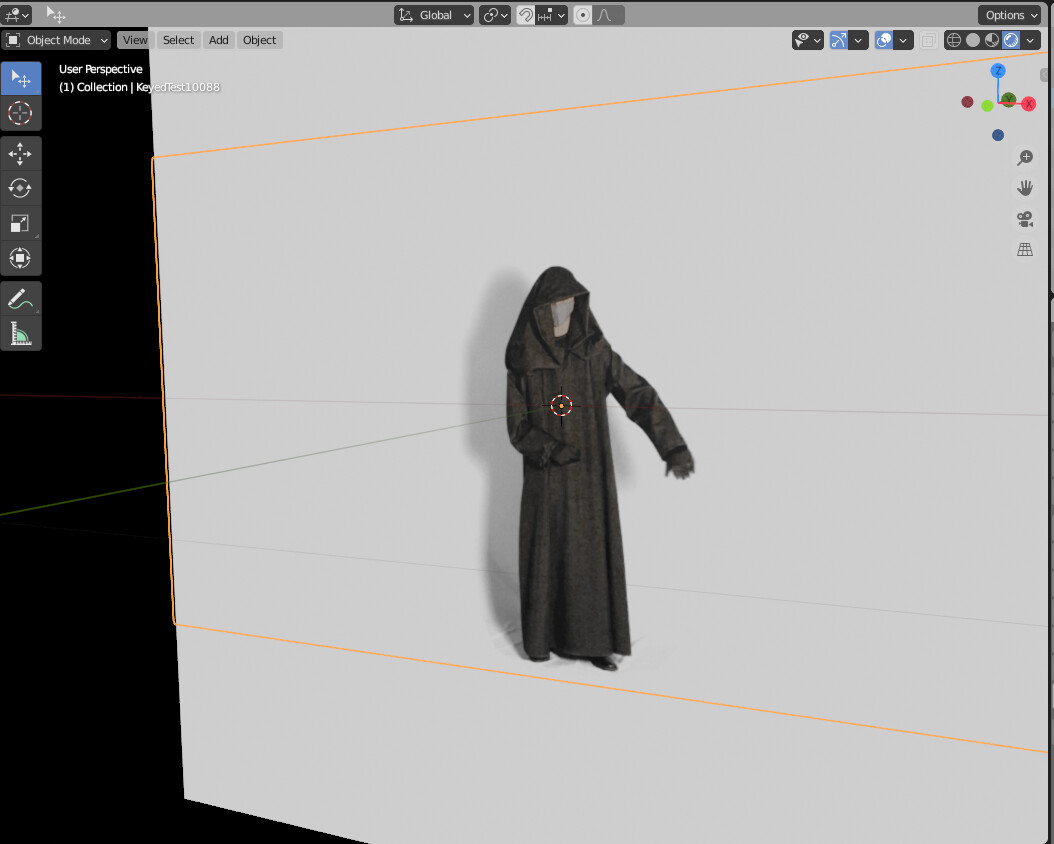
Hello, I can’t see your nodes because they have expired, but this is what shows up with the tif that you supplied later in this thread in 2.90.0, in the view port with a emissive plane behind it in rendered view. Looks fine to me, aside from maybe by the feet. Personally don’t have any experience doing this sort of thing.
Hi, so I rekeyed in premiere, and I’m having the exact same issue again. The alpha channel looks pristine (there’s a little garbage around the feet and the shadow but that’s my poor lighting beforehand).
At the very least it doesn’t look as bad as what it was earlier. However, the end result is exactly the same in blender. I know you mentioned compositing in blender, rather than a plane, but does that preclude me from having reflections in my shot? I’d like to keep those if I could.
Thanks a ton
EDIT: Nevermind, I just fixed it with a color ramp node for the alpha, thanks!


