hi im still very new to blender, i did a few blender tutorials and now i wanted to practice on doing simple stuff… i thought i would give bart simpson a try and practice without tutorial…
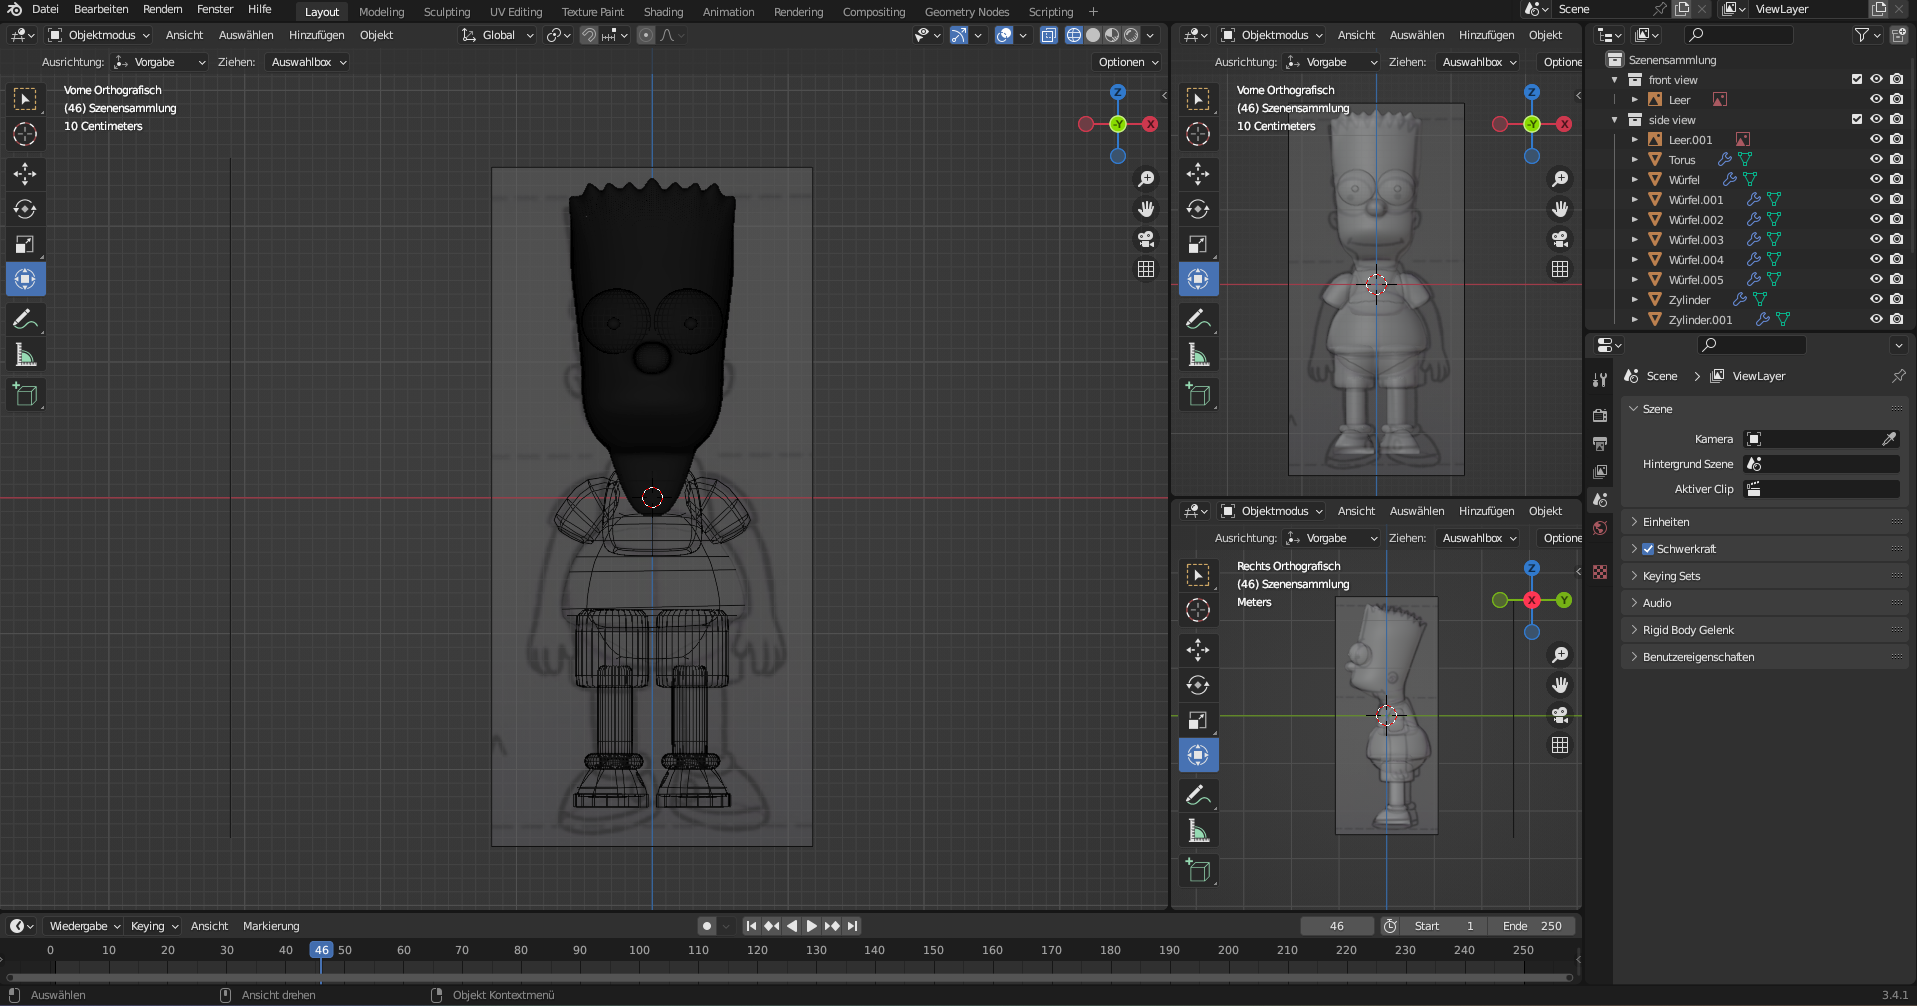
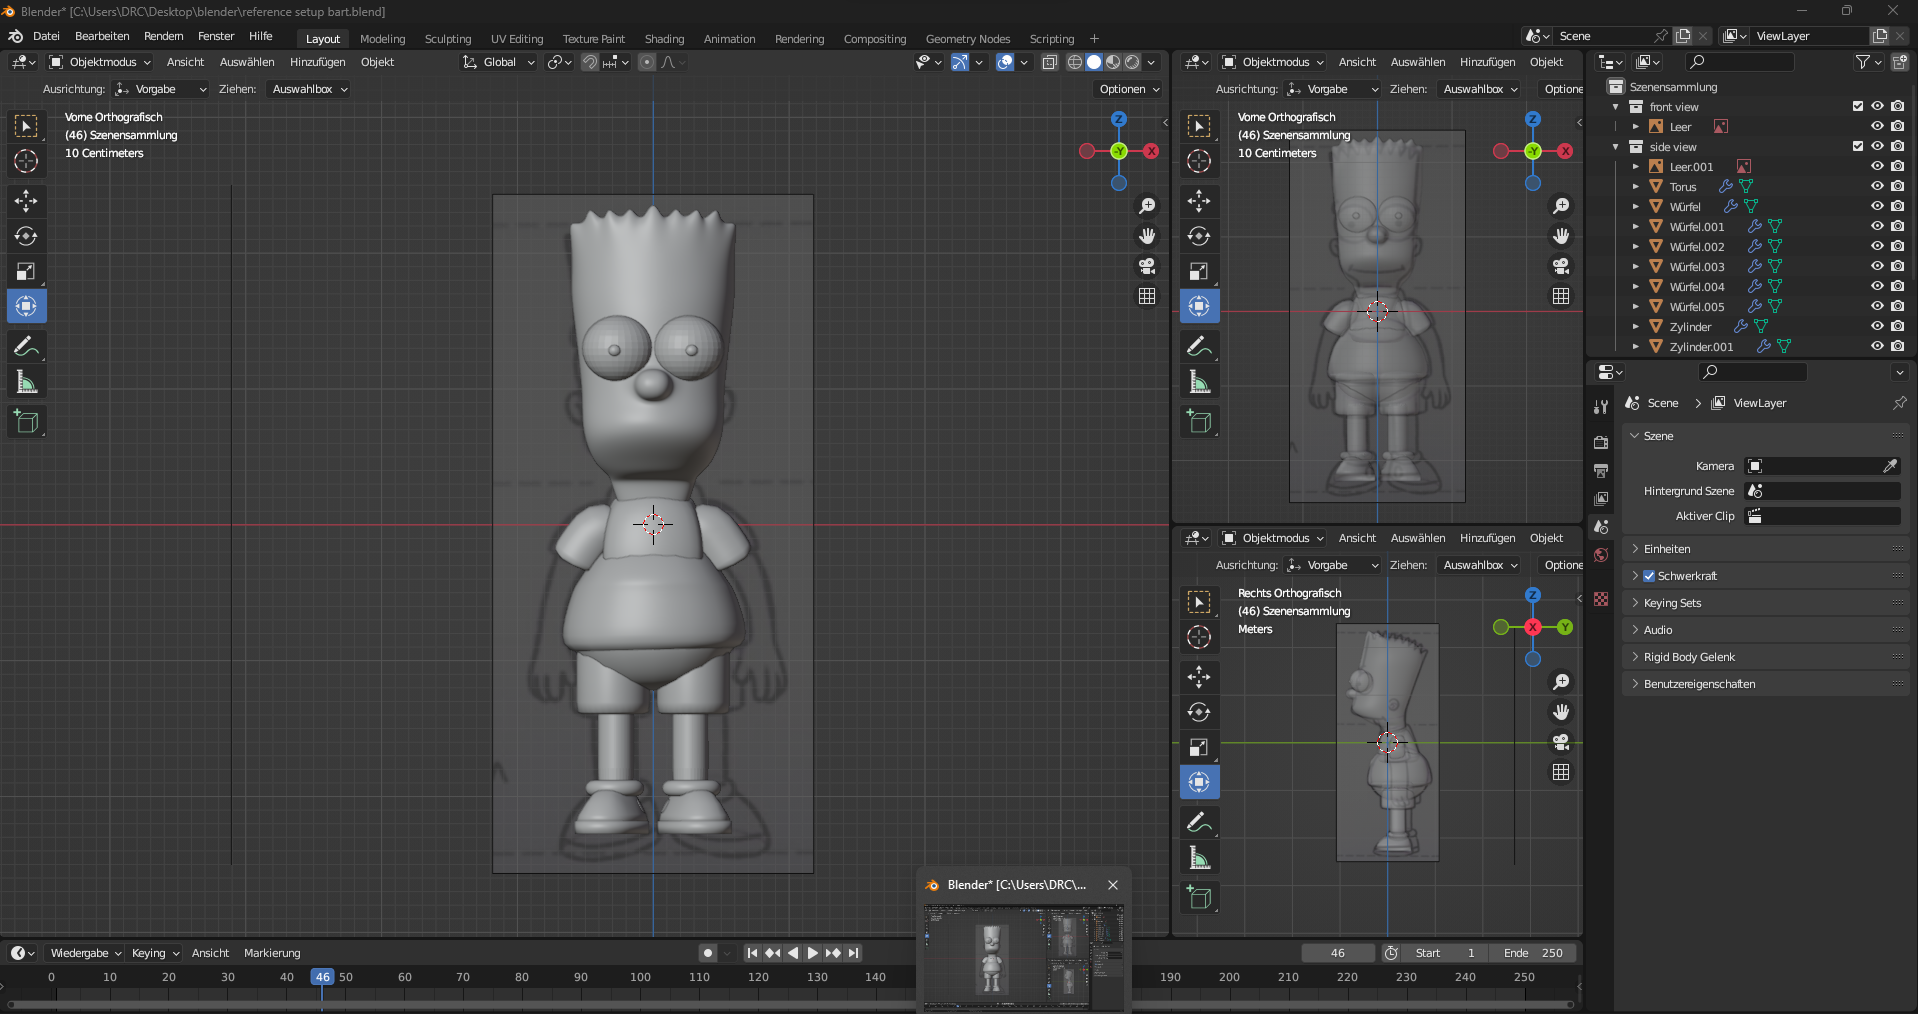
this is how far i got after one hour… but i have a few questions…
for example. the chest and the belly are two objects,
when using the boolean tool to combine them i get one shape but its kind of destroyed on the edges where it connects…would it have been better to do the whole torse part in one part right away???
but even if i would have done the torse in one part i still would need to join/add the legs, arms, heads and stuff.(also shoes and sole, head and eyes)… isnt there a clean way to combine two objects???
also i struggle doing the head , i tried to remodel it but i wasnt able to do a nose or a mouth or ears, i modeld just the head and then added the nose with sculpting, but i would really prefer to get the whole face with modeling done, u can see how dense the mesh is on the head… anybody has some tips on working on small details like mouth nose , ears and stuff? or some good tutorials?
i want to learn how to keep stuff low poly right from the beginning i thnk this is the best way to go…
i hope my questions are understable, sorry for the bad english.
You can also ‘join’ meshes instead of using booleans!
As to answer your question, things can exist out of any number of objects in general and there’s no right or wrong way perse. But…
a character consisting of many (needless) objects will also have many (needless) textures that you have to set up at some point.
a character consisting of a single object may be hard to modify later on.
So, you’ll have use for a model/character in both states, one ‘finalized’ for easy usage elsewhere but also a copy of what you used to set it up in case you need to change something.
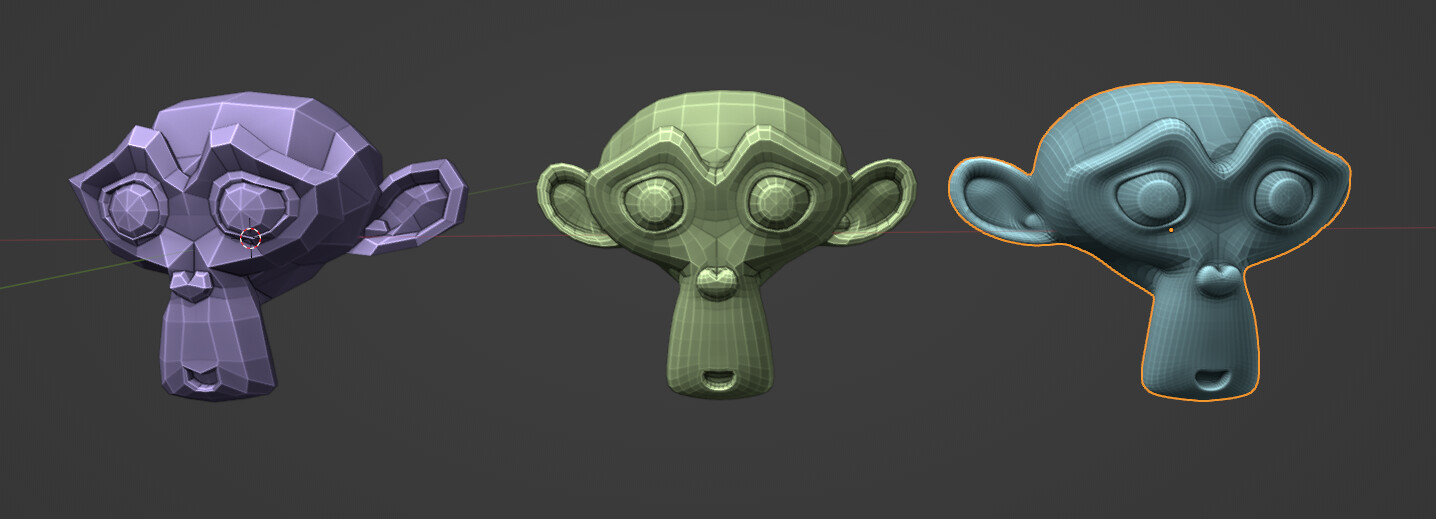
about the head and details: I’m not really that much of a character guy, or a sculptor for that matter but from a technical perspective, low poly and details don’t really go hand in hand. What’s normally done is to make two models, a low and high poly one. The details of the high poly model can be baked to the lower poly model 's textures. In this case tho, I believe you can get rid of a lot of the geometry as bart’s head is fairly simple, you should be able to get really close to what you need using crease and bevel + subdivision.
Suzanne, the 3d monkey can provide you with some clues how that should look:
You should try to do the whole body in only one piece (you’ll hide some parts later if they are hidden under the cloths), the cloths car be separate meshes within the same object, and boolean is the last resort solution imho. As for the head, it is rather simple in terms of shape, do it with as less polygons as possible : Extrude the chest to do the neck, extrude the neck to do the base of the head and so on. If you need some details like scars, folds, etc, duplicate your object, apply the modifier to give it a high topology, sculpt, and at the end bake the normals of the high-poly to the low-poly.
The last one is much more advanced and uses an older blender version, maybe for later but it’s a really good one that covers a lot of steps for more advanced workflows.
What’s best questions are usually… un-answerable… It also depends on your workflow or just what you like the most… even if it is more complex than something else or you just don’t know.
What you’re doing now is a good workflow for sculpting and then re-topology. If you want to proceed with this method, then keep going. Sculpt the details on the face etc…and forget about how dense it is. Just get all of the basic shapes correct. If during this process you want to make it all one coherent mesh, then you can. All you gotta do is CTRL J them all together, and then in the sculpt mode, use the re-topology tools.
Once you’ve got all of your basic shapes correct, you can then focus on manual re-topology, so that you get a nice clean mesh to do whatever you wish with.