///
There are…
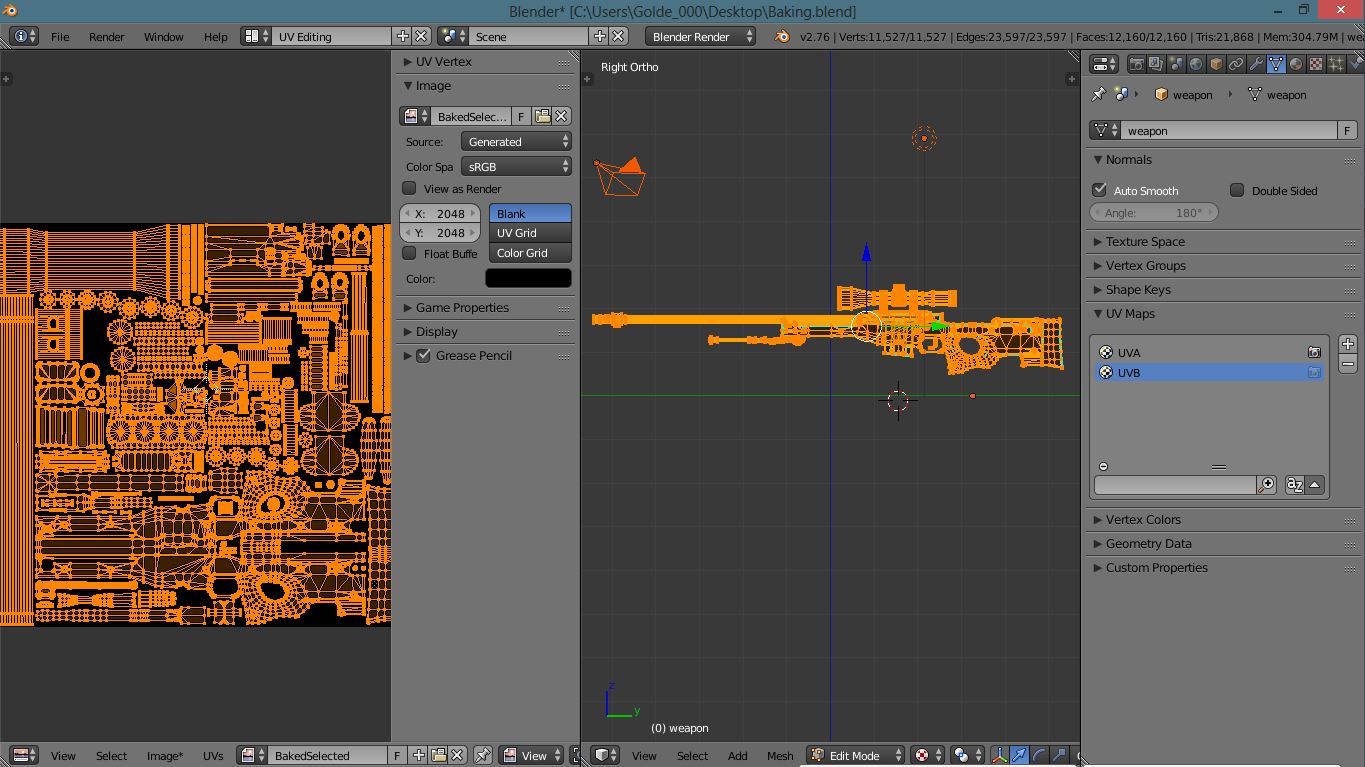
2 UV files (For example: UV A and UV B) they are both not in the same kind of UV form
2 texture files that link/stay in their uv files
all for a military sniper rifle
UV A: was created by projection on one side of the rifle, but it is not a good option because there are areas where I need to paint in detail,
UV B: is the default and most recommended UV for me to paint in the proper details
I decided to do the UV projection (UV A) to quickly paint in the base and easily fill in the hard-to-reach places, but I want to transfer/convert the texture placement in the UV A it to UV B
Here is a demonstration on a different program that was able to do this:
2:51 = there was the option to “keep” the “original uv” of the model
then he goes on to
8:45 = he exported the model to photoshop (I’m trying to use GIMP for this case)
He then went on to edit the texture in photoshop for a while…
18:00 = here is when the textures he painted came from the 3d model and exported it
to this at 19:30 (At this kind of process, the UV map was probably left alone in the the painting process, and blender doesn’t seem to have that capability)
3D Coat was able to keep the uv while the artist paint the model and when he exported it, the original uv is still in place, and the textures/design he managed is still there…
Or is there any other method for this?
To paint the model without leaving any blank spots and still be able to paint it in an external editor without messing things up?
Not watched the video, not willing to watch all 41 mins with no specific time code to indicate the important part, so going only from your thread title
To transfer a texture from one UV map to another UV map use the Render / Bake option. You haven’t said what renderer you are using so I’ll assume you are using the default blender renderer. In that case set the bake mode to texture.
Ensure your model has both UV maps and the original texture assigned to UV map A
In the UV/Image editor change to UV Map B and create a new texture, then press the render bake button. The texture on UV Map A will match the same texture but using UV Map B
After I baked it, the image within the UV window for UV B turned white. I’m not sure what I did wrong if I did or if there is a step that is missing. (Using default “Blender Render” by the way.)
I got confused on your bolded words: “In the UV/Image editor change to UV Map B and create a new texture, then press the render bake button.”
Did you mean a new image? I did just that.
In case you were talking about the [‘Properties’ editor > ‘Texture’ tab > ‘Show World textures’'] I specified UV A’s texture and it is set as an image.